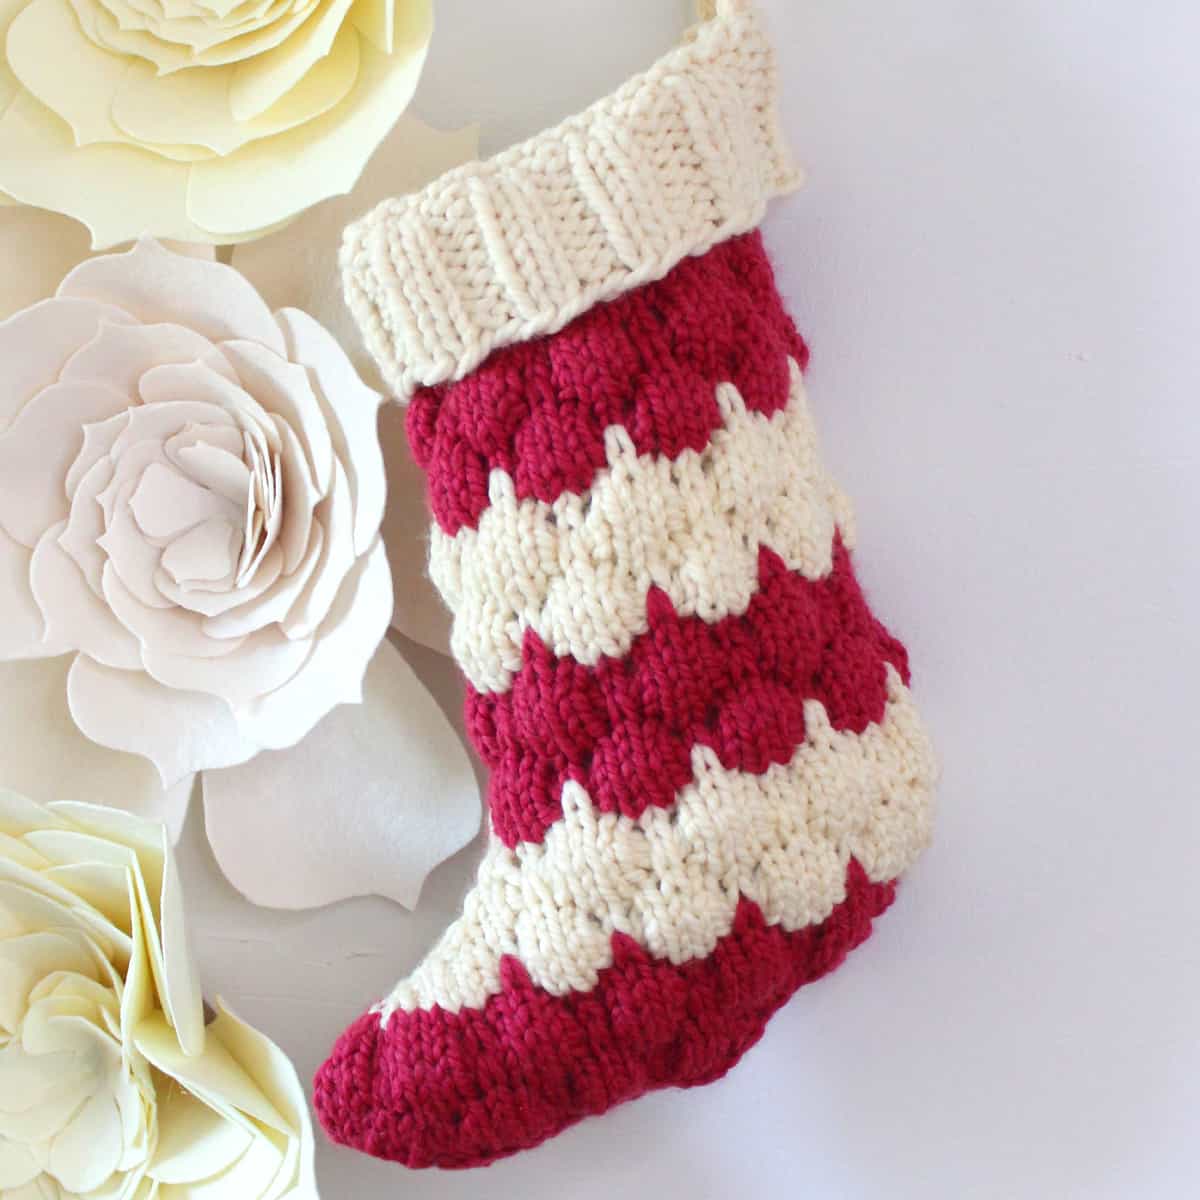
Mini Christmas Stocking Knitting Pattern
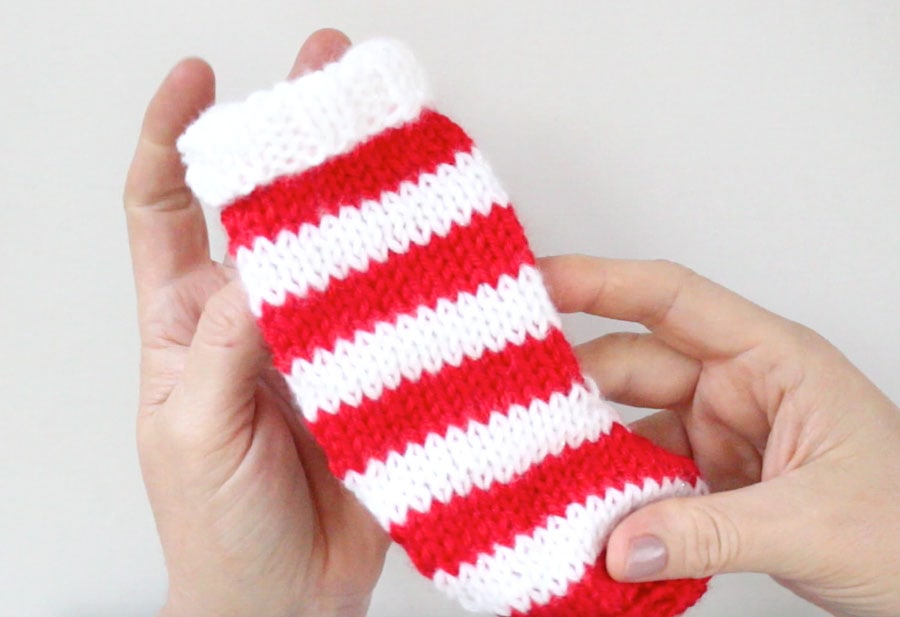
This Mini Christmas Stocking Knitting Pattern is created flat with two straight needles and is a really fun quick-knit project. It’s an adorable accessory on your dining room table as a utensil cozy, or used as a gift topper. It’s also the perfect size to knit up for your favorite dolls and pets.
Get your free written pattern instructions with video tutorial below.

Table of Contents
Mini Stocking Size
These mini stockings are a quick-knit project and great to give as gifts. At just 6 inches tall by 3 inches wide, you can easily knit one up for the entire family!

Shop Stocking Patterns
Enjoy my free pattern instructions below.
You may also purchase the ad-free printable pdf from my
Studio Knit Shop.
Watch Video Tutorial
Knitted Construction
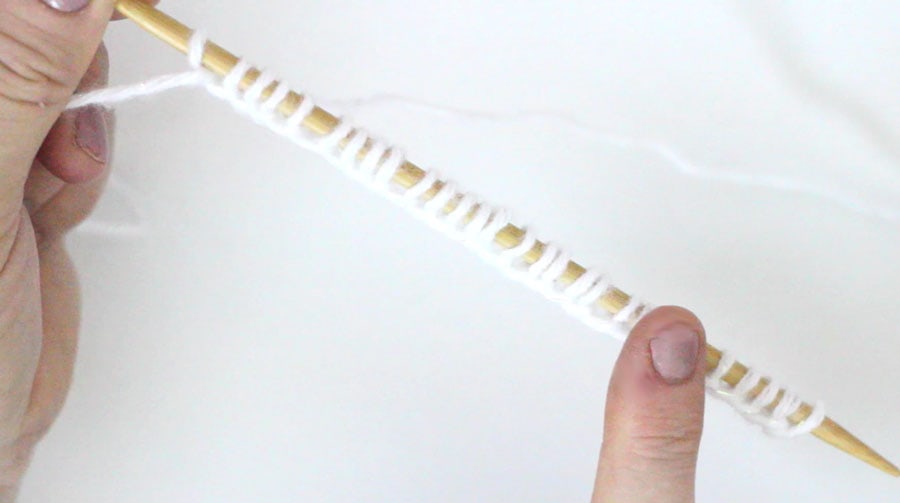
Casting On Stitches
Begin by casting on 28 stitches on your straight knitting needle in Color A yarn, which is white in my sample.
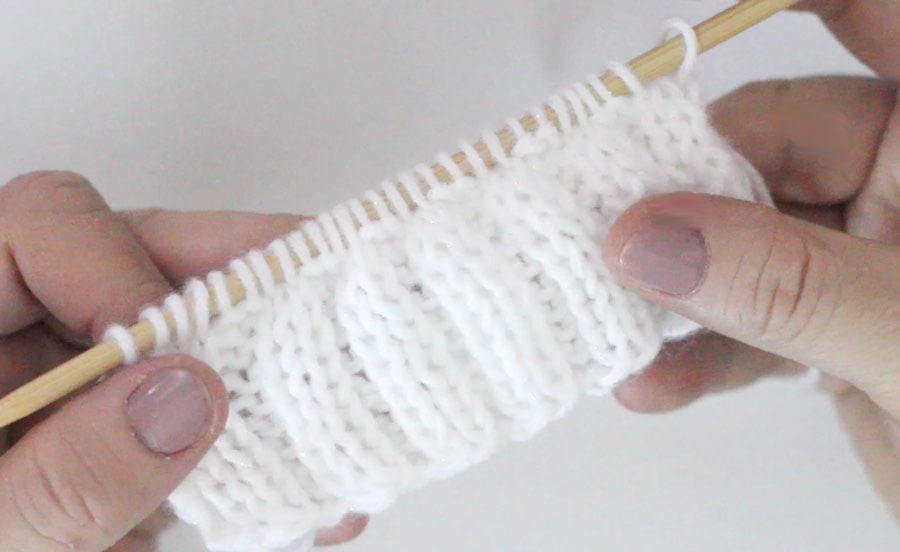
Top-Down Construction
This pattern is knitted top-down. So, after casting on 28 stitches in Color A, you will knit ten rows in the 2×2 Rib Stitch Pattern to form the top cuff.
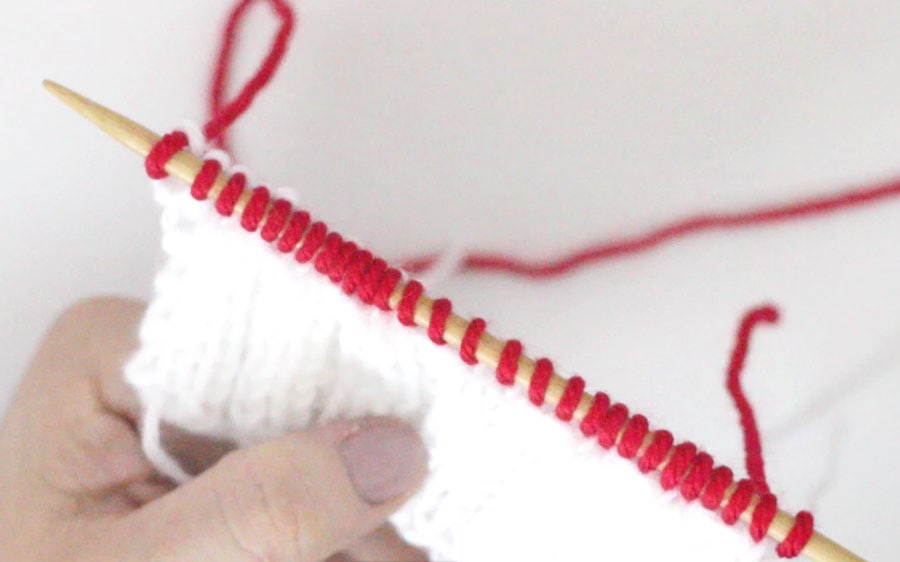
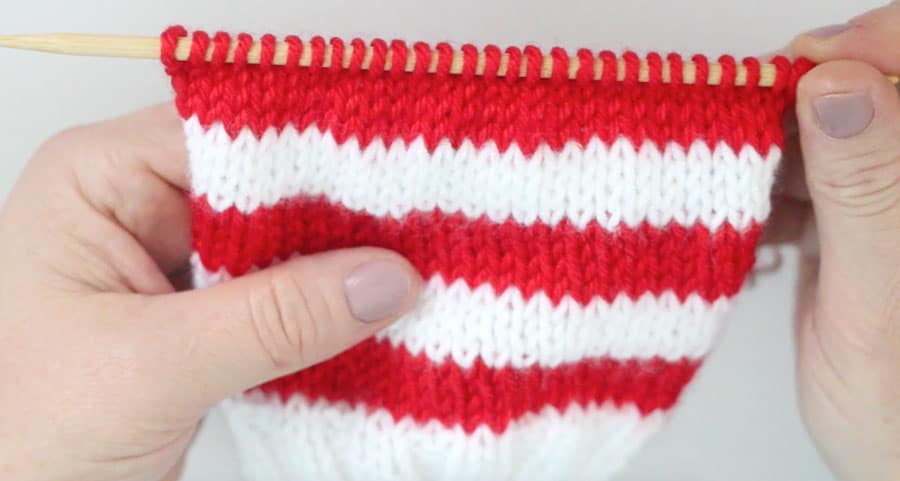
Changing Yarn Color
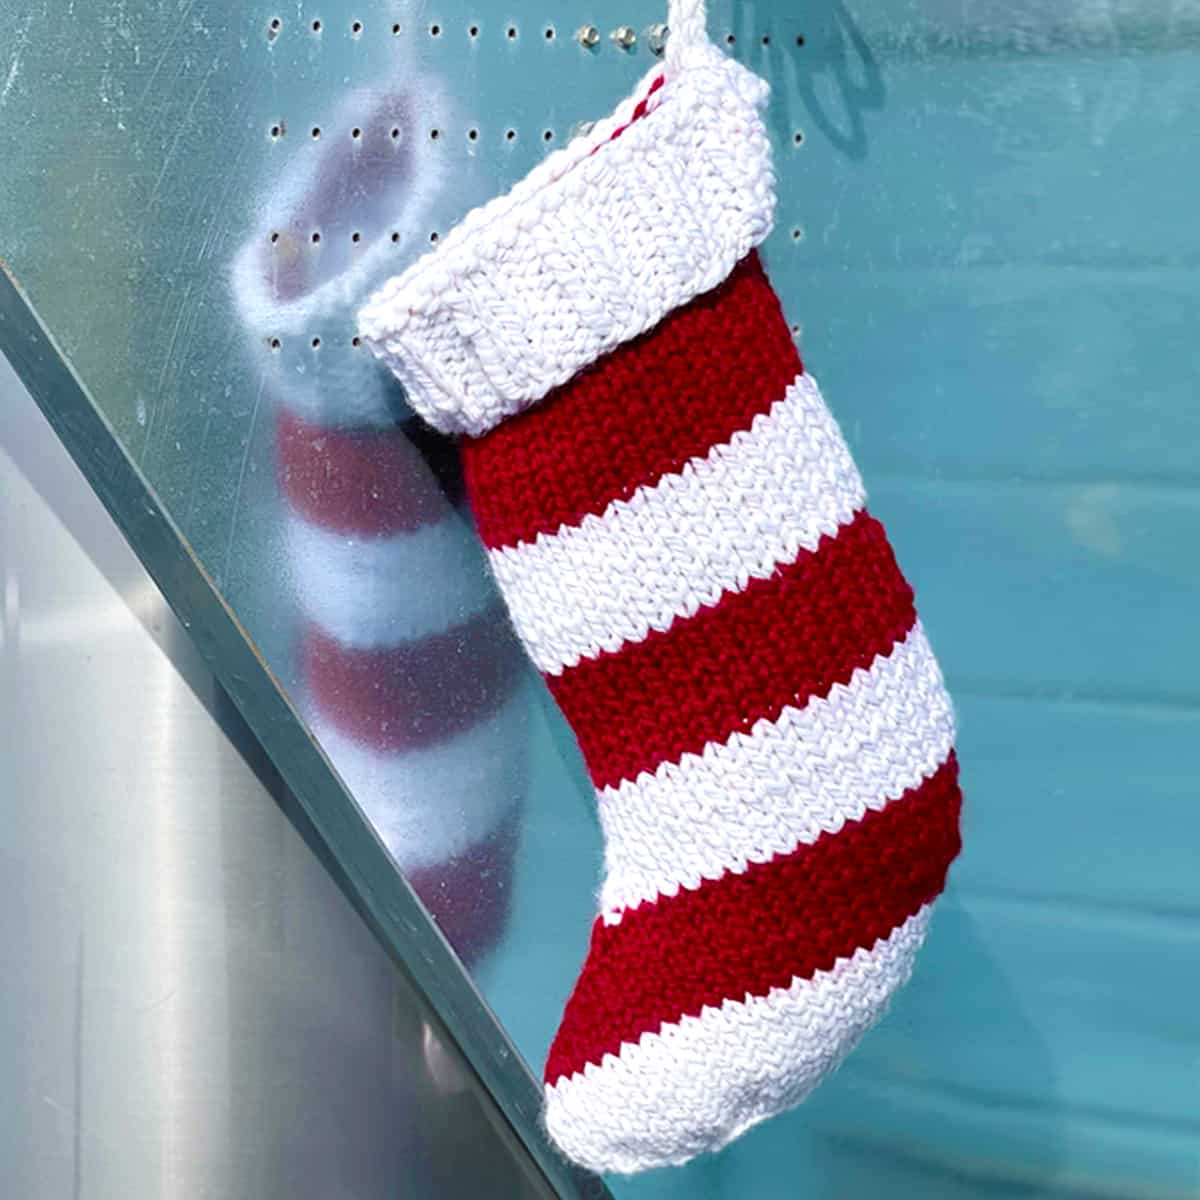
Follow the written pattern to knit up the colorful stripes in the smooth Stockinette Stitch.
PRO TIP! Each time the pattern has you changing yarn color, make certain to do so while knitting the right side of your knitted piece. This assures that your colored stripes will look neat and bold without any purl dash lines. In my sample, Color B is in red.
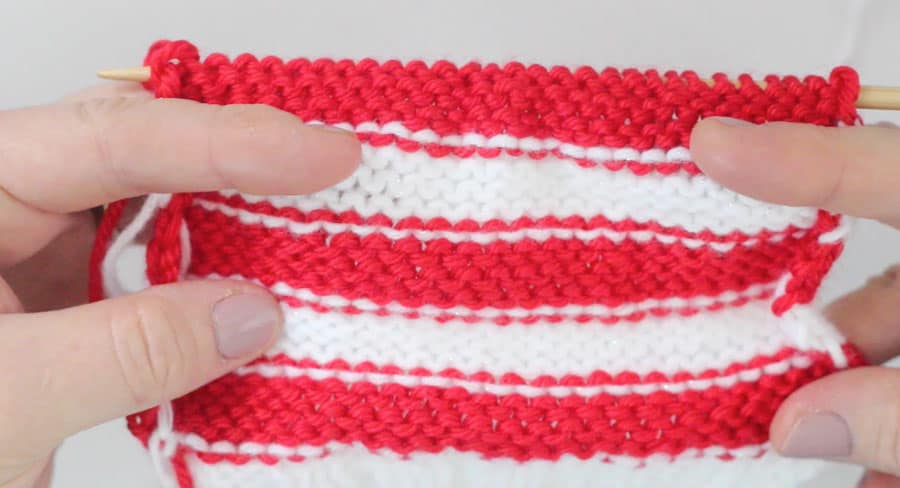
Wrong Side of Knitted Work
Here’s a quick look at what the wrong side of your knitting will look like. This is the back side, which does have never-to-be-seen purl dash lines and reverse stockinette stitch.
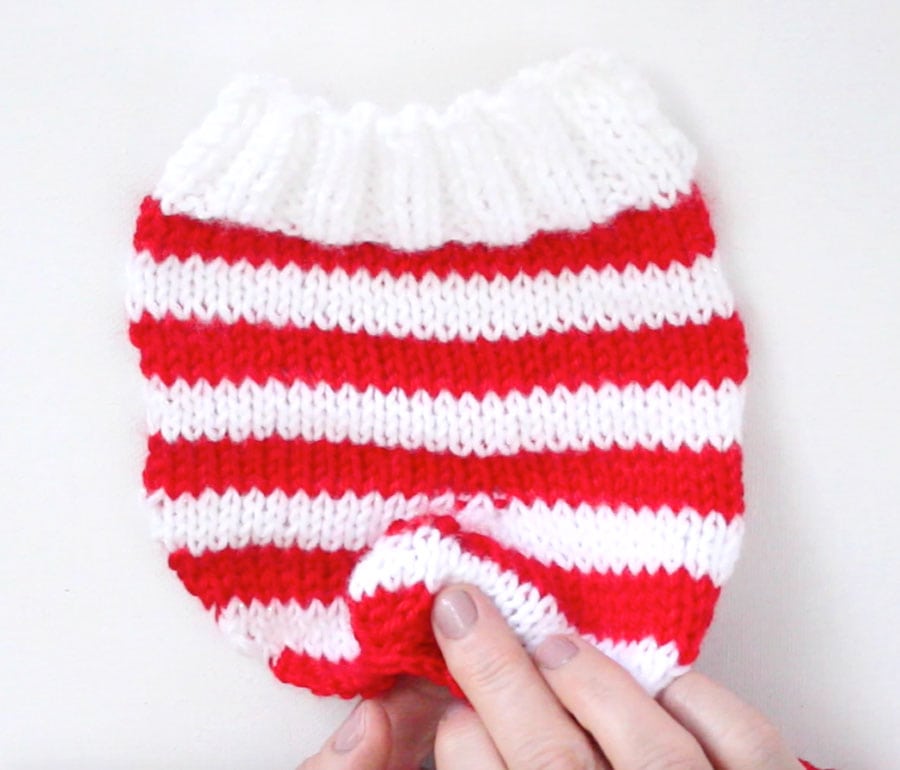
Tacking Edges Together
Once you have completed knitting and decreasing all 46 rows it is time to cast off your stitches and tack the edges together.
Fold your piece with the right sides touching. This will have the wrong side on the outside so you can easily tack the piece together using yarn and a tapestry needle.
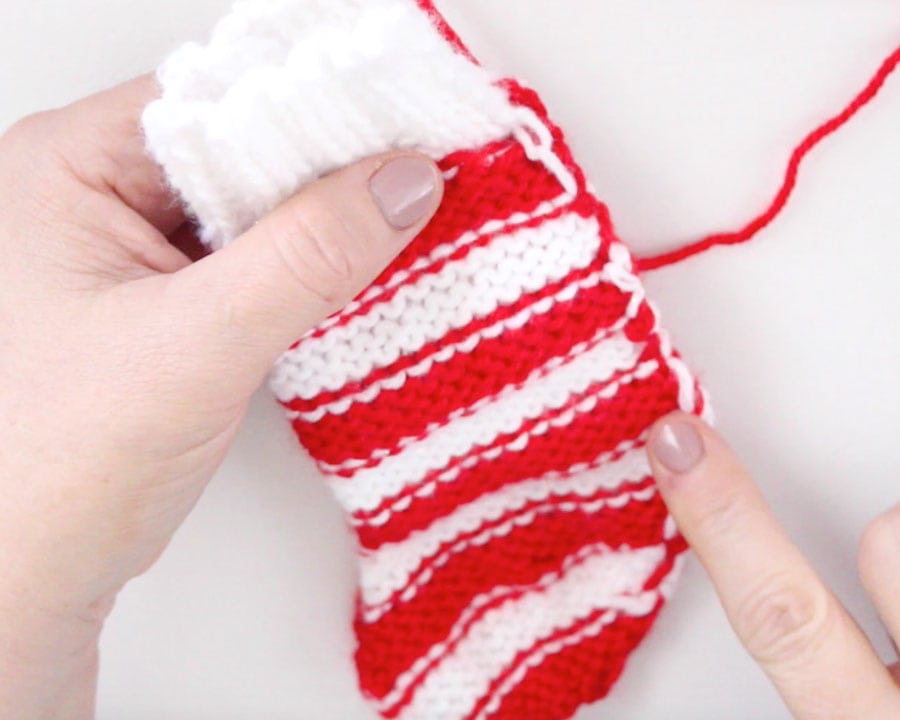
Simply fold right-side out and you are done!
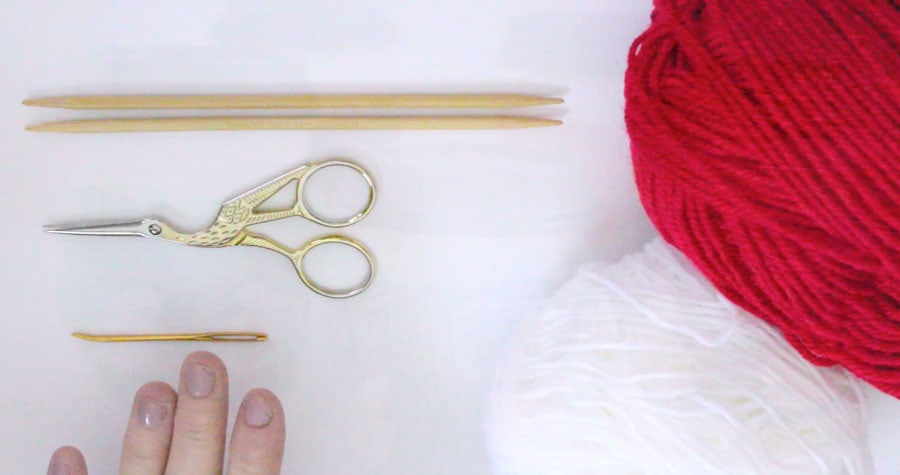
Tools and Materials
As an Amazon Associate, I earn from qualifying purchases.
- Aran or Worsted Weighted Yarn in any 2 colors
- Knitting Needles Straight Size 7 US
- Tapestry Needle
- Scissors
Knitting Techniques
• Slip Knot
• CO = Cast On Long Tail Method
• K = Knit Stitch
• P = Purl Stitch
• How to Change Yarn Color
• KFB = Knit Front + Back to Increase
• K2TOG = Knit 2 Sts Together to Decrease
• P2TOG = Purl 2 Stitches Together to Decrease
• Bind Off
• Weave in Yarn Tails
Printable Knitting Instructions
Printable Knitting Pattern
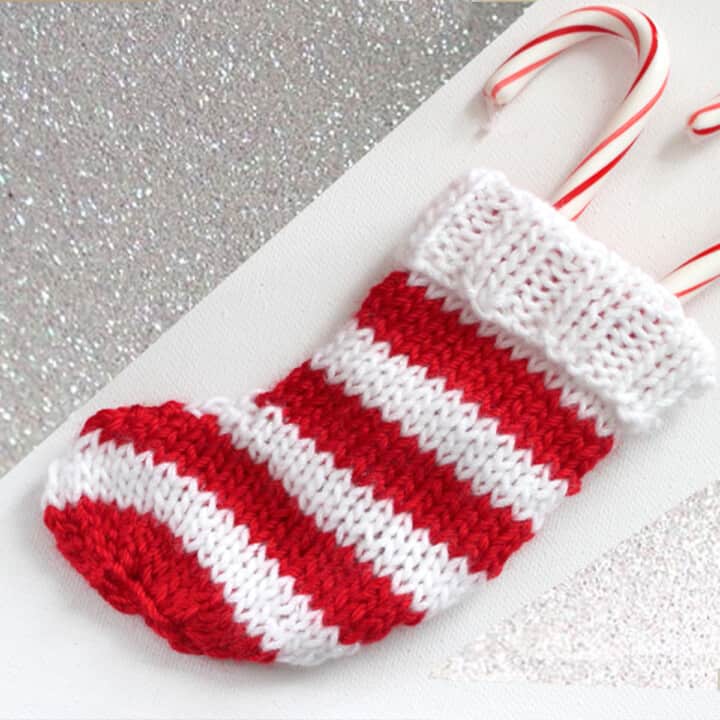
This Mini Free Christmas Stocking Knitting Pattern is a super cute decoration, utensil cozy, and gift topper with Studio Knit.
Materials
- Aran or Worsted Weighted Yarn in any 2 colors
Tools
- 2 Straight Knitting Needles 7 US / 4.5 mm
- Tapestry Needle
- Scissors
Instructions
- STEP 1: Cast On 28 Sts
- STEP 2: KNIT CUFF
Color A (example is white)
Rows 1 - 10: 2 x 2 Rib Stitch
* K2, P2 * - STEP 3: KNIT BODY IN STOCKINETTE STITCH
Switch to Color B (example is red) & Knit in Stockinette Stitch
Row 11: Knit Row
Row 12: Purl Row
Row 13: Knit Row
Row 14: Purl Row
Switch to Color A
Row 15: Knit Row
Row 16: Purl Row
Row 17: Knit Row
Row 18: Purl Row
Switch to Color B
Row 19: Knit Row
Row 20: Purl Row
Row 21: Knit Row
Row 22: Purl Row
Switch to Color A
Row 23: Knit Row
Row 24: Purl Row
Row 25: Knit Row
Row 26: Purl Row
Switch to Color B
Row 27: Knit Row
Row 28: Purl Row
Row 29: Knit Row
Row 30: Purl Row
Switch to Color A
Row 31: K13, KFB, KFB, K13 (30 sts remain)
Row 32: Purl Row
Row 33: K14, KFB, KFB, K14 (32 sts)
Row 34: Purl Row
Switch to Color B
Row 35: K2Tog, K13, KFB, KFB, K13, K2Tog (32 sts)
Row 36: P15, Purl Increase, P1, Purl Increase, P14 (34 sts)
Row 37: K2Tog, K14, KFB, KFB, K14, K2Tog (34 sts)
Row 38: P15, Purl Increase, P1, Purl Increase, P16 (36 sts)
Switch to Color A
Row 39: K2Tog, K32, K2Tog (34 sts)
Row 40: Purl Row
Row 41: K2Tog, K14, KFB, KFB, K14, K2Tog (34 sts)
Row 42: P2Tog, P30, P2Tog (32 sts)
Switch to Color B
Row 43: K2Tog, K28, K2Tog (30 sts)
Row 44: P2Tog, P26, P2Tog (28 sts)
Row 45: K2Tog, K10, K2Tog, K2Tog, K10, K2Tog (24 sts)
Row 46: P2Tog, P8, P2Tog, P2Tog, P8, P2Tog (20 sts) - STEP 4: CAST OFF
Last Row Cast Off: K2Tog * K2Tog, Pass Over to BO *
- Weave in and Cut Off Yarn Ends
- With Right Sides facing, seam edges
- Turn Right Side Out
- Fold over and tack down Rib Stitch cuff topper
And you are done!
Notes
Knitting Techniques
- Slip Knot
- CO = Cast On Long Tail Method
- K = Knit Stitch
- P = Purl Stitch
- How to Change Yarn Color
- KFB = Knit Front + Back to Increase
- K2TOG = Knit 2 Sts Together to Decrease
- P2TOG = Purl 2 Stitches Together to Decrease
- Bind Off
- Weave in Yarn Tails

Kristen McDonnell
Author • Designer • Teacher
Kristen from StudioKnit LLC produces knitting video lessons and pattern designs from her vibrant production studio on Half Moon Bay’s California coast.
Kristen McDonnell is the author of the highly acclaimed book Knit Stitch: 50 Knit + Purl Patterns featuring vintage and unique designs.