How to Tie a Slip Knot in 5 Steps
Learn how to tie a Slip Knot in just 5 easy steps. This knot variation allows you to quickly loosen the finished loop or tighten it back up when pulling on one strand.
My written instructions include close-up photos and video tutorials to demonstrate exactly how to tie one strand of rope, string, or yarn.
5 Easy Steps to Tie a Slip Knot
Step 1: Unravel your yarn ball a bit and select a place on your yarn strand where you will begin.
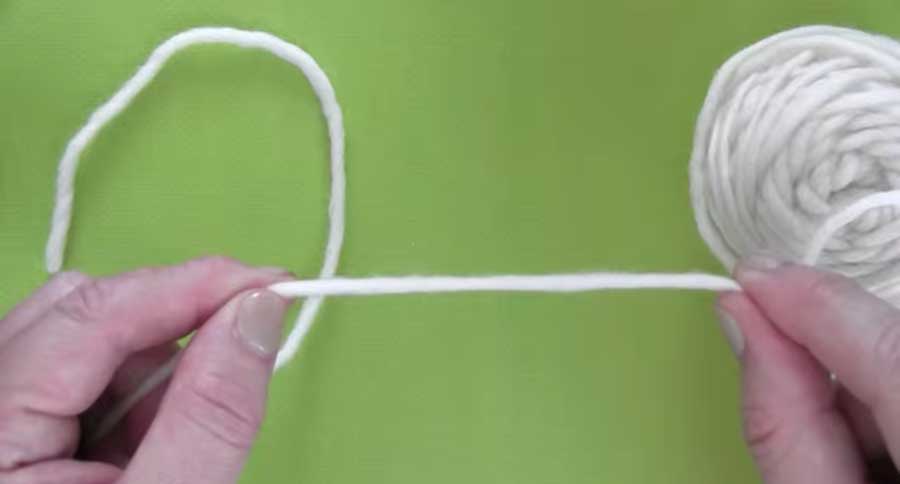
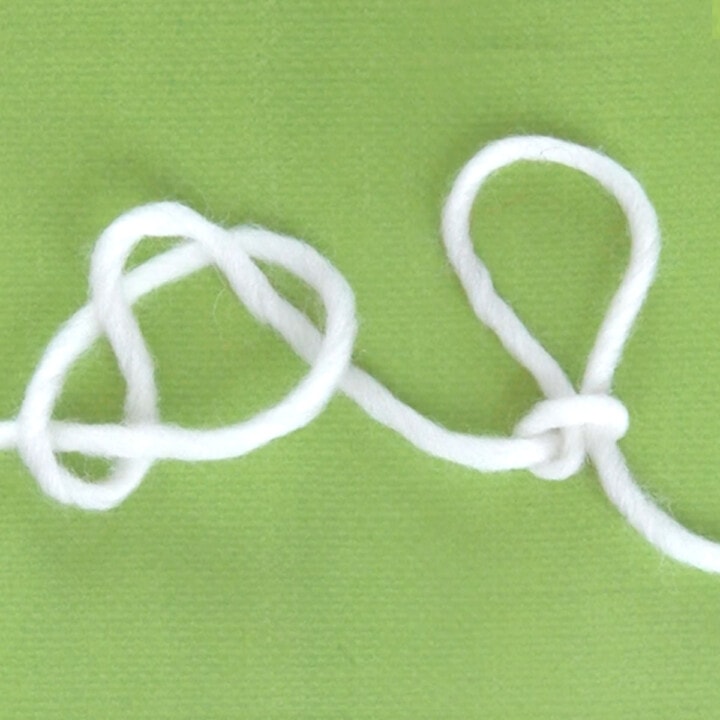
Step 2: With your working yarn that is attached to the yarn ball in your right hand, make a loop by placing the yarn from the right side sit atop the yarn tail on your left side.
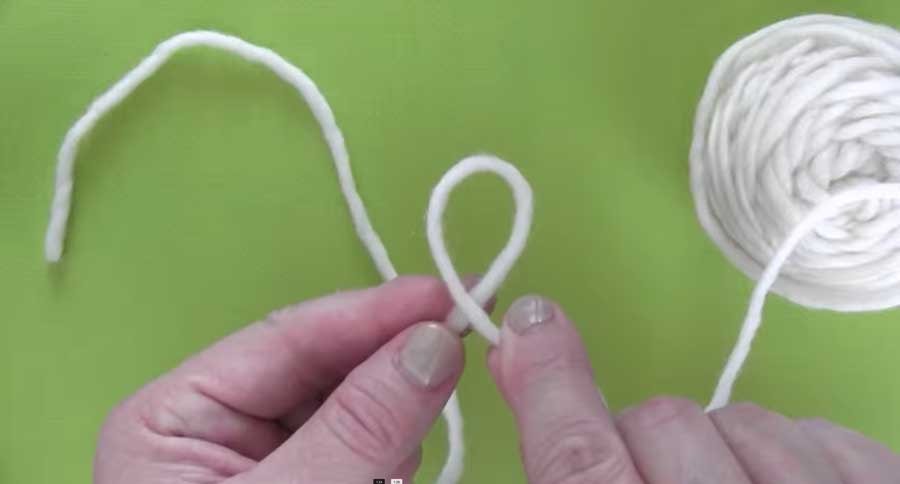
Step 3: Hold this loop with between your left thumb and index finger.
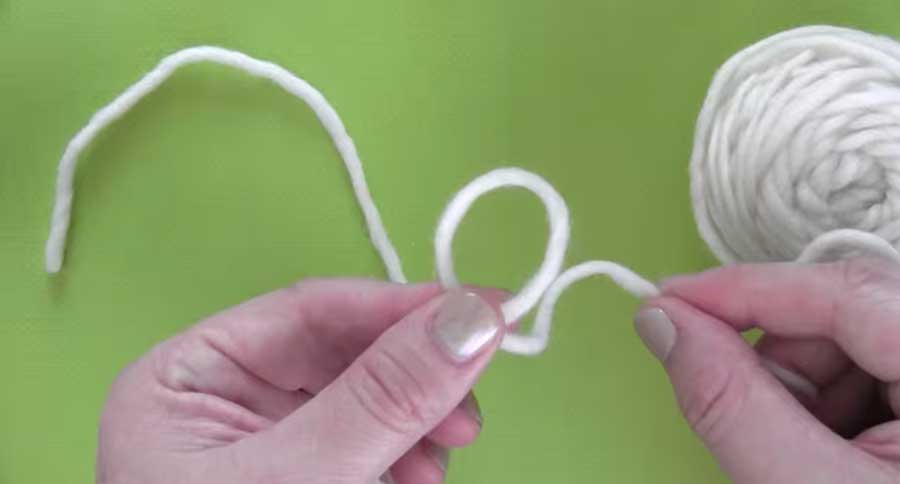
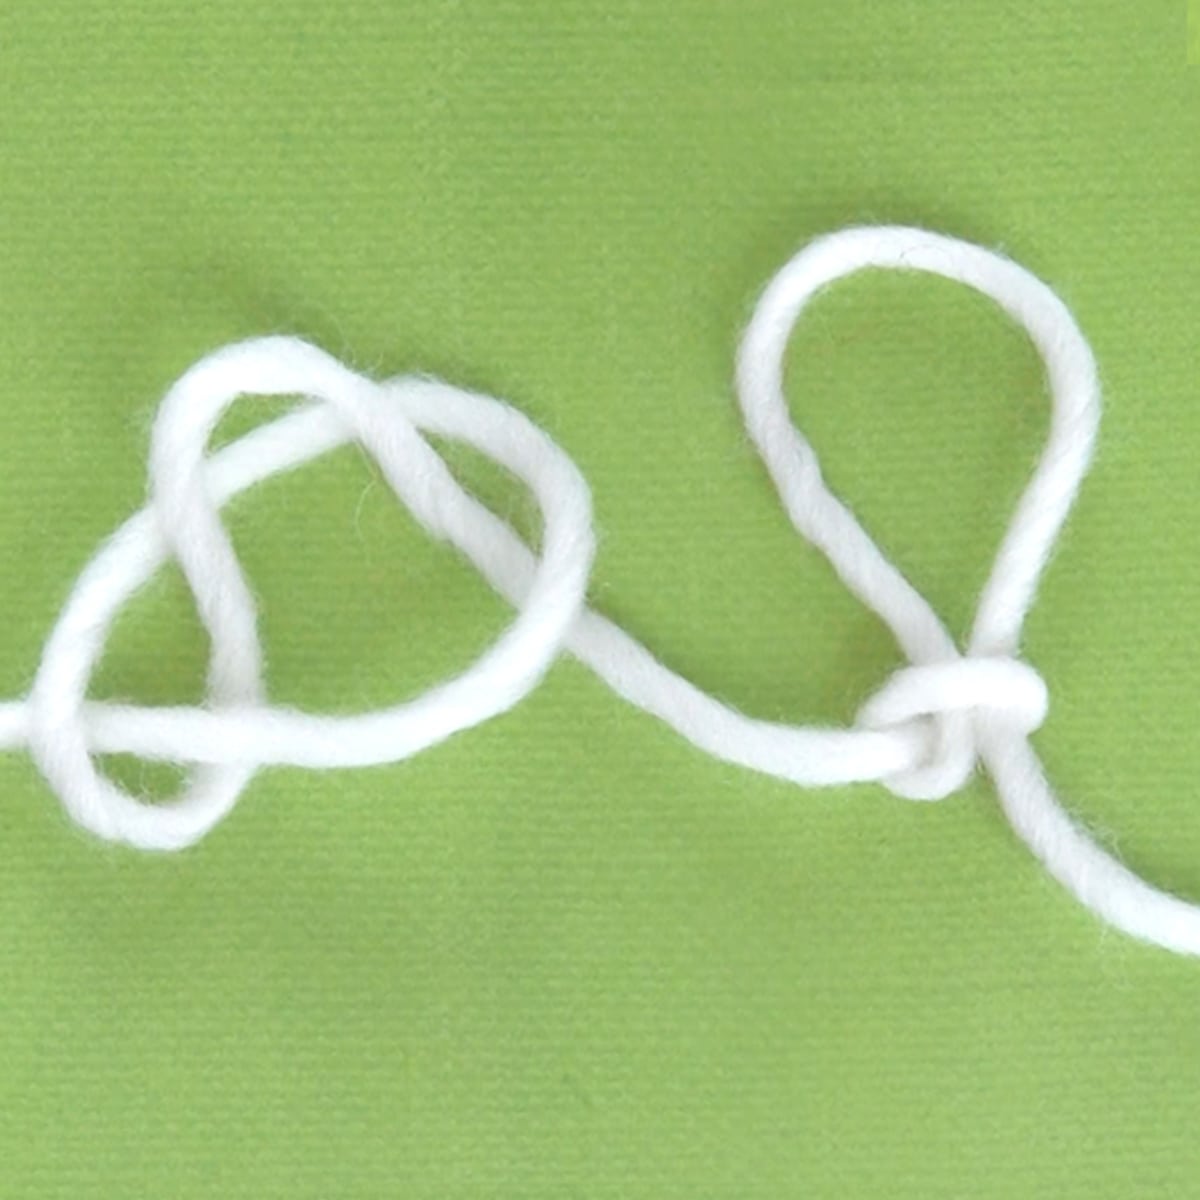
Step 4: Take your working yarn (the strand that’s attached to the ball) and make another loop by pulling it through. Begin from the bottom of your first loop and bring it up through the top.
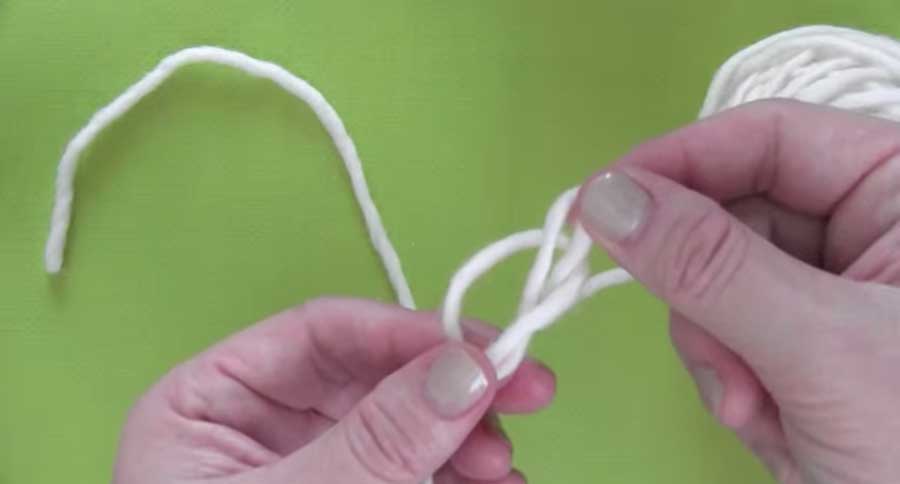
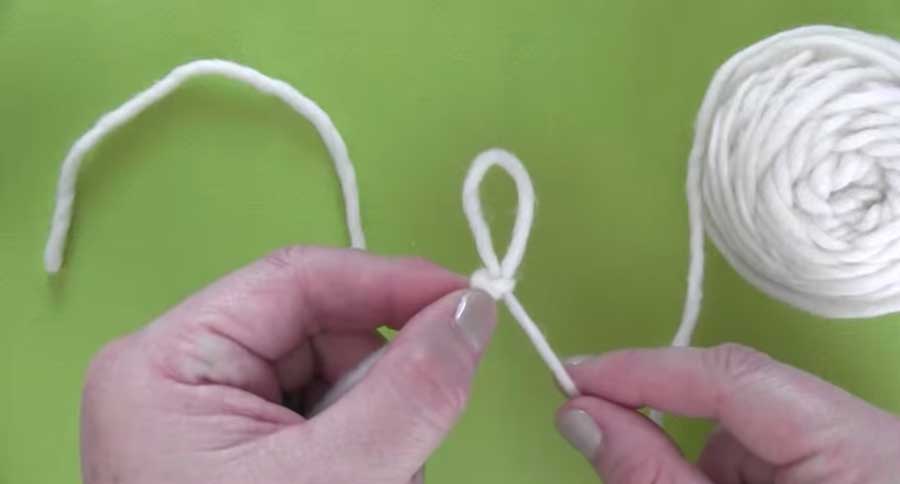
Step 5: Hold onto the knot base with your left hand then lightly pull up the loop with your right hand until it cinches.
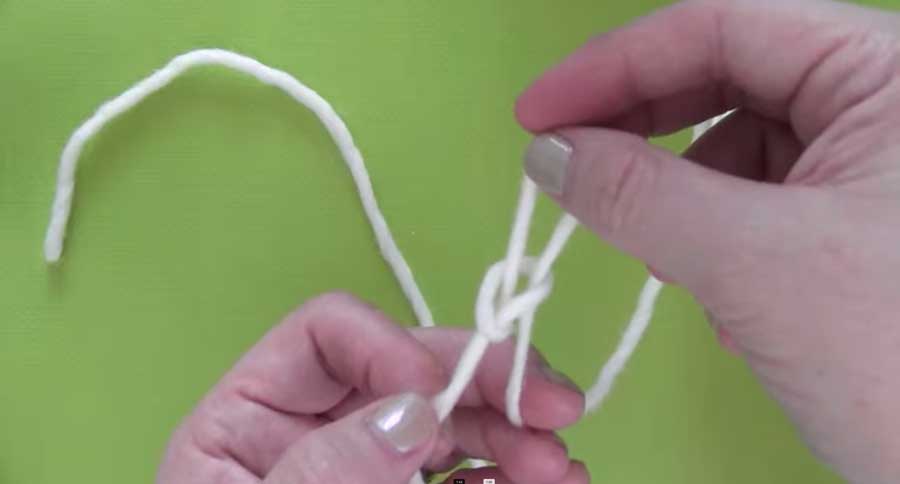
Using Your Completed Slip Knot: You may now easily tighten your knot by pulling on the working yarn, or loosen it by pulling up from the loop.
Love Knitting Help? Visit my entire Cast On Knitting Techniques section for more great tips!
Watch Video Tutorial
Frequently Asked Questions
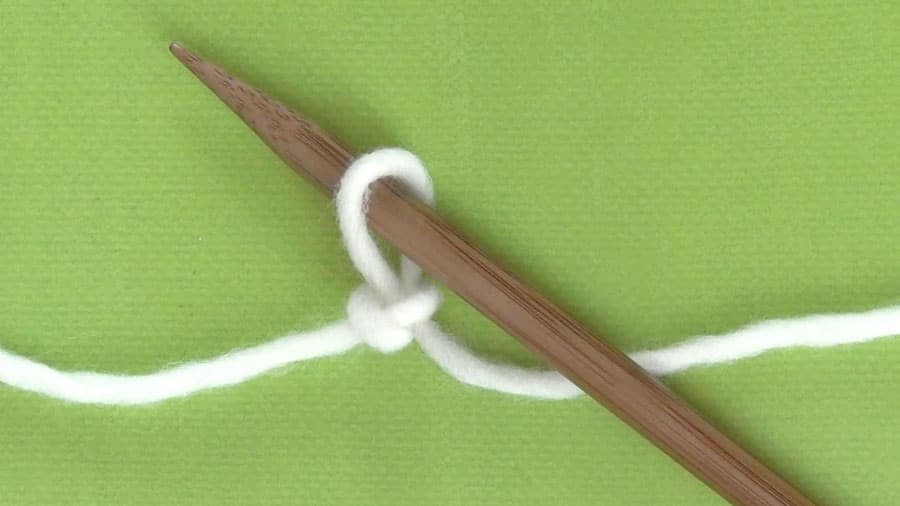
In knitting, the Slip Knot is often your first step as you begin to knit. Every knitting project begins by placing stitches onto our knitting needle. It slides, or slips, to easily make the correct size to fit securely and snuggly onto our knitting needle
It is an easy way to take your working yarn and create a loop that slips to fit your knitting needle.
Once you have your Slip Knot on your needle, you are ready to begin Casting On your stitches.
This knot variation allows you to quickly loosen the finished loop or tighten it back up when pulling on one strand.
Yes, after you have Cast On, it’s your choice if you knit the slip knot at the end of your first row of knitting. You may knit through it as your first stitch in knitting.
Alternatively, you may cast on without the use of Slip Knot.
Looking for a complete one-stop course and become a confident knitter? Check out my popular Absolute Beginner Knitting Series today.

Printable Knitting Instructions
Printable Knitting Instructions
The Slip Knot is your first stitch in knitting.
Materials
- Yarn - Any Gauge
Tools
- No tools required... just your hands!
Instructions
- Step 1: Unravel your yarn ball a bit and select a place on your yarn strand where you will begin.
- Step 2: With your working yarn that is attached to the yarn ball in your right hand, make a loop by placing the yarn from the right side sit atop the yarn tail on your left side.
- Step 3: Hold this loop between your left thumb and index finger.
- Step 4: Take your working yarn (the strand that’s attached to the ball) and make another loop by pulling it through. Begin from the bottom of your first loop and bring it up through the top.
- Step 5: Hold onto the knot base with your left hand then lightly pull up the loop with your right hand until it cinches into a Slip Knot.
Notes
A Slip Knot is the first stitch in knitting.
Once you have created your Slip Knot, you’re ready to start Casting On Stitches to begin knitting.

Kristen McDonnell
Author • Designer • Teacher
Kristen from StudioKnit LLC produces knitting video lessons and pattern designs from her vibrant production studio on Half Moon Bay’s California coast.
Kristen McDonnell is the author of the highly acclaimed book Knit Stitch: 50 Knit + Purl Patterns featuring vintage and unique designs.

