How to Knit a Bunny from a Square
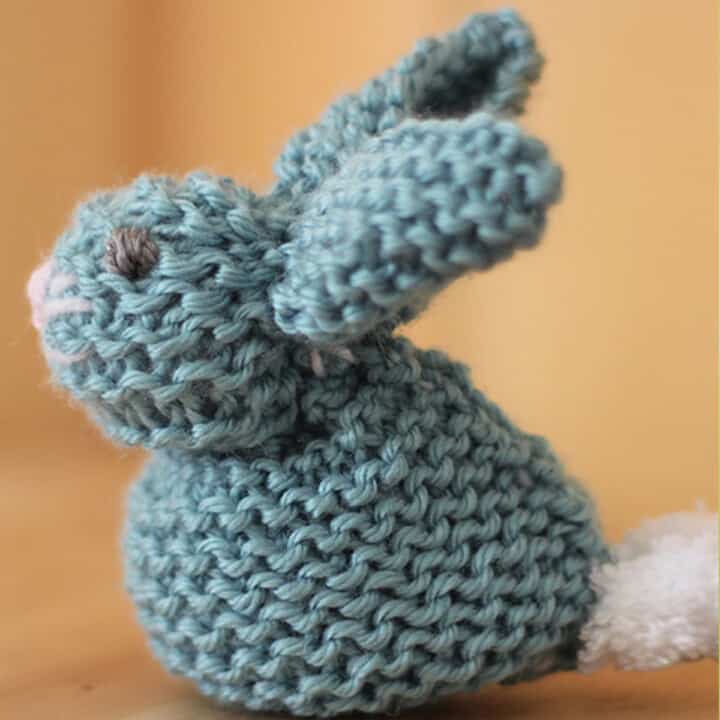
Knit a Bunny from a Square from my easy knitting pattern! From just a knitted square, you will enjoy making a stuffed softie animal shape of a rabbit. Keep reading to get easy written steps with photos, along with my fun step-by-step video lesson, and get hopping on making cute little rabbit friends.
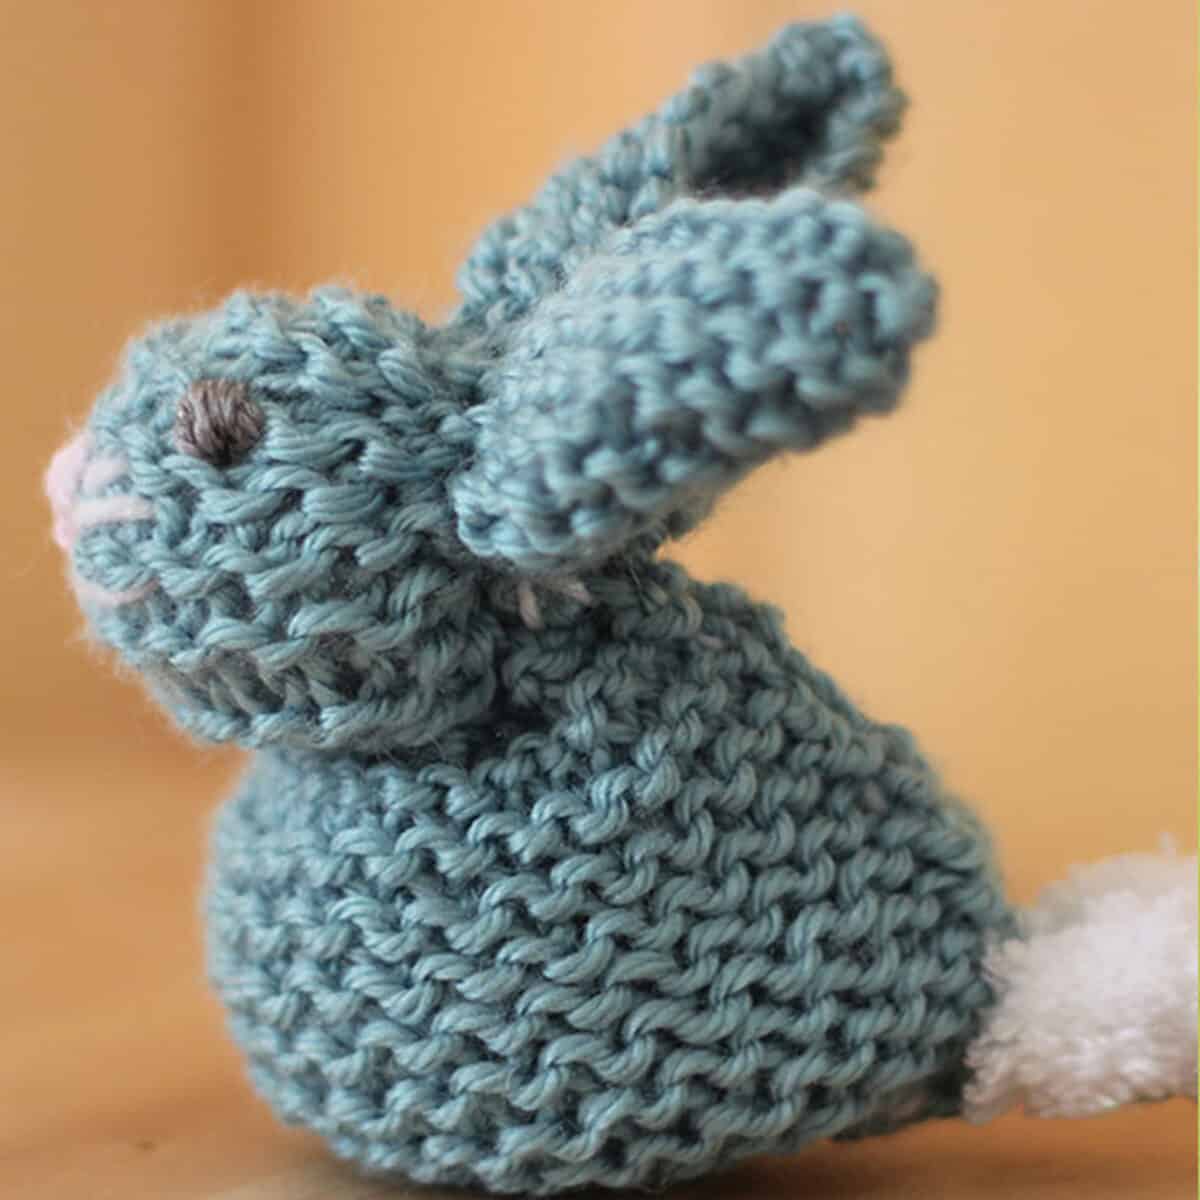
Table of Contents
Knitting Supplies
These little cuties are quick-knit gift favorites for beginning knitters and one of my most popular projects.
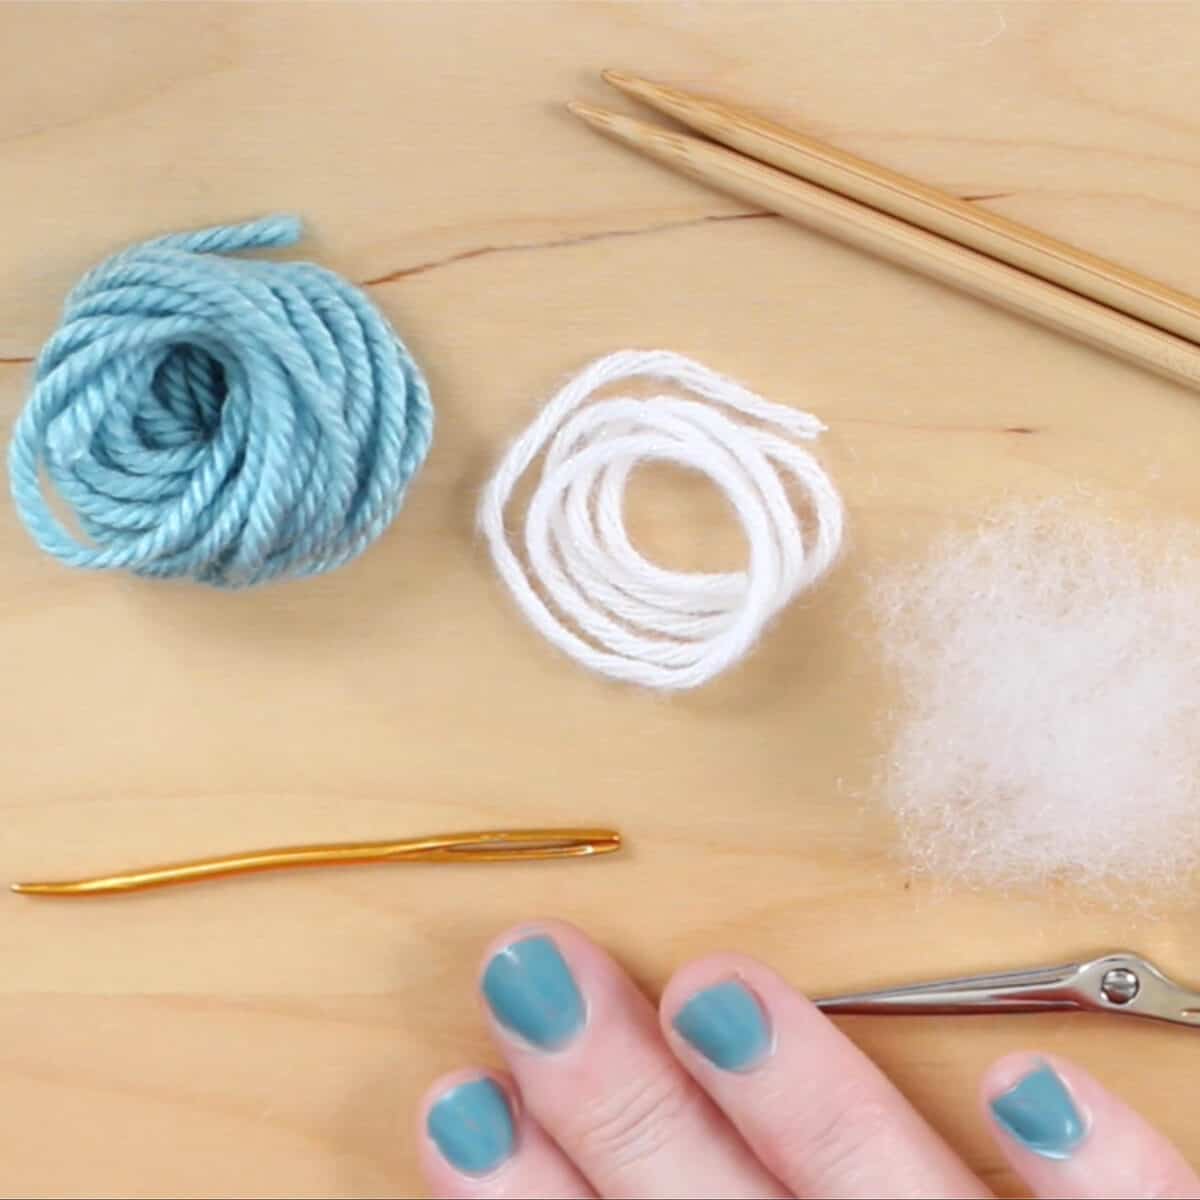
- Yarn in any weight, fiber, & color of your choice (I used worsted weight yarn)
- Poly-fill, or any stuffing of your choice
- 2 Straight Knitting Needles or Circulars 7 US / 4.5 mm
- Tapestry Needle
- Scissors
Watch Video Tutorial
Knitting Instructions
After knitting a square swatch in any easy knit stitch pattern of your choice, begin to shape it easily into this adorable friend.
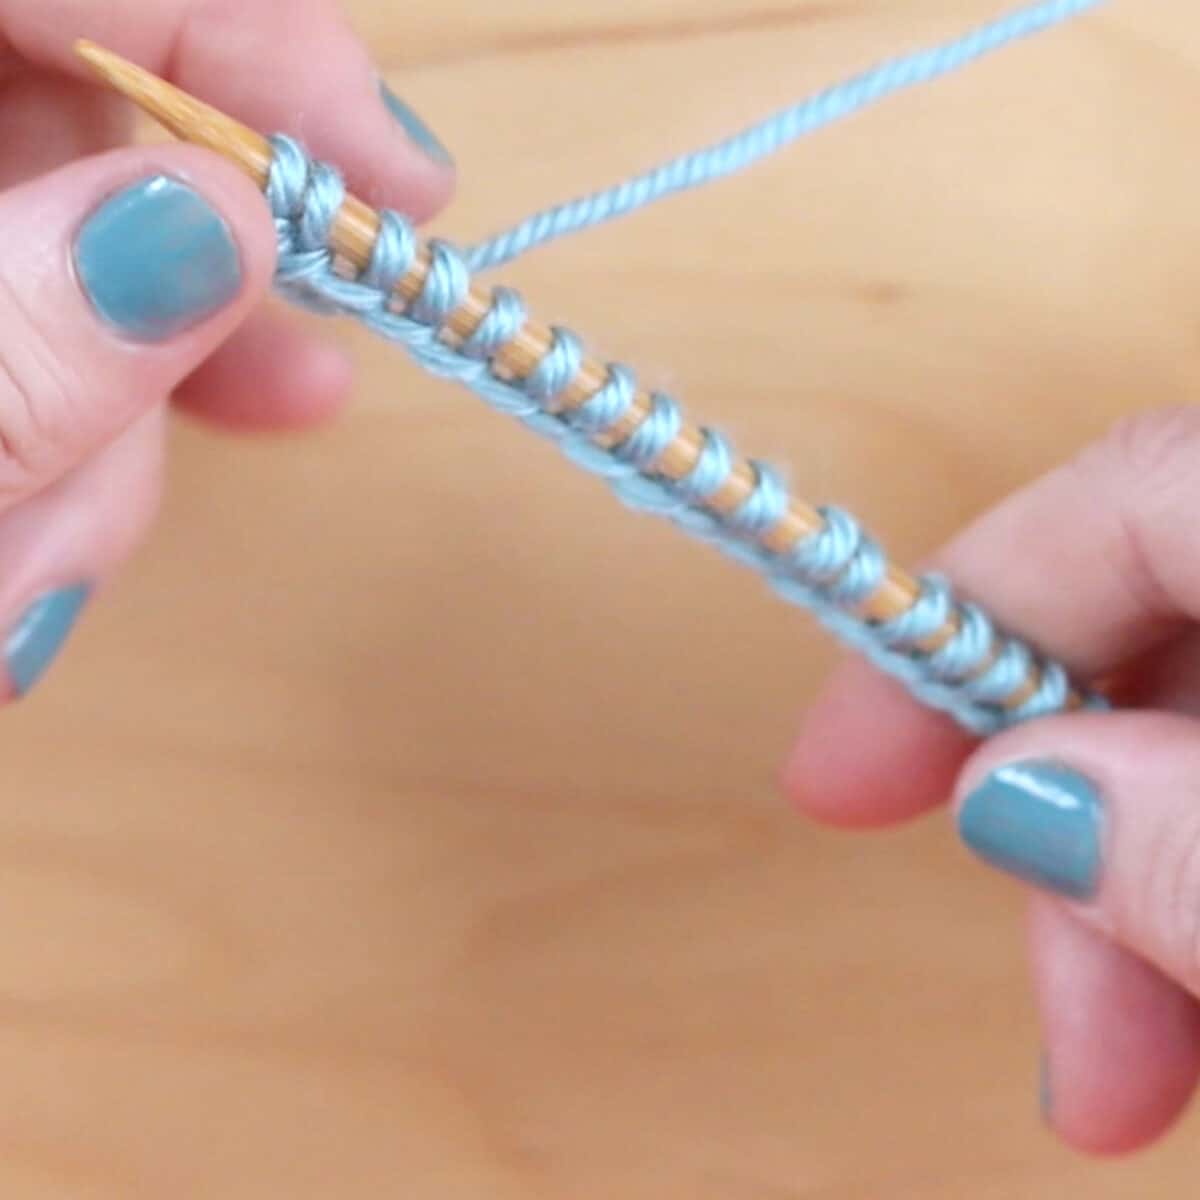
STEP 1: Cast On 30 Stitches
- To begin, we will cast on any number of stitches you choose!
- In this example shown, I am casting on 30 stitches with size 7 US knitting needles and worsted weight yarn.
STEP 2: Knit a Square in the Garter Stitch
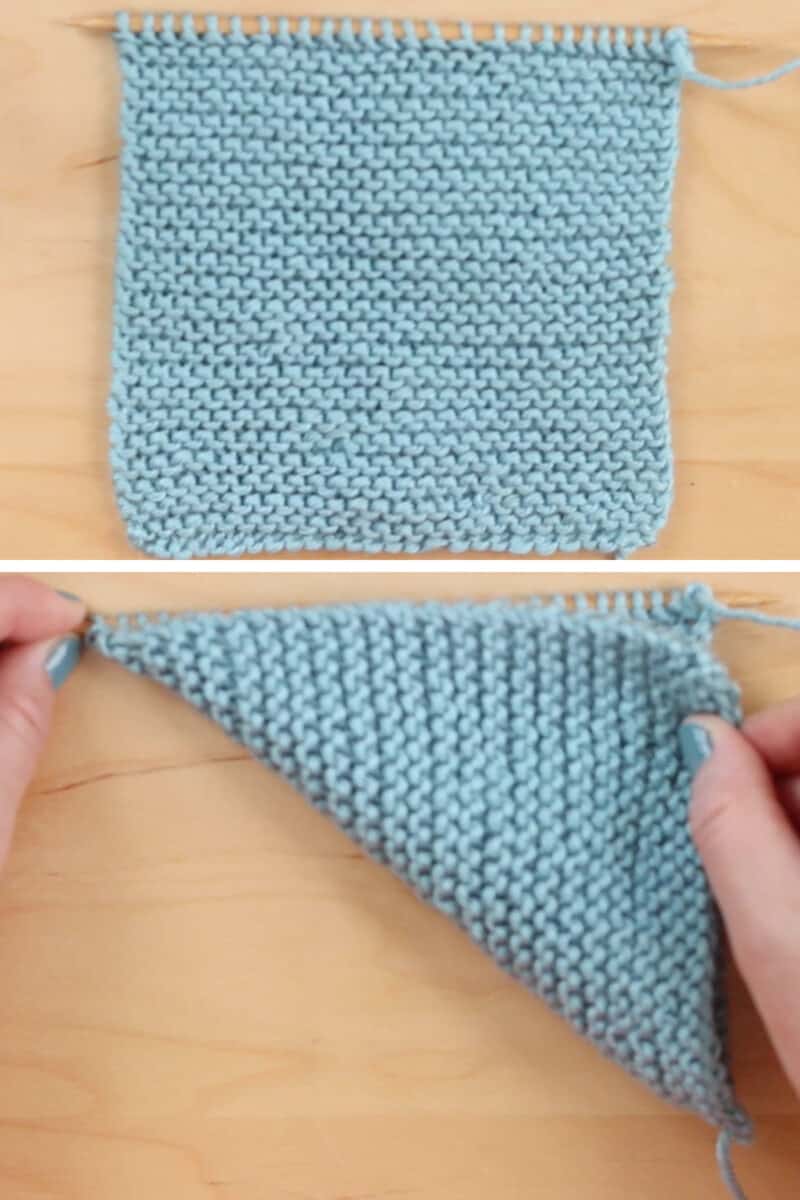
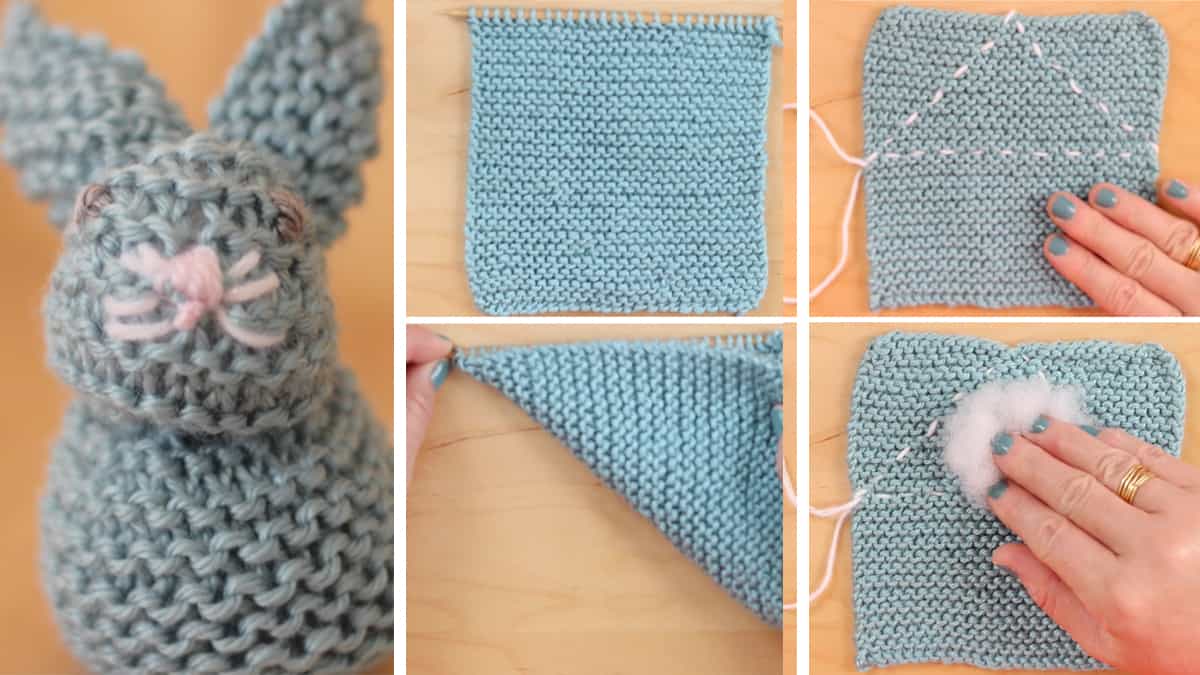
- Knit your piece in the Garter Knit Stitch Pattern until your piece is a perfect square.
- The Garter Stitch is simply knitting the Knit Stitch every single row.
- The easiest way to determine when you have knitted an equally-sided square is to match up your corners.
- Then, it’s time to bind off.
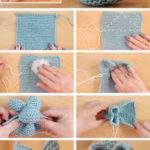
STEP 3: Stitch a Triangle for the Head
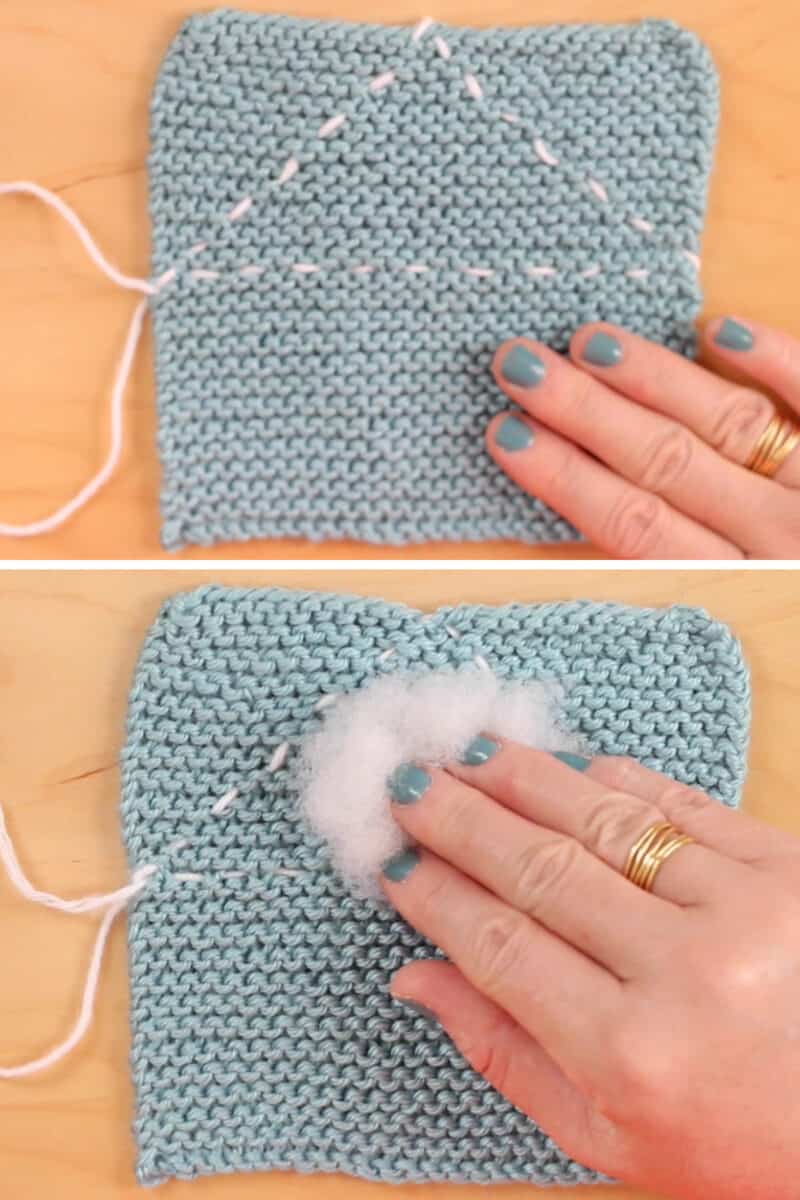
- Loosely stitch a triangle shape using yarn and our tapestry needle.
- First, we will stitch across our piece in the middle.
- Then, form a triangle.
- With both of our yarn ends on the side of our piece, place a ball of stuffing.
STEP 4: Cinch Stitches for Bunny Head
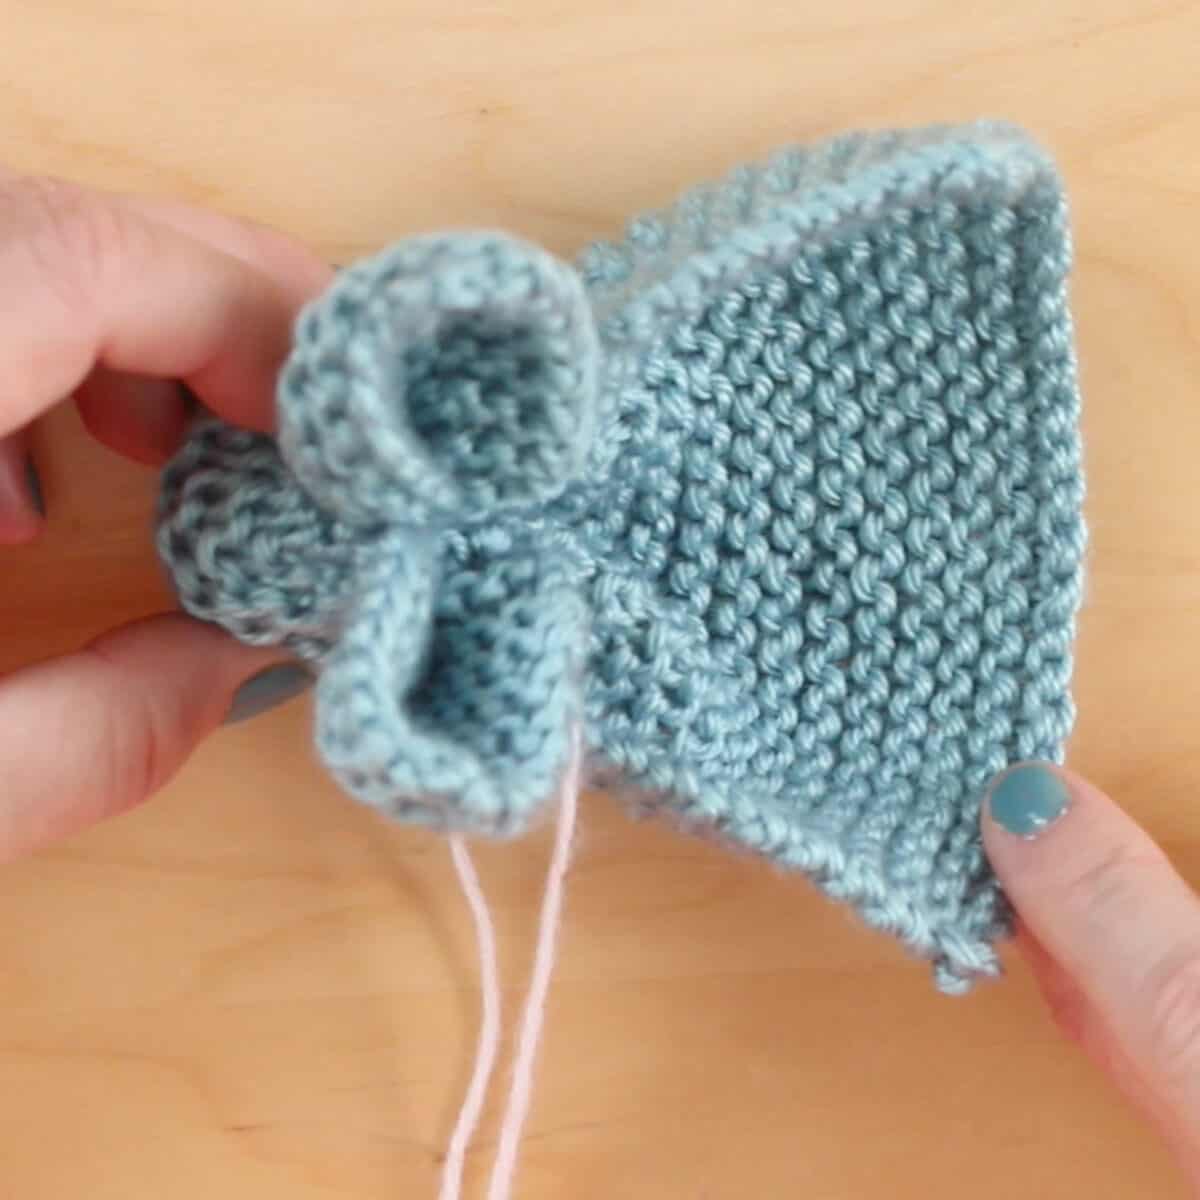
- Cinch up the head and ears are immediately formed, too!
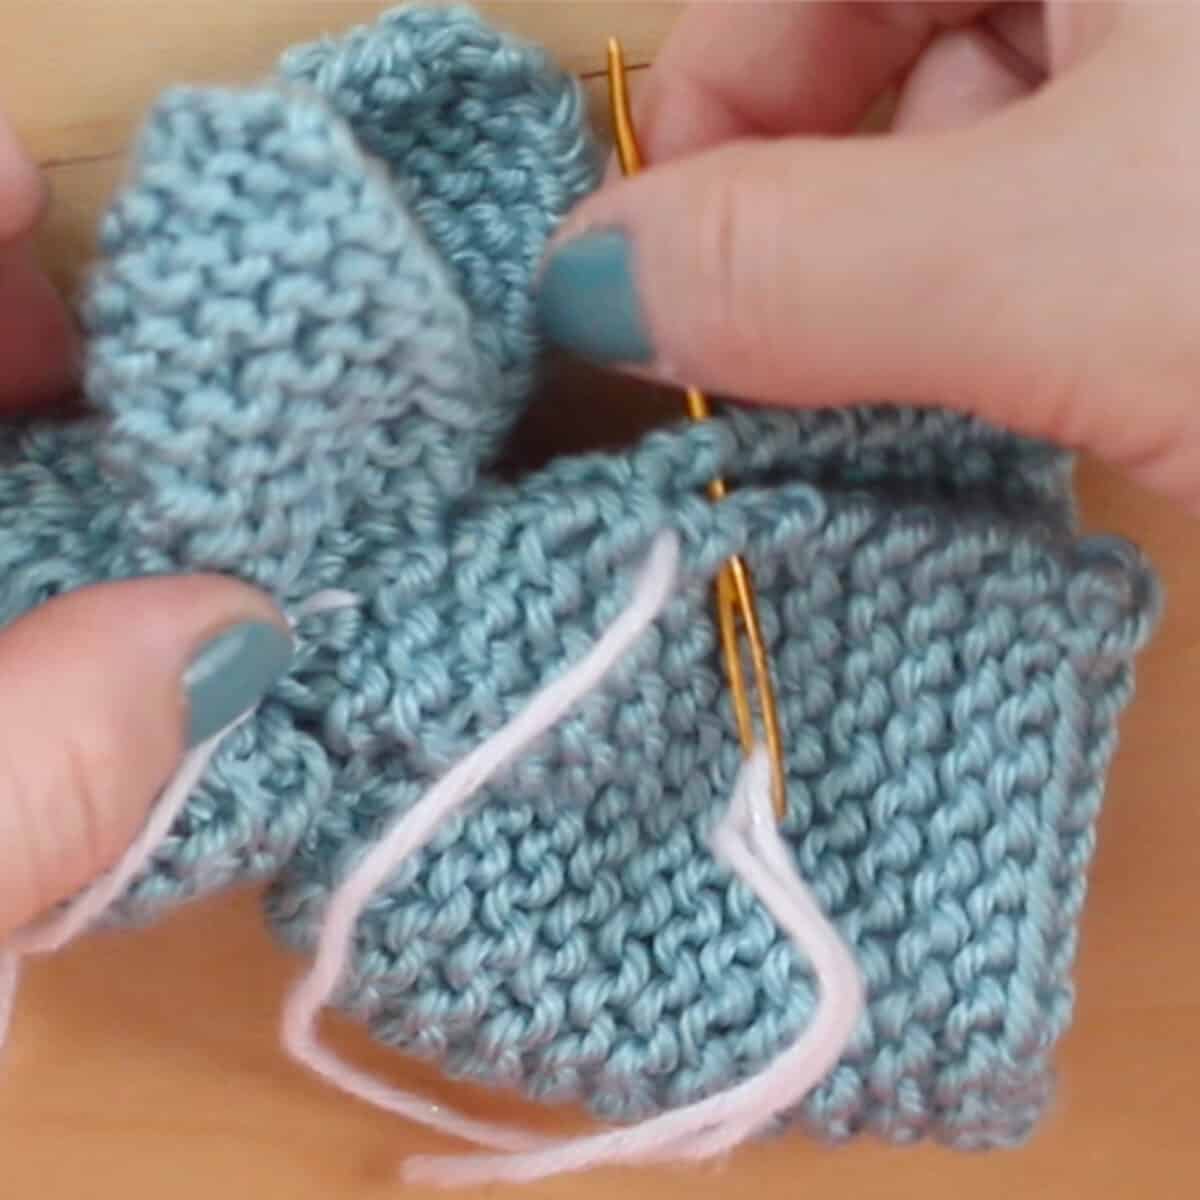
- Then, just stitch up the back, add more filling, then stitch the entire body up.
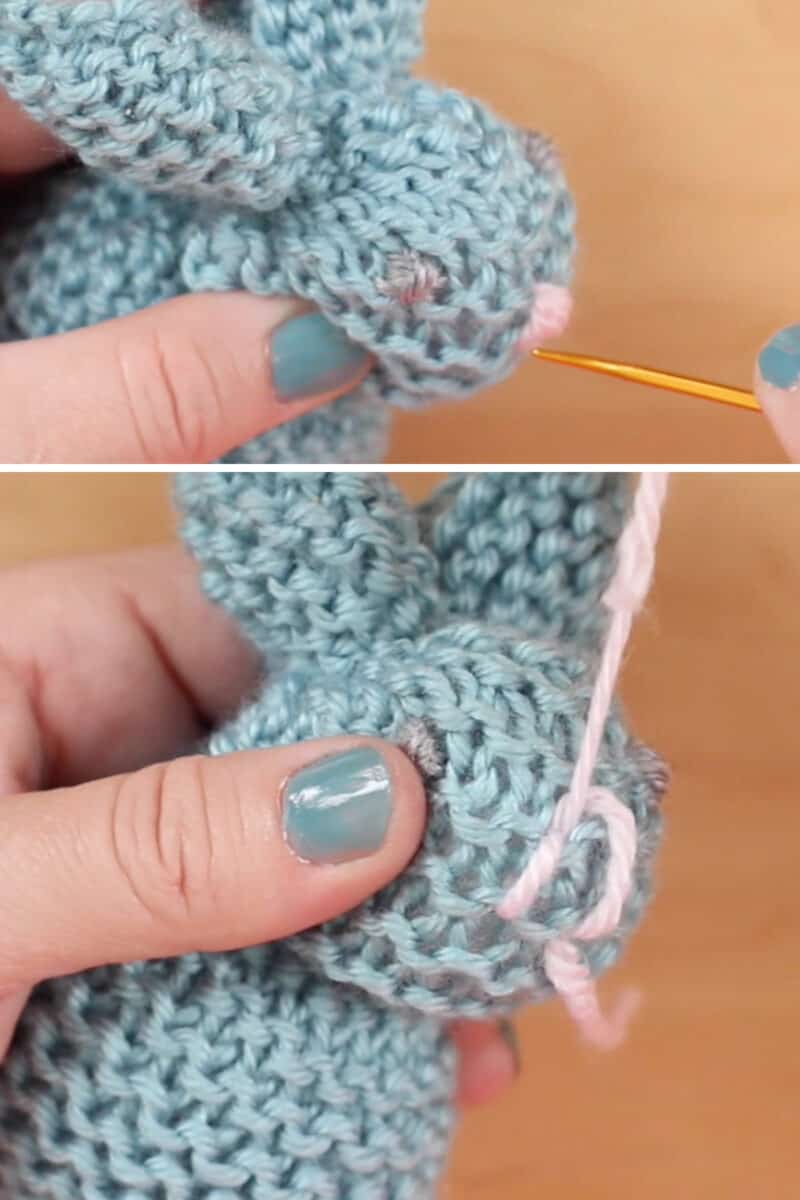
STEP 5: Embroider a Face (optional)
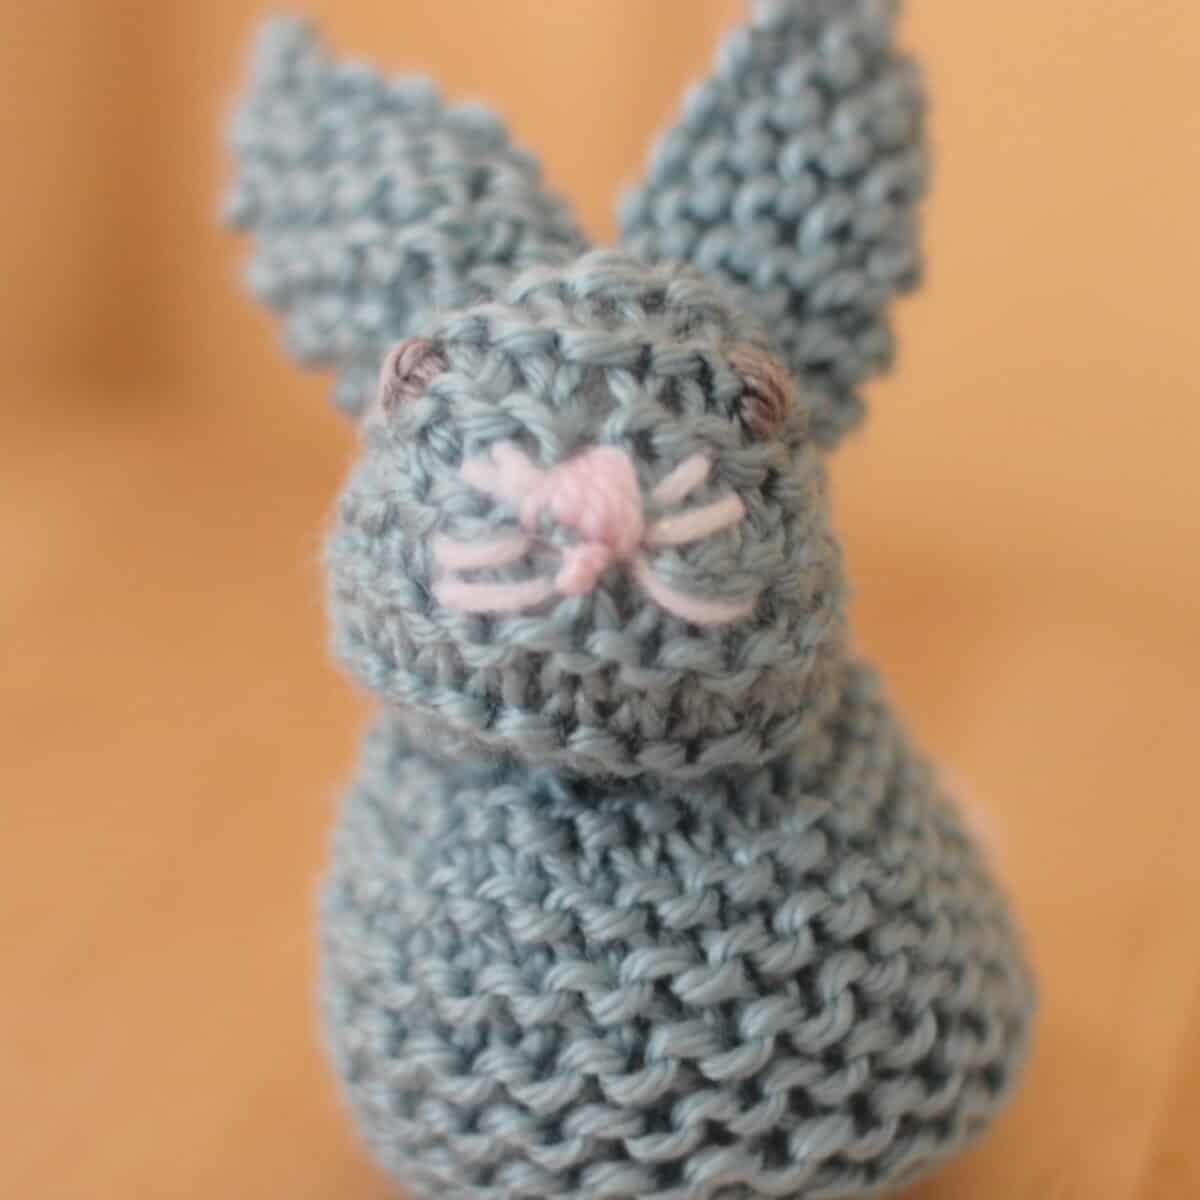
- Add extra personality by embroidering a face in any colors and features you choose.
- I am stitching eyes, a nose, and whiskers.
STEP 6: Make a Pom-Pom Tail
- Finish your softie with a little pompom for its tail.
- You may simply wind yarn around a fork to make mini pom-poms.
- My video tutorial shows you exactly how to quickly make this adorable finishing touch.

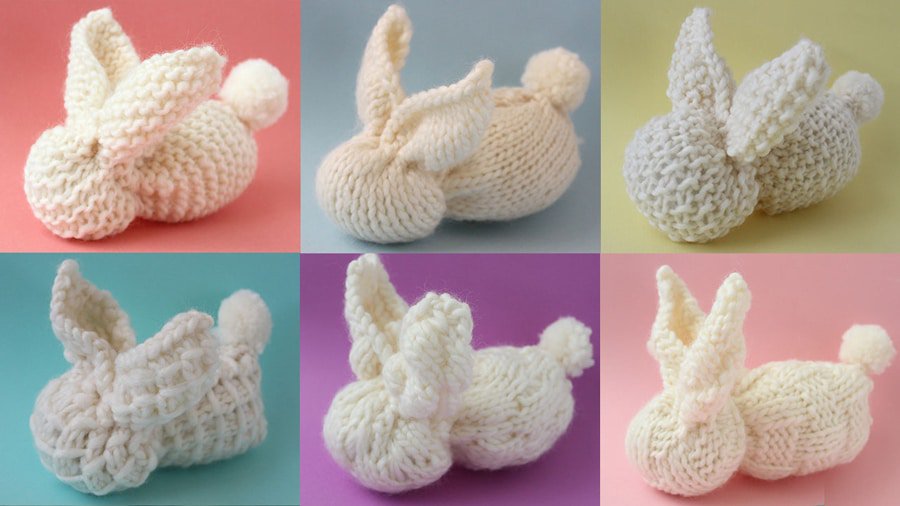
Want another interesting texture? If you’re feeling extra creative, you may wish to try any other easy knit and purl stitch pattern of your choice.
Knitting Techniques
Need to brush up or learn a new technique? Check out my entire library of Knitting Techniques to help you along as you knit up this project. If you’re new to knitting, you’ll love my Absolute Beginners Knitting Series!
Printable Knitting Instructions
Printable Knitting Pattern
Learn how to easily knit a bunny with this fun quick knit pattern.
Materials
- Yarn - 42 yards of Worsted Weight in any fiber and colors of your choice
Tools
- Knitting Needles - Size 7 US straight needles
- Tapestry Needle
- Scissors
Instructions
- STEP 1: Cast On Stitches
To begin, we will cast on any number of stitches you choose! In this example shown, I am casting on 30 stitches with size 7 US knitting needles and worsted weight yarn. - STEP 2: Knit a Square in the Garter Stitch
Knit your piece in the Garter Knit Stitch Pattern until your piece is a perfect square. The Garter Stitch is simply knitting the Knit Stitch every single row. The easiest way to determine when you have knitted an equally-sided square is to match up your corners. Then, it’s time to bind off. - STEP 3: Stitch a Triangle for the Bunny Head
Loosely stitch a triangle shape using yarn and our tapestry needle. First, we will stitch all the way across our piece in the middle. Then, form a triangle. With both of our yarn ends on the side of our piece, place a ball of stuffing. - STEP 4: Cinch Stitches for Bunny Head
Cinch up your bunny! Your bunny’s head and ears are immediately formed! Too cool! Then, just stitch up the back. - STEP 5: Embroider a Bunny Face (optional)
Give your bunny extra personality by embroidering a face in any colors and features you chose. I am adding eyes, a nose, and whiskers. - STEP 6: Make a Pom-Pom Tail
Finish your bunny with a little pompom for its tail. I like just winding yarn around a fork to make mini pom-poms.
Notes
KNITTING TECHNIQUES to Knit a Bunny from a Square
- Slip Knot
- Cast On Long Tail Method
- Knit Stitch
- Garter Stitch
- Bind Off

Kristen McDonnell
Author • Designer • Teacher
Kristen from StudioKnit LLC produces knitting video lessons and pattern designs from her vibrant production studio on Half Moon Bay’s California coast.
Kristen McDonnell is the author of the highly acclaimed book Knit Stitch: 50 Knit + Purl Patterns featuring vintage and unique designs.

