How to Knit Stitch (Knitting Technique)
Discover how to Knit Stitch with this simple, beginner-friendly lesson in 4 steps. After casting on your stitches, see how to easily hold your yarn and needles, wrap yarn, add stitches onto your needle, and knit your first garter stitch swatch.
Follow along with close-up photos and my step-by-step video tutorial to start knitting with confidence today.
Table of Contents
4-Steps of the Knit Stitch Technique
Preparation
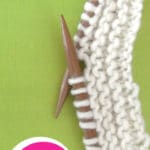
Begin by casting your stitches onto one knitting needle using your chosen cast-on method. As an American knitter, I teach the Knit Stitch using the American (or English) Method, demonstrated in all my video tutorials.
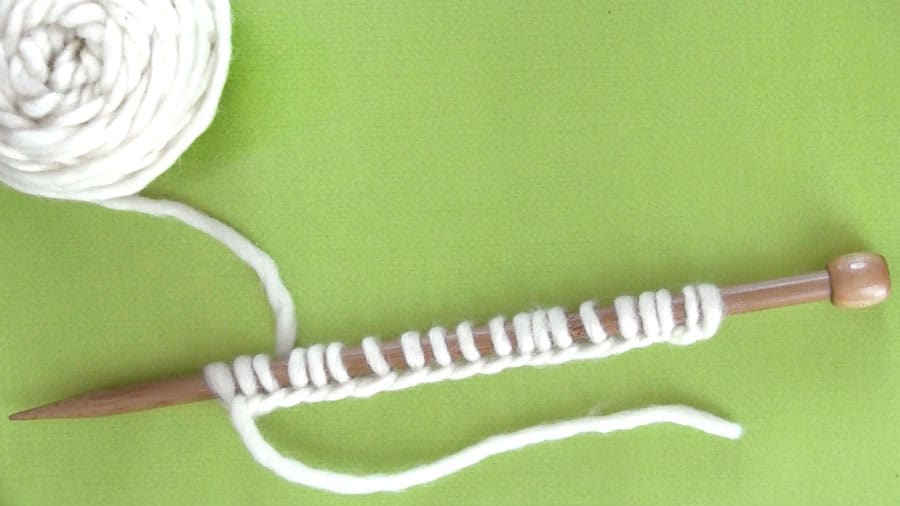
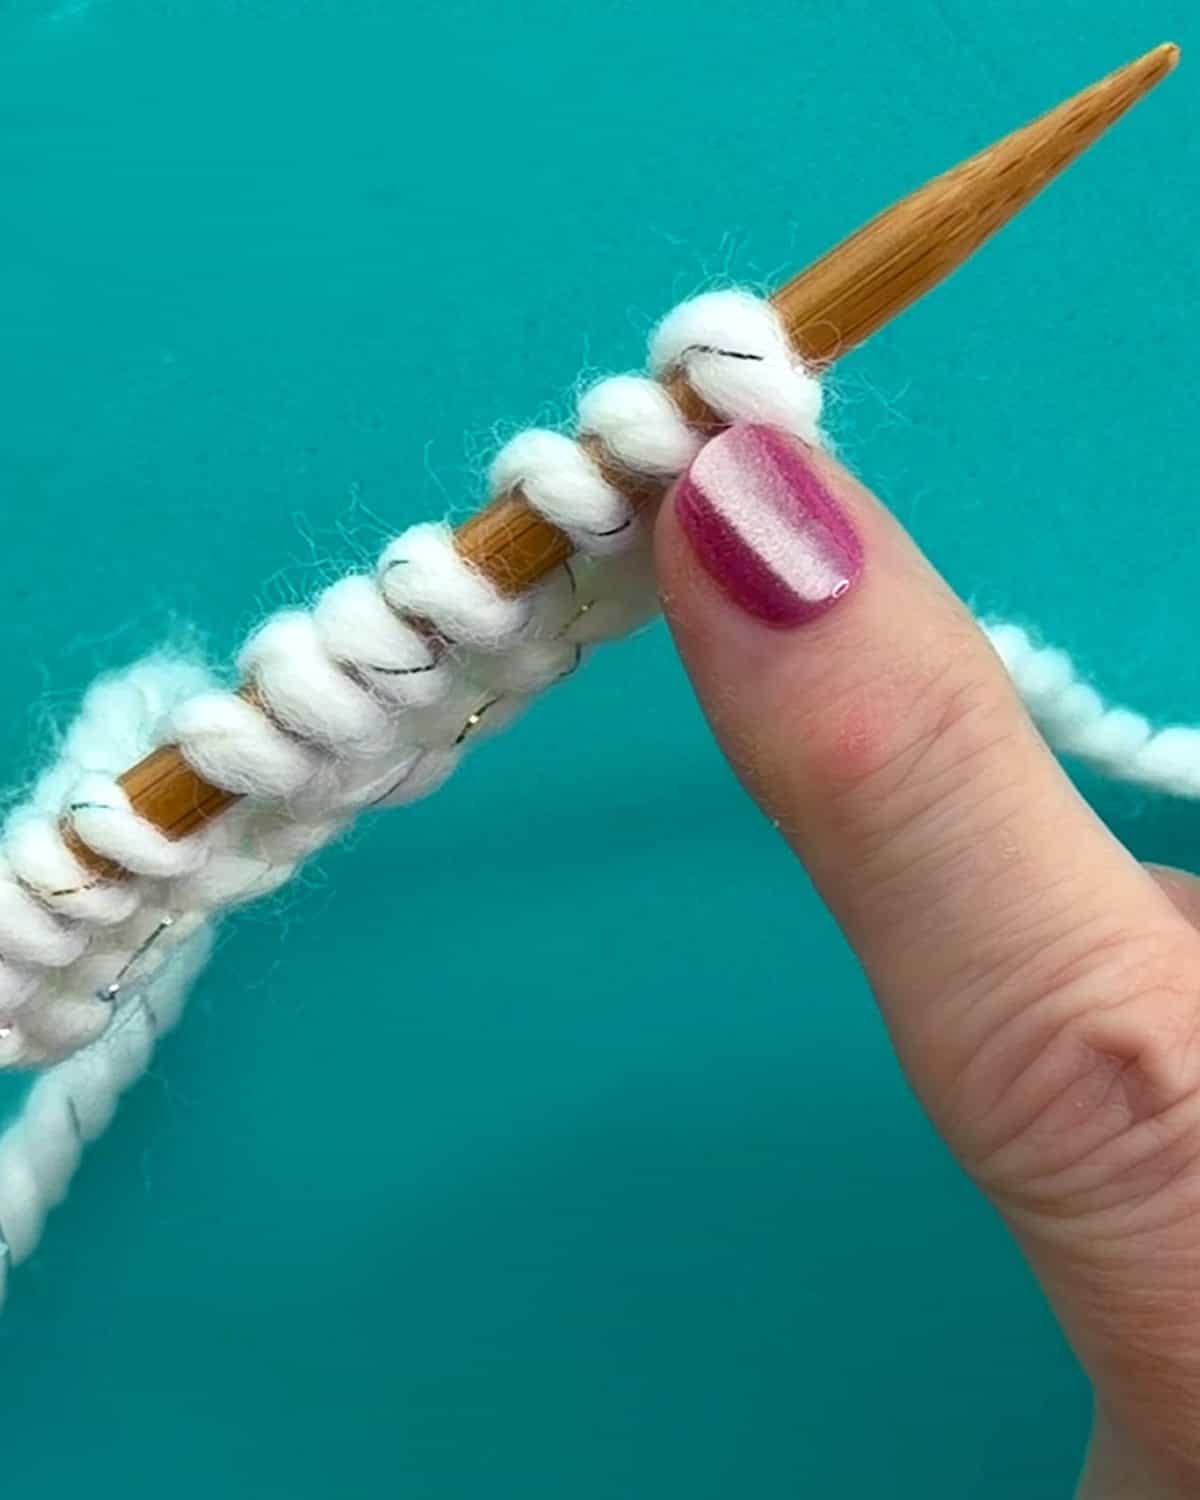
Step 1: Prepare knitting needles and yarn to knit
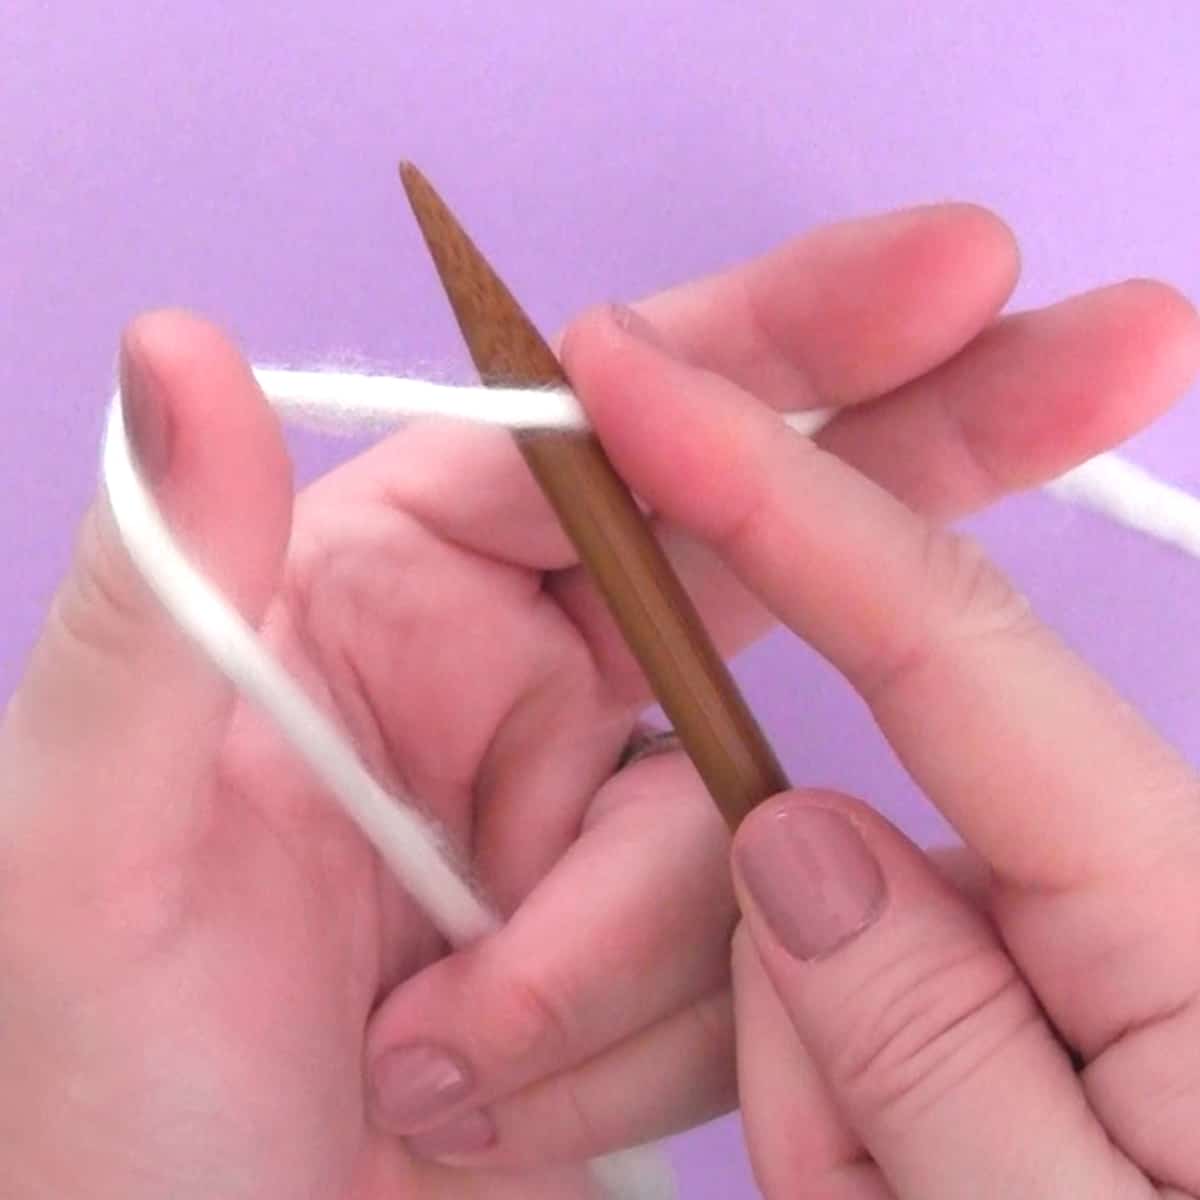
- Hold the needle with the cast-on stitches in your left hand.
- Hold the needle without any stitches in your right hand.
- With the yarn in the back of your work, insert the right needle into the front of the first stitch. You’ll insert your needle to the left of that stitch and through. Your right knitting needle will be underneath your left needle.
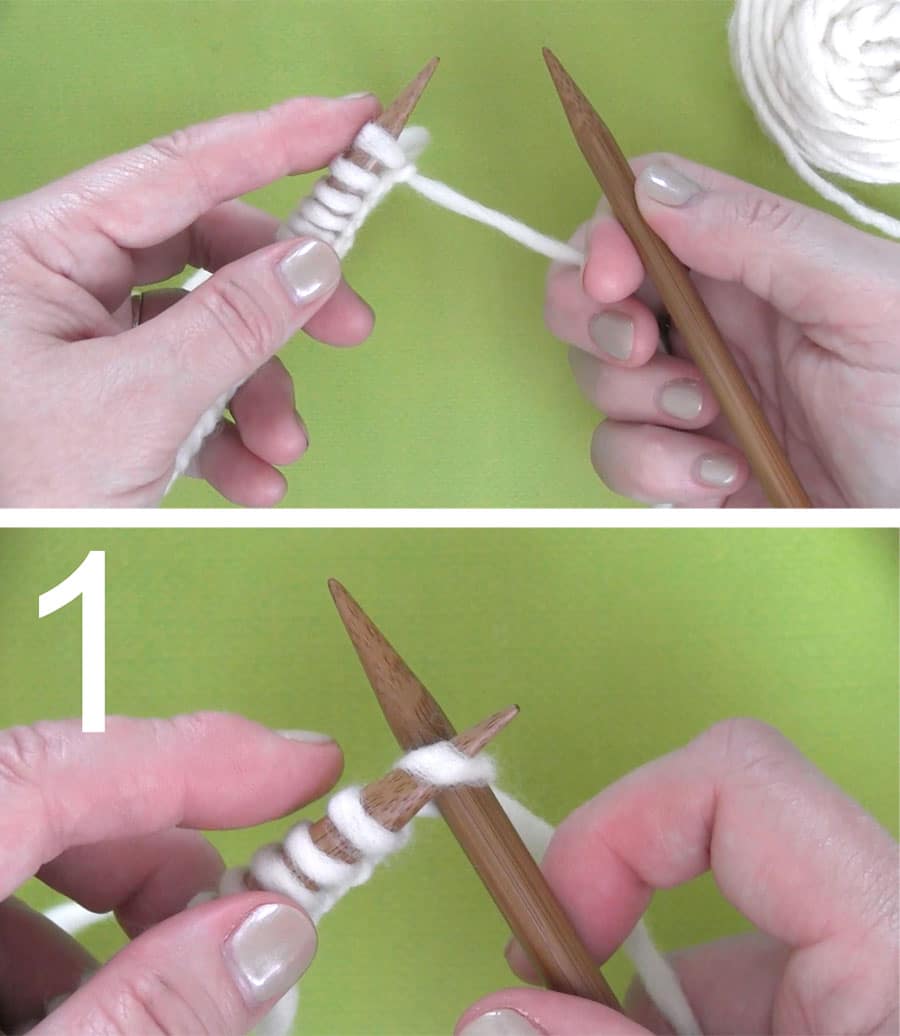
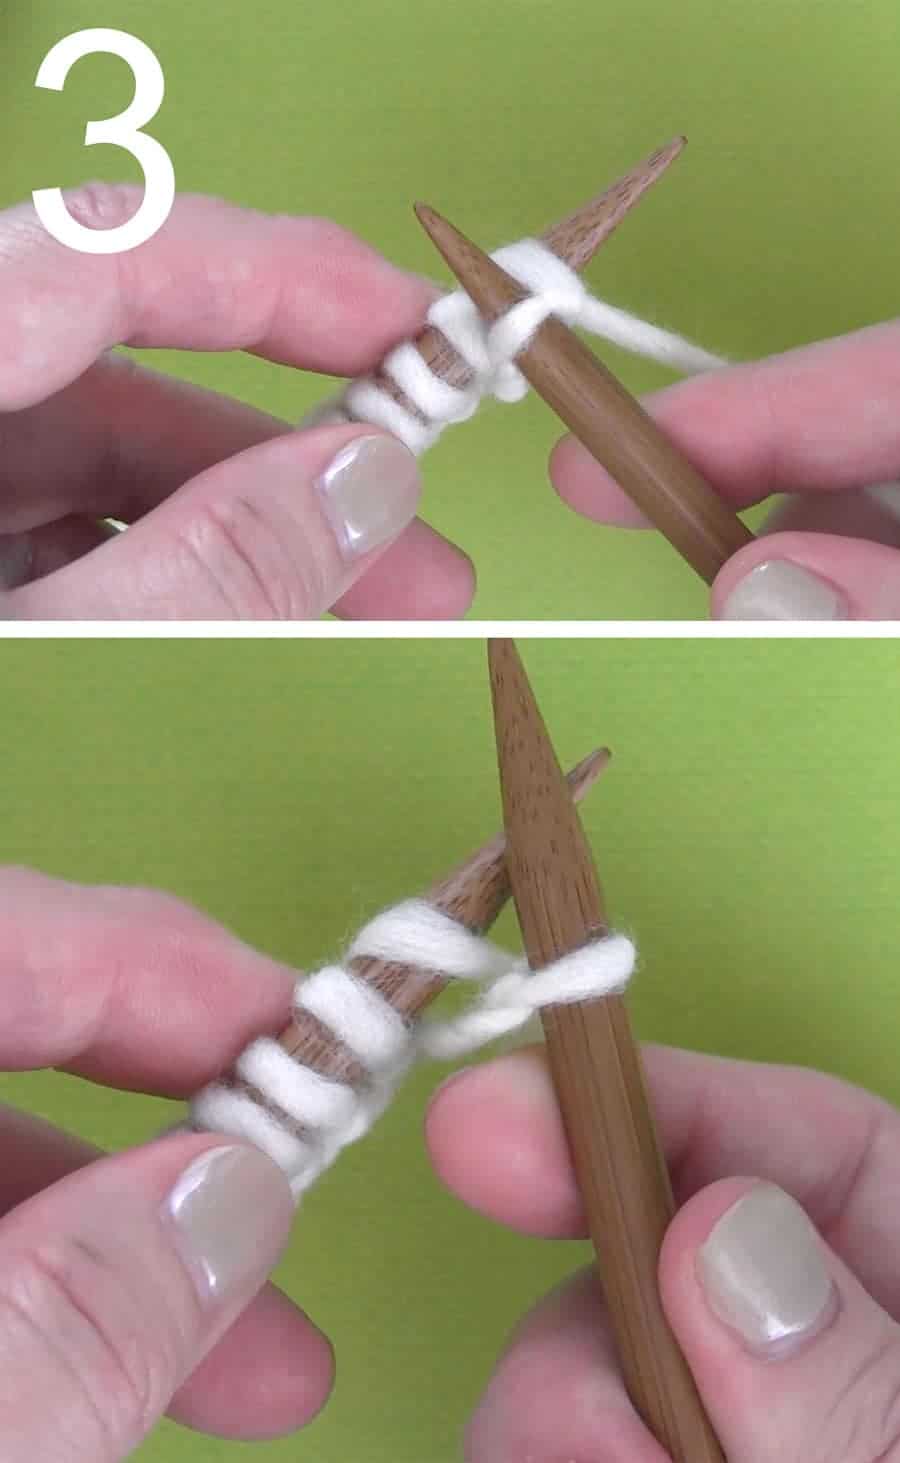
Step 2: Wrap yarn around the needle
- Wrap your yarn around the right needle from back to front, so that it rests between the two needles.
Watch Video Tutorial
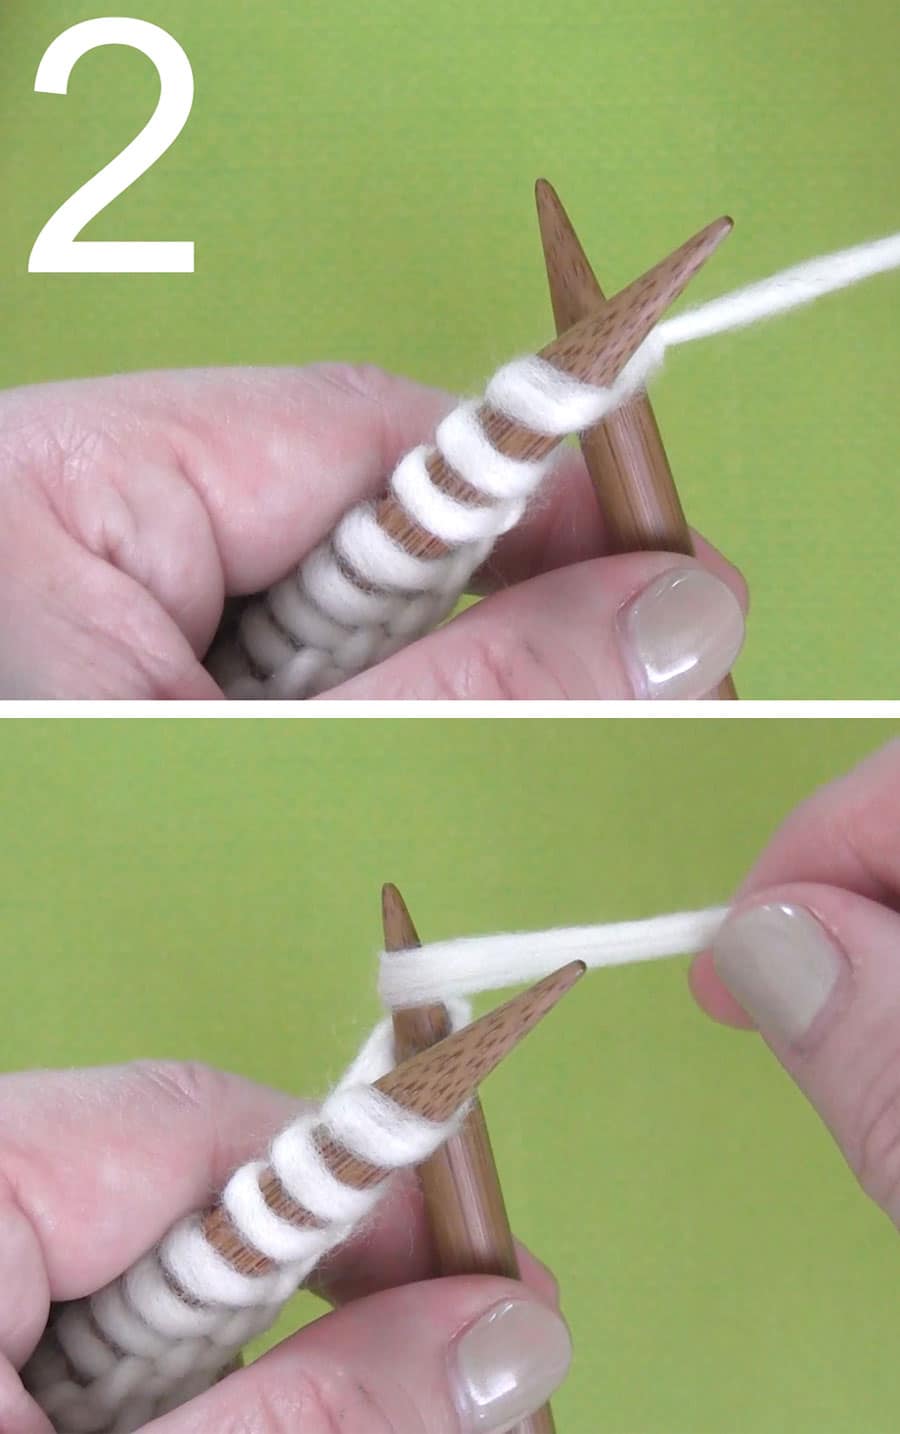
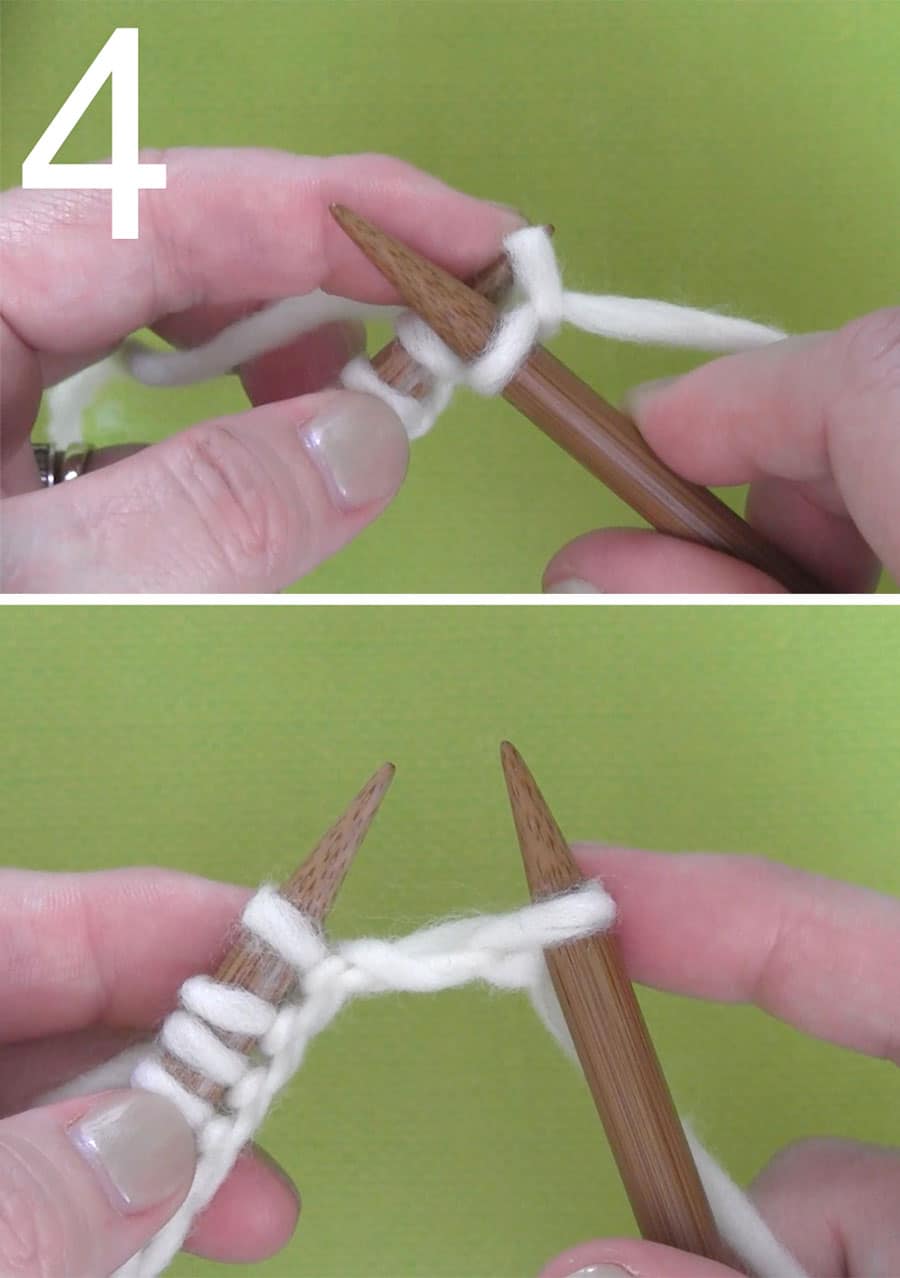
Step 3: Slide the right needle with yarn on it
- Slide the right needle down and bring the point forward through the stitch, bringing the yarn with it.
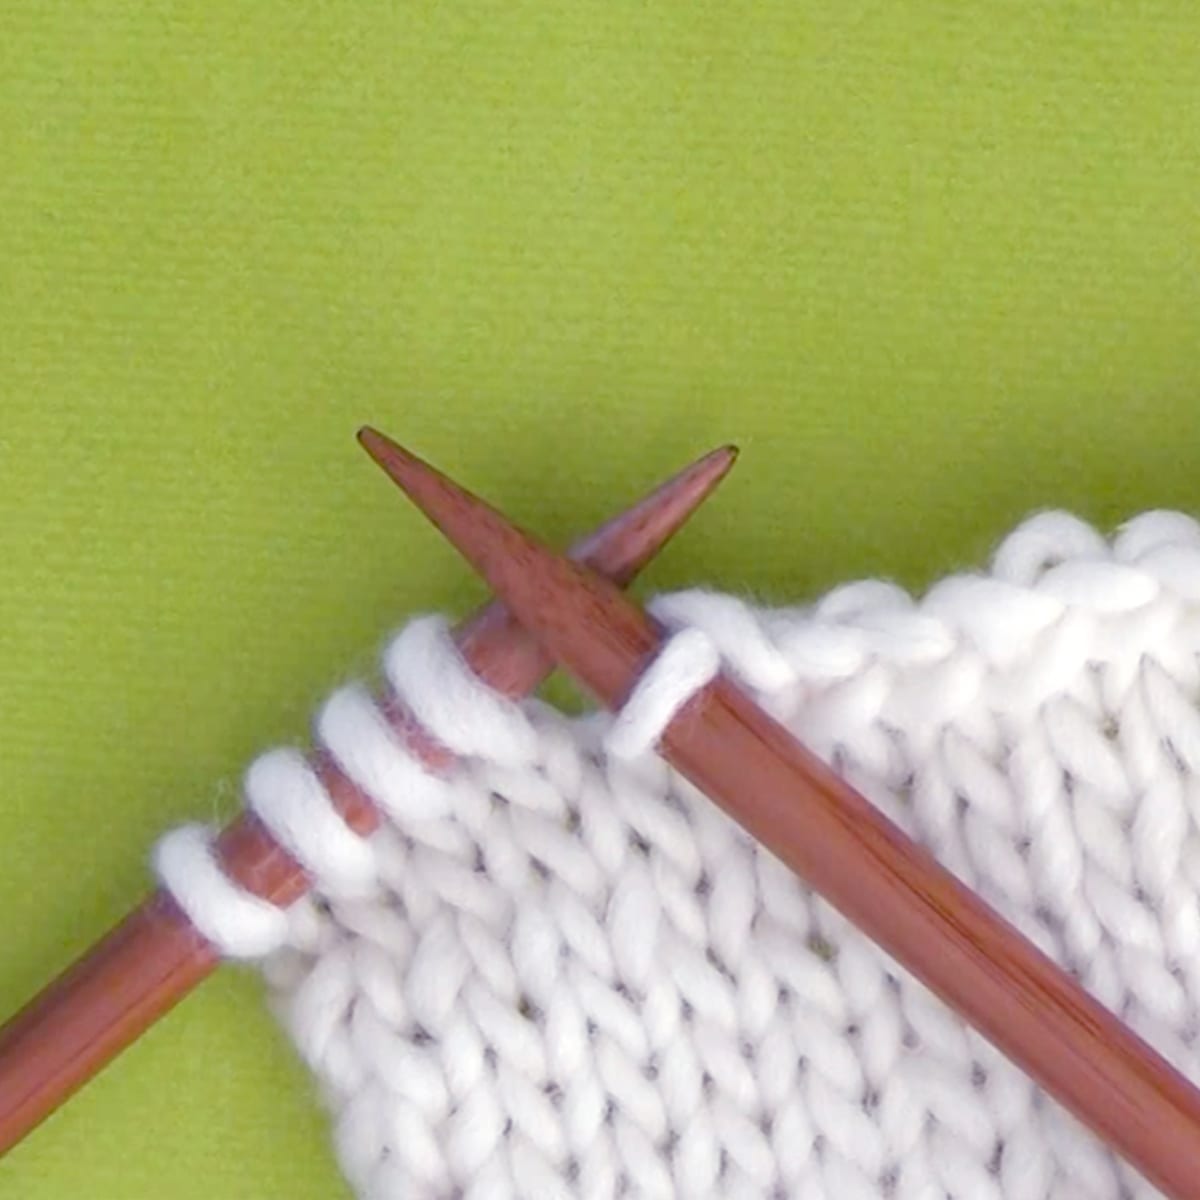
Step 4: Slip the old stitch off the left needle
- Slip the old stitch off the left needle. Make sure you only slip that first stitch off of the needle, don’t let any of the others off the needle yet.
- Now the new stitch is on your right needle.
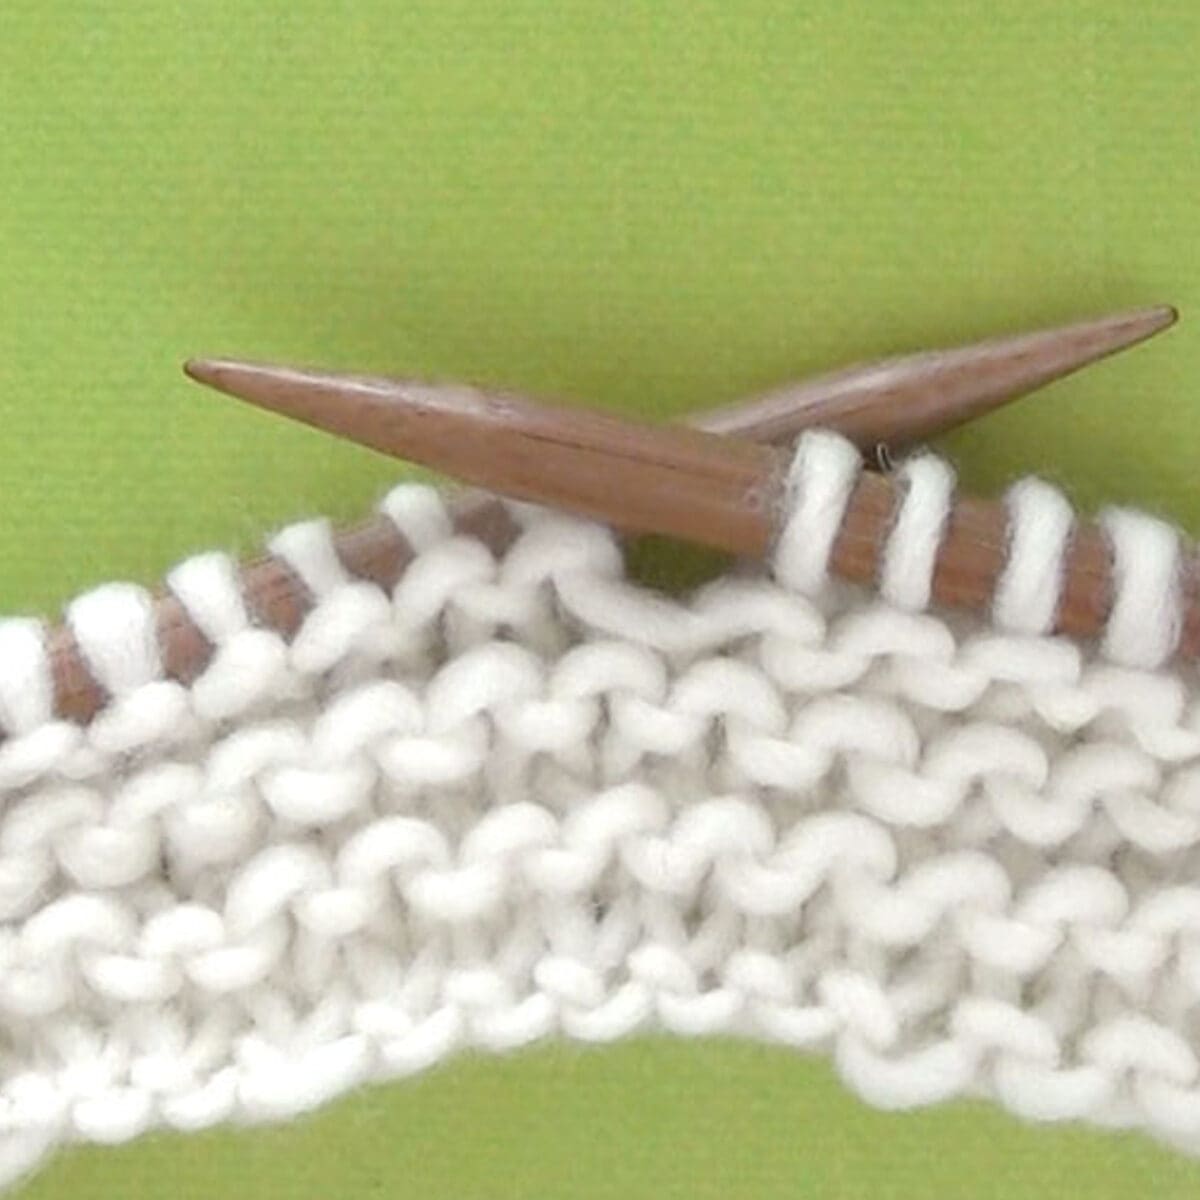
Knit Stitch to End of Row
- Repeat these four steps for each stitch on your left needle.
- At the end of the row, all the new stitches are on your right needle now and your left knitting needle is empty.
- You will now switch your knitting needles so that the empty needle is again in your right hand. Begin once more by knitting with the first stitch and beyond.
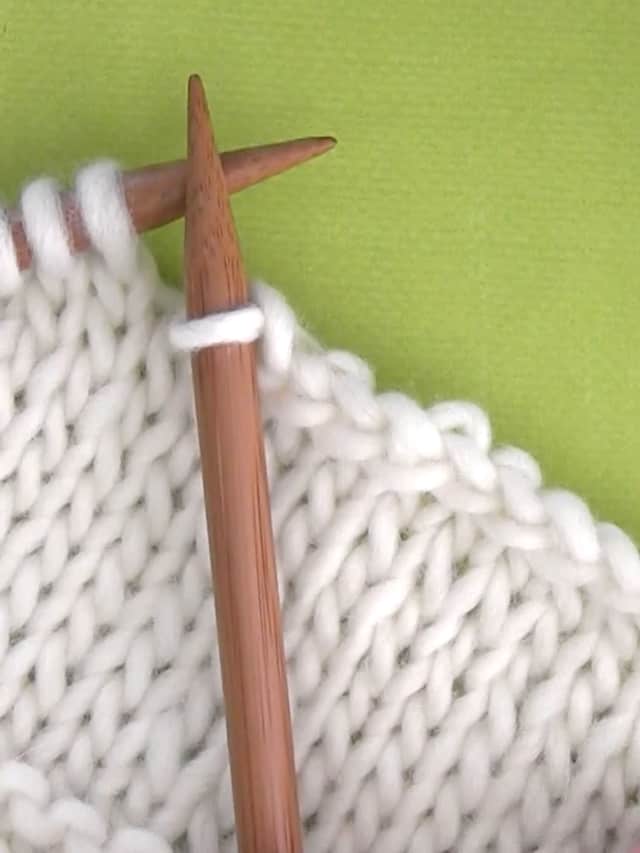
Remove Stitches from the Needle
Once you have completed your swatch, it’s time to take the stitches off your needle securely. Simply follow my lesson to cast off in 5 easy steps here >
Difference Between a Knit Stitch and a Knit Row
What is the difference between a knit stitch and a knit row? I get this question a lot! So, let’s take a closer look at the difference. These terms can sometimes be confusing to new knitters.
What is a Stitch?
A stitch is what you already are very familiar with creating. We created our slip knot and that was our first stitch in knitting. And then we Cast On more stitches.
Each of these cute little loops you cast onto your needles is called a stitch.
What is a Knit Row?
All along your needle is the row. All of these little stitches on your needle make up one row. You will learn a lot more about knit rows as we create knit stitch patterns.

Knit Stitch Pattern Book
Love easy knitting? Get 50 stitch patterns from my Knit Stitch Pattern Book available in both print and digital formats.
Knit Stitch Project Ideas
The knit stitch is one of the two most basic stitches that will allow you to create some fun beginner-level projects. Get excited to learn more by exploring my favorite knitting projects you can create today!
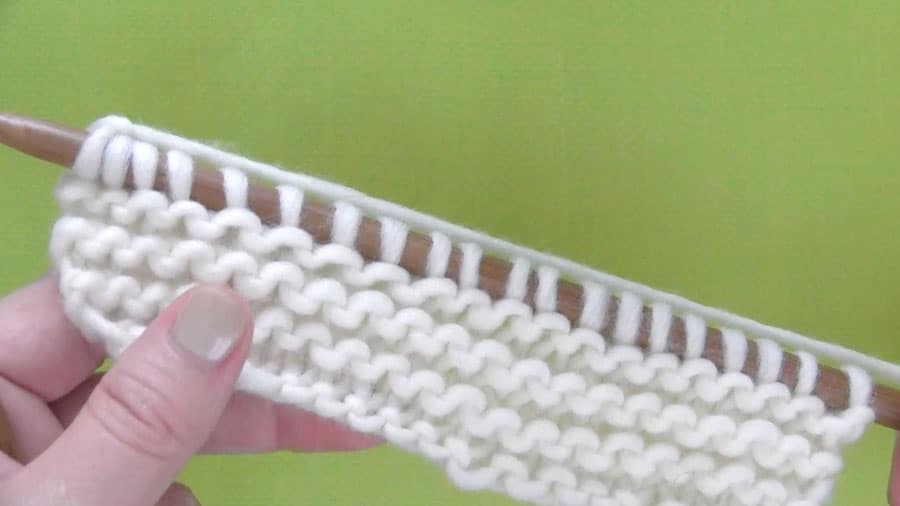
Garter Stitch Knitting Pattern: When you knit every row on straight needles, you are creating the most basic pattern, the Garter Stitch. It is easy to knit, reversible, lays flat, and is stretchy. This 2-Row Repeat is an easy-level project. It’s a popular choice to knit your first scarf, blanket, and dishcloth. A fan favorite is my easy Bunny from a Square!

Kristen McDonnell
Author • Designer • Teacher
Kristen from StudioKnit LLC produces knitting video lessons and pattern designs from her vibrant production studio on Half Moon Bay’s California coast.
Kristen McDonnell is the author of the highly acclaimed book Knit Stitch: 50 Knit + Purl Patterns featuring vintage and unique designs.