How to Cast Off Knitting Stitches in 5 Steps
Learn how to Cast Off Knitting Stitches in 5 steps with my photo and video tutorial. Once you have completed your knitted work (hooray), you will need to remove the stitches from off your knitting needle, right? My close-up process helps beginning knitters finish off their work with confidence.
I hope you enjoy my step-by-step video tutorial below that demonstrates exactly how to Cast Off up-close and slowly.
Watch Video Tutorial
5 Steps to Cast Off Knitting Stitches
Casting Off, also called binding off, is how we finish off our work.
Step 1: When to Cast Off
I prefer Casting Off on the Right Side of my work, which is the front side. If you are working on your knitting project from a pattern, it will tell you when it is time to cast off. You usually end a pattern after knitting the wrong side, or backside, so start casting off row on the right side.
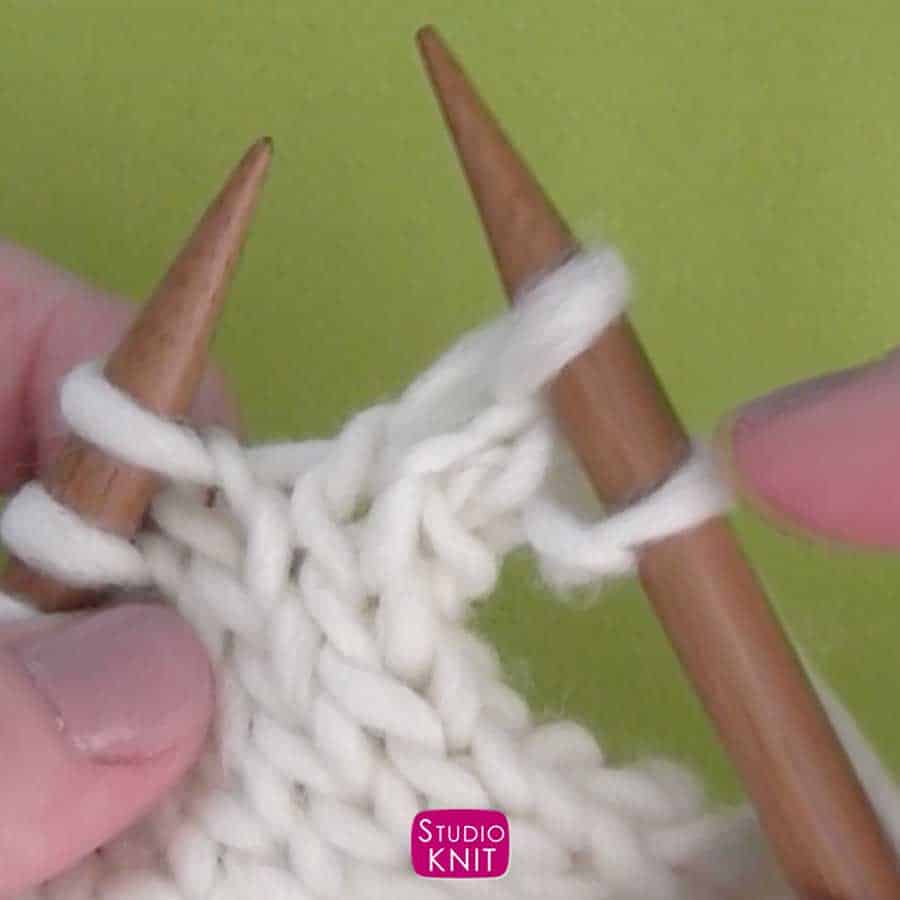
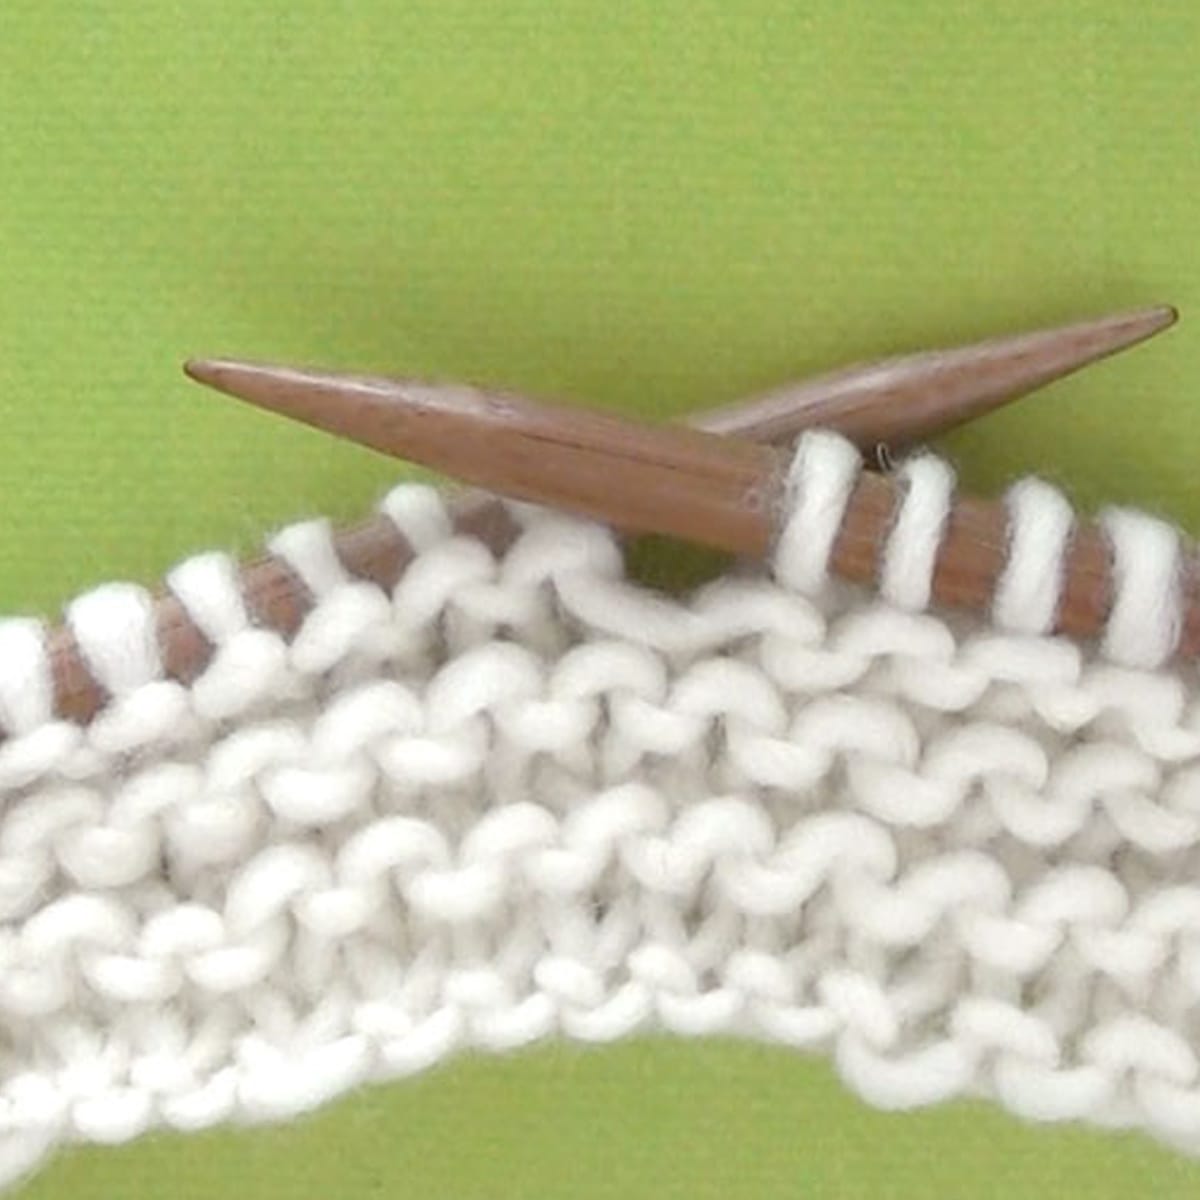
STEP 2: Knit the First 2 Stitches
- Begin your Cast Off row by knitting two stitches.
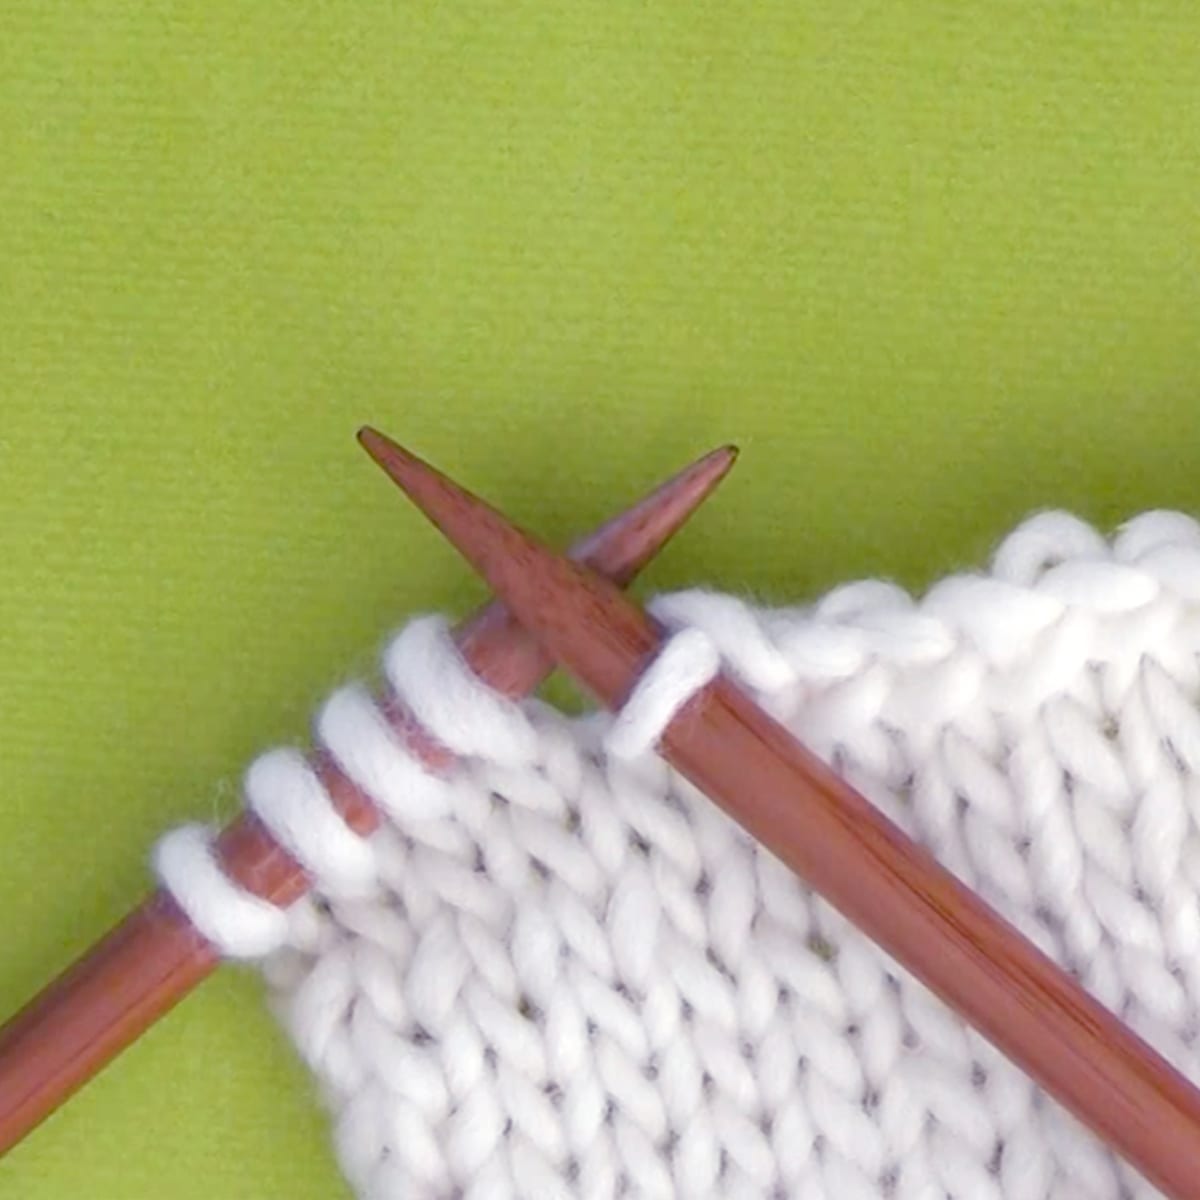
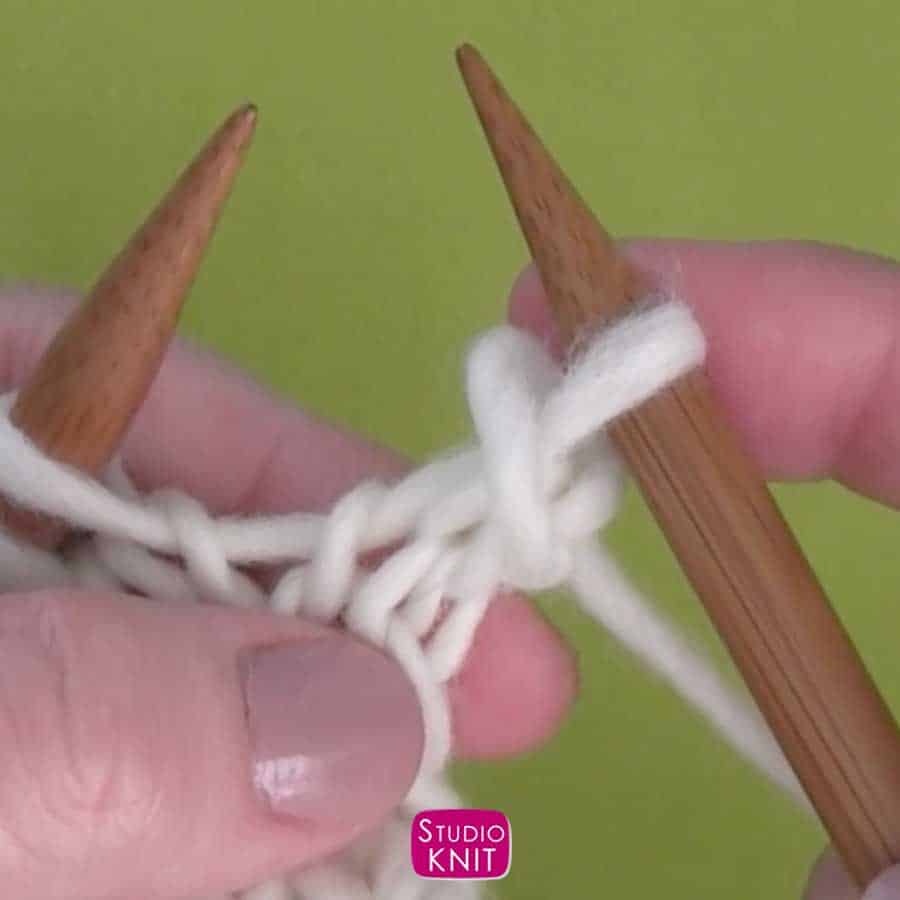
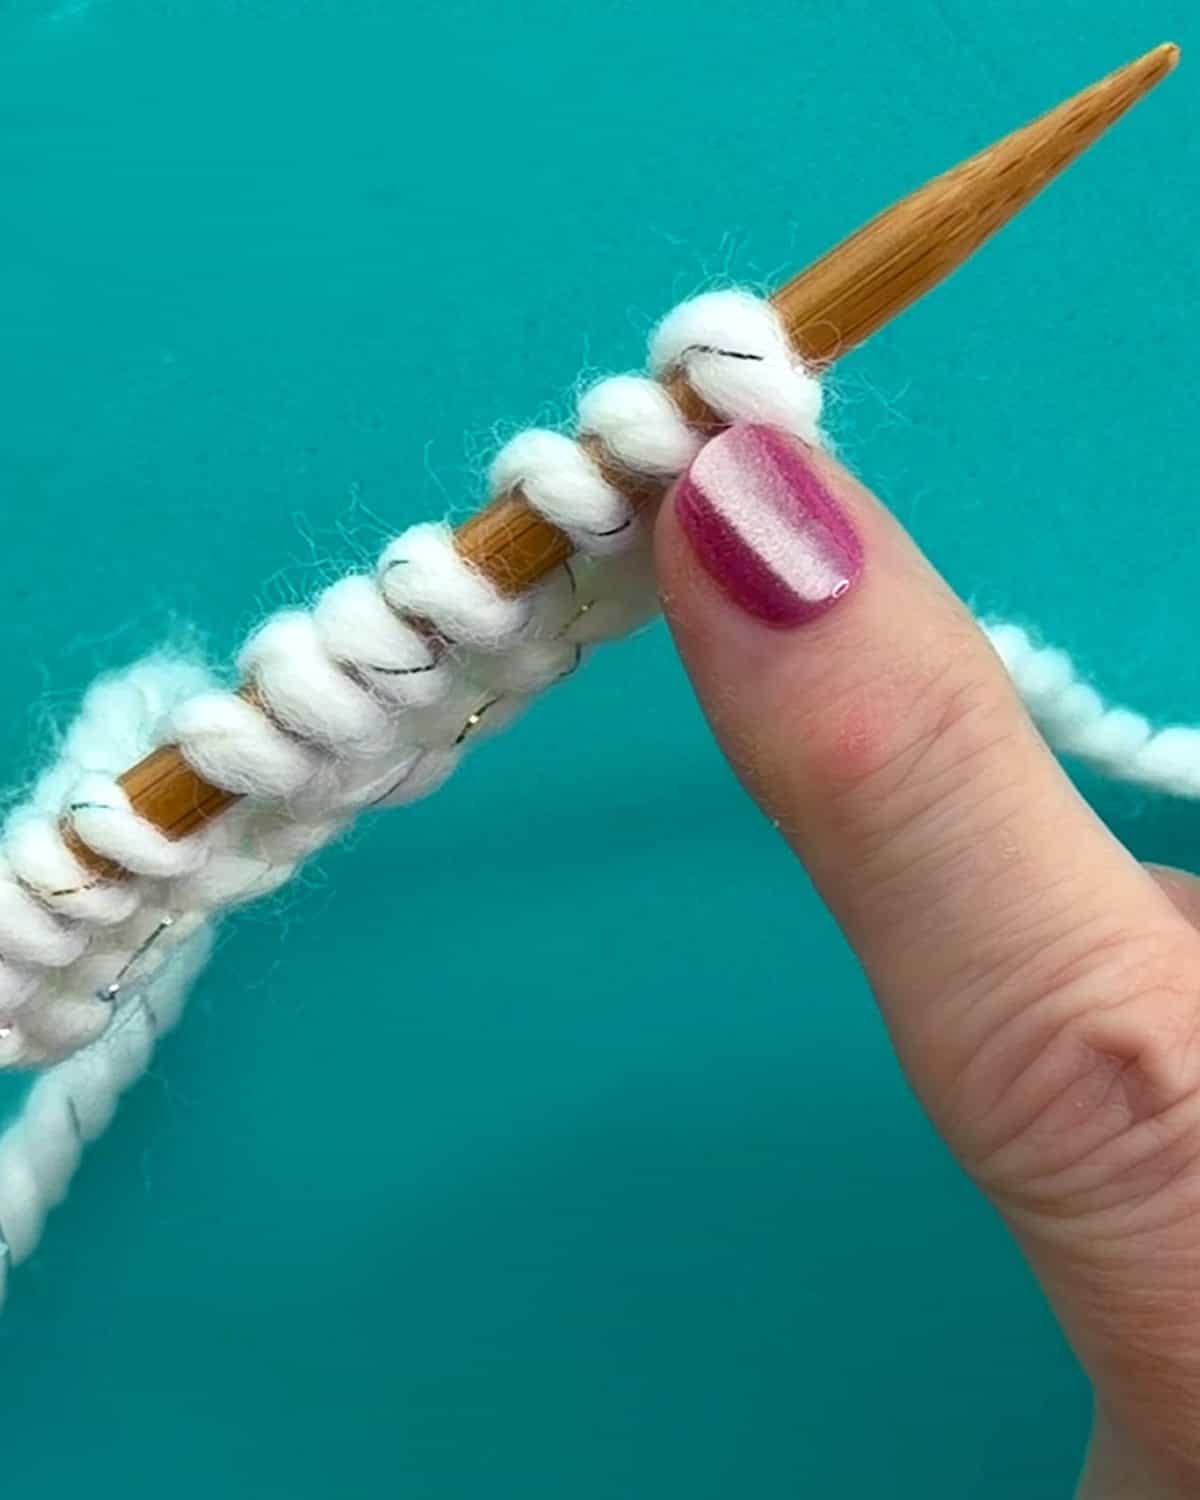
Step 3: Cast Off One Stitch
- Take the point of your Left Knitting Needle and lift the first stitch up and over the second stitch, then off the end of the Right Needle. You have now cast off one stitch.

Step 4: Continue Casting Off Stitch by Stitch
- Knit the next stitch in your row and repeat the bind-off process detailed above.
- Continue knitting one stitch, then binding it off until only one stitch remains.
Pro-Tip: Cast Off your stitches loosely so that your edge is not too tight. You may use a larger knitting needle to bind off, if desired.
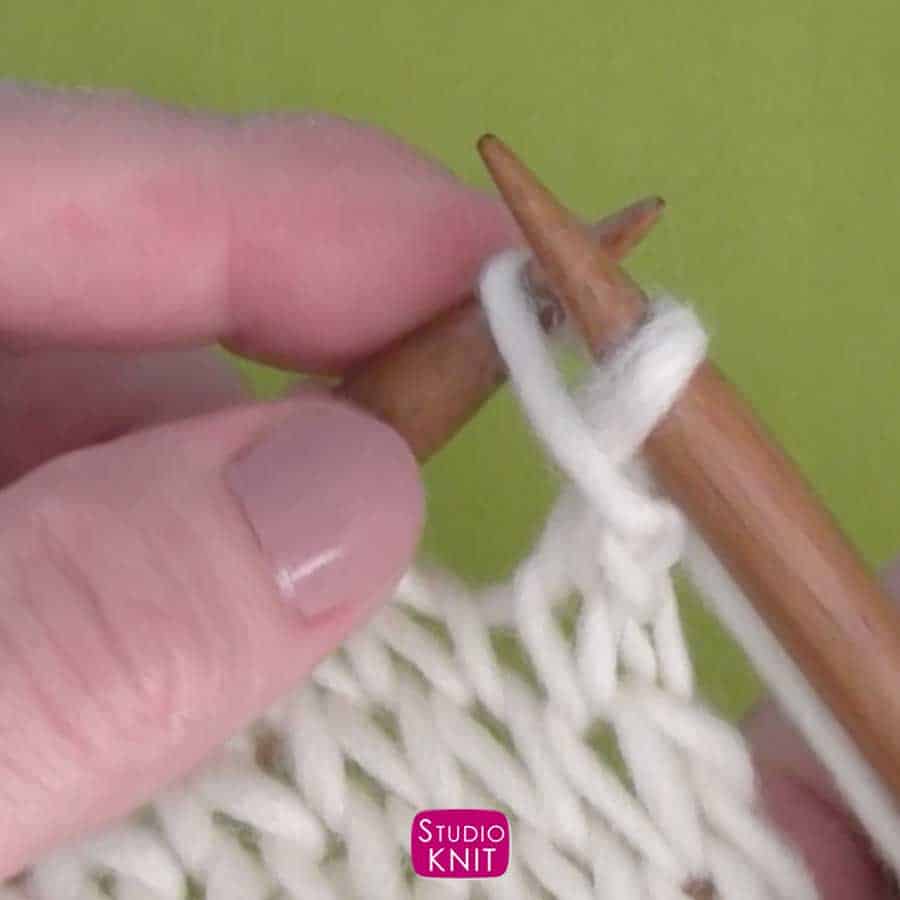
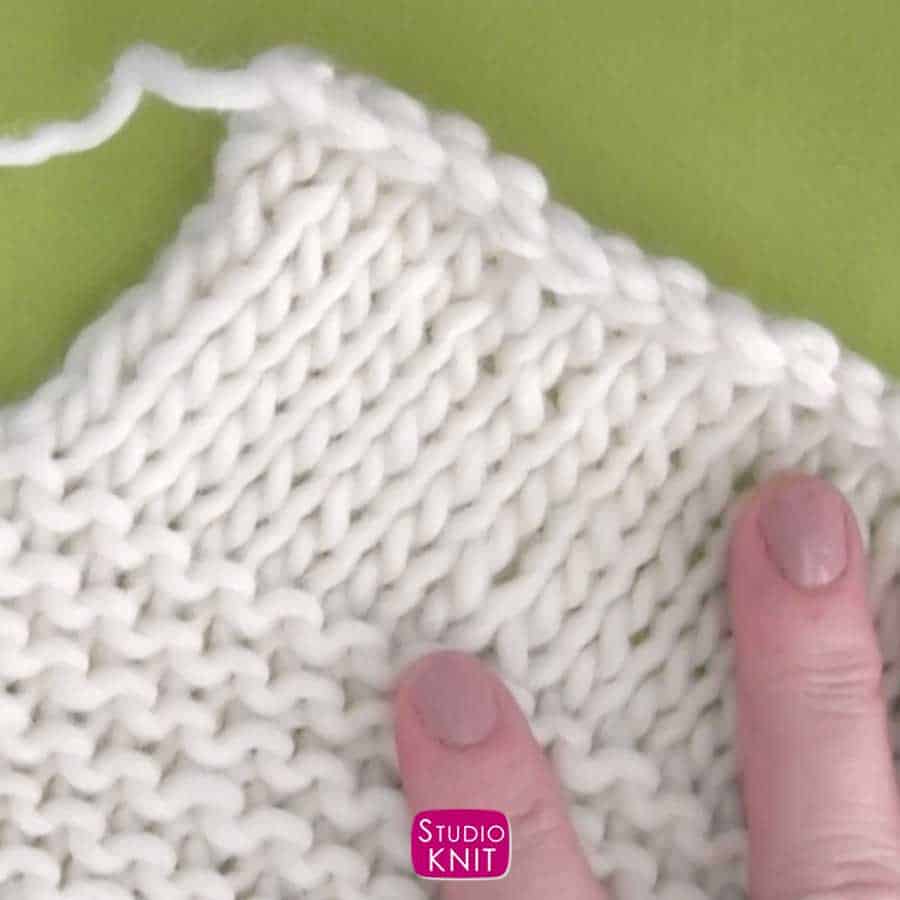
Step 5: Finishing the Last Cast Off Stitch
Once you have just one stitch remaining on your needle, cut your yarn. Make sure your yarn tail is at least 3 inches long, or longer, so you have enough to thread through your tapestry needle.
Carefully remove your knitting needle from the last stitch.
With your Tapestry Needle, you will pull the yarn tail through your last stitch. This last little step is called “Finishing Off.”

Kristen McDonnell
Author • Designer • Teacher
Kristen from StudioKnit LLC produces knitting video lessons and pattern designs from her vibrant production studio on Half Moon Bay’s California coast.
Kristen McDonnell is the author of the highly acclaimed book Knit Stitch: 50 Knit + Purl Patterns featuring vintage and unique designs.