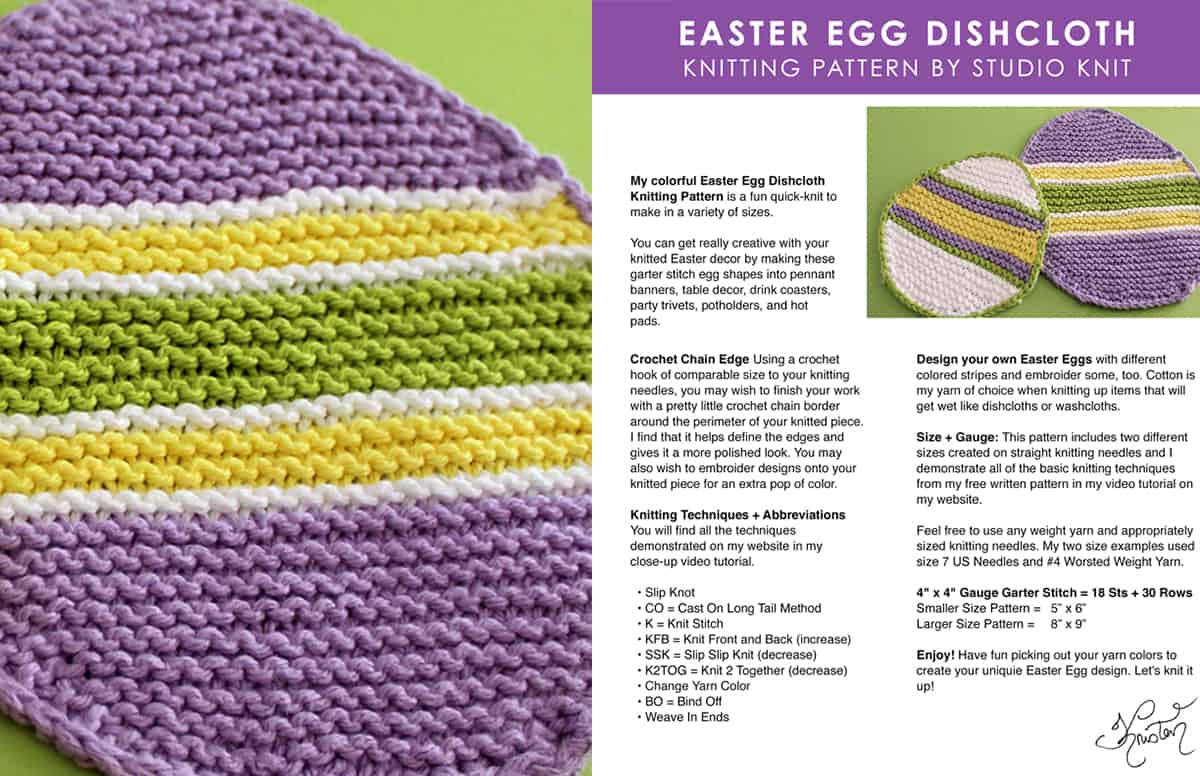
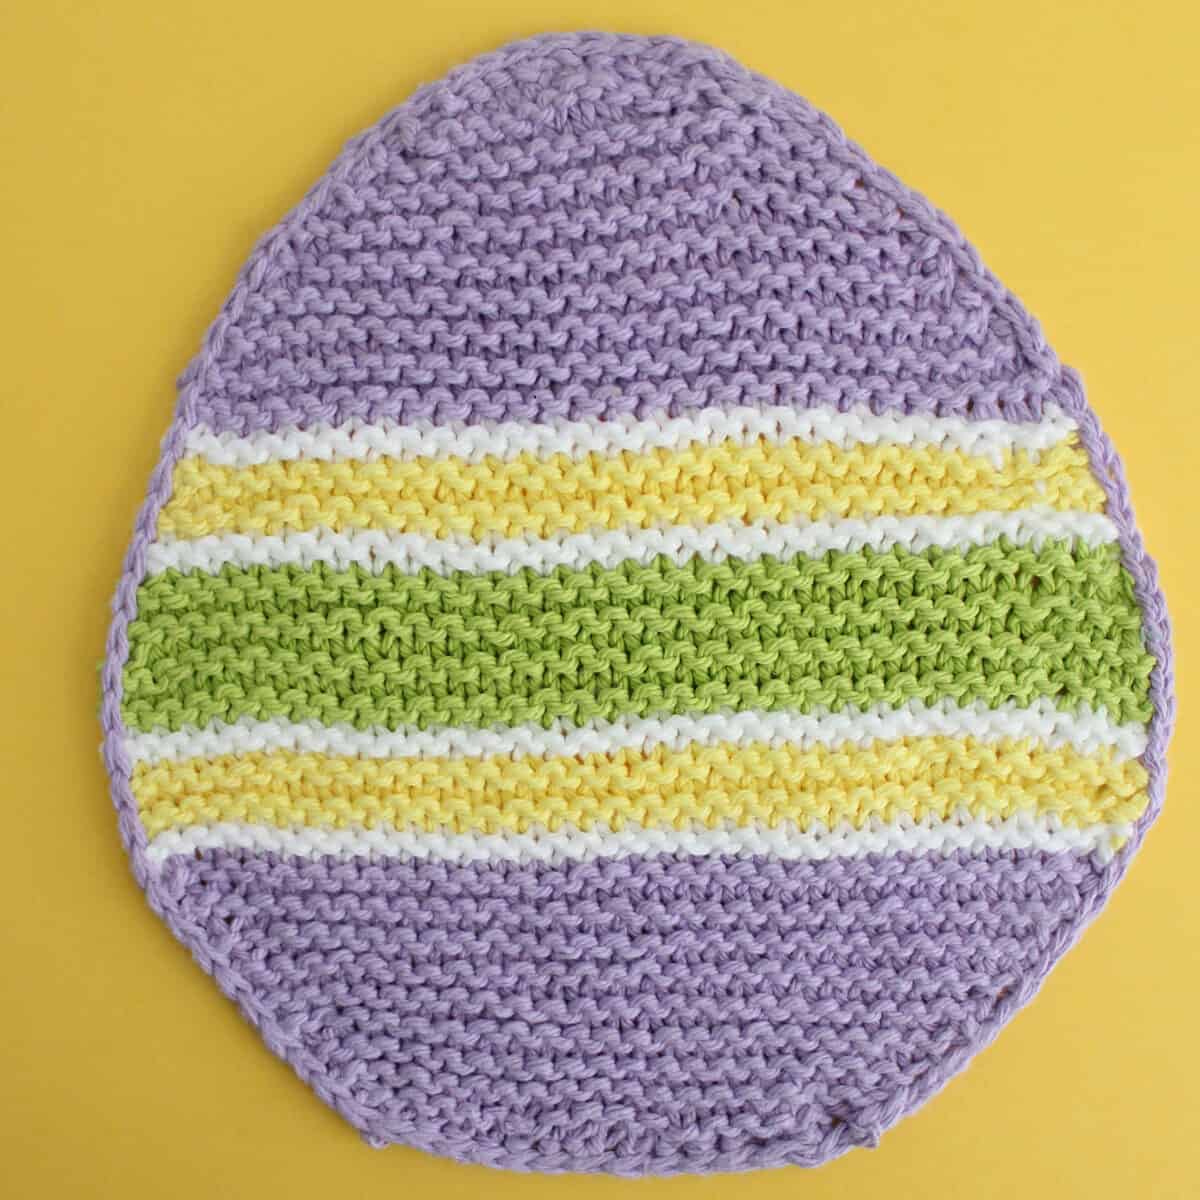
Easy Easter Egg Dishcloth Knitting Pattern
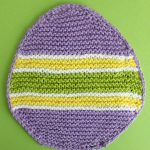
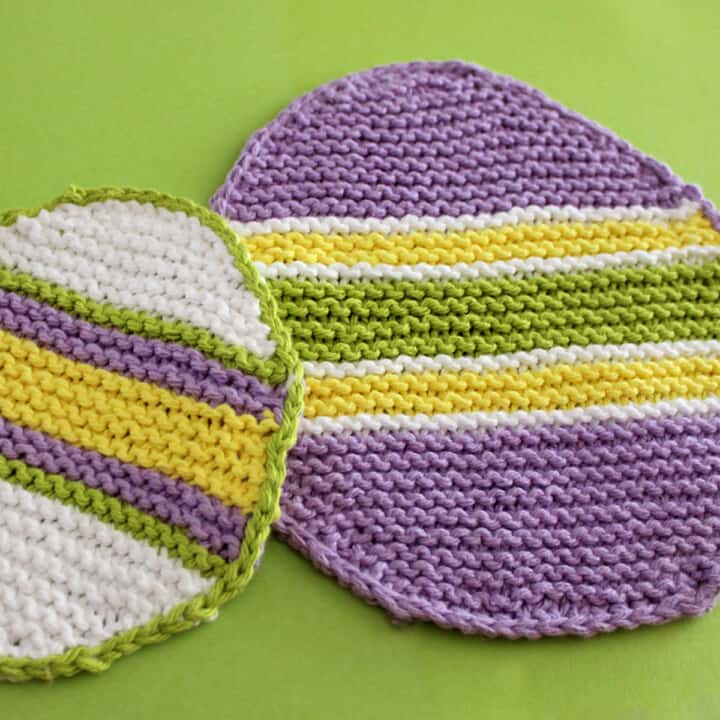
This colorful Easter Egg Dishcloth Knitting Pattern is a fun project to make in a variety of sizes. You can get really creative with your knitted Easter decor by making these garter stitch egg shapes into dishcloths, pennant banners, table decor, drink coasters, party trivets, potholders, and hot pads. It’s an easy quick-knit, so it’s a perfect last-minute holiday knitting pattern.
Get your free written pattern instructions with video tutorials below. You may also purchase my ad-free printable pdf pattern in my Studio Knit Pattern Shop.
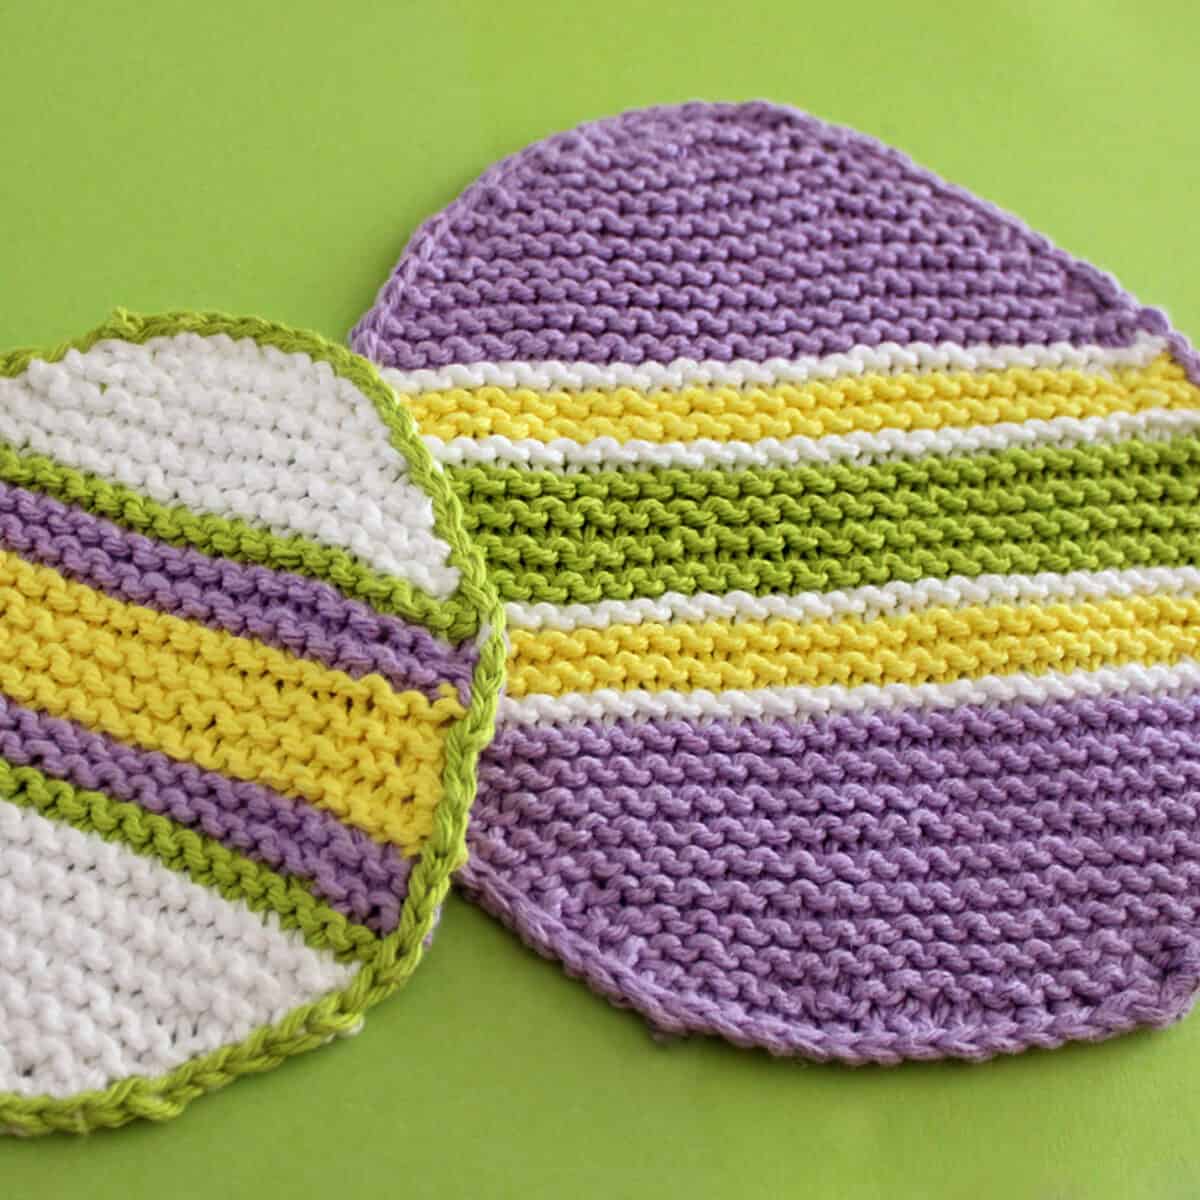
Table of Contents
Printable Knitting Pattern (ad-free)
My 5-page ad-free printable pdf pattern, complete with a knitting chart, of my Easter Egg Dishcloth design is available for purchase in my Studio Knit Pattern Shop.
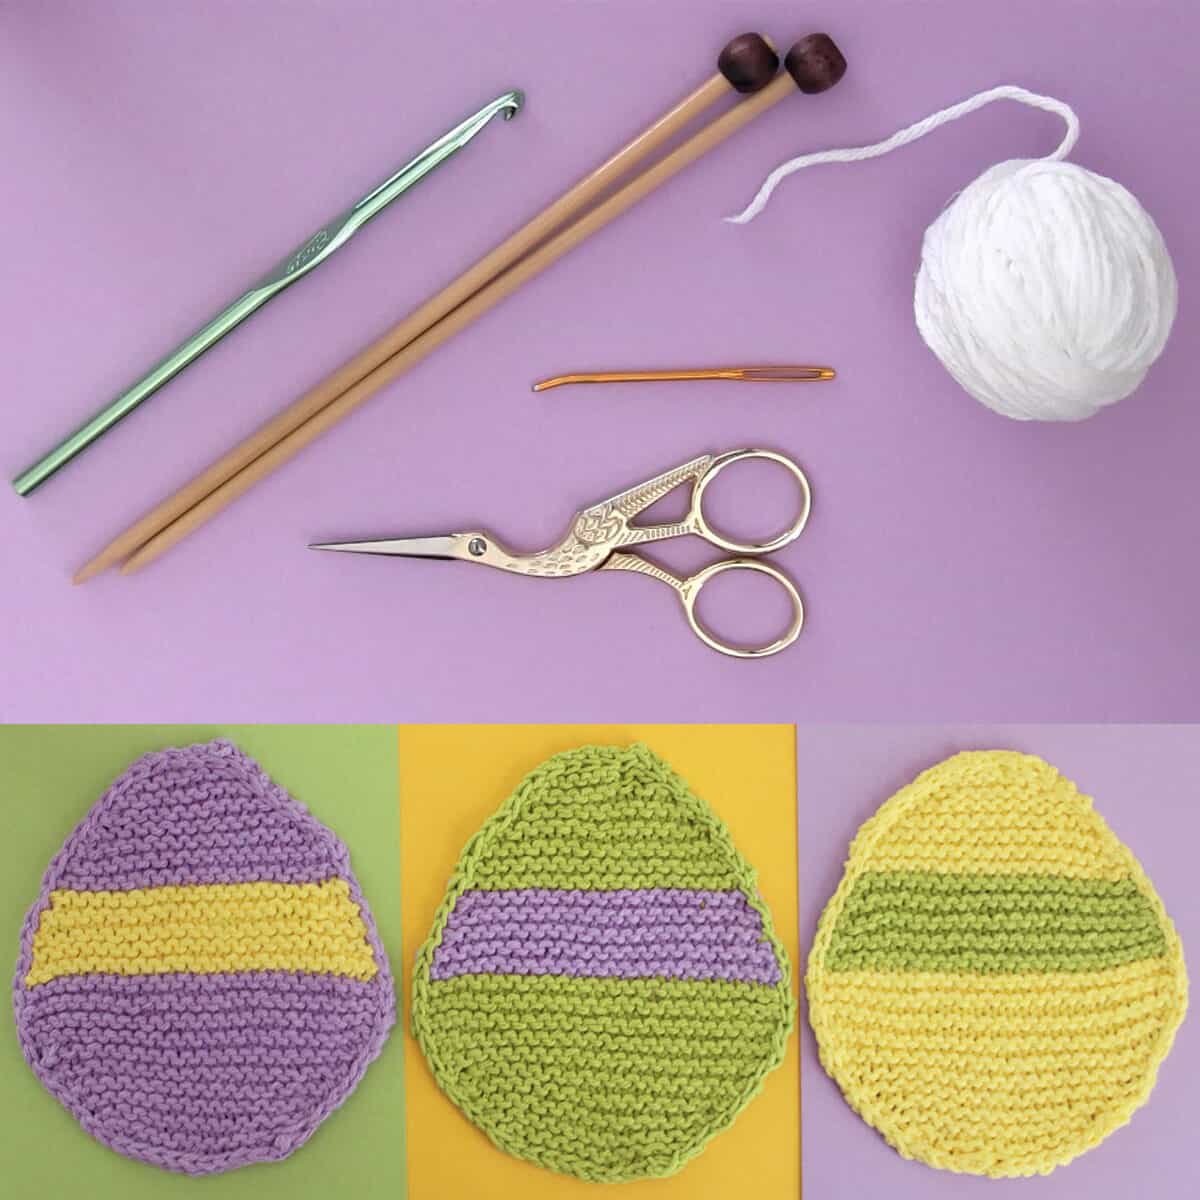
Knitting Supplies
Design your own Easter Eggs with different colored stripes and embroider some, too. Cotton is my yarn of choice when knitting up items that will get wet like dishcloths or washcloths. This pattern includes two different sizes created on straight knitting needles. Let’s knit it up!
As an Amazon Associate, I earn from qualifying purchases.
• Yarn in cotton worsted weight – I knitted my samples with Sugar N Cream cotton yarn in colors White, Soft Violet, Hot Yellow, and Hot Green. This yarn works perfectly for projects that will get wet because it is absorbent, lightweight, and easy to wash out when used as a dishcloth.
• Knitting Needles, size 7 US
• Crochet Hook (optional)
• Scissors
• Tapestry Needle
• Blocking Mats
Watch Video Tutorial
Knitting Techniques
Need to brush up or learn a new technique? Check out my entire library of Knitting Techniques to help you along as you knit up this project. If you’re new to knitting, you’ll love my Absolute Beginners Knitting Series!
• Slip Knot
• CO = Cast On Long Tail Method
• K = Knit Stitch
• KFB = Knit Front and Back (increase)
• K2Tog = Knit 2 Together (decrease)
• SSK = Slip Slip Knit (decrease)
• Change Yarn Color
• BO = Bind Off
• Weave In Ends
Changing Yarn Colors
Always change yarn colors at the beginning of the right side (odd numbered rows) of your work. This will allow all of the purl dash lines to be on the wrong side of your knitted piece.
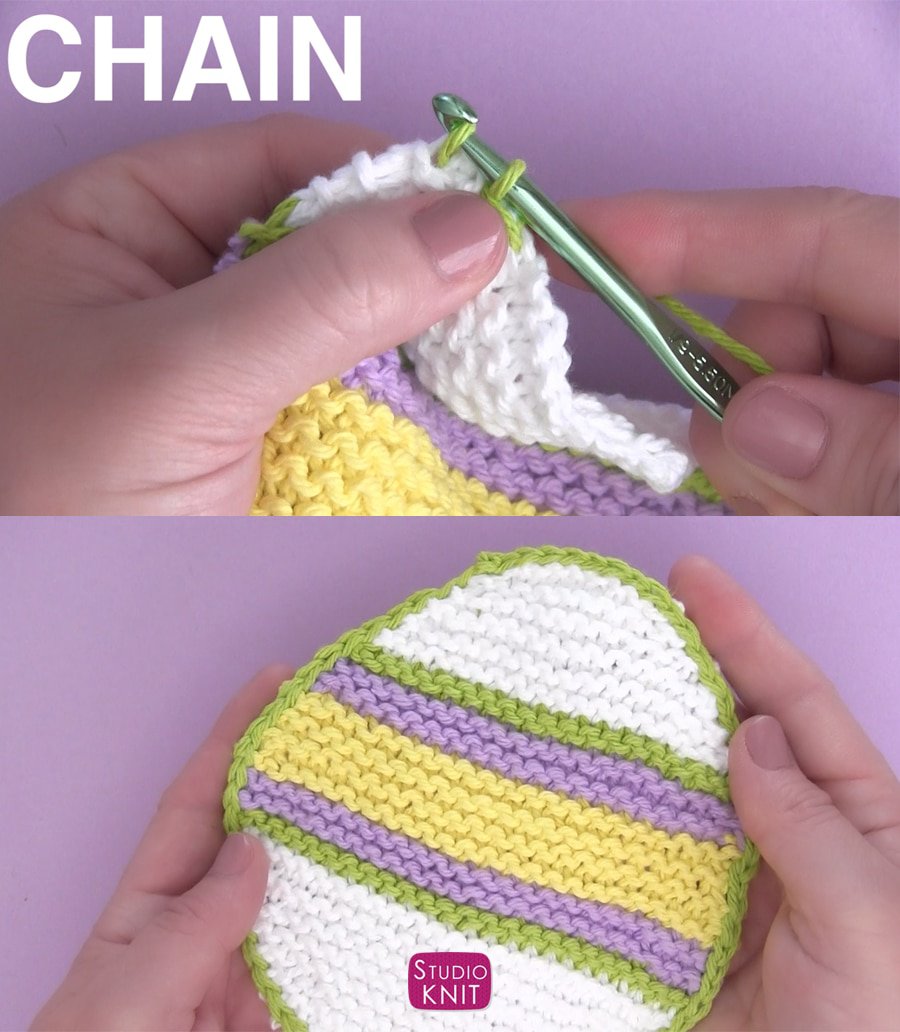
Adding Optional Crochet Chain Border
Using a crochet hook of comparable size to your knitting needles, you may wish to finish your work with a pretty little crochet chain border around the perimeter of your knitted piece. I find that it helps define the edges and gives it a more polished look.
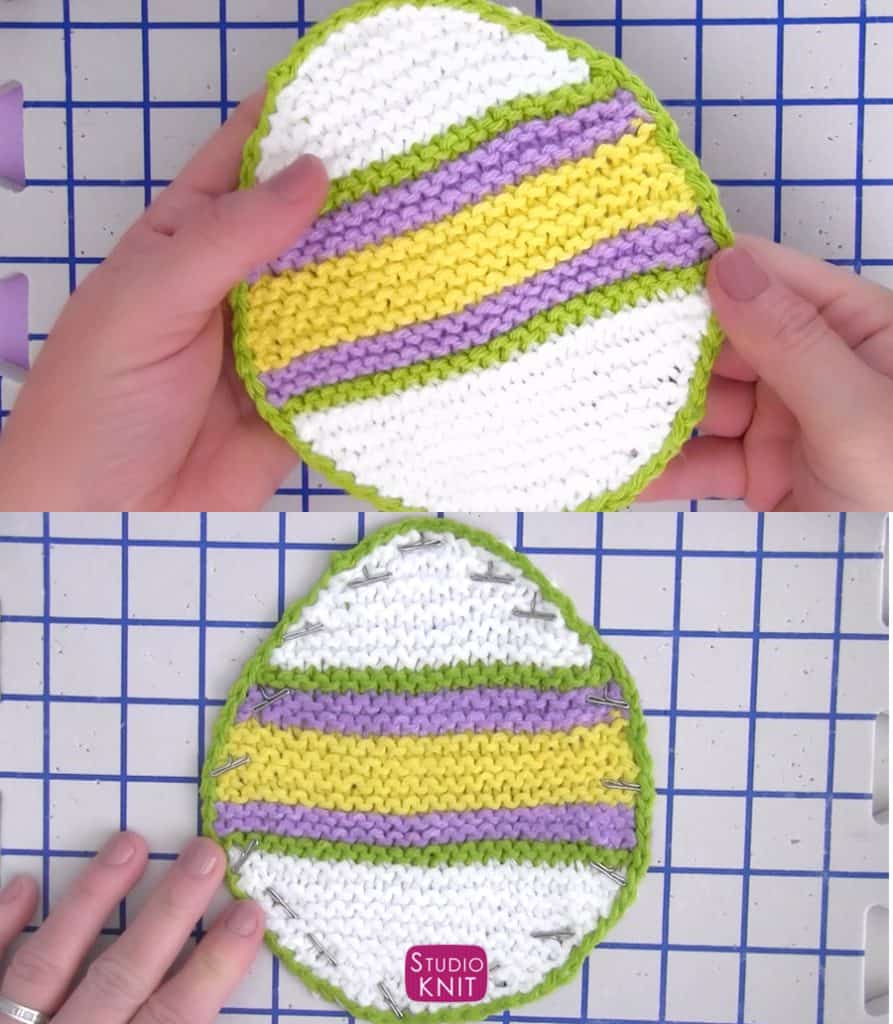
Blocking Your Knitted Piece
The Easter Egg shape really comes to life when you block it into shape. I like telling my yarn how to behave and wet blocking really helps establish the proper curves of your piece.
Easter Springtime Knitting Patterns
Printable Knitting Instructions
Printable Knitting Pattern
This colorful Easter Egg Dishcloth Knitting Pattern is a fun project to make in a variety of sizes.
Materials
- Yarn in cotton worsted weight – I knitted my samples with Sugar N Cream cotton yarn in colors White, Soft Violet, Hot Yellow, and Hot Green. This yarn works perfectly for projects that will get wet because it is absorbent, lightweight, and easy to wash out when using as a dishcloth.
Tools
- Knitting Needles, size 7 US
- Crochet Hook (optional)
- Scissors
- Tapestry Needle
- Blocking Mats
Instructions
SMALLER VERSION – 5″ x 6″
COASTER SIZE EASTER EGG
- STEP 1: Cast On 11 Stitches
- STEP 2: KNIT BODY
Row 1: (right side) K11
Row 2: (wrong side) KFB, K9, KFB (13 sts)
Row 3: K13
Row 4: KFB, K11, KFB (15 sts)
Row 5: K15
Row 6: KFB, K13, KFB (17 sts)
Row 7: K17
Row 8: KFB, K15, KFB (19 sts)
Row 9: K19
Row 10: KFB, K17, KFB (21 sts)
Row 11: K21
Row 12: KFB, K19, KFB (23 sts)
Row 13: K23
Row 14: KFB, K21, KFB (25 sts)
Rows 15 – 22: K25
Row 23: SSK, K21, K2Tog (23 sts)
Row 24: K23
Row 25: SSK, K19, K2Tog (21 sts)
Row 26 – 28: K21
Row 29: SSK, K17, K2Tog (19 sts)
Rows 30 – 34: K19
Row 35: SSK, K15, K2Tog (17 sts)
Row 36: K17
Row 37: SSK, K13, K2Tog (15 sts)
Row 38: K15
Row 39: SSK, K11, K2Tog (13 sts)
Row 40: K13
Row 41: SSK, K9, K2Tog (11 sts)
Row 42: K11
Row 43: SSK, K7, K2Tog (9 sts)
Row 44: K9
Row 45: SSK, K5, K2Tog (7 sts) - STEP 3: BIND OFF AND WEAVE IN ENDS
- STEP 4: CROCHET CHAIN EDGES
- STEP 5: WET BLOCK FOR SHAPE
_____
LARGER VERSION – 8″ x 9″
TRIVET SIZE EASTER EGG
- STEP 1: Cast On 16 Stitches
- STEP 2: KNIT BODY
Row 1: (right side) K16
Row 2: (wrong side) KFB, K14, KFB (18 sts)
Row 3: K18
Row 4: KFB, K16, KFB (20 sts)
Row 5: K20
Row 6: KFB, K18, KFB (22 sts)
Row 7: K22
Row 8: KFB, K20, KFB (24 sts)
Row 9: K24
Row 10: KFB, K22, KFB (26 sts)
Row 11: K26
Row 12: KFB, K24, KFB (28 sts)
Row 13: K28
Row 14: KFB, K26, KFB (30 sts)
Row 15: K30
Row 16: KFB, K28, KFB (32 sts)
Row 17: K32
Row 18: KFB, K30, KFB (34 sts)
Rows 19 – 30: K34
Row 31: SSK, K30, K2Tog (32 sts)
Rows 32 – 34: K32
Row 35: SSK, K28, K2Tog (30 sts)
Row 36: K30
Row 37: SSK, K26, K2Tog (28 sts)
Rows 38: K28
Row 39: SSK, K24, K2Tog (26 sts)
Rows 40 – 44: K26
Row 45: SSK, K22, K2Tog (24 sts)
Row 46: K24
Row 47: SSK, K20, K2Tog (22 sts)
Row 48: K22
Row 49: SSK, K18, K2Tog (20 sts)
Rows 50 – 52: K20
Row 53: SSK, K16, K2Tog (18 sts)
Row 54: K18
Row 55: SSK, K14, K2Tog (16 sts)
Row 56: K16
Row 57: SSK, K12, K2Tog (14 sts)
Row 58: K14
Row 59: SSK, K10, K2Tog (12 sts) - STEP 3: BIND OFF AND WEAVE IN ENDS
- STEP 4: CROCHET CHAIN EDGES
- STEP 5: WET BLOCK FOR SHAPE
Notes
Not a Reversible Knit Stitch Pattern
Lays Flat
Looks best when lightly blocked
_____
KNITTING TECHNIQUES
• Slip Knot
• CO = Cast On Long Tail Method
• K = Knit Stitch
• KFB = Knit Front and Back (increase)
• K2Tog = Knit 2 Together (decrease)
• SSK = Slip Slip Knit (decrease)
• Change Yarn Color
• BO = Bind Off
• Weave In Ends
Thank You for Visiting Studio Knit
I hope you are inspired to knit my Easter Egg Dishcloth for yourself, your family, and your friends.
