Knit Tabletop Christmas Trees – Pattern in 5 Sizes
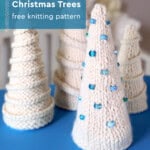
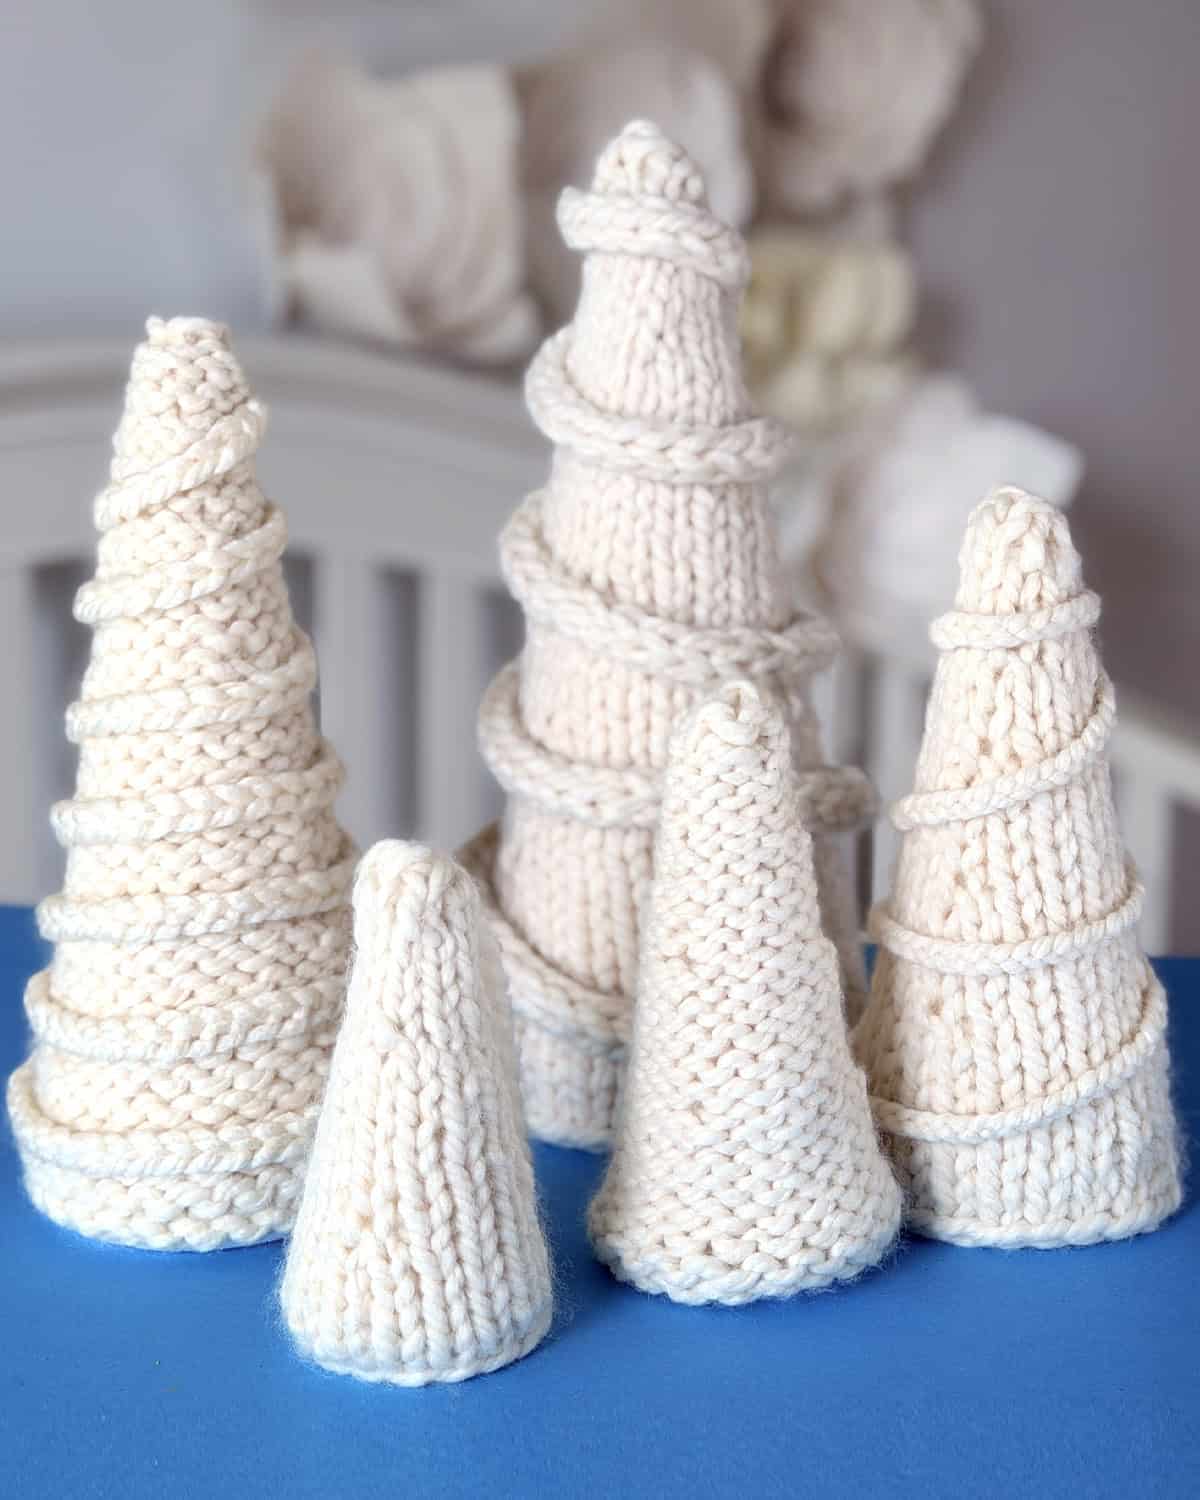
Create your own cozy handmade forest for the holidays with my new Knit Tabletop Christmas Trees Collection, a holiday pattern available in five sizes. These narrow cone-shaped trees are knitted in the round from the top down. Using thick super bulky weight yarn, this design features easy knit stitches that create simple, sculptural textures.
Get your free written pattern instructions for all five winter tree sizes in different knit stitch pattern textures below.
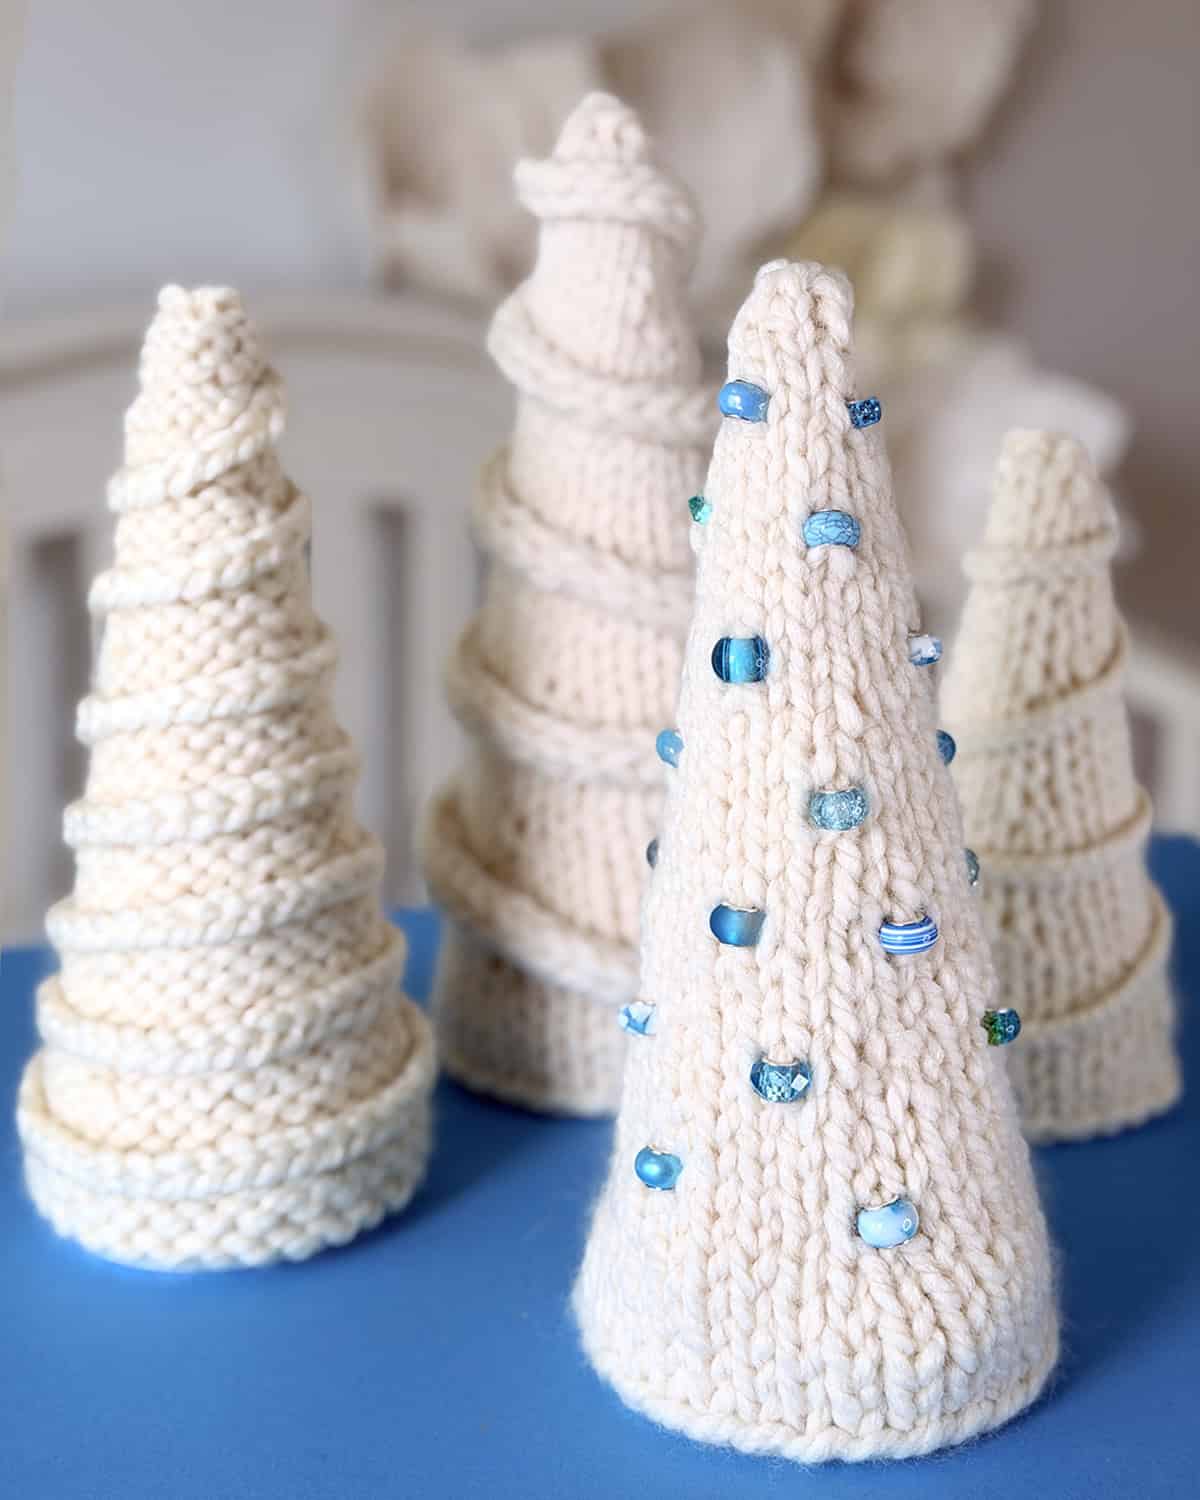
Table of Contents
About the Design
Perfect for Christmas decorating or gifting, each tree adds warmth and handmade charm to your home’s seasonal display on your mantel or holiday table. This collection grew from my love of simple, modern holiday décor. Whether you choose cozy wool, soft neutrals, or festive metallics, these knitted trees fit effortlessly into any winter holiday theme.
Skill Level: Intermediate. This pattern is ideal for those comfortable knitting in-the-round on double-pointed needles.
Knitting Construction
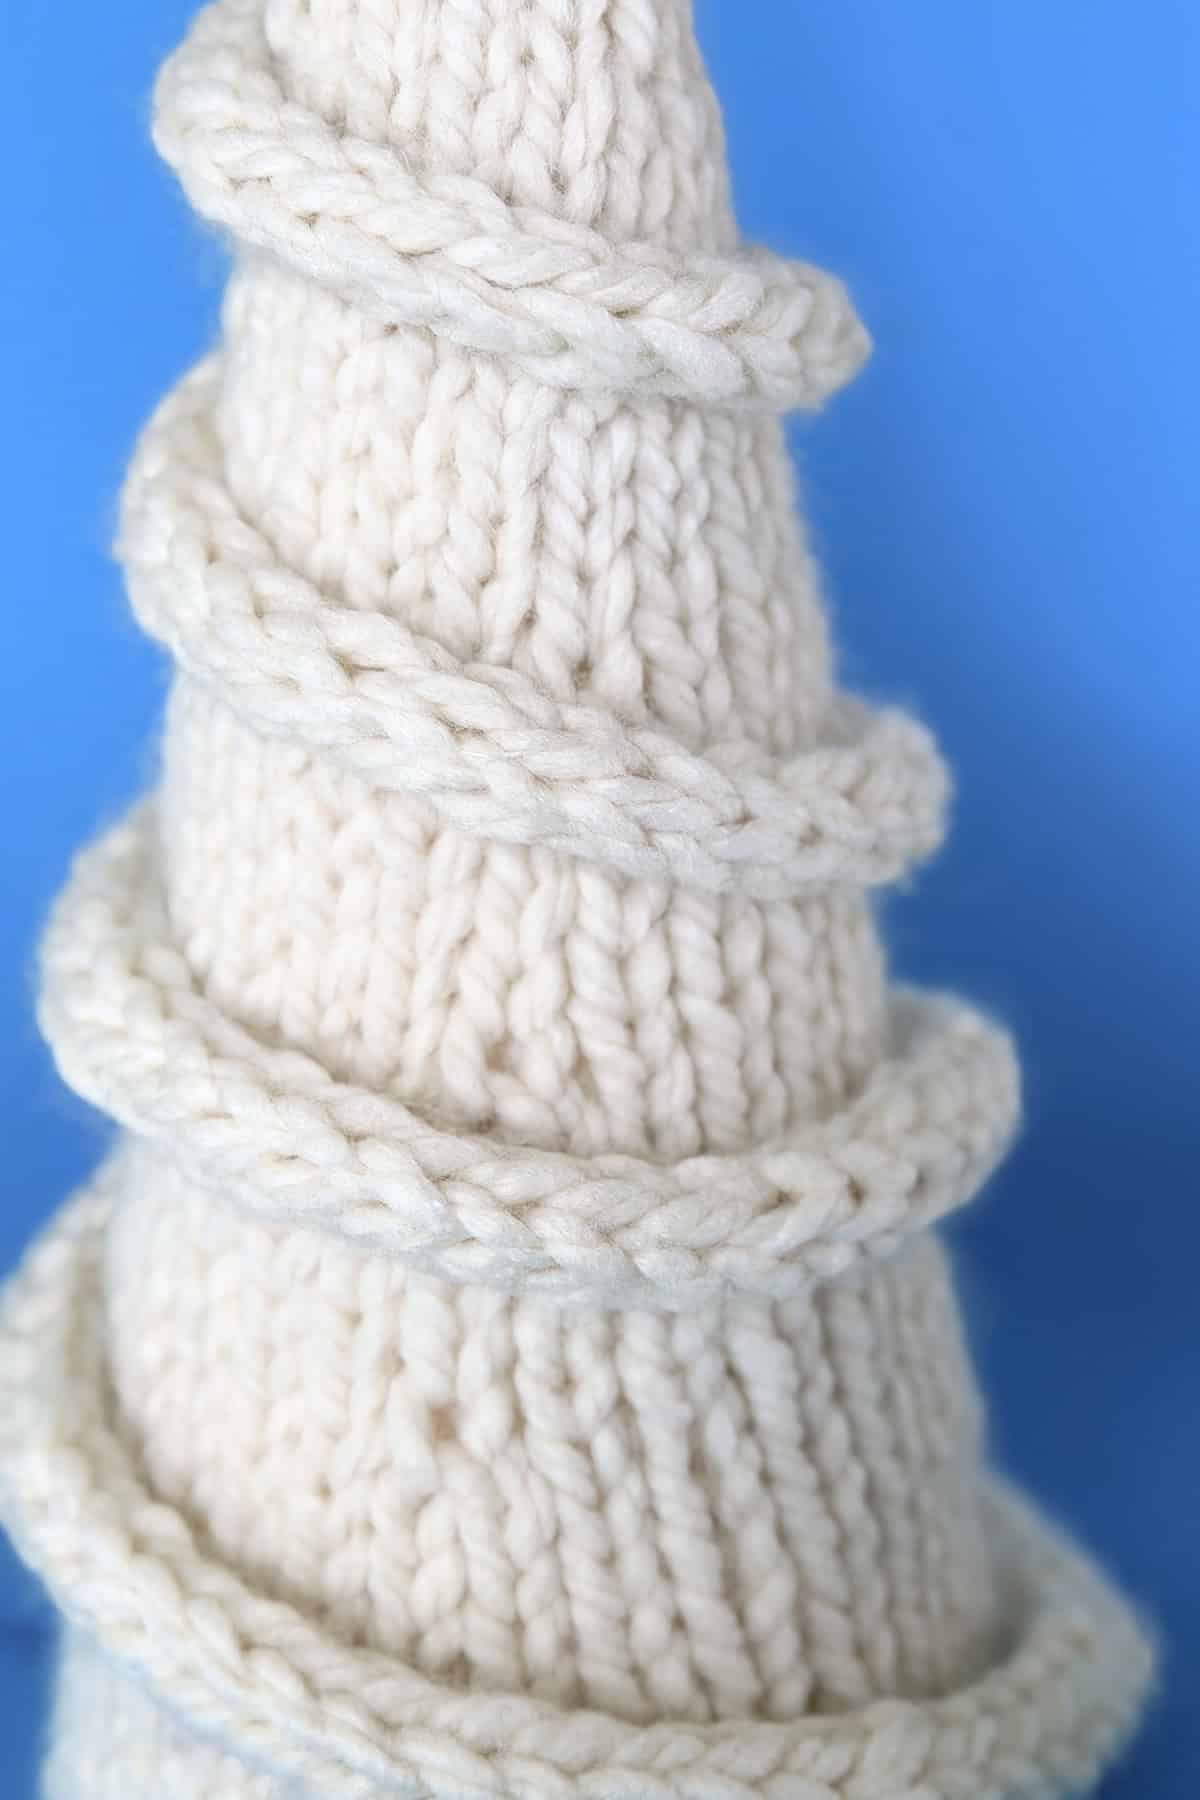
This project forms a narrow cone shape that tapers smoothly from top to bottom. Each tree begins at the top and is worked top-down, gradually increasing at the edges to create its signature three-dimensional shape.
Estimated Time: 1–4 hours per tree, depending on size.
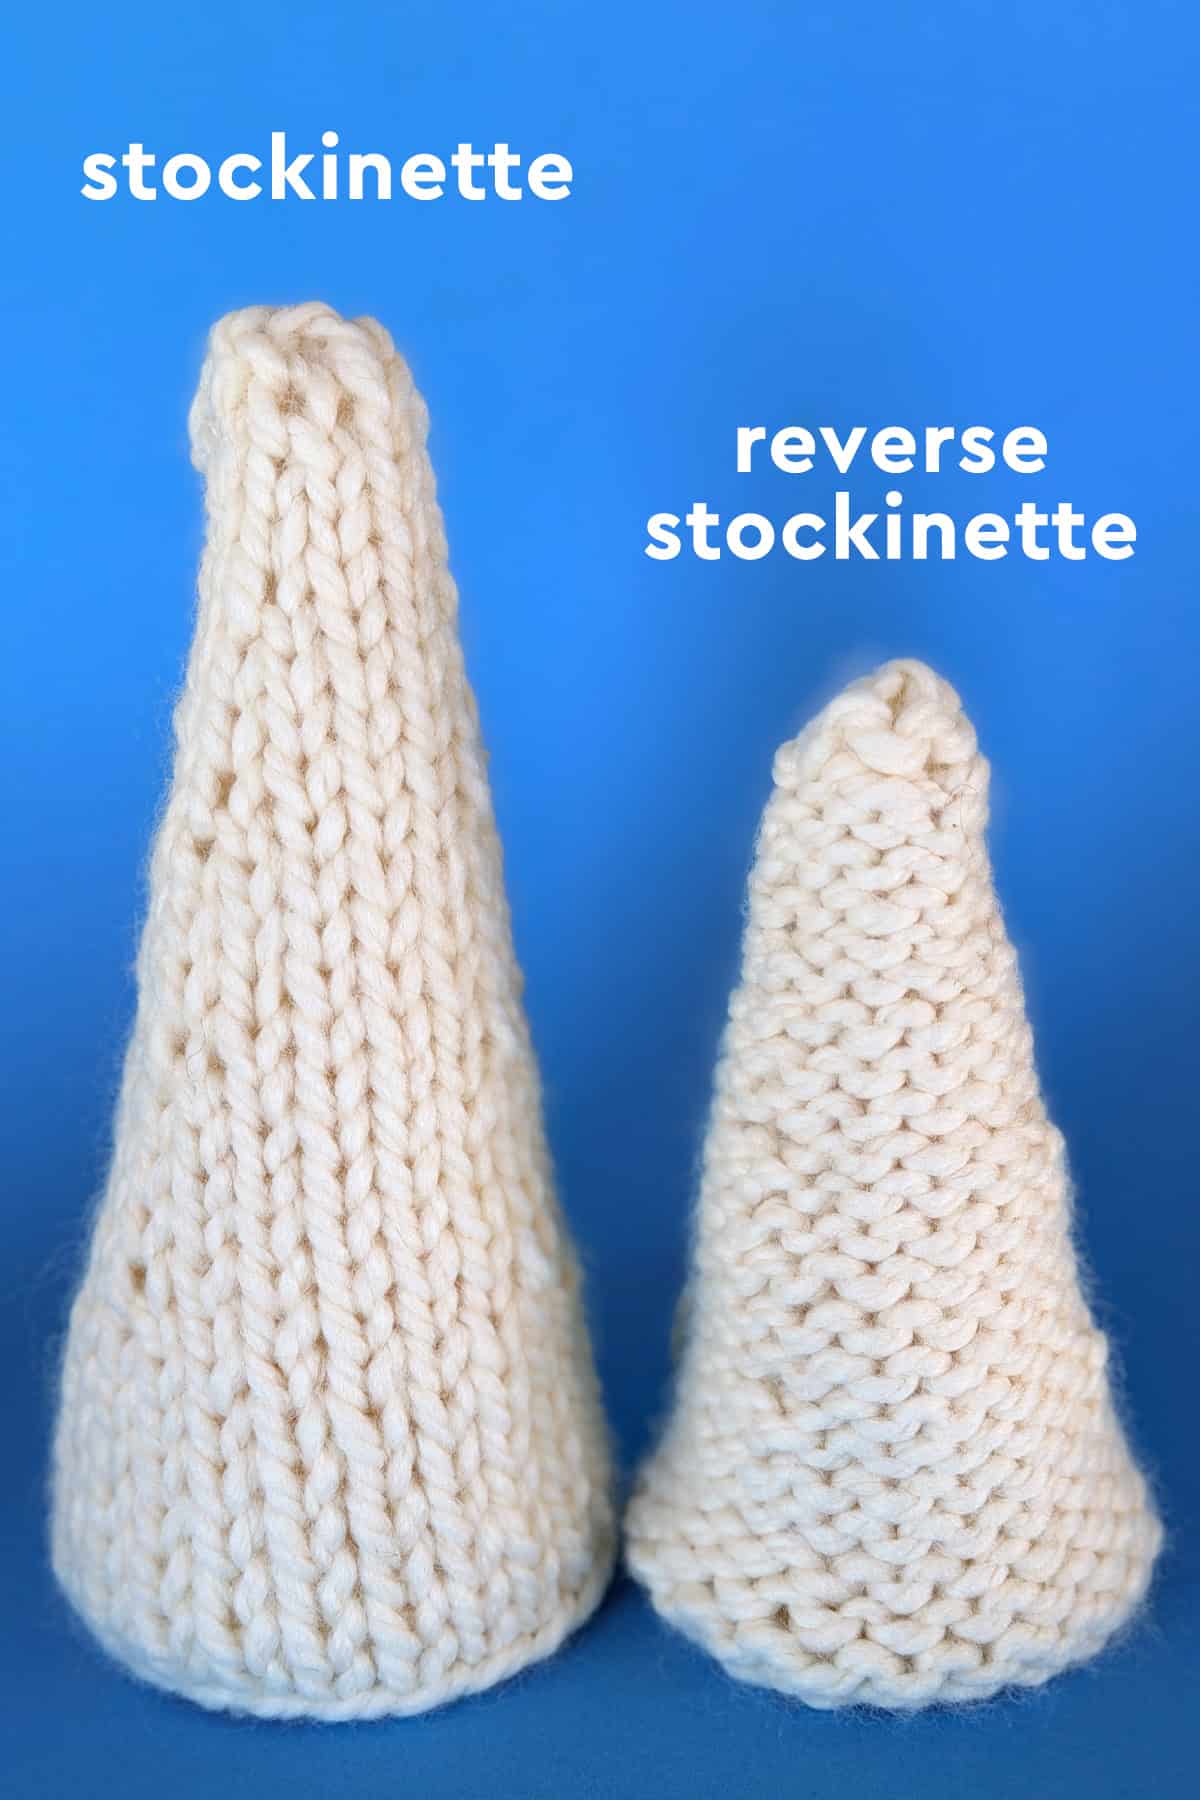
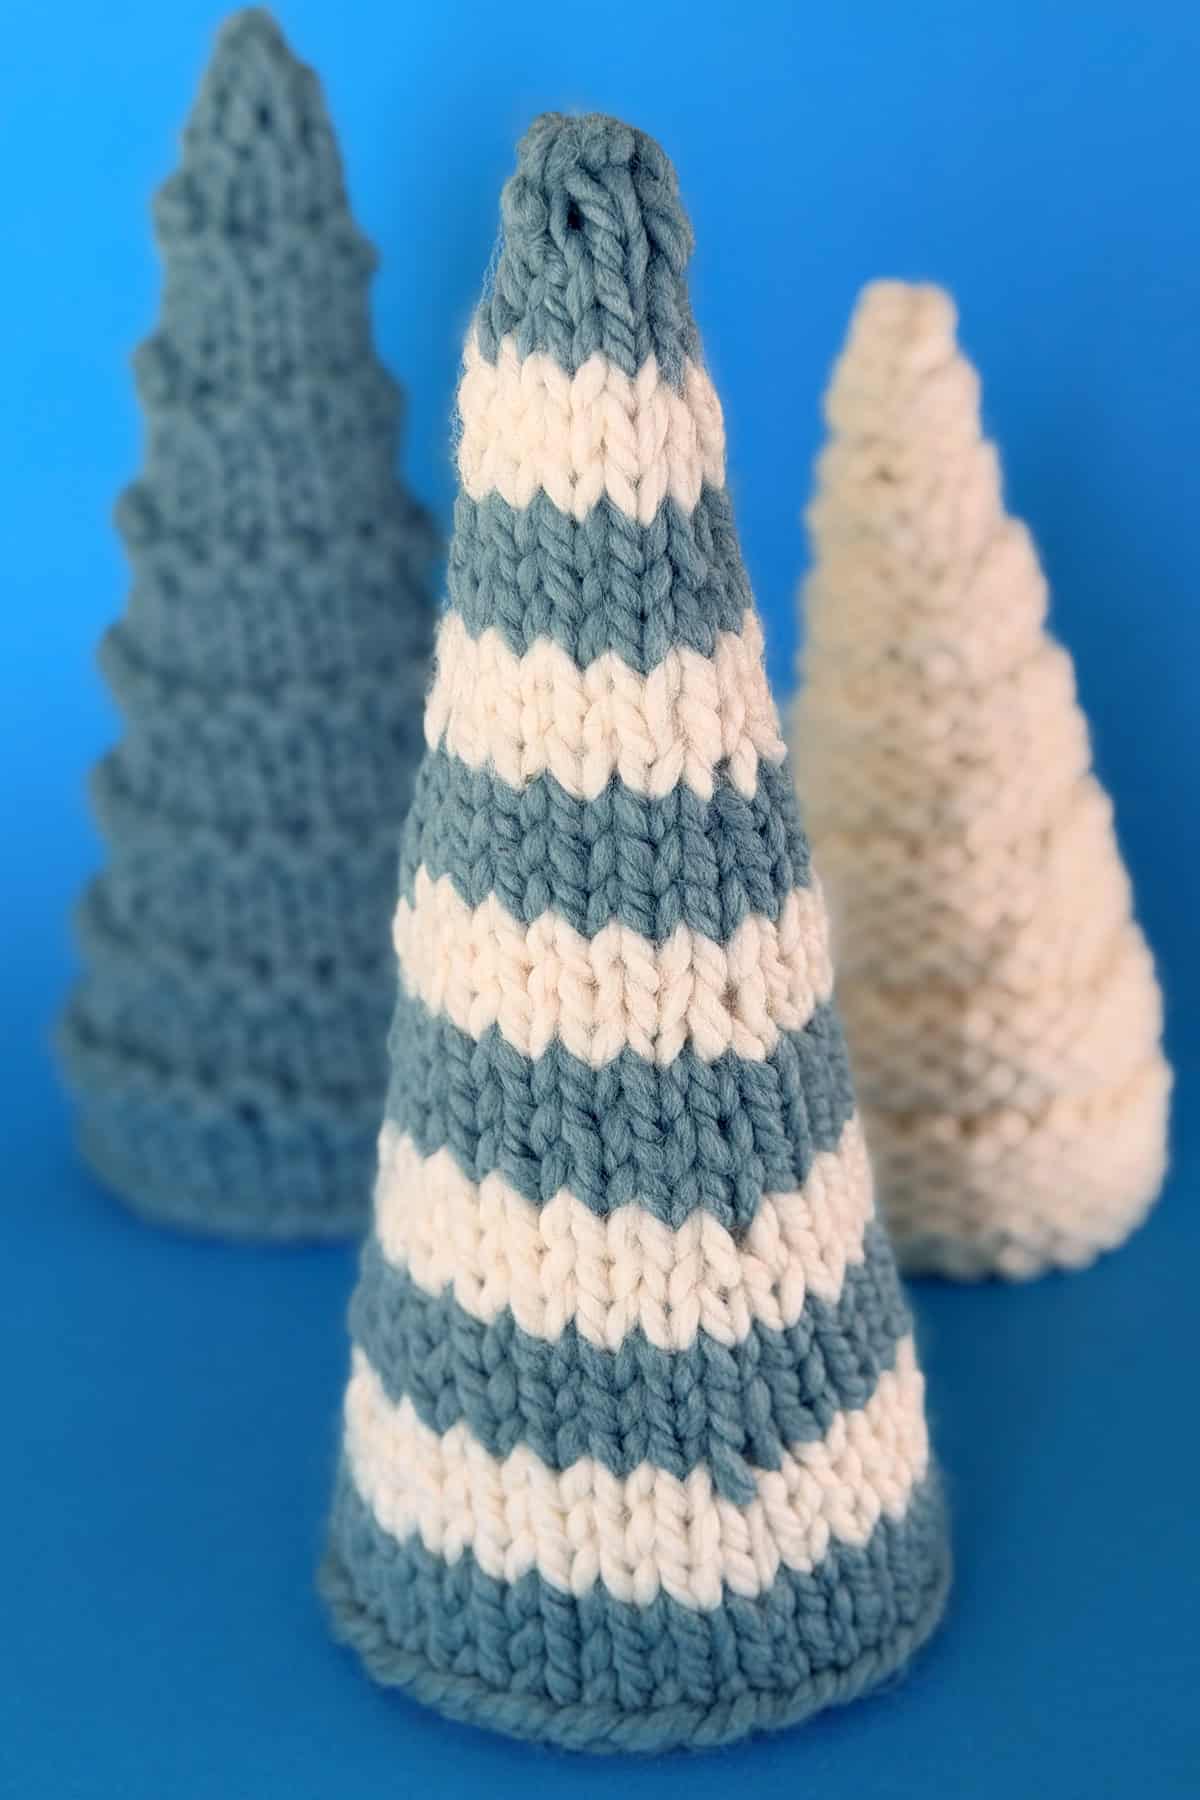
Two Textures from One Stitch
With just one stitch pattern, you can create two distinct looks for your knitted trees. The Stockinette Stitch forms a smooth, classic surface that highlights your yarn’s color and shape. When you turn your work inside out, the Reverse Stockinette side reveals a softly textured, rustic finish. This simple switch lets you choose between modern and cozy styles without changing the pattern, giving you two beautiful textures from one easy technique.
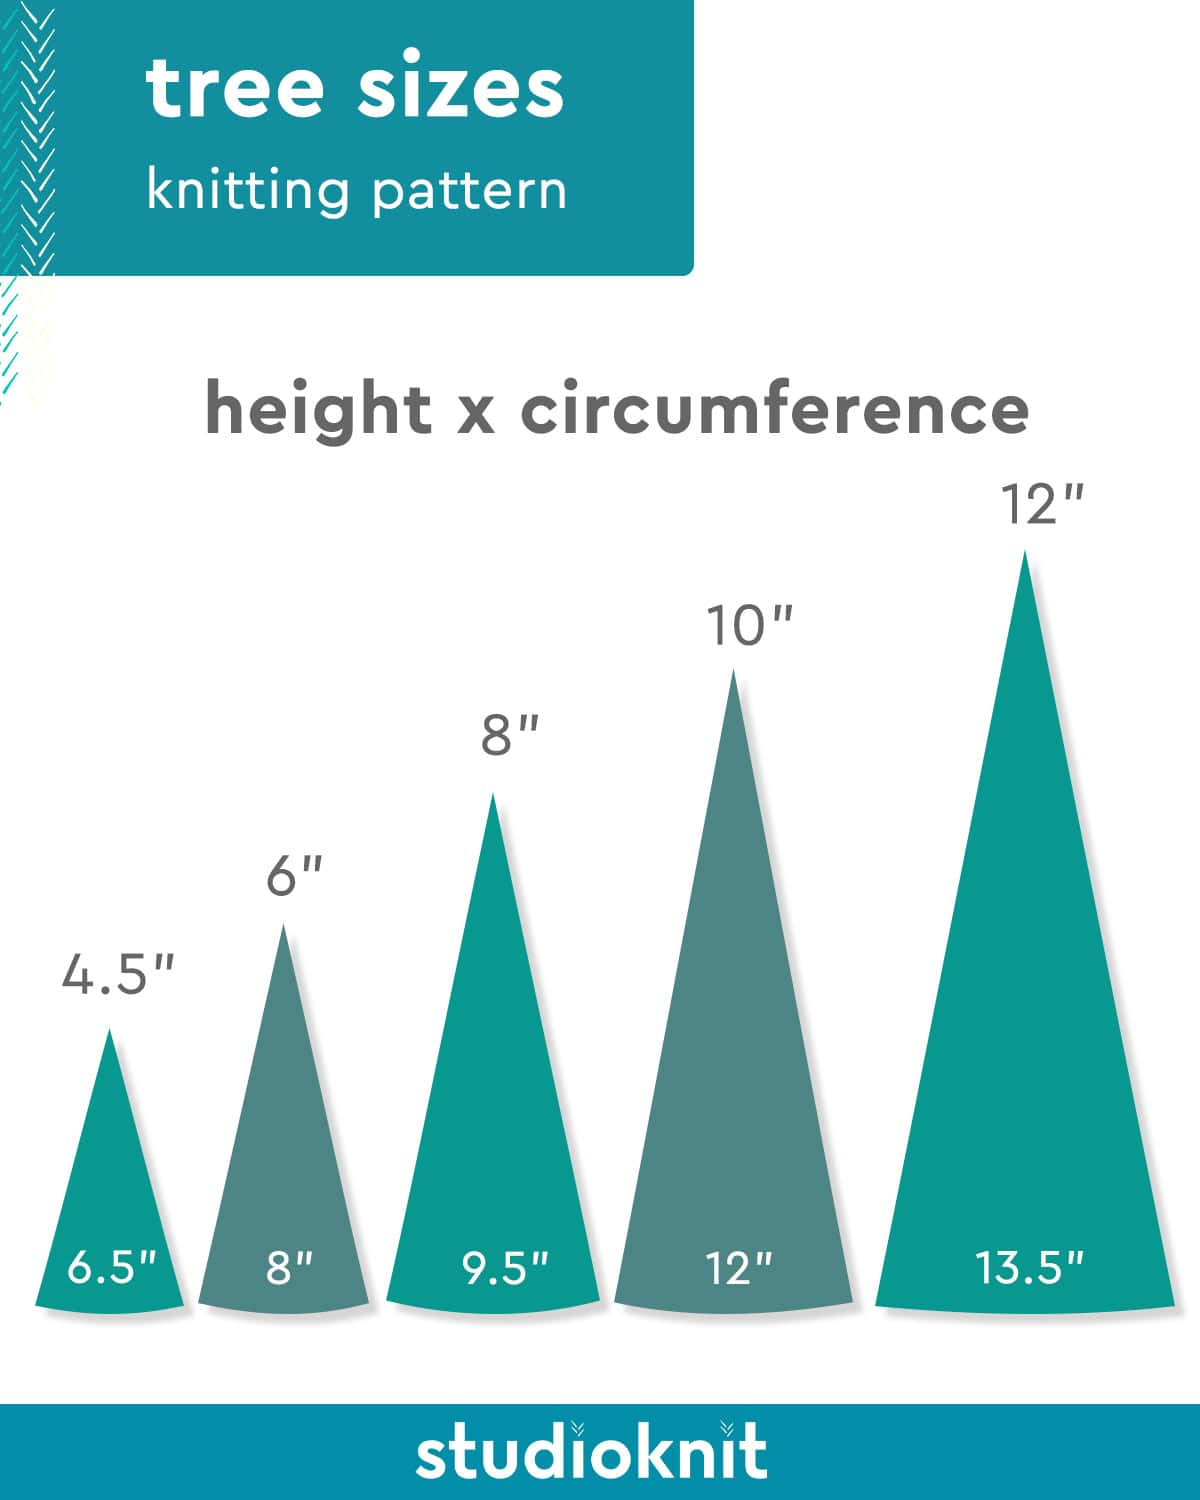
Christmas Tree Sizes
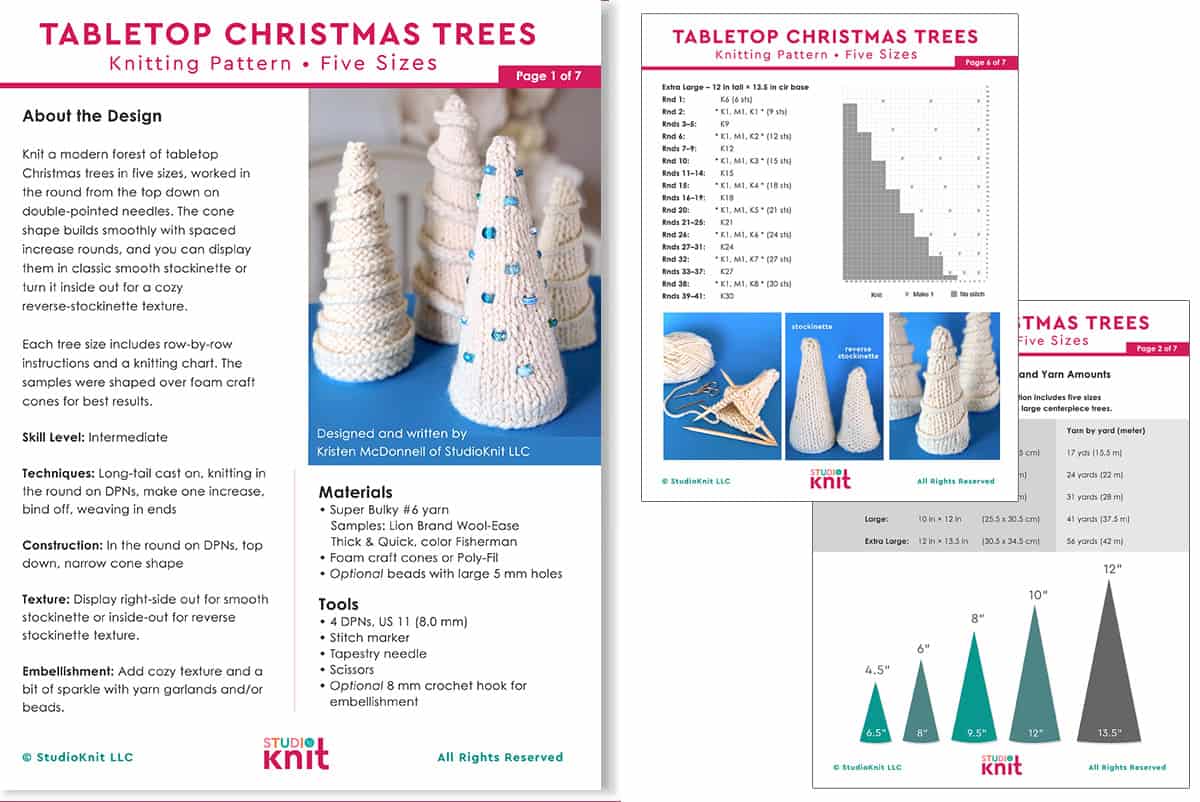
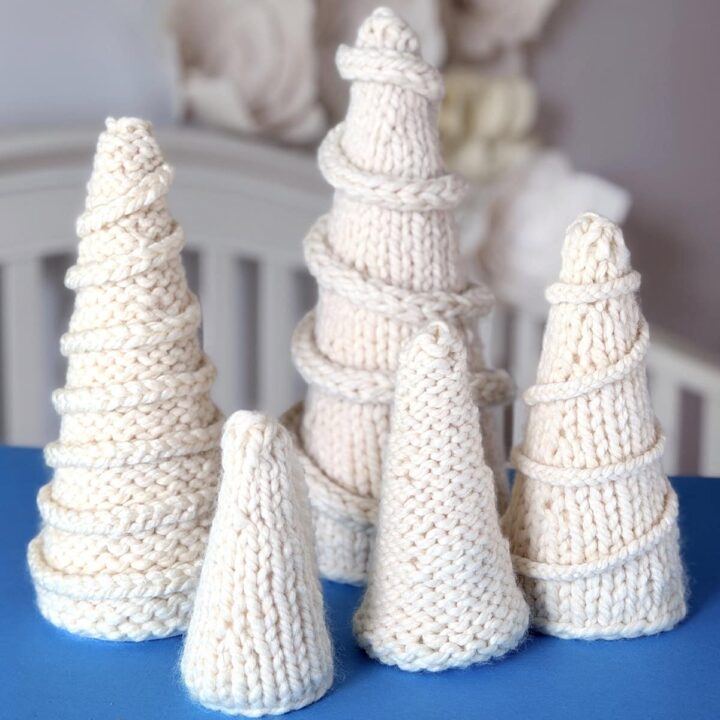
This Knit Tabletop Tree Collection includes five sizes ranging from small ornaments to large centerpiece trees. Each is knit from the top down, increasing gradually at regular intervals to shape the cone.
Size Options:
- Extra Small – 4.5” tall × 6.5” cir base (11.5 x 16.5 cm)
- Small – 6” tall × 8” cir base (15 x 20 cm)
- Medium – 8” tall × 9.5” cir base (20 x 24 cm)
- Large – 10” tall × 12” cir base (25.5 x 30.5 cm)
- Extra Large – 12” tall × 13.5” cir base (30.5 x 34.5 cm)
Gauge and Swatching
Before beginning, knit a small swatch in stockinette stitch to confirm your gauge. My gauge is approximately 9 stitches and 14 rows = 4 inches (10 cm) in stockinette, worked in the round on US 11 (8.0 mm) needles using the recommended Lion Brand Wool-Ease Thick & Quick yarn.
Creating a quick swatch helps confirm that your stitches and rows align with the pattern. If your gauge is too tight, try a larger needle size. If it’s too loose, switch to a smaller one. Matching gauge ensures your finished trees reach their intended shape and height.
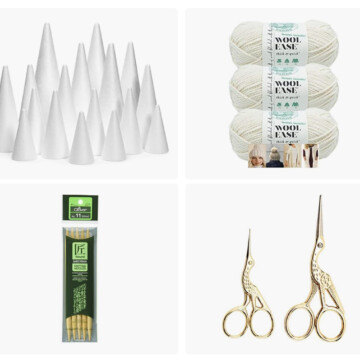
Knitting Supplies
Shop my favorite knitting supplies to make your perfect knitted trees on Amazon.
As an Amazon Associate, I earn from qualifying purchases.
- Yarn: Super Bulky Size #6 Weight Yarn (10 – 100 yards)
Samples are knit with Lion Brand Wool-Ease Thick & Quick, color Fisherman
See yarn amounts by tree size below > - 4 DPNs: Double Pointed Needles, size 7 inch US 11 / 8 mm
- Tapestry Needle
- Scissors
- Foam Craft Cones
- Crochet Hook, size 8 mm (optional for embellishment)
- Poly-Fil (optional, if not using foam craft cones)
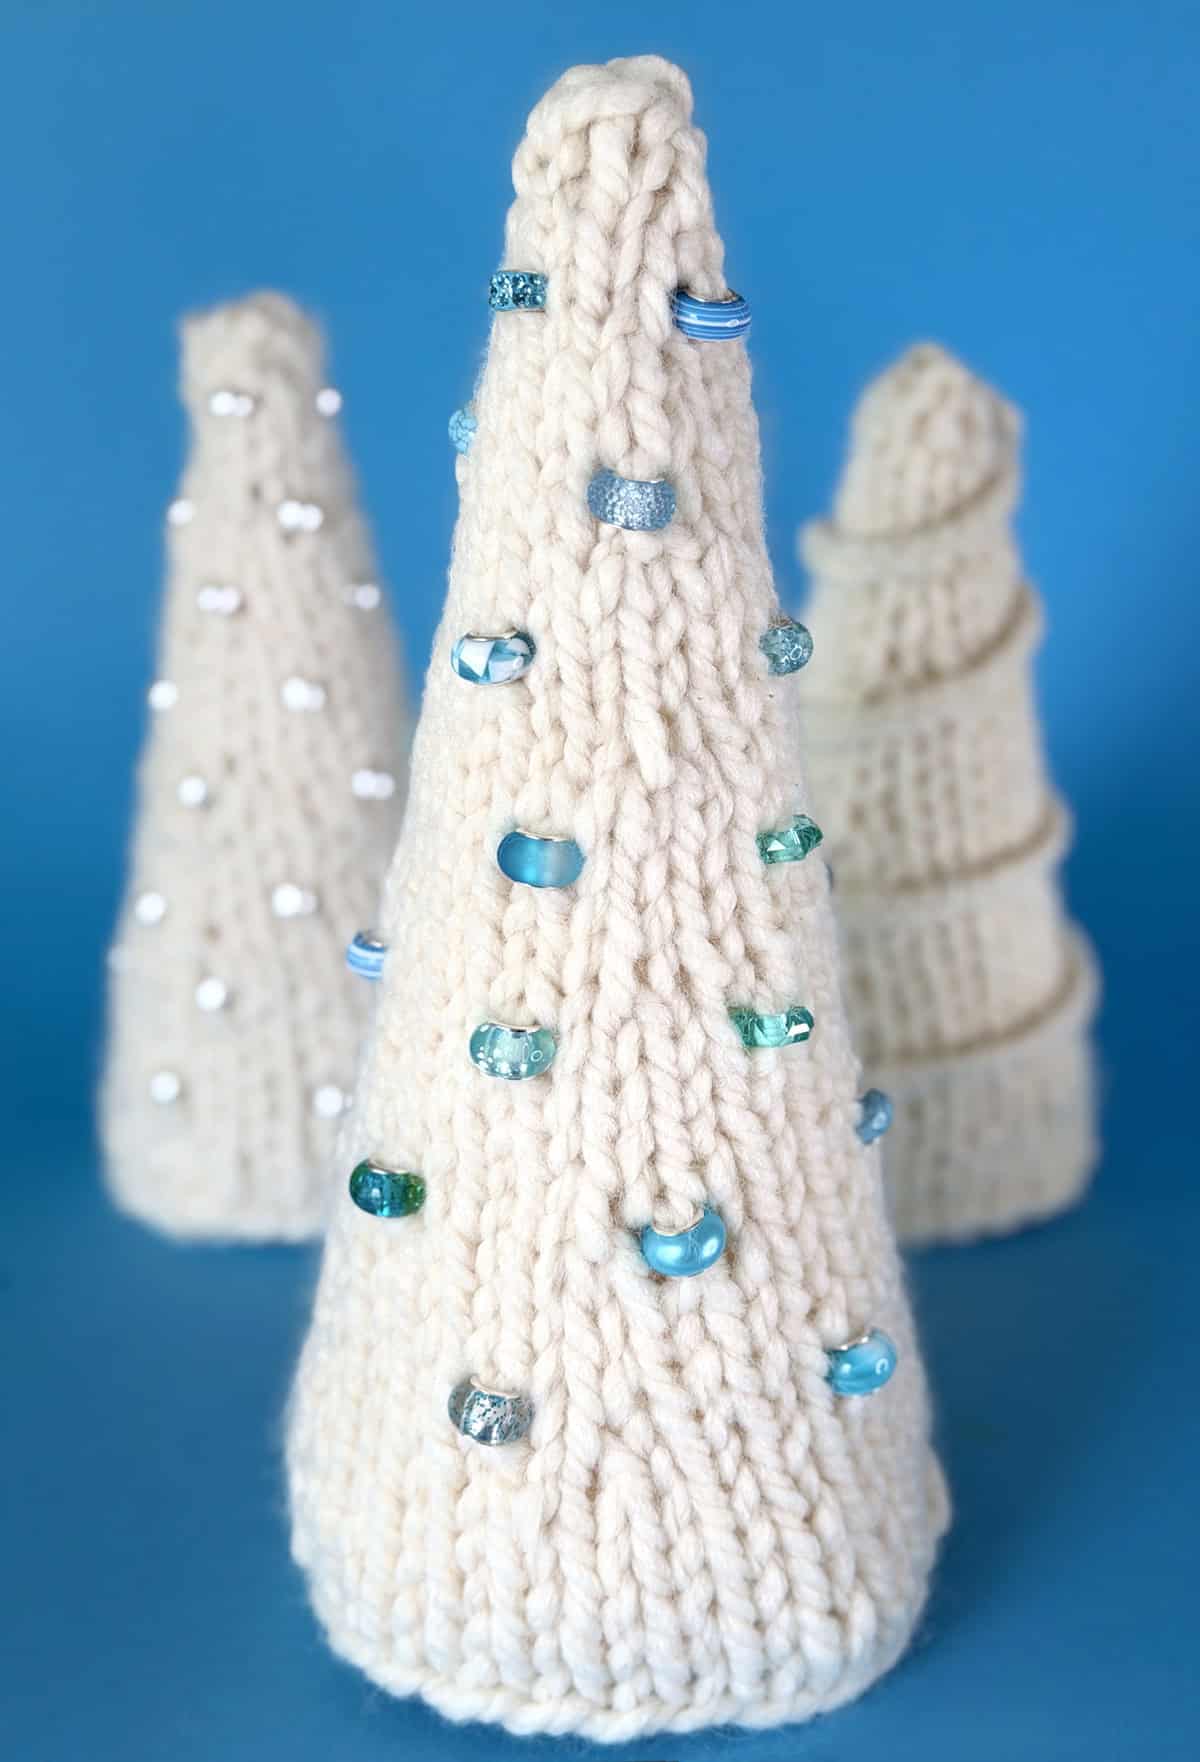
- Beads (optional) They should be large hole beads to allow the thick yarn to enter. I used pearly beads (size 10×8 mm, hole: 5 mm) and a variety of blue decorative beads (size 10×14 mm, hole 4.8 mm).

Yarn Amount by Tree Size
This recommended yarn holds its shape beautifully and can be displayed with poly-fil stuffing. However, I strongly recommend finding foam craft cones for consistent shaping. The pattern was developed using a variety of standard craft cone sizes.
Each Knit Tabletop Tree uses a small amount of super bulky yarn, making this an ideal project for leftover skeins or partial balls. The following yardages are based on Lion Brand Wool-Ease Thick & Quick Solids (170 g / 106 yds per skein).
- Extra Small – 17 yards (15.5 m), 4.5” tall × 6.5” circumference
- Small – 24 yards (22 m), 6” tall × 8” circumference
- Medium – 31 yards (28 m), 8” tall × 9.5” circumference
- Large – 41 yards (37.5 m), 10” tall × 12” circumference
- Extra Large – 56 yards (42 m), 12” tall × 13.5” circumference
Decorating Your Knit Tabletop Trees
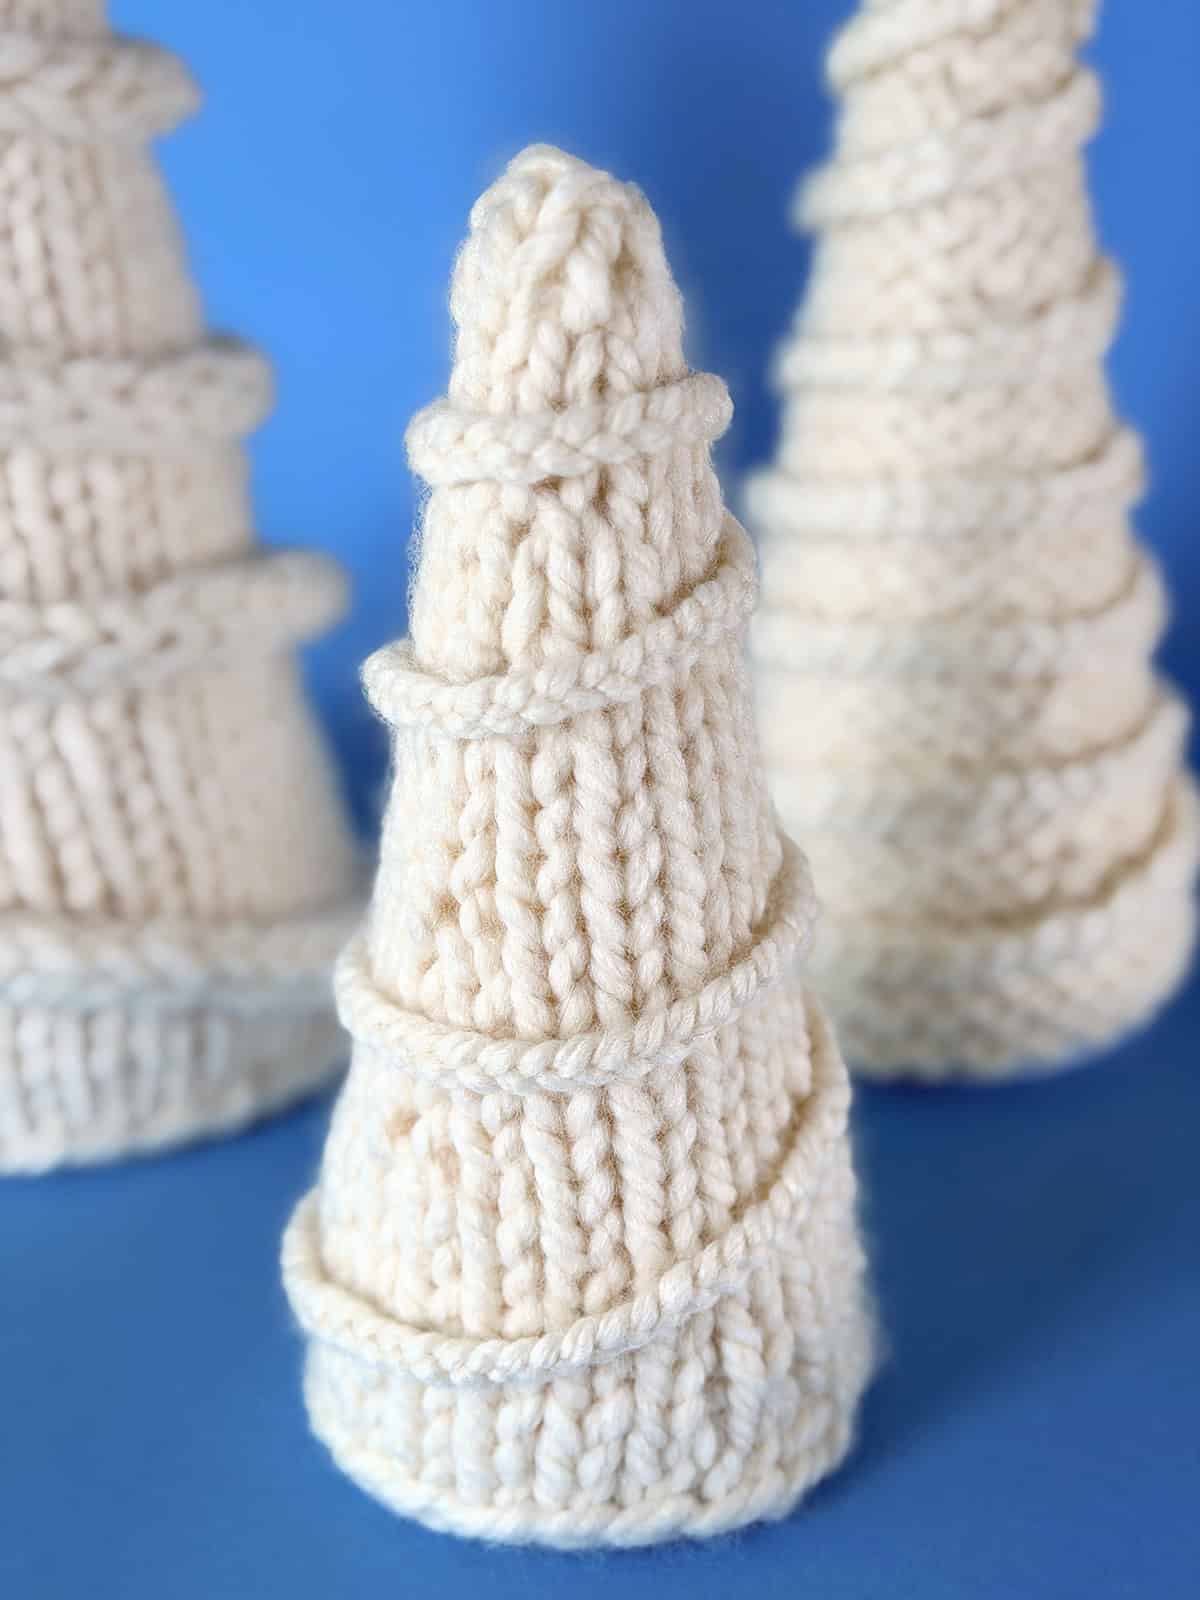
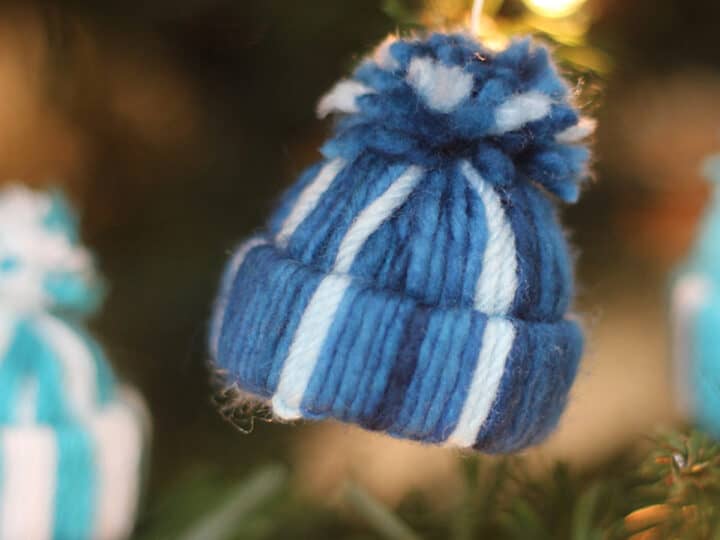
Once your knitted trees are complete, it’s time to trim and style them with handmade details. Add cozy texture, a bit of sparkle, or natural simplicity to match your holiday theme. Here are easy garland and ornament ideas you can make with leftover yarn, perfect for wrapping, draping, or layering around your tree.

- Knitted I-Cord Garland
Create a continuous knitted cord using my I-Cord Tutorial on Studio Knit. I knitted my sample with a 3-stitch i-cord, which creates a thick rope. It drapes beautifully and adds a handmade finish to your tree. - Crochet Foundation Chain Garland
A crochet chain makes an elegant wraparound garland. For beginner-friendly instructions, see Yarnspirations’ Crochet Chain Stitch Tutorial. - Braided Yarn Garland
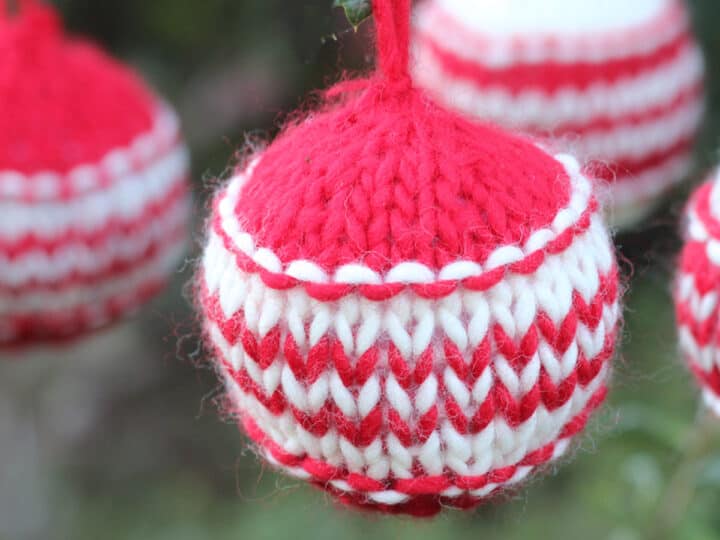
Combine three strands of yarn to make a simple braided garland. For clear visual steps, see this Three Strand Braid Tutorial by Animated Knots. - Knitting with Beads
Adding beads is another beautiful way to customize your project. I have a complete Studio Knit tutorial on adding beads to knitting with step-by-step instructions. - Yarn Color Changes
Design your own trees by changing yarn colors. You can also experiment with self-striping yarn for natural color shifts.
Display and Styling Ideas
- Arrange your trees by height for an elegant tabletop display.
- Pair them with candles, pinecones, or fairy lights for a warm holiday glow.
- Create a mantel scene with different yarn textures for contrast.
- Use smaller sizes as gift toppers or accents in your Christmas village.
Whether you knit one as a single statement piece or create the entire five-tree collection, these designs bring a modern, handmade charm to your holiday decorating.
Knitting Techniques
Need to brush up or learn a new technique? Check out my entire library of Knitting Techniques to help you along as you knit up this project.
• Slip Knot
• CO = Cast On Long Tail Method
• Knitting in the Round on Double-Pointed Needles
• K = Knit Stitch
• M1 = Make One Increase
• Bind Off
• Weave in Yarn Tails
Printable Knitting Instructions
Printable Knitting Pattern
These row-by-row knitting instructions guide you through every step to make the Knit Tabletop Tree Collection. Each tree is worked in the round from the top down with super bulky yarn using simple increases that form a smooth stockinette cone shape.
Materials
- Yarn: Super Bulky Size #5 Weight Yarn (10 – 100 yards, depending on tree size)
- Foam Craft Cones
- Poly-Fil (optional, if not using foam craft cones)
Tools
- 4 DPNs: Double Pointed Needles, size 7 inch US 11 / 8 mm
- Tapestry Needle
- Scissors
- Crochet Hook, size 8 mm (optional for embellishment)
Instructions
Knit a cozy collection of tabletop Christmas trees in five different sizes using a simple stitch pattern.
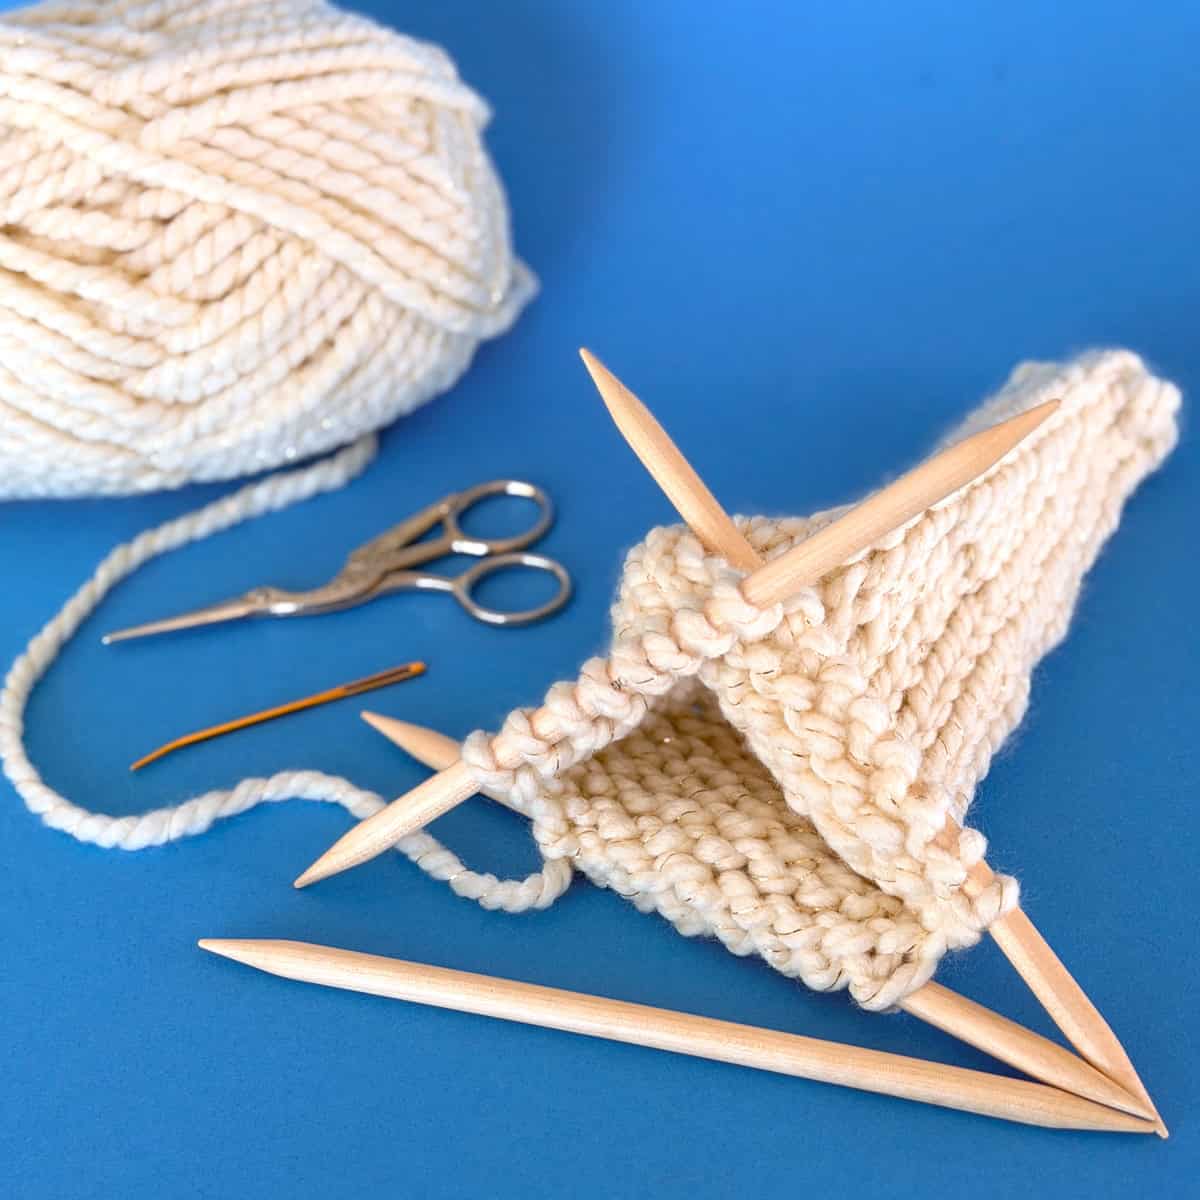
Casting On for all sizes
Begin by casting on 6 stitches using the long-tail cast-on method. Divide the stitches evenly across three double-pointed needles, with 2 stitches per needle. Bring the stitches together carefully, making sure they are not twisted, and join in the round. Place a stitch marker at the beginning of the round to mark your starting point.
From there, you’ll knit in the round, working top-down as the cone gradually widens with increase rounds to form the tree shape.
Finishing for all sizes
Cut yarn, leaving a 6-inch tail. Weave in ends with a tapestry needle. Blocking is optional. The trees hold their shape well with the thick, super bulky yarn, especially when placed over foam cones. For the smoothest finish, lightly mist with water and let dry on the form overnight.
____
Christmas Tree Knitting Instructions
This Stockinette version creates a smooth, classic texture that highlights your yarn’s color and shape. Knit in the round from the top down, it forms a simple cone that’s perfect for modern or minimal holiday décor. Display with either the Stockinette's right side out, or Reverse Stockinette with the wrong side out, depending on texture preference.
___
Extra Small – 4.5” tall × 6.5” circumference base
- Round 1: K6 (6 sts)
- Round 2: * K1, M1, K1 * (repeat pattern between asterisks, 9 sts)
- Rounds 3 - 6: K9
- Round 7: * K1, M1, K2 * (12 sts)
- Rounds 8 - 13: K12
- Round 14: * K1, M1, K3 * (15 sts)
- Rounds 15 - 18: K15
___
Small – 6” tall × 8” circumference base
- Round 1: K6 (6 sts)
- Round 2: * K1, M1, K1 * (repeat pattern between asterisks, 9 sts)
- Rounds 3–5: K9
- Round 6: * K1, M1, K2 * (12 sts)
- Rounds 7–10: K12
- Round 11: * K1, M1, K3 * (15 sts)
- Rounds 12–16: K15
- Round 17: * K1, M1, K4 * (18 sts)
- Rounds 18–22: K18
___
Medium – 8” tall × 9.5” circumference base
- Round 1: Knit all
- Round 2: *K1, M1, K1* (9 sts)
- Rounds 3–5: Knit all
- Round 6: *K1, M1, K2* (12 sts)
- Rounds 7–9: Knit all
- Round 10: *K1, M1, K3* (15 sts)
- Rounds 11–14: Knit all
- Round 15: *K1, M1, K4* (18 sts)
- Rounds 16–19: Knit all
- Round 20: *K1, M1, K5* (21 sts)
- Rounds 21–26: Knit all
___
Large – 10” tall × 12” circumference base
- Round 1: Knit all
- Rounds 2: *K1, M1, K1* (9 sts)
- Rounds 3–4: Knit all
- Round 5: *K1, M1, K2* (12 sts)
- Rounds 6–8: Knit all
- Round 9: *K1, M1, K3* (15 sts)
- Rounds 10–13: Knit all
- Round 14: *K1, M1, K4* (18 sts)
- Rounds 15–18: Knit all
- Round 19: *K1, M1, K5* (21 sts)
- Rounds 20–23: Knit all
- Round 24: *K1, M1, K6* (24 sts)
- Rounds 25–28: Knit all
- Round 29: *K1, M1, K7* (27 sts)
- Rounds 30–33: Knit all
___
Extra Large – 12” tall × 13.5” circumference base
- Round 1: Knit all
- Round 2: *K1, M1, K1* (9 sts)
- Rounds 3–5: Knit all
- Round 6: *K1, M1, K2* (12 sts)
- Rounds 7–9: Knit all
- Round 10: *K1, M1, K3* (15 sts)
- Rounds 11–14: Knit all
- Round 15: *K1, M1, K4* (18 sts)
- Rounds 16–19: Knit all
- Round 20: *K1, M1, K5* (21 sts)
- Rounds 21–25: Knit all
- Round 26: *K1, M1, K6* (24 sts)
- Rounds 27–31: Knit all
- Round 32: *K1, M1, K7* (27 sts)
- Rounds 33–37: Knit all
- Round 38: *K1, M1, K8* (30 sts)
- Rounds 39–41: Knit all
Notes
- Knit in the round, top-down on double-pointed needles.
- Intermediate level.
- Display on foam cones or lightly stuff with Poly-Fil.
Knitting Techniques + Abbreviations
- Slip Knot
- CO = Cast On Long Tail Method
- Knitting the Round on Double Pointed Needles
- K = Knit Stitch
- P = Purl Stitch
- M1 = Make One Increase
- Using your left knitting needle, pick up the bar between stitches from front to back.
- With your right needle, knit through the back loop. Bring your needle to the back, insert directly into the stitch, then wrap and knit your working yarn through.


Kristen McDonnell
Author • Designer • Teacher
Kristen from StudioKnit LLC produces knitting video lessons and pattern designs from her vibrant production studio on Half Moon Bay’s California coast.
Kristen McDonnell is the author of the highly acclaimed book Knit Stitch: 50 Knit + Purl Patterns featuring vintage and unique designs.