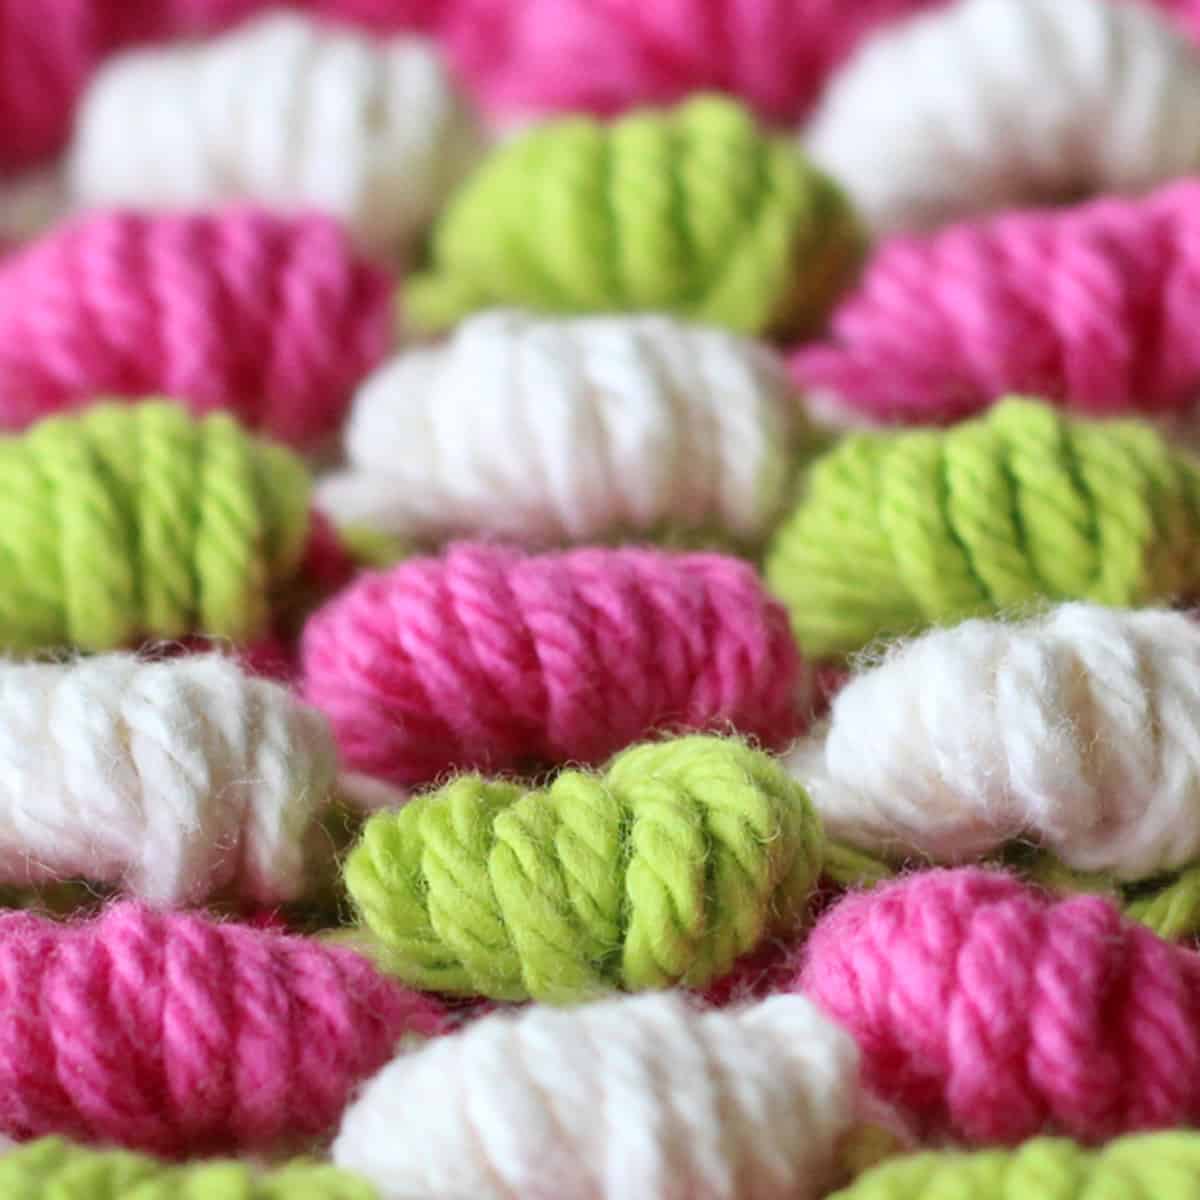
Bobble Stitch Knit in Stockinette (3 Sizes)

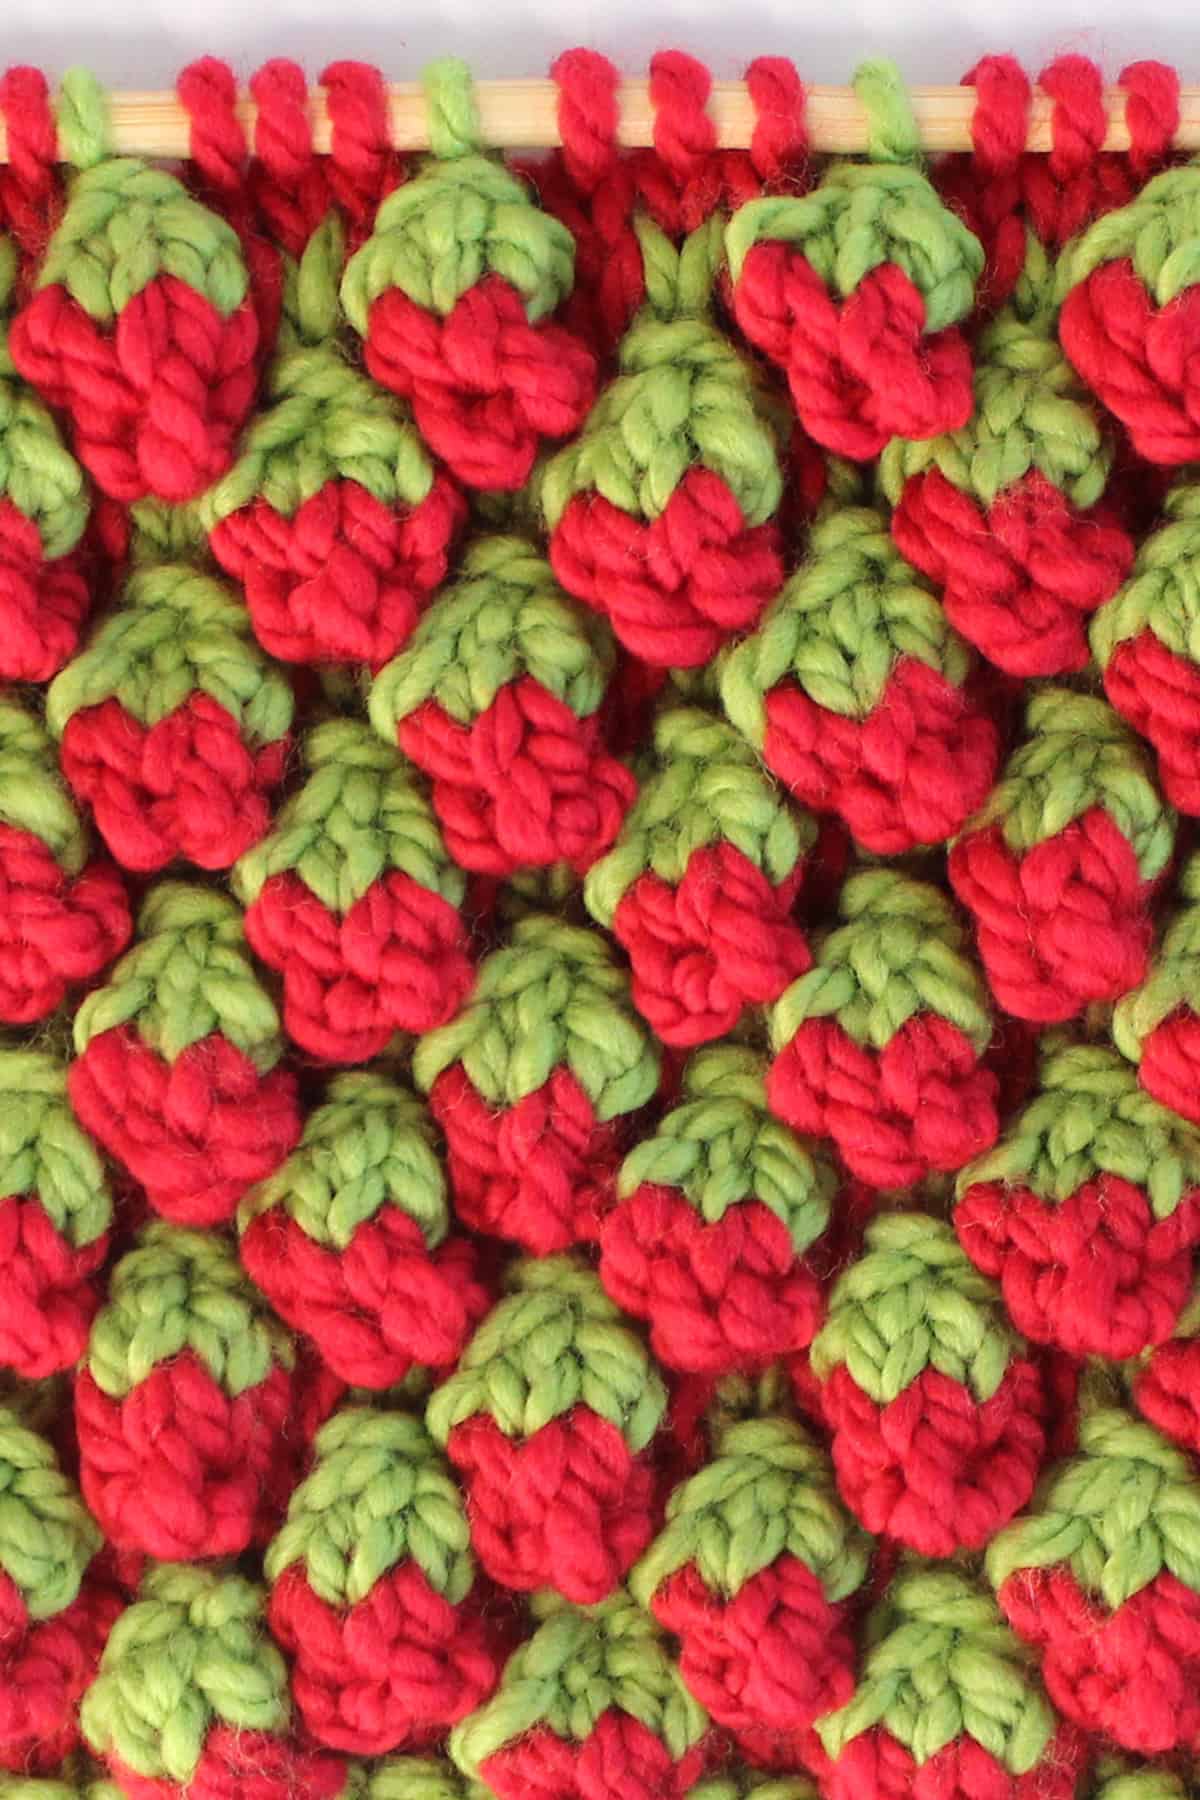
This Bobble Stitch Knit in Stockinette creates a fun little pop of 3-dimensional texture for any knitting project. Create these pretty little raised bumps atop any knit stitch pattern of your choice.
To easily make this 4 stitch bobble, we will increase one stitch into four stitches, knit them in the Stockinette pattern, then use two decrease methods to get back down the original stitch. So cute and simple!
Please continue reading to see all of the knitting techniques with up-close photos and step-by-step video tutorial — along with printable written instructions — to knit this free pattern today.
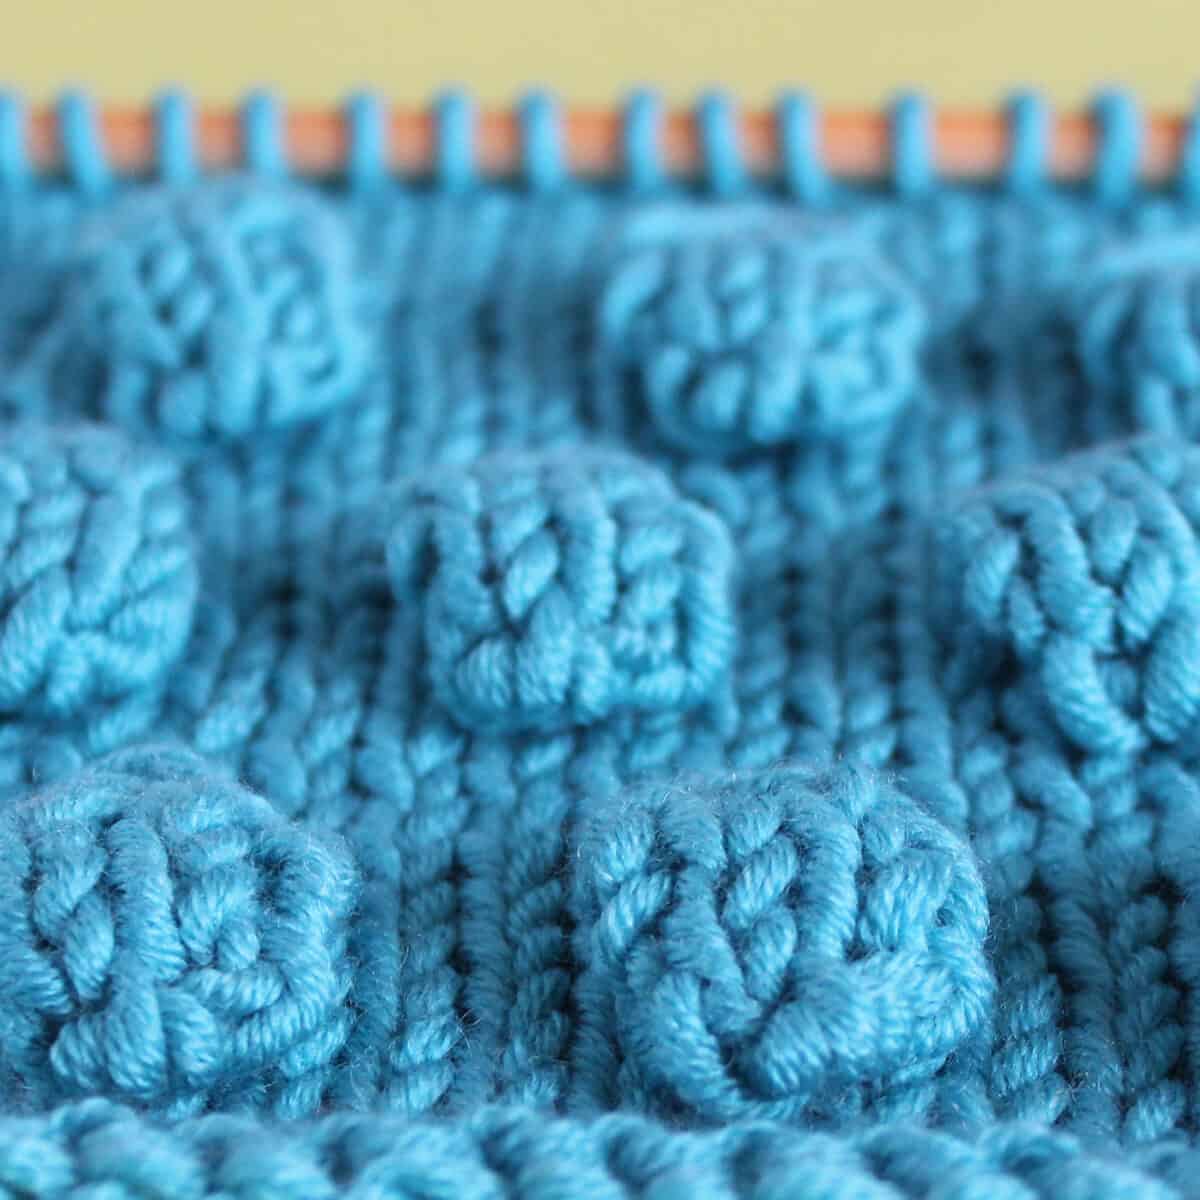
Table of Contents
Knit a Bobble in Stockinette in 3 Sizes
Preparation: Make a Bobble on the Right Side of Any Knit Stitch Pattern
One of the fun things about bobbles is that you can add them into absolutely any Knit Stitch Pattern. My examples have them placed atop easy Knit and Purl Stitches of Garter and Stockinette stitches. I have also seen bobbles added to motifs of cable stitch patterns for additional visual interest.
Once you have a knitted swatch or project started, begin the process of making your bobble while on the right side, of course, so that your cute little bobble is seen on the front of your work. I hope these 3 basic steps will help you make a bobble with confidence.
Knitting Techniques
- How to Cast On Without a Slip Knot
- Cast On
- K = Knit Stitch
- P = Purl Stitch
- K1, P1 (2 Times) Increase
- SSK Decrease = Slip Slip Knit
- K2Tog Decrease = Knit 2 Stitches Together
- Pass SSK Over K2Tog Decrease
- Cast Off
- Weave-in Yarn Ends
Step 1: Increase Stitches
Decide where you would like to place your bobble and increase one stitch into four stitches. This increase creates the width. My examples all are in a width of four stitches. Feel free to modify the pattern with more or less stitches.
(K1, P1) twice
- Knit into one stitch and keep the yarn on your left-hand needle.
- Bring your working yarn to the front, then purl into that same stitch with your right-hand needle.
- Keeping that yarn on your left needle, bring your working yarn to the back and knit into that same stitch again with your right needle.
- Then finish by keeping it on your left needle, bringing the yarn to the front, and purl the stitch with your right needle.
- You may now release the increased stitches from your left needle.
Where you began with just one stitch, you have increased it to four.
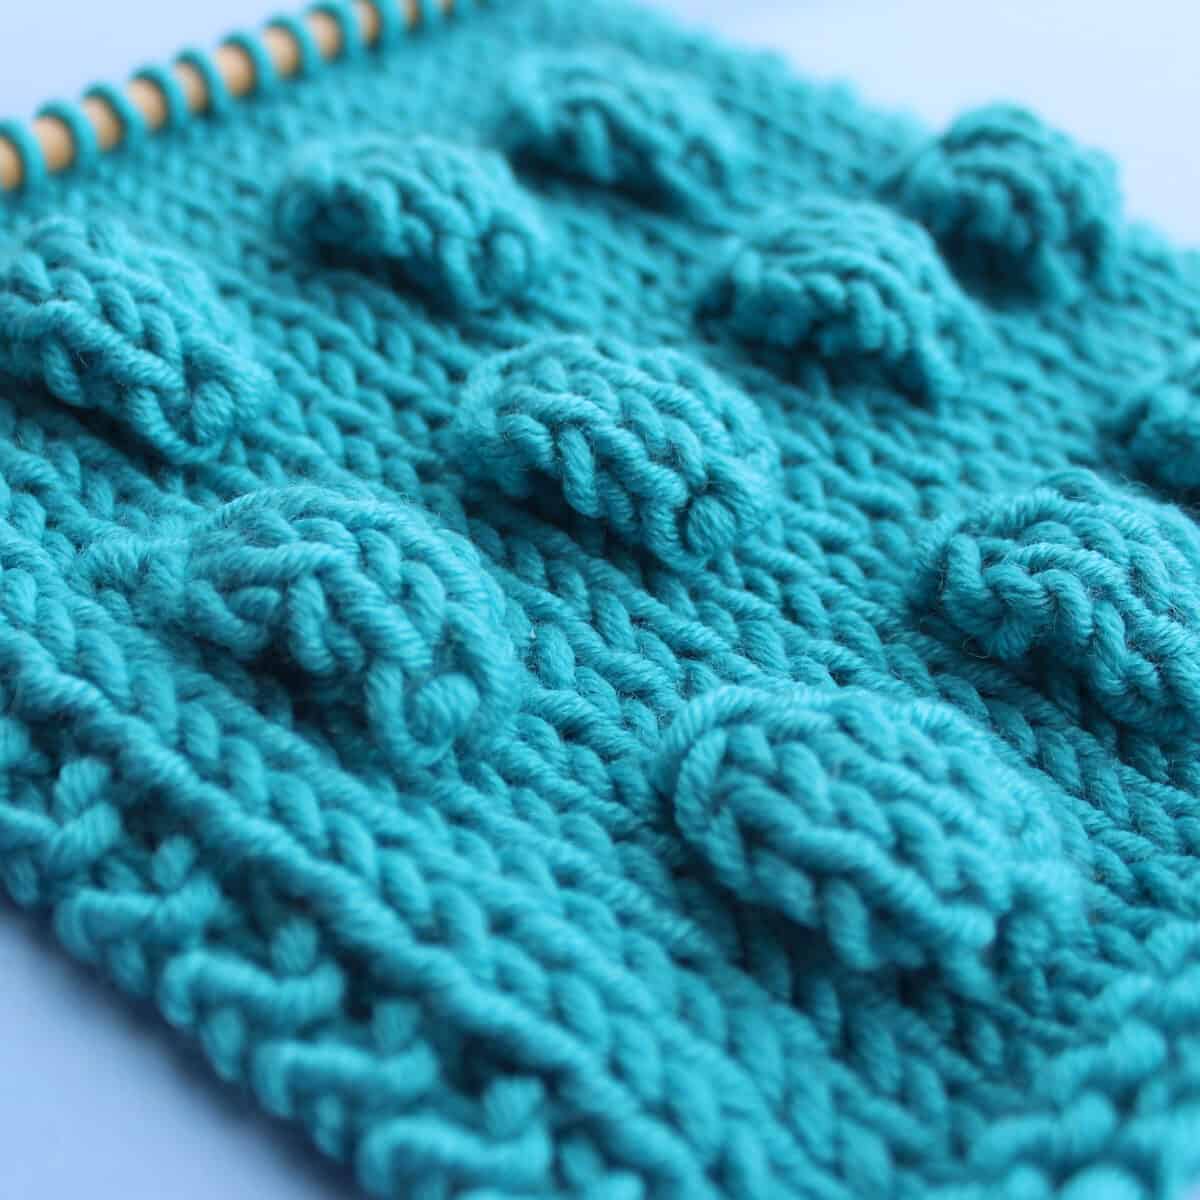
Step 2: Knit Stockinette Stitch Bobbles in 3 Sizes
This step will create the height and overall size of your bobbles. For all 3 sizes demonstrated, we are knitting in the Stockinette Stitch.
Size Small – 1 Row Stockinette Bobble:
- Turn work to the wrong side and purl 4 stitches.
- Turn work to the right side and go to Step 3.
_____
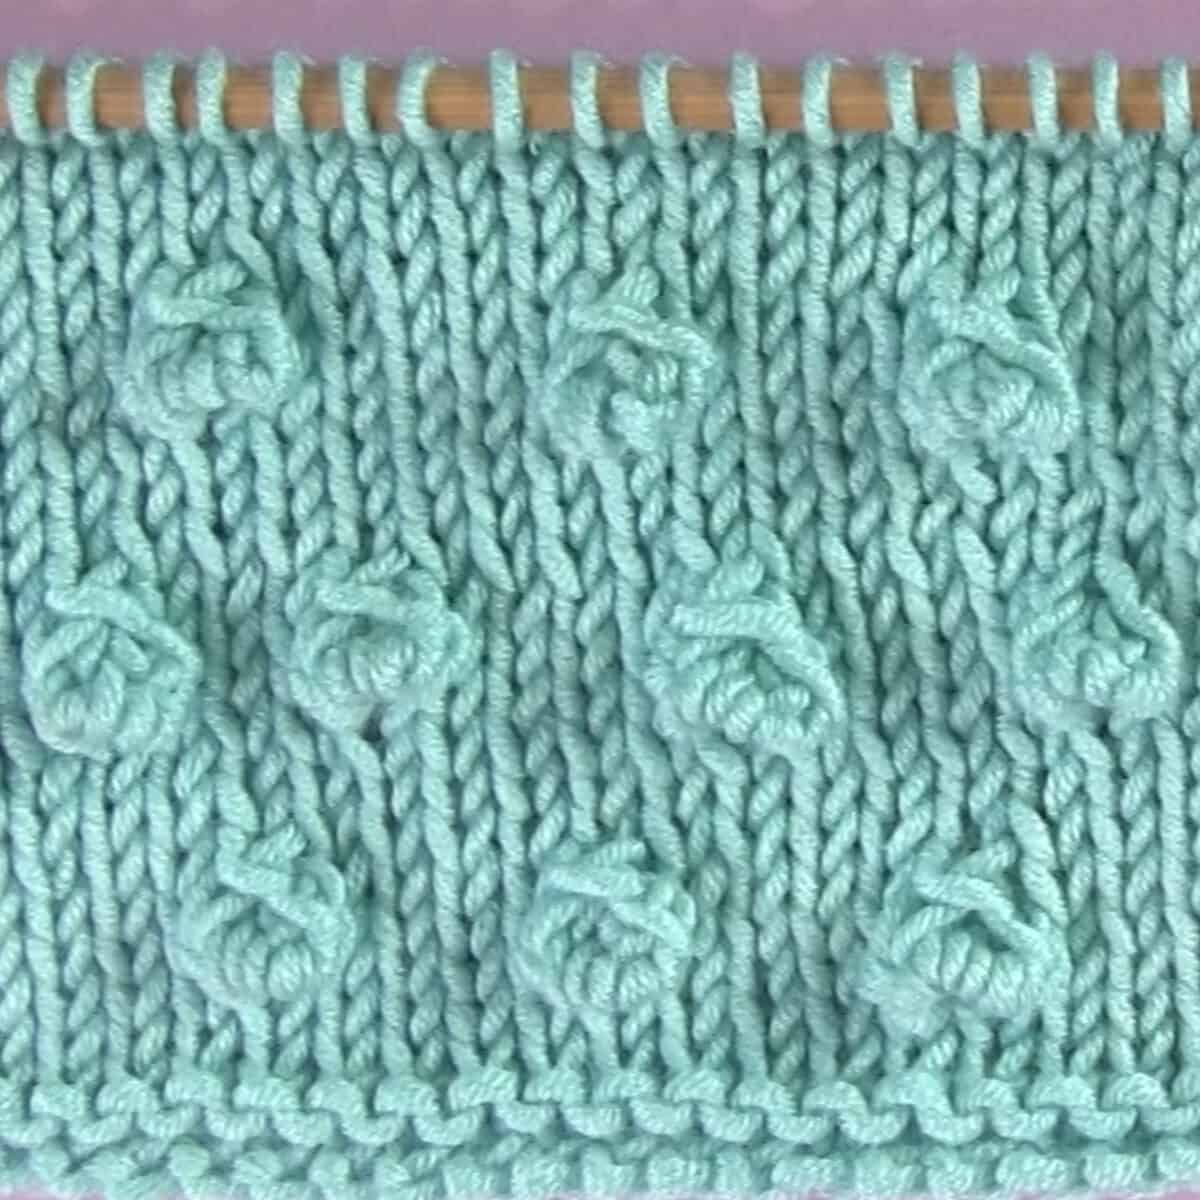
Size Medium – 3 Row Stockinette Bobble:
- Turn work to the wrong side and purl 4 stitches.
- Turn work to the right side and knit 4 stitches.
- Turn work to the wrong side and purl 4 stitches.
- Turn work to the right side and go to Step 3.
_____
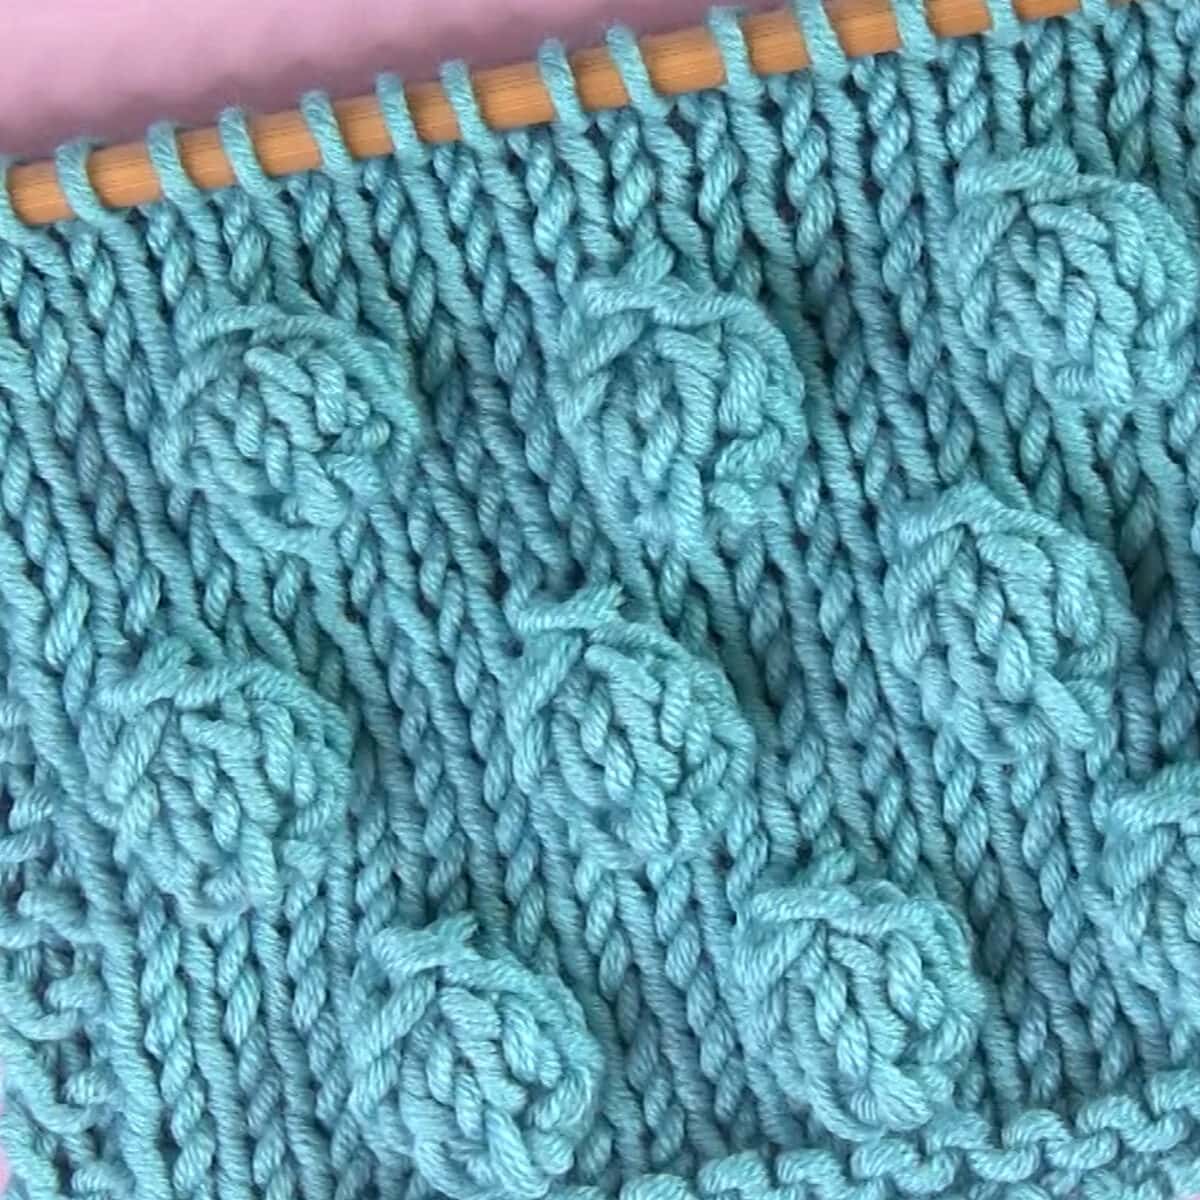
Size Large – 5 Row Stockinette Bobble:
- Turn work to the wrong side and purl 4 stitches.
- Turn work to the right side and knit 4 stitches.
- Turn work to the wrong side and purl 4 stitches.
- Turn work to the right side and knit 4 stitches.
- Turn work to the wrong side and purl 4 stitches.
- Turn work to the right side and go to Step 3.
Step 3: Decrease Stitches
Now it is time to finish up your bobble, returning it to the one original stitch from which you began.
SSK, K2Tog, Pass SSK over K2Tog
- SSK: You are now on the right side of your work. Decrease by slipping the first two stitches of your bobble purlwise, then knit into it. Two stitches have been decreased to one and they are slanting to the left.
- K2Tog: The last two stitches will be decreased by Knitting Two Together. Insert your right needle into these two stitches and knit into them. This allows the top of our bobble to slant to the right.
- Pass SSK over K2Tog: You now have two stitches of your bobble that needs to be cinched back up into one. Take your left needle and lift the SSK decreased stitch, then pass it over your K2Tog decreased stitch. The top of your bobble is complete with just one stitch remaining.
Continue knitting your the right side of your stitch pattern until you feel it is time to add another bobble!
Watch Video Tutorial
Commonly Asked Questions to Knit a 4 Stitch Bobble in Stockinette
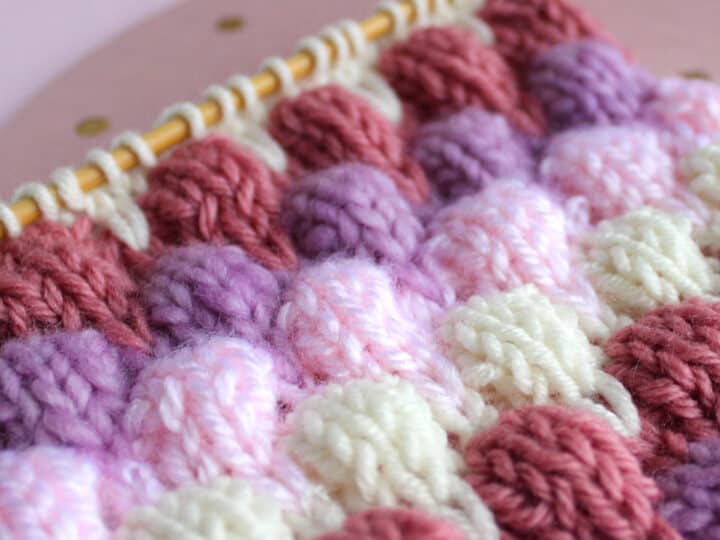
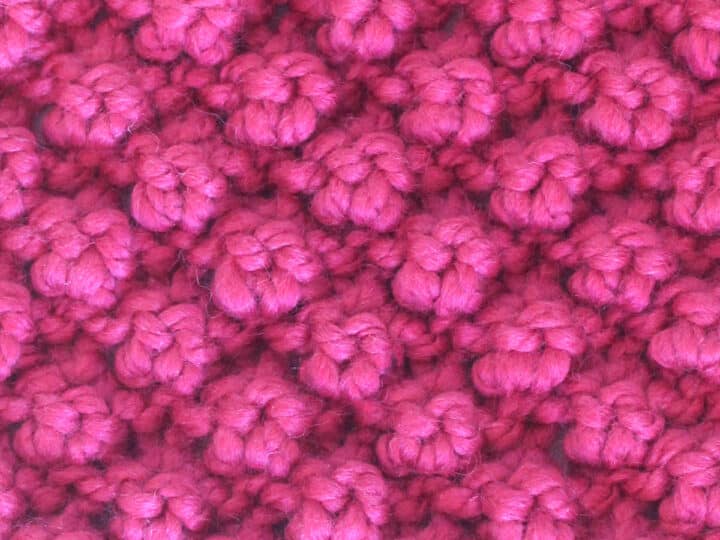
A bobble is a distinctly raised bump in a knit stitch pattern. One stitch is increased to multiples, knitted into rows, then decreased back down to the original stitch.
The knitting abbreviation MB means “Make Bobble.” There are many different types of bobble stitches, so when you see MB in your pattern, follow the instructions in your project’s pattern.
You may work a bobble into any stitch of your choice on the right side of your work.
A 4 Stitch Bobble is made by increasing 1 stitch into 4 stitches. This creates the width of a 4 stitch bobble.
Once you create the width of your bobble, the size of its length is determined by how many knitted rows you create from beginning to end.
The Stockinette Stitch is an easy knitting pattern that creates a smooth, classic texture.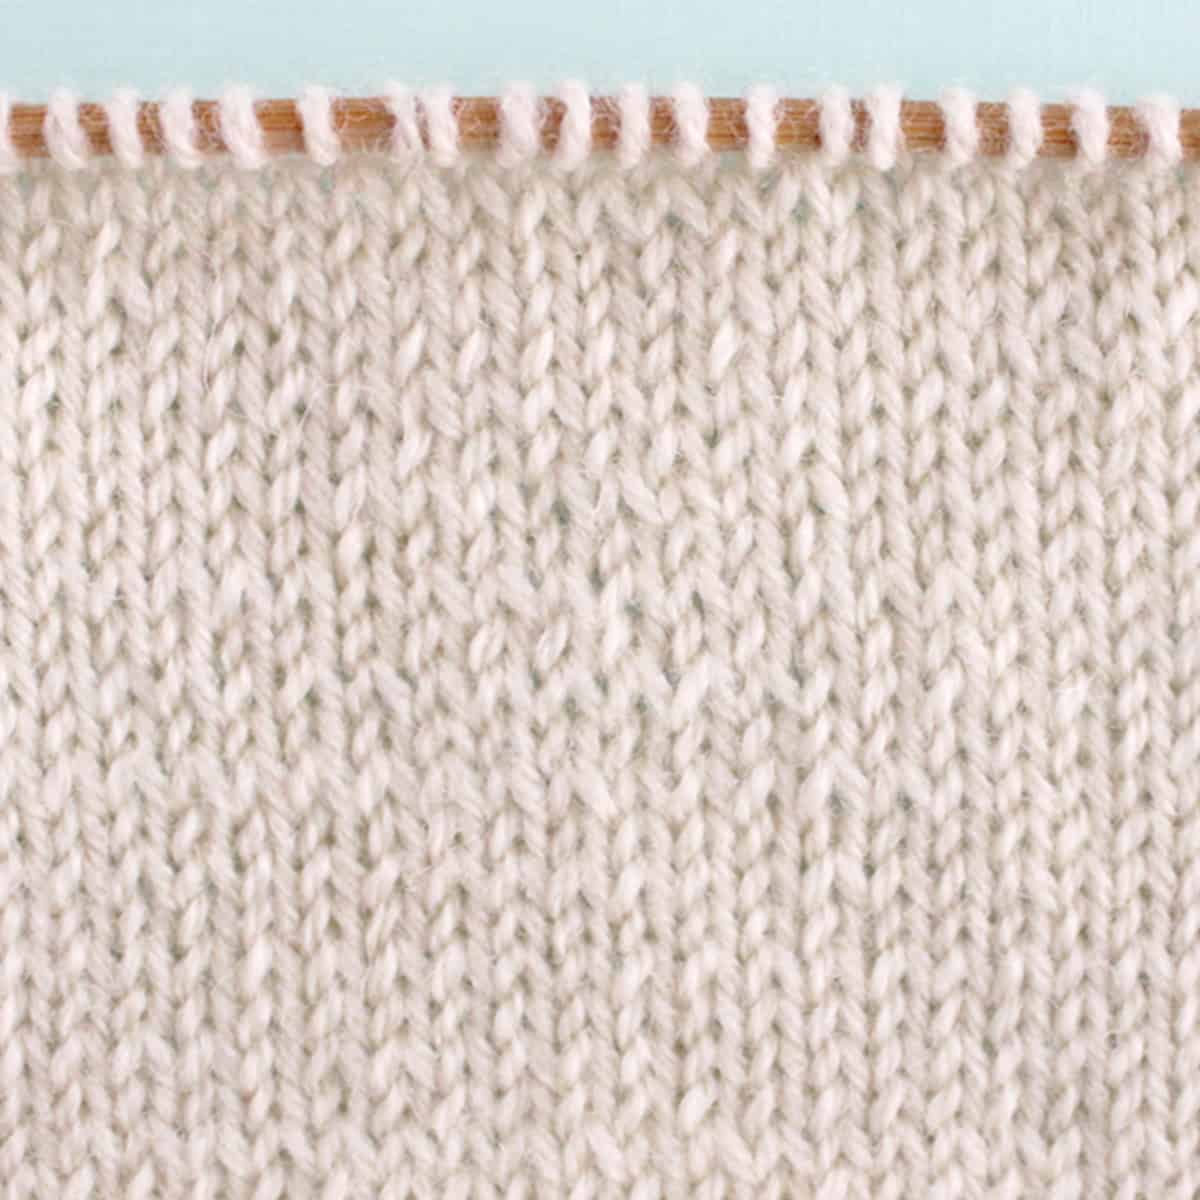
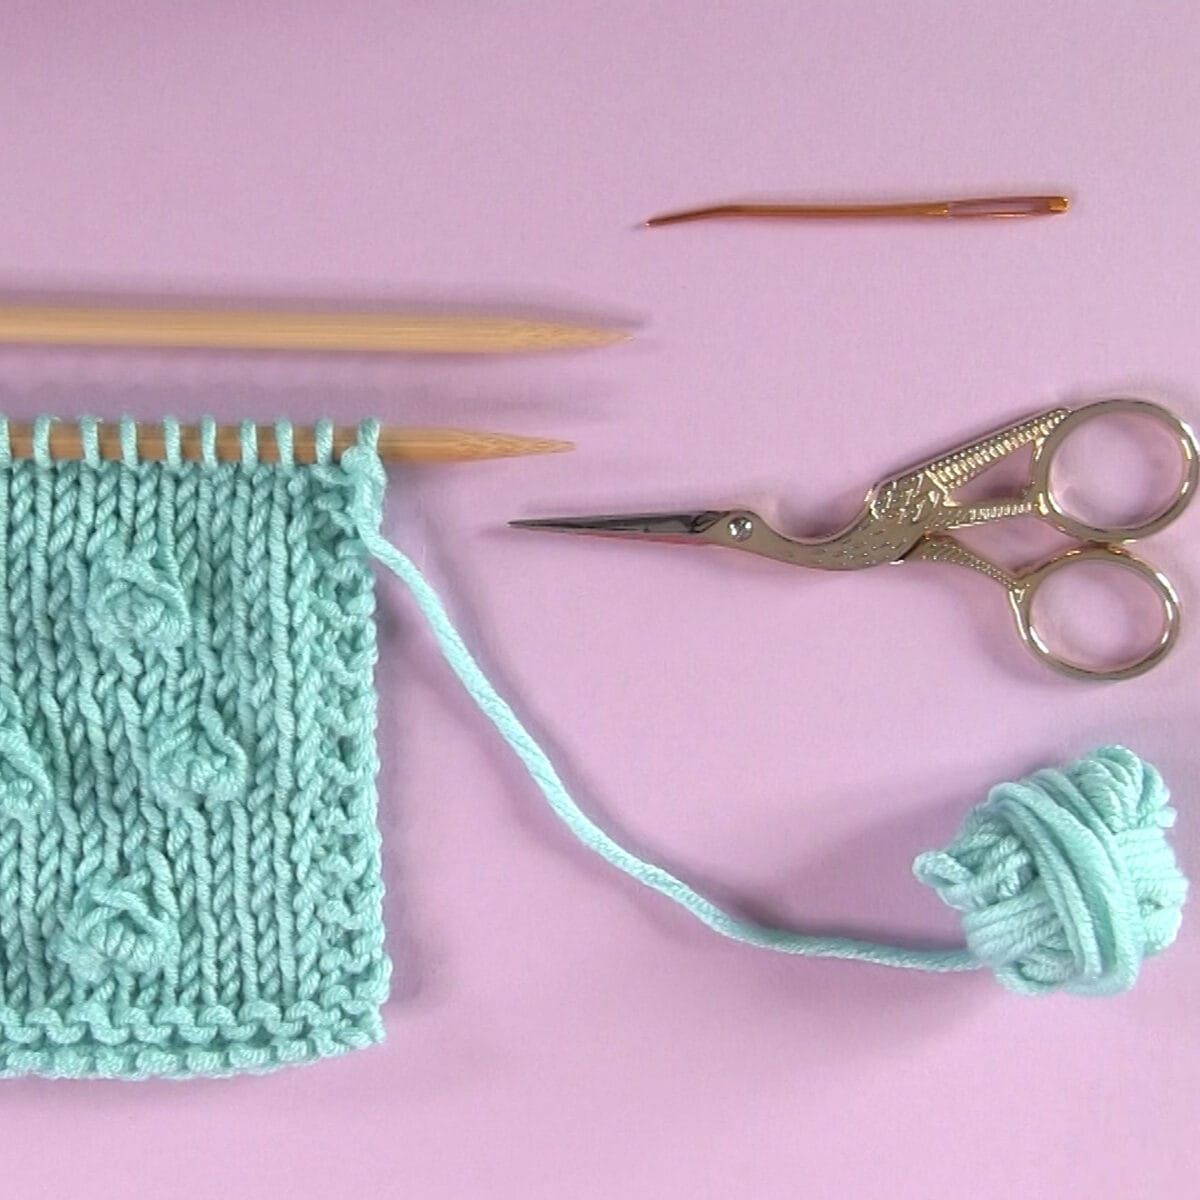
Knitting Supplies
There are no special tools required to knit your bobbles! Feel free to use any gauge yarn and appropriately sized needles for your creative project.
As an Amazon Associate, I earn from qualifying purchases.
Printable Knitting Instructions

Printable Knitting Pattern
This Bobble Stitch Knit in Stockinette creates a fun little pop of 3-dimensional texture for any project. Create these pretty little raised bumps atop any knit stitch pattern of your choice.
Materials
- Yarn - Any Gauge
Tools
- Knitting Needles - Appropriate Size for Yarn
- Tapestry Needle
- Scissors
Instructions
STEP 1: Increase Stitches
Begin on the right side of your work. Decide where you would like to place your bobble and increase one stitch into four stitches.
(K1, P1) twice
- Knit into one stitch and keep the yarn on your left needle.
- Bring your working yarn to the front, then purl into that same stitch with your right needle.
- Keeping that yarn on your left needle, bring your working yarn to the back and knit into that same stitch again with your right needle.
- Then finish by keeping it on your left needle, bringing the yarn to the front, and purl the stitch with your right needle.
- You may now release the increased stitches from your left needle.
Where you began with just one stitch, you have increased it to four.
_____
STEP 2: Knit Stockinette Stitch Bobbles in 3 Sizes
Size Small - 1 Row Stockinette Bobble:
- Turn work to the wrong side and purl 4 stitches.
- Turn work to the right side and go to Step 3.
Size Medium - 3 Row Stockinette Bobble:
- Turn work to the wrong side and purl 4 stitches.
- Turn work to the right side and knit 4 stitches.
- Turn work to the wrong side and purl 4 stitches.
- Turn work to the right side and go to Step 3.
Size Large - 5 Row Stockinette Bobble:
- Turn work to the wrong side and purl 4 stitches.
- Turn work to the right side and knit 4 stitches.
- Turn work to the wrong side and purl 4 stitches.
- Turn work to the right side and knit 4 stitches.
- Turn work to the wrong side and purl 4 stitches.
- Turn work to the right side and go to Step 3.
_____
STEP 3: Decrease Stitches
Now it is time to finish up your bobble, returning it to the one original stitch from which you began.
SSK, K2Tog, Pass SSK over K2Tog
SSK: You are now on the right side of your work. Decrease by slipping the first two stitches of your bobble purlwise, then knit into it. Two stitches have been decreased to one and they are slanting to the left.
K2Tog: The last two stitches will be decreased by Knitting Two Together. Insert your right needle into these two stitches and knit into them. This allows the top of our bobble to slant to the right.
Pass SSK over K2Tog: You now have two stitches of your bobble that needs to be cinched back up into one. Take your left needle and lift the SSK decreased stitch, then pass it over the K2Tog decreased stitch. The top of your bobble is complete with just one stitch remaining.
Continue knitting on the right side of your stitch pattern until you feel it is time to add another bobble!
Notes
Repeat Pattern between * *
Non-Reversible Knit Stitch Pattern.
_____
KNITTING TECHNIQUES AND ABBREVIATIONS

Kristen McDonnell
Author • Designer • Teacher
Kristen from StudioKnit LLC produces knitting video lessons and pattern designs from her vibrant production studio on Half Moon Bay’s California coast.
Kristen McDonnell is the author of the highly acclaimed book Knit Stitch: 50 Knit + Purl Patterns featuring vintage and unique designs.