Acorn Knitting Pattern

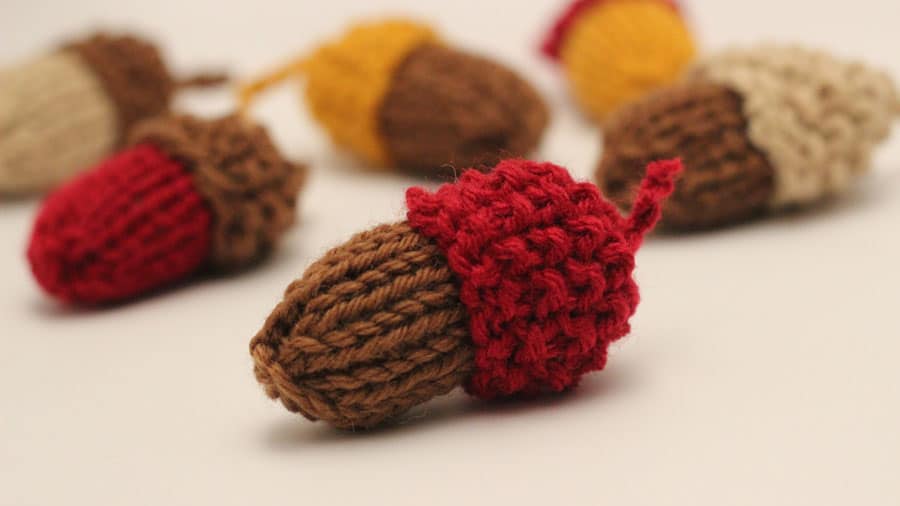
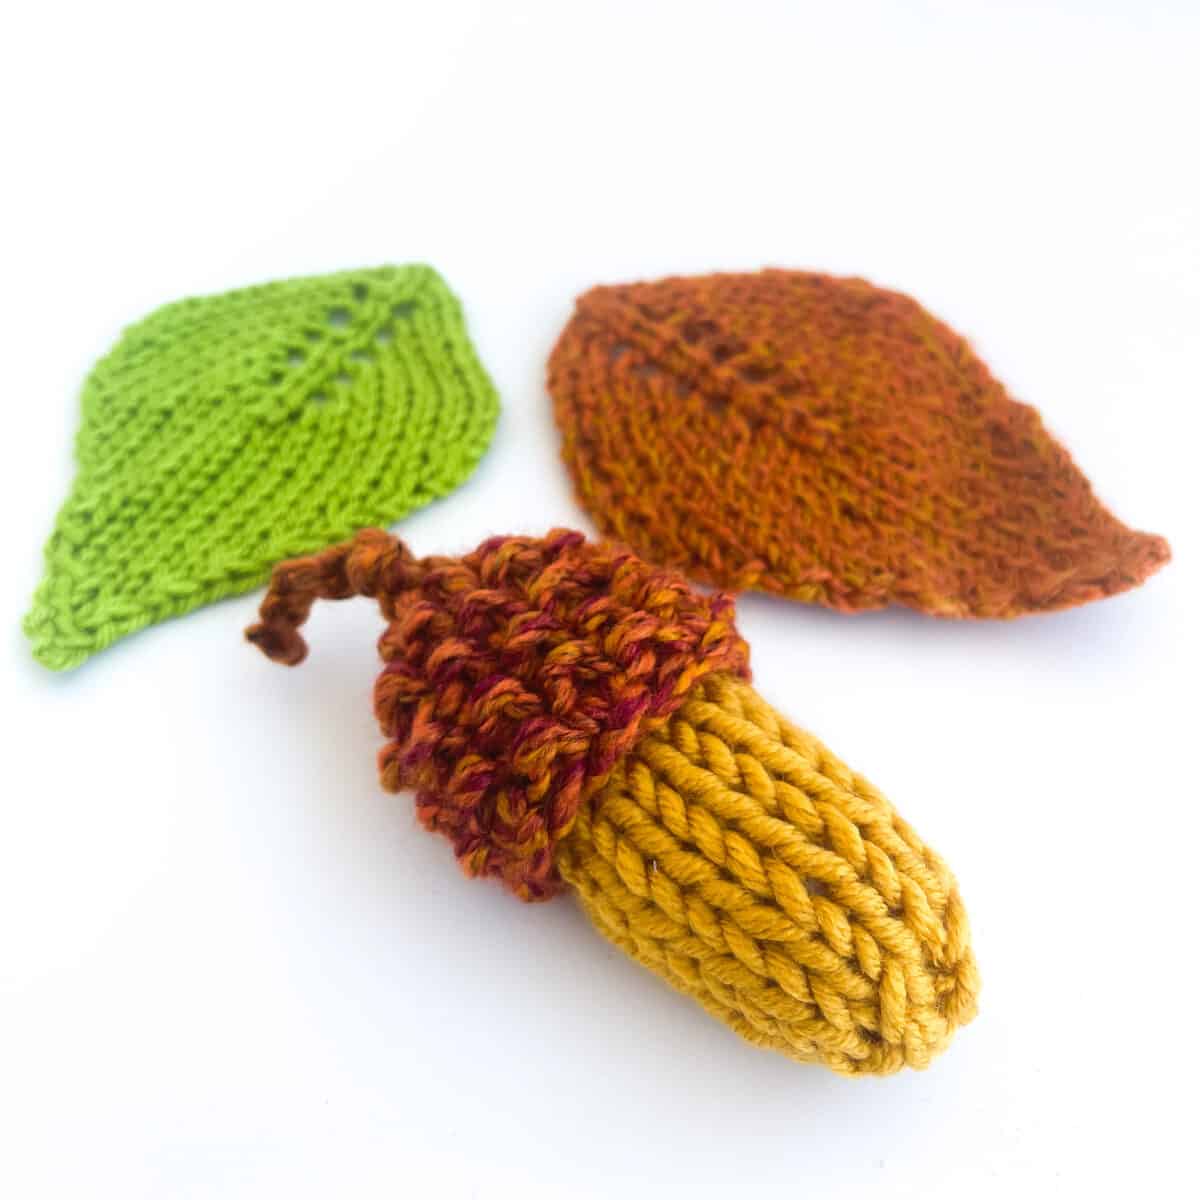
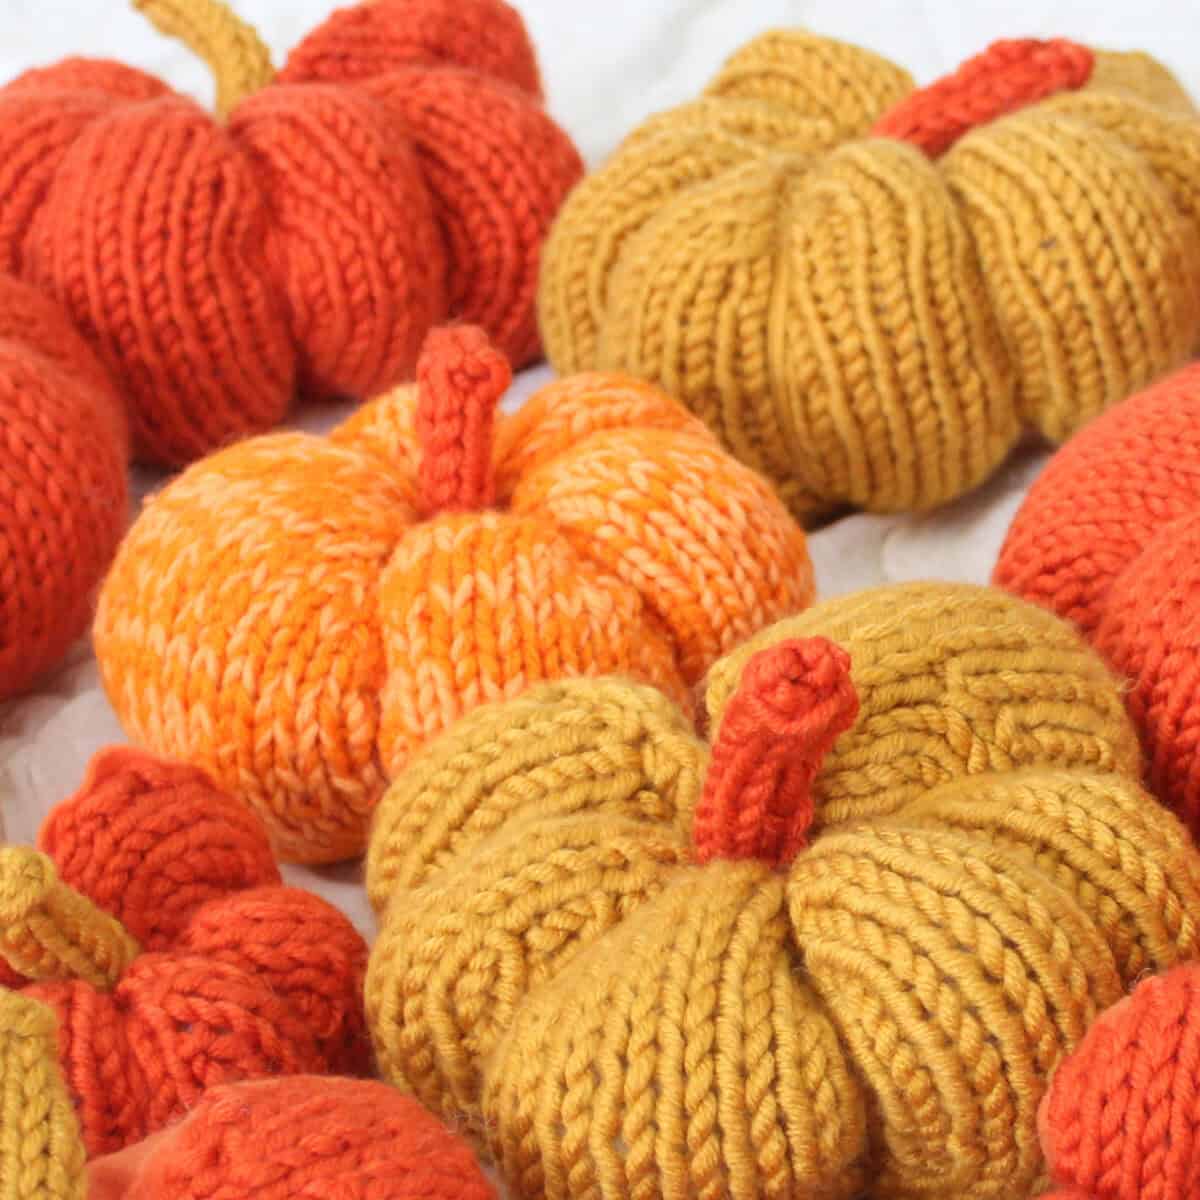
Learn how to easily knit an acorn! These cute softies are a great yarn buster and perfect for your autumn harvest Thanksgiving décor. They are knitted up in two parts: a nut and a cap.
Enjoy free printable knitting instructions with my video tutorial with a detailed overview of how you can knit acorns in different yarn color combinations.
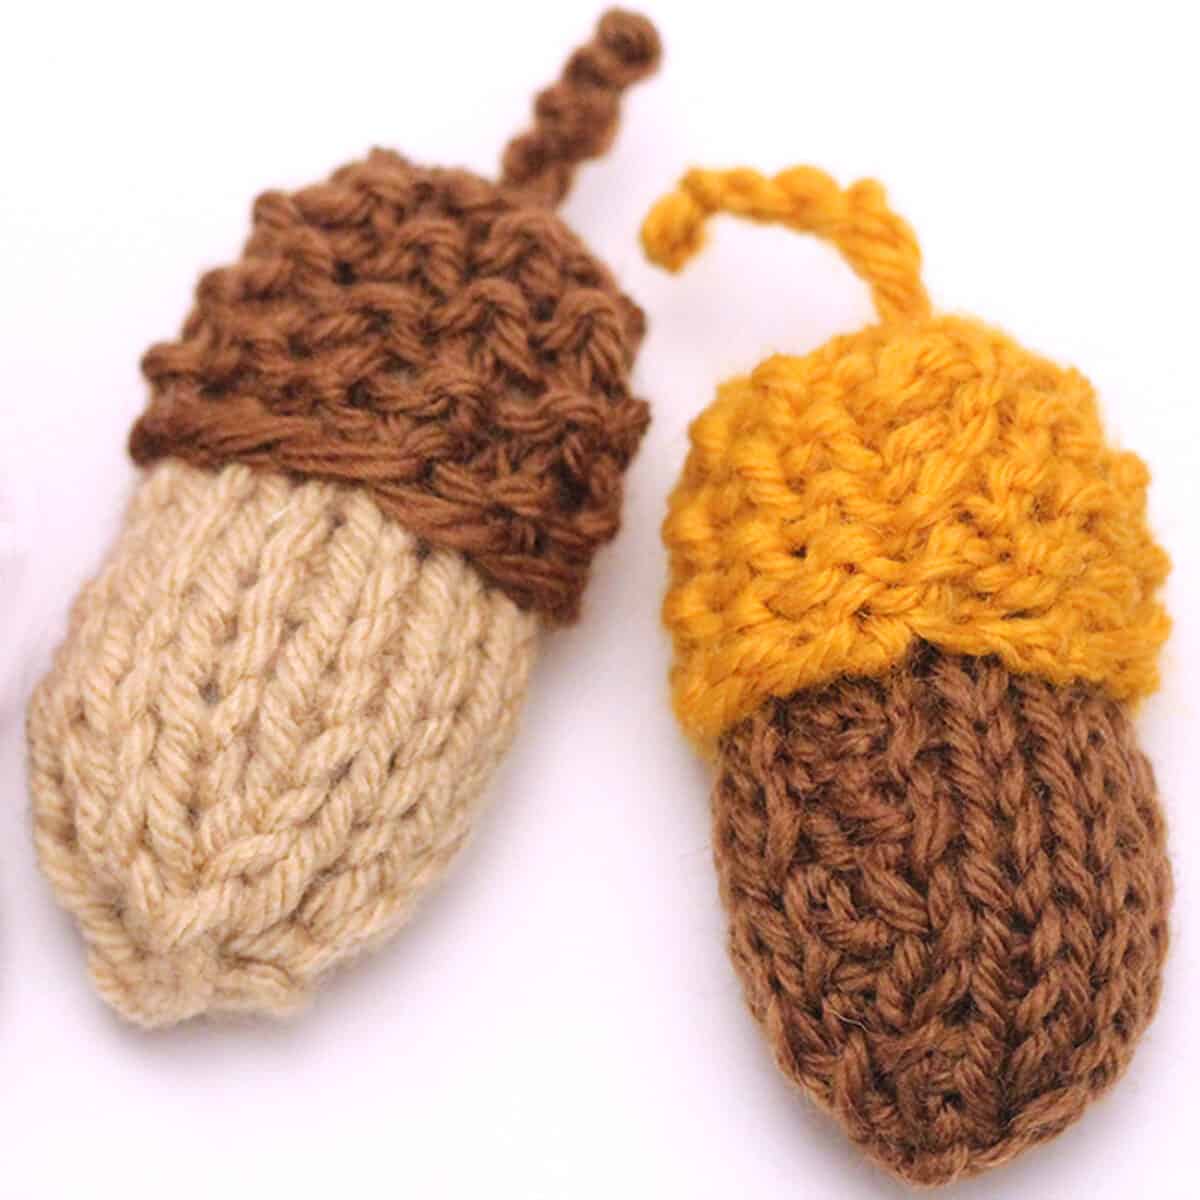
Table of Contents
Knitting Supplies
As an Amazon Associate, I earn from qualifying purchases.
You may choose to work with any gauge of yarn and appropriately sized needles. In my examples, I’m using size 7 US knitting needles and aran weighted yarns.
- Yarn in any 2 colors
- Straight Knitting Needles
- Tapestry Needle
- Scissors
- Stuffing – Polyfil or any stuffing of your choice
Watch Video Tutorial
Knitting Instructions
Step 1: Knit the Acorn Body (Nut)
Let’s start with the nut. Begin by making a slip knot, and cast on 12 stitches using the long-tail cast-on method.
For the first row, we’ll knit every stitch since we’re working in stockinette stitch. On the second row, purl all the way across.
Knit 10 rows in total, and then it’s time to decrease. Simply knit two stitches together across the row—this will reduce the stitch count and shape the nut. Instead of binding off, cut your yarn and thread it through a tapestry needle. Slip the stitches off your knitting needle, and cinch them tight to form the bottom of the nut. Use the tapestry needle to seam up the edges.
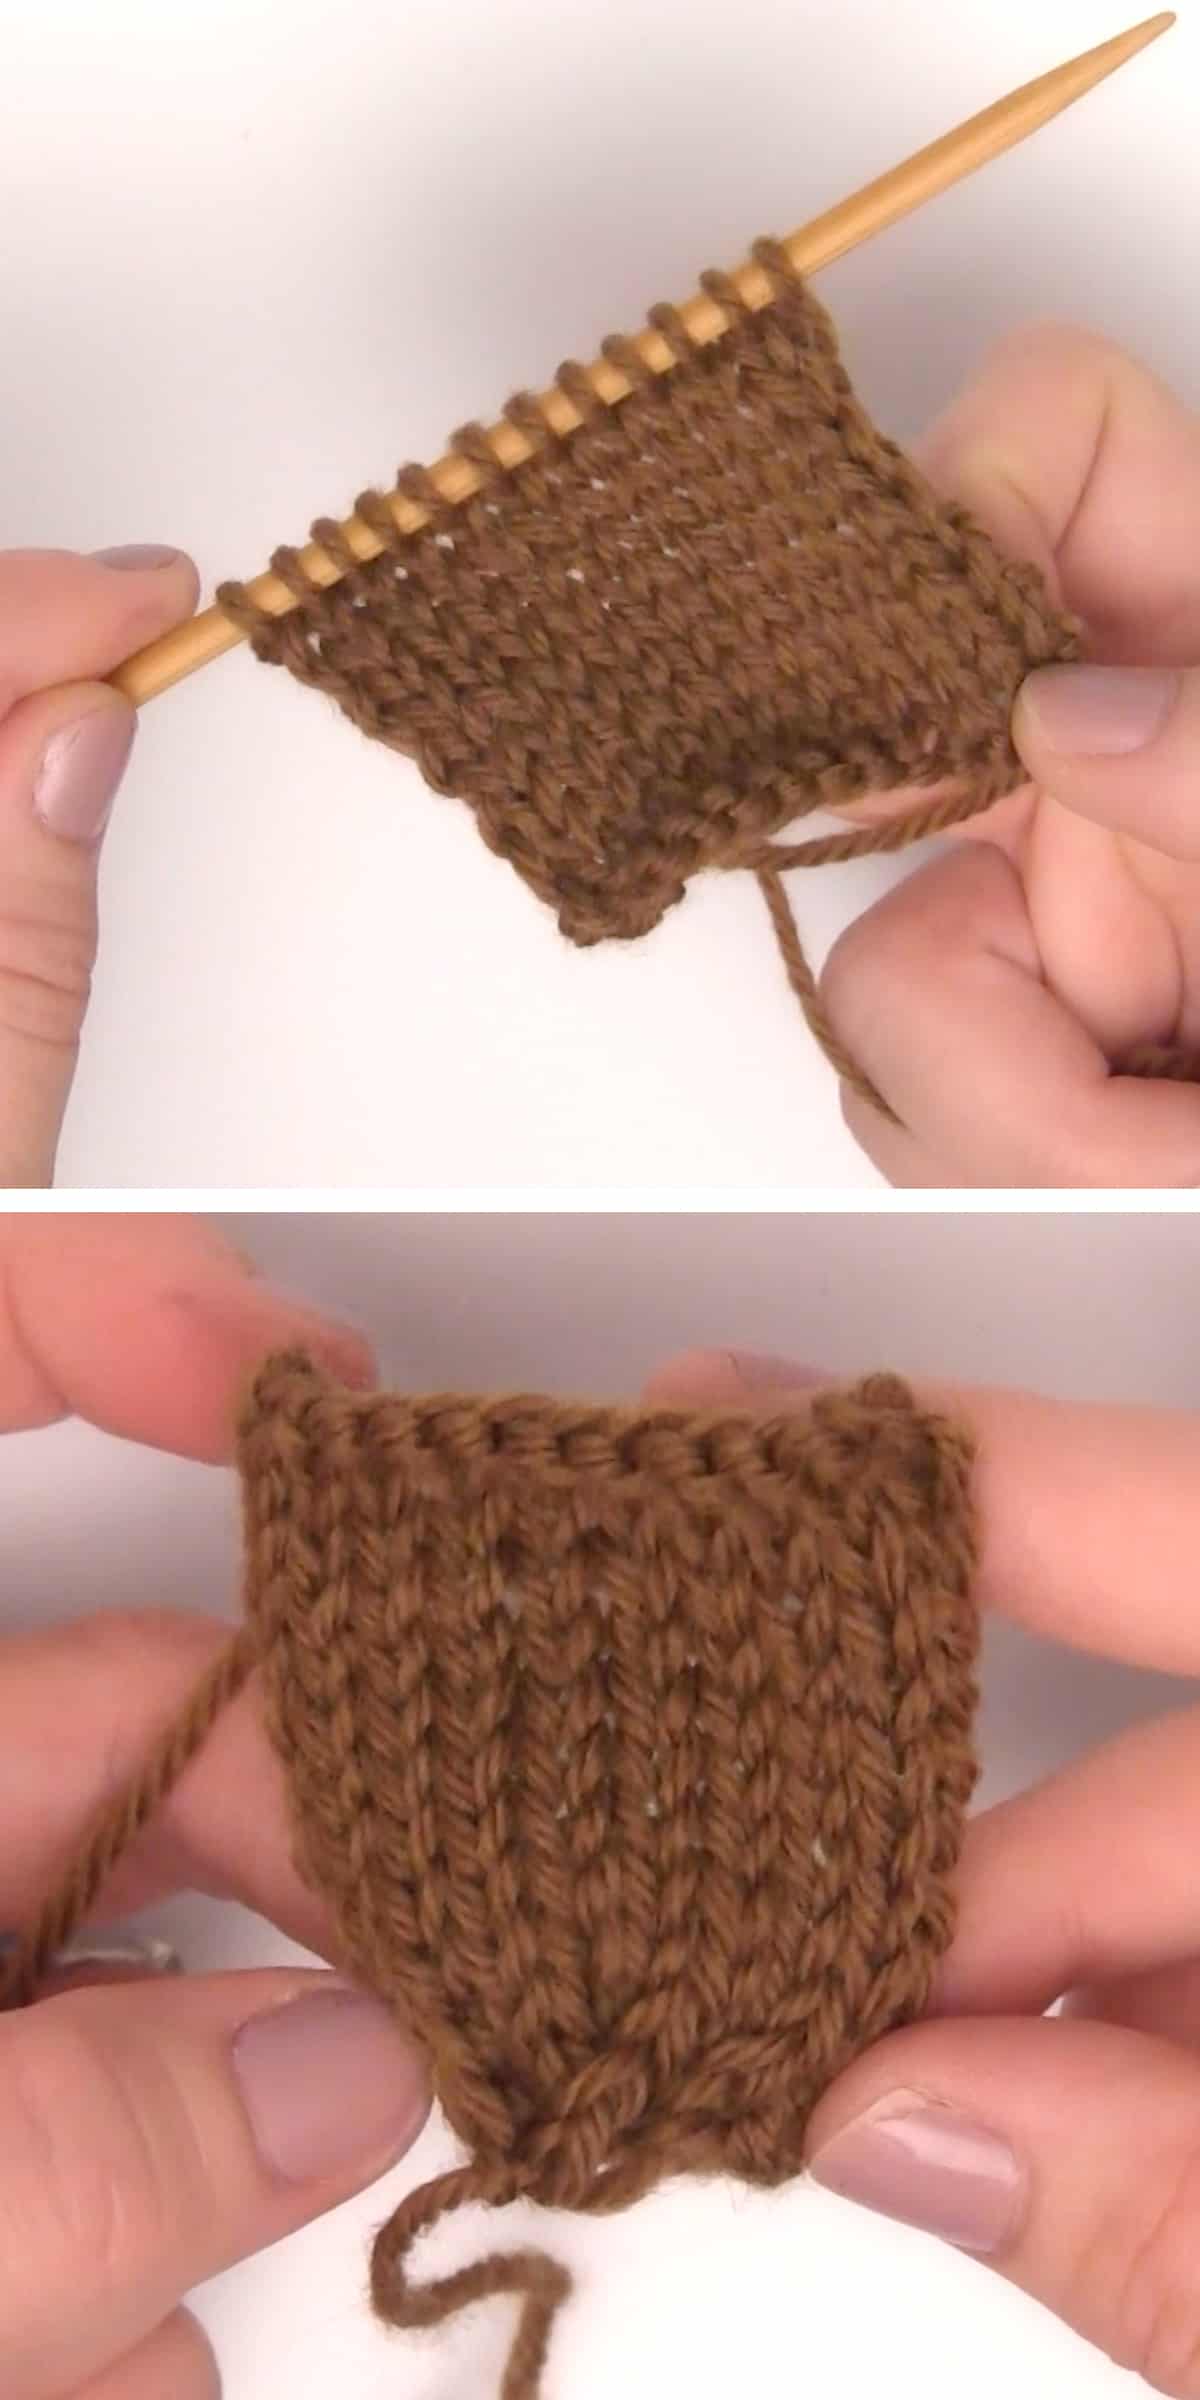
Turn the nut right side out to show the smooth stockinette stitch on the outside. You can gently shape it with your fingers. Just tuck the yarn tails inside—no need to weave them in!
Finally, add a little stuffing to give the nut its shape, but don’t overstuff, as it can become too round and lose its shape.
Step 2: Knit the Acorn Cap
Now it’s time to knit the acorn cap! I’m using red yarn for this cute topper. Start by casting on 13 stitches.
For the cap, we’ll use the Seed Stitch. If you’re new to this stitch, it’s a great way to learn! Start by knitting the first stitch, then bring your yarn to the front and purl the next stitch. Repeat this pattern—knit one, purl one—all the way down the row. Because we cast on an odd number of stitches, the last stitch will always be a knit stitch.
For row two, repeat the same pattern: knit one, purl one, continuing in seed stitch. Keep going until you’ve completed eight rows. Both sides of the fabric will look the same in this stitch.
When you’re done, cut the yarn and thread it through a tapestry needle. Carefully slide all the stitches off the knitting needle—no need to bind off. Pull the yarn through the stitches on the opposite side and cinch it tight to form the top of the acorn cap. Then, just sew the edges together to finish it up.

Step 3: Make Up Acorn Nut and Cap
After you have your nut and cap, it’s time to put them together. Simply place the cap over the nut.
To secure the cap, use the red yarn from the cap to tack it to the nut. Pull the yarn up to the top, and with the two yarn ends, tie a few knots to create a cute little stem. Once it’s secure, trim the excess yarn.

Knitting Techniques
• Slip Knot
• CO = Cast On Long Tail Method
• K = Knit Stitch
• P = Purl Stitch
• KFB = Knit Front + Back to Increase
• K2TOG = Knit 2 Sts Together to Decrease
• Bind Off
• Weave in Yarn Tails
Printable Knitting Instructions

Printable Knitting Pattern
Learn how to easily knit acorns! These cute softies are a great yarn buster and perfect for your autumn harvest Thanksgiving décor. They are knitted up in two parts: a nut and a cap.
Materials
- Yarn - Any size gauge, color, and fiber of your choice
Tools
- Knitting Needles - appropriately sized for your yarn gauge
- Tapestry Needle
- Scissors
Instructions
ACORN KNITITNG PATTERN: NUT BODY
Cast On 12 Stitches
Knit the Stockinette Stitch Pattern for 10 Rows:
- Row 1: Knit All
- Row 2: Purl All
- Row 3: Knit All
- Row 4: Purl All
- Row 5: Knit All
- Row 6: Purl All
- Row 7: Knit All
- Row 8: Purl All
- Row 9: Knit All
- Row 10: Purl All
- Row 11: Knit 2 Together All Stitches (6 stitches remaining)
- Row 12: Knit 2 Together All Stitches (3 stitches remaining)
Cut yarn, leaving about 10 inches of a yarn tail.
Remove stitches off knitting needle, draw yarn through stitches with your tapestry needle and cinch up your nut body.
Right-side in, seam up the sides.
Turn right-side out and Stuff lightly.
_____
ACORN KNITITNG PATTERN: CAP TOPPER
Cast On 13 Stitches
Knit the Seed Stitch Pattern for 8 Rows:
- Row 1: * K1, P1 * K1
- Row 2: * K1, P1 * K1
- Row 3: * K1, P1 * K1
- Row 4: * K1, P1 * K1
- Row 5: * K1, P1 * K1
- Row 6: * K1, P1 * K1
- Row 7: * K1, P1 * K1
- Row 8: * K1, P1 * K1
Cut yarn, leaving about 10 inches of a yarn tail.
Remove all 13 stitches off of your knitting needle, draw yarn through stitches with your tapestry needle and cinch up.
Seam up the sides of your acorn cap.
_____
MAKING UP KNITTED ACORNS
Tack Cap onto the body of the Nut.
Bring yarn ends up and knot them into a Stem.
Notes
Knitting Techniques

Kristen McDonnell
Author • Designer • Teacher
Kristen from StudioKnit LLC produces knitting video lessons and pattern designs from her vibrant production studio on Half Moon Bay’s California coast.
Kristen McDonnell is the author of the highly acclaimed book Knit Stitch: 50 Knit + Purl Patterns featuring vintage and unique designs.