Knitted Honeycomb Cable Headbands and Bracelets

These quick-knit Honeycomb Cable Accessory Knitting Patterns will help you how to make an easy and cozy Headband, Ear Warmer, and Bracelet. These patterns are easy-level projects, perfect for everyone ready to learn easy cable techniques.
I hope you are inspired to give these quick cable knit accessories a try. Full, detailed knitting patterns for each accessory, along with a video tutorial demonstration, are available for free below.
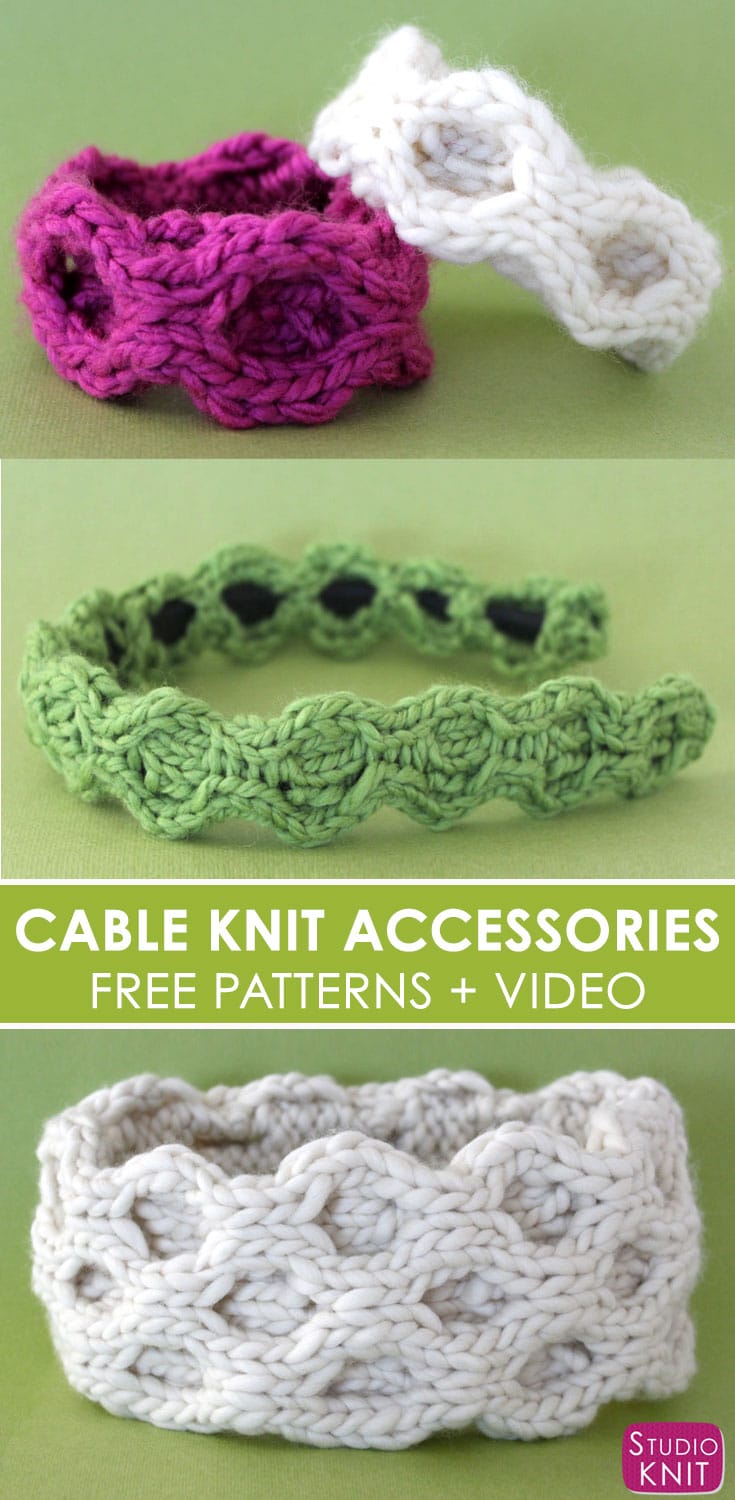
Table of Contents
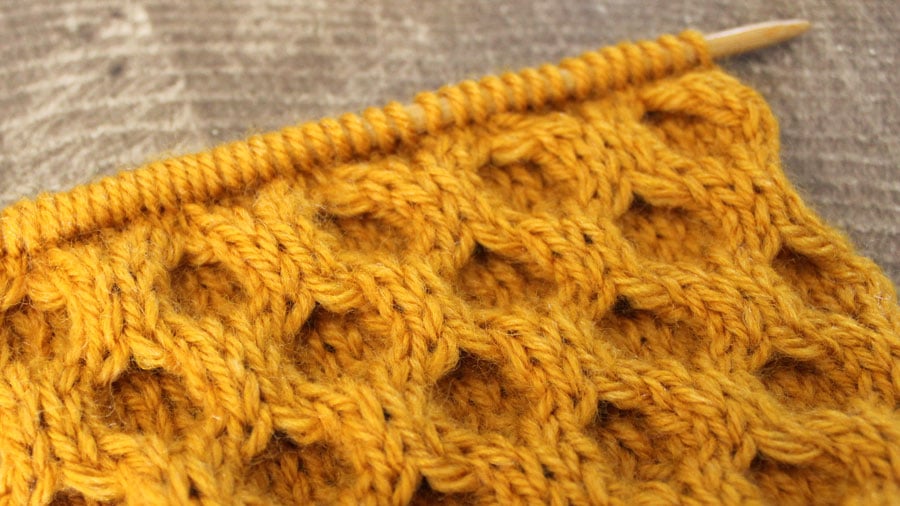
Honeycomb Cable Stitch Pattern
Let’s take a close look at our Honeycomb Cable Stitch Pattern. This vintage Honeycomb Cable stitch pattern is a knitting repeat of eight rows that are simple to memorize.
It looks really intricate to knit, but it’s actually quite simple. With a pattern of knit and purl techniques, plus two simple cable techniques, you can create this beautiful and modern looking pattern.
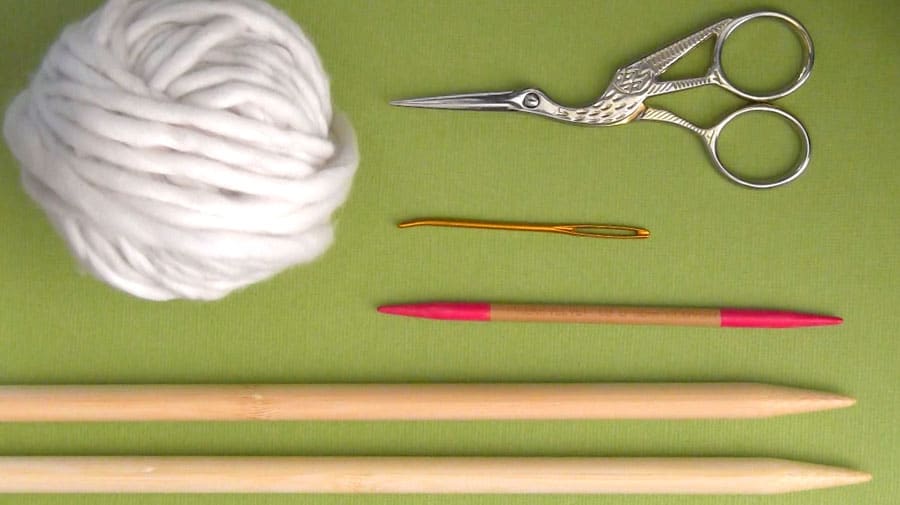
Knitting Supplies
My samples were created with size 7 and 15 US knitting needles, with worsted and super bulky weight wool yarn. Feel free to use any weight yarn and appropriately sized knitting needles for your creative project.
- Cable Needle
- Tapestry Needle
- Scissors
Knitting Techniques
• Slip Knot
• CO = Cast On Long Tail Method
• K = Knit Stitch
• P = Purl Stitch
• C4B = Cable 4 Back. Slip 2 Hold Back: Knit 2 + Knit 2 from Cable Needle
• C4F = Cable 4 Front. Slip 2 Hold Front: Knit 2 + Knit 2 from Cable Needle
• Bind Off
Watch Video Tutorial
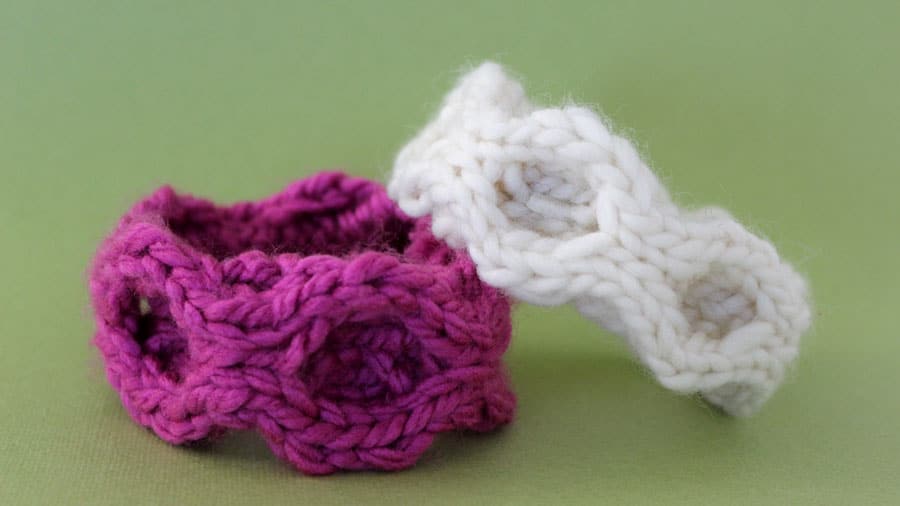
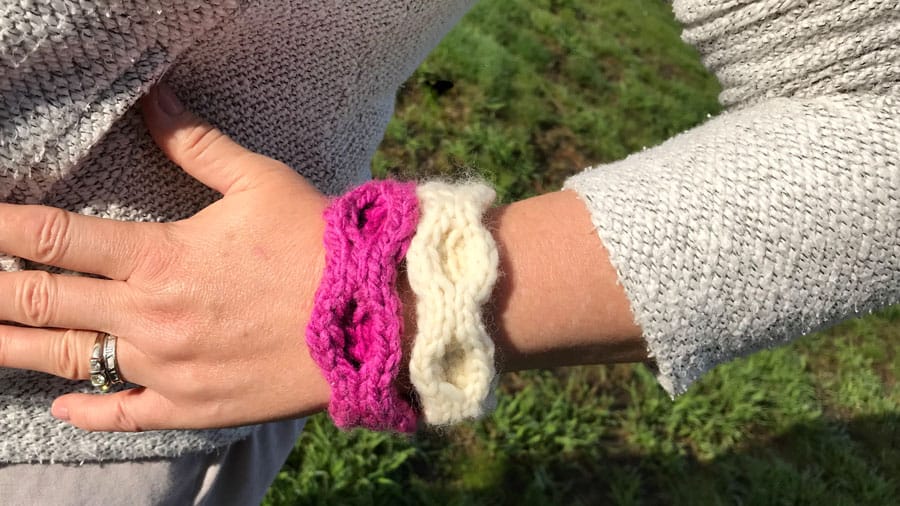
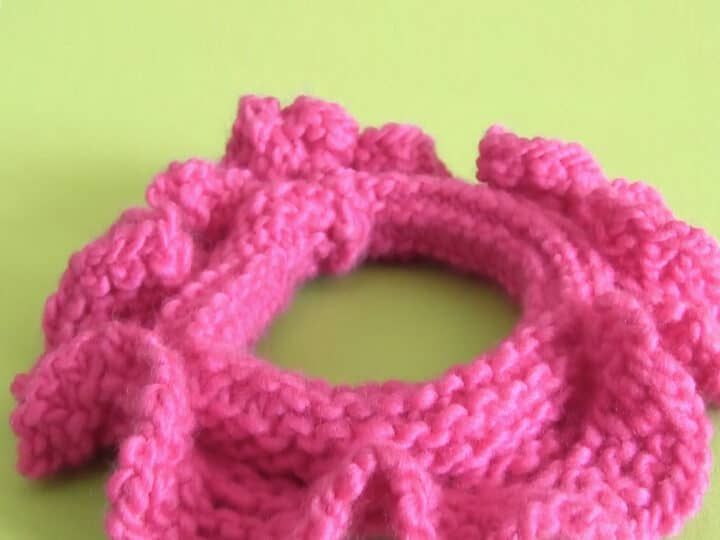
Honeycomb Cable Bracelet
Knitting Supplies
For your materials, feel free to use any weight yarn and knitting needles you have on hand. This is a great stash-buster!
To knit up my bracelet jewelry examples shown above, I used the following knitting materials:
• Worsted Weight Wool Yarn, Superwash Cascade
• 2 Straight Knitting Needles Size #7 US
• 1 Cable Needle or Double Pointed Needle
• Tapestry Needle
• Stork Scissors
SIZE: 1 inch in height. Knit to fit your wrist size in length.
Cast On 8 Stitches
Row 1: Knit All
Row 2: Purl All
Row 3:
* C4B = Cable 4 Back. Slip 2 Hold Back: Knit 2 + Knit 2 from Cable Needle.
C4F = Cable 4 Front. Slip 2 Hold Front: Knit 2 + Knit 2 from Cable Needle. *
(repeat pattern between ** asterisks)
Row 4: Purl All
Row 5: Knit All
Row 6: Purl All
Row 7:
* C4F = Cable 4 Front. Slip 2 Hold Front: Knit 2 + Knit 2 from Cable Needle.
C4B = Cable 4 Back. Slip 2 Hold Back: Knit 2 + Knit 2 from Cable Needle. *
(repeat pattern between ** asterisks)
Row 8: Purl All
When you are done with row eight, begin again on row one!
Continue knitting until your piece is the length you desire to fit around your wrist.
Cut Yarn
Thread Yarn Tail through Tapestry Needle
Finish Off my threading yarn through the last loop.
Fold right sides of the bracelet together and Tack the Edges.
Weave In Your Ends.
Cut Yarn Tail.
Fold Right Side Out.
And you are DONE! So cute!
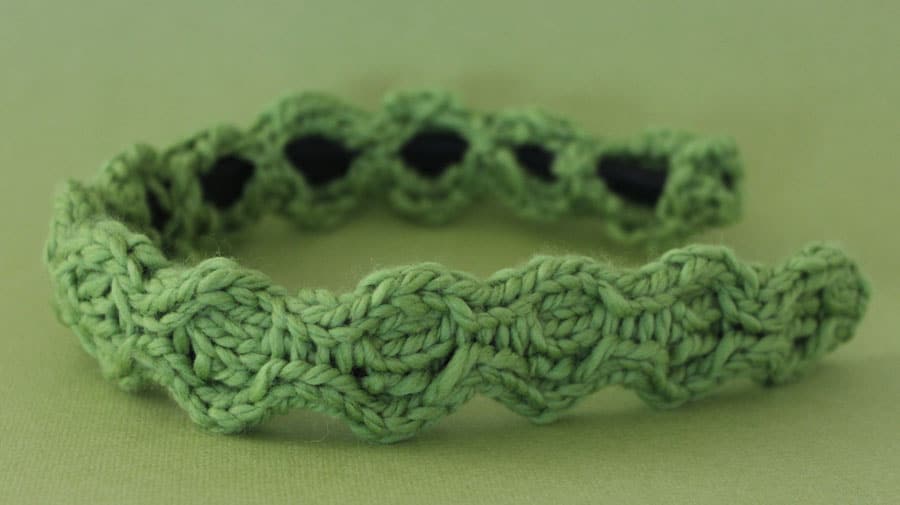
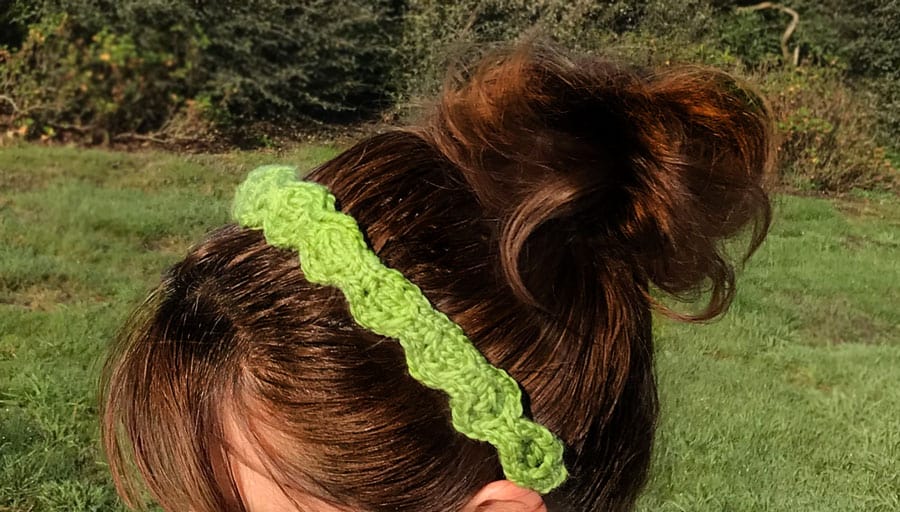
Honeycomb Cable Headband
MATERIALS: For your materials, feel free to use any weight yarn and knitting needles you have on hand. This is a great stash-buster!
To knit up my headband sample shown above, I used the following knitting materials:
• Worsted Weight Wool Yarn, Superwash Cascade
• 2 Straight Knitting Needles Size #7 US
• 1 Cable Needle or Double Pointed Needle
• Tapestry Needle
• Stork Scissors
• Headband
SIZE: 1 inch in height. Knit to fit your headband’s length (approx. 16 inches).
Cast On 8 Stitches
Row 1: Knit All
Row 2: Purl All
Row 3:
* C4B = Cable 4 Back. Slip 2 Hold Back: Knit 2 + Knit 2 from Cable Needle.
C4F = Cable 4 Front. Slip 2 Hold Front: Knit 2 + Knit 2 from Cable Needle. *
(repeat pattern between ** asterisks)
Row 4: Purl All
Row 5: Knit All
Row 6: Purl All
Row 7:
* C4F = Cable 4 Front. Slip 2 Hold Front: Knit 2 + Knit 2 from Cable Needle.
C4B = Cable 4 Back. Slip 2 Hold Back: Knit 2 + Knit 2 from Cable Needle. *
(repeat pattern between ** asterisks)
Row 8: Purl All
When you are done with row eight, begin again on row one!
Continue knitting until your piece is the length you desire to fit around your headband base.
Cut Yarn
Thread Yarn Tail through Tapestry Needle
Finish Off my threading yarn through the last loop.
Using your yarn tail, attach your cable piece around the perimeter of your headband.
Weave In Your Ends.
Cut Yarn Tail.
And you are DONE! Ready to wear!
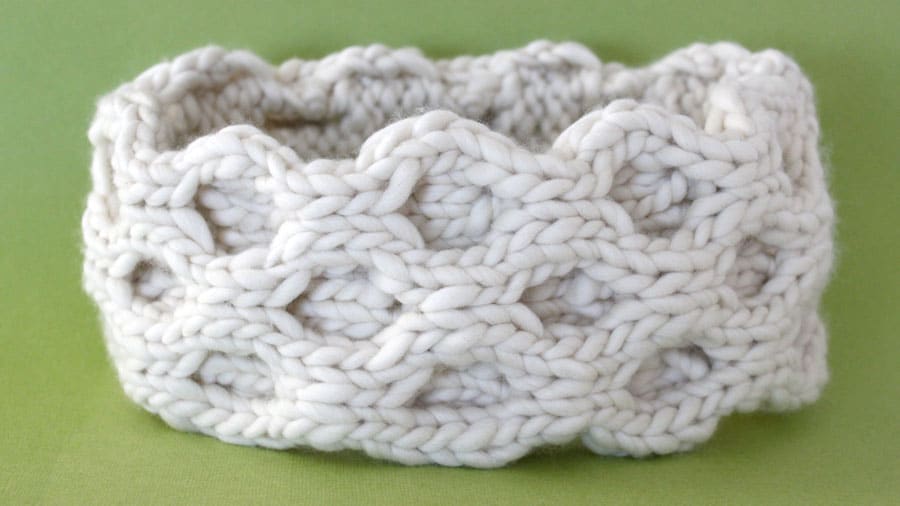
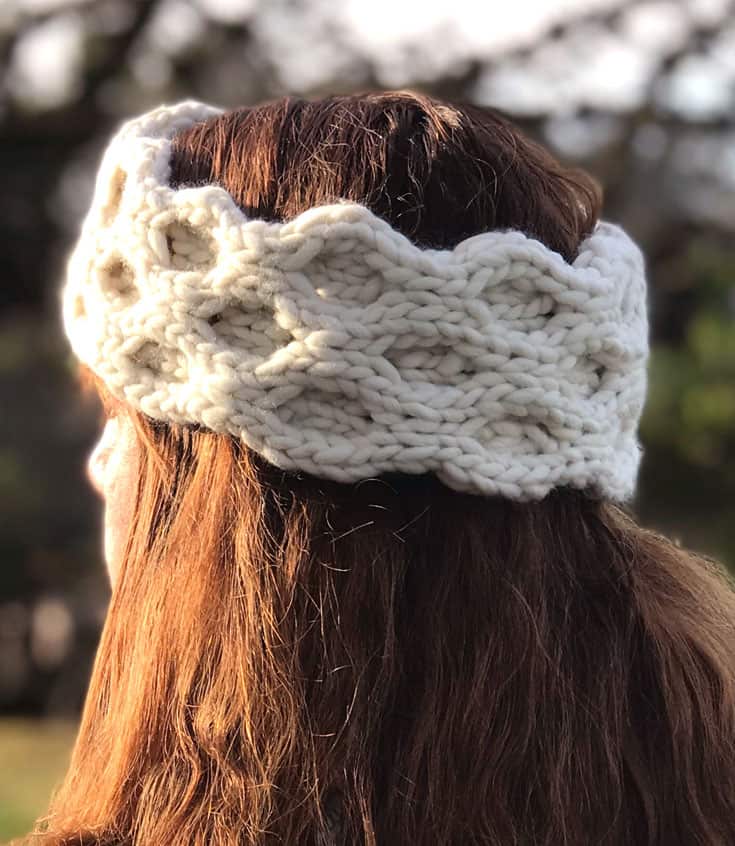
Honeycomb Cable Ear Warmer
MATERIALS: For your materials, feel free to use any weight yarn and knitting needles you have on hand.
To knit up my ear warmer example shown above, I used the following knitting materials:
• Super Bulky Wool Yarn, Malabrigo Merino Rasta Color Natural
• 2 Straight Knitting Needles Size #15 US
• 1 Cable Needle or Double Pointed Needle
• Tapestry Needle
• Stork Scissors
SIZE: 4.25 inches in height. Knit to fit your head size in length.
Cast On 16 Stitches
Row 1: Knit All
Row 2: Purl All
Row 3:
* C4B = Cable 4 Back. Slip 2 Hold Back: Knit 2 + Knit 2 from Cable Needle.
C4F = Cable 4 Front. Slip 2 Hold Front: Knit 2 + Knit 2 from Cable Needle. *
(repeat pattern between ** asterisks)
Row 4: Purl All
Row 5: Knit All
Row 6: Purl All
Row 7:
* C4F = Cable 4 Front. Slip 2 Hold Front: Knit 2 + Knit 2 from Cable Needle.
C4B = Cable 4 Back. Slip 2 Hold Back: Knit 2 + Knit 2 from Cable Needle. *
(repeat pattern between ** asterisks)
Row 8: Purl All
When you are done with row eight, begin again on row one!
Continue knitting until your piece is the length you desire to fit around your head.
Cut Yarn
Thread Yarn Tail through Tapestry Needle
Finish Off my threading yarn through the last loop.
Fold right sides of the ear warmer together and Tack the Edges.
Weave In Your Ends.
Cut Yarn Tail.
Fold Right Side Out.
And you are DONE! Keeping it cozy and fashionable!

Kristen McDonnell
Author • Designer • Teacher
Kristen from StudioKnit LLC produces knitting video lessons and pattern designs from her vibrant production studio on Half Moon Bay’s California coast.
Kristen McDonnell is the author of the highly acclaimed book Knit Stitch: 50 Knit + Purl Patterns featuring vintage and unique designs.