5 Best Tips for Knitting Stripes
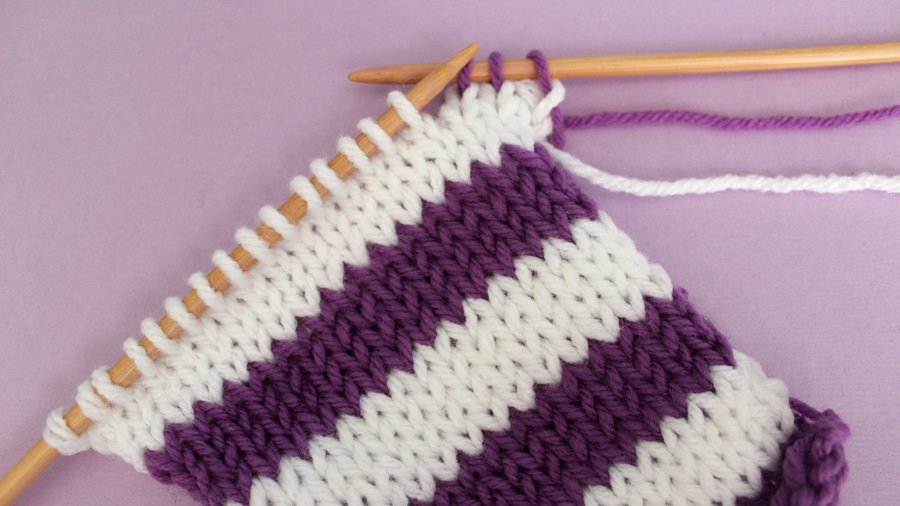
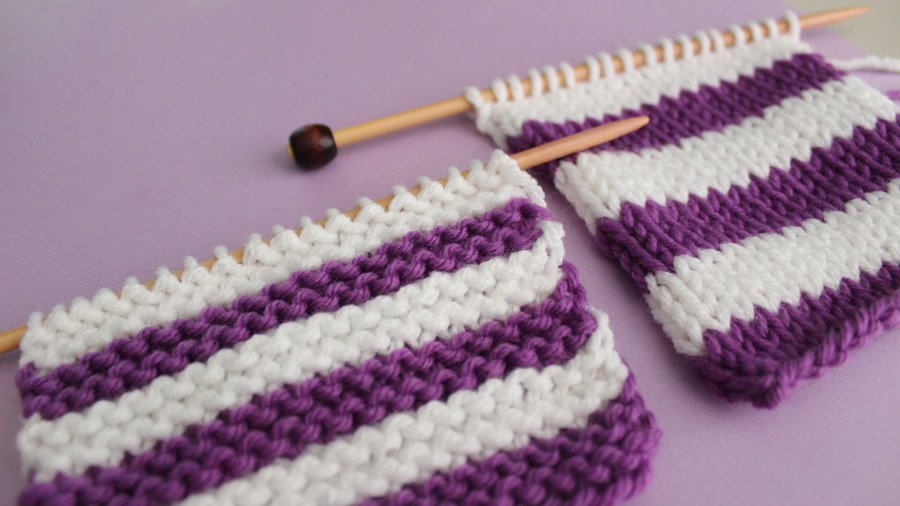
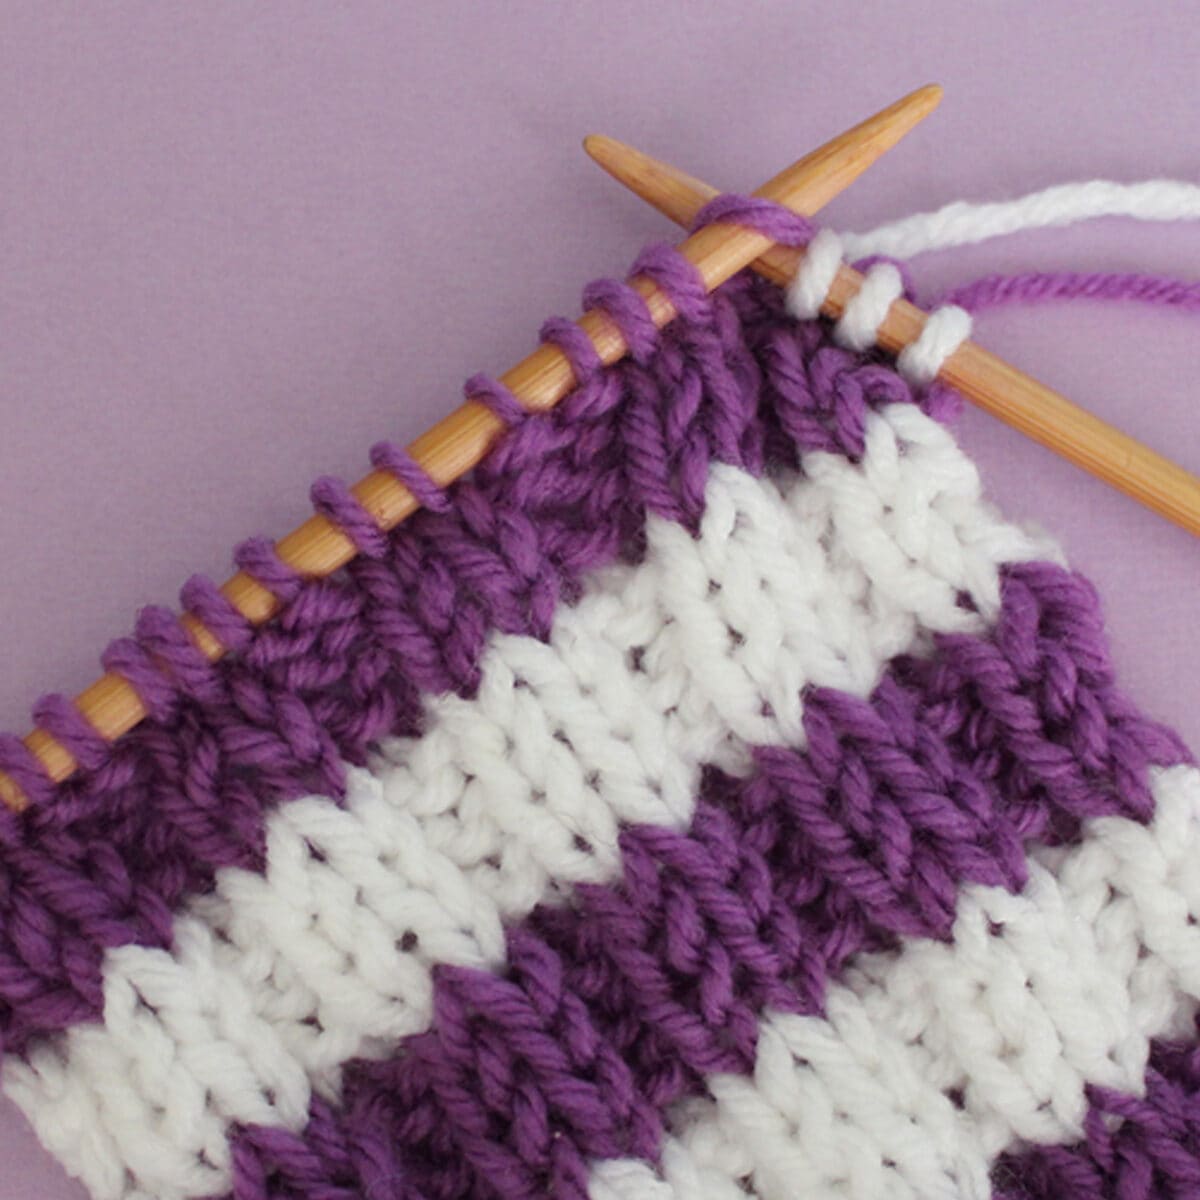
You are Going to Love my 5 Best Tips for Knitting Stripes! Let’s begin by taking a close look at the easiest ways to create horizontal stripes knitted flat on straight knitting needles with really simple knit and purl stitch patterns.
I love adding stripes to knitted projects. For starters, it adds visual interest to your piece. Depending on your design, changing yarn colors can add texture, too.
Switching up yarn colors helps keep me motivated while knitting up my project, too. It’s like a mini completion, whenever it’s time for a new color, right?
LEARN HOW TO KNIT STRIPES
First, we will look at how you can get really creative by mixing and matching knit stitch patterns. Then we will review the easiest knitting techniques for adding stripes.
Learn how and when to change your yarn color, along with the simplest way to carry your yarn up the side of your work.
Lastly, I’ll show you a nifty little trick to get rid of those pesky purl dash lines on your yarn change row when knitting patterns that have a mix of knit and purl stitches in the same row.
TIP #1 – DESIGN KNIT STITCH PATTERNS WITH STRIPES
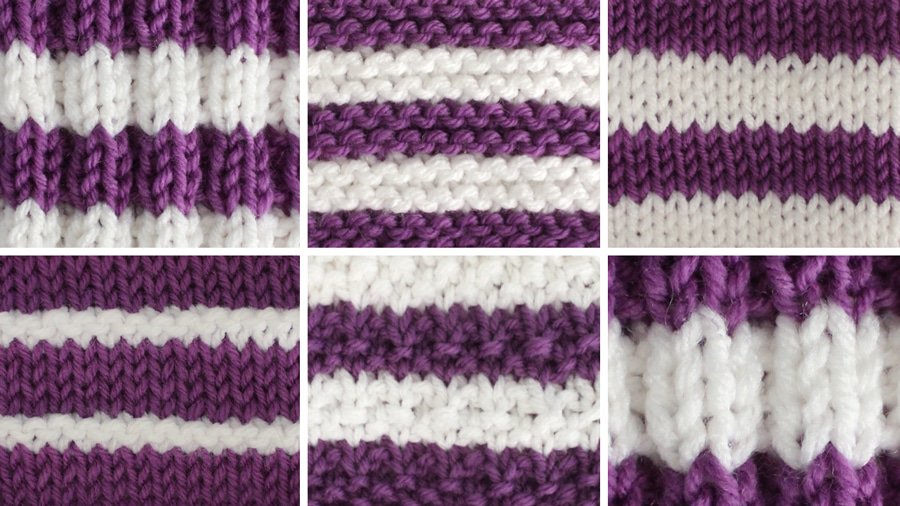
Let’s begin by taking a look at the different ways your horizontal knitting stripes will look when applied to different knit stitch patterns.
We’re focusing on creating horizontal stripes knitted flat on straight knitting needles.
In my samples, I’m using two yarn colors. Of course, feel free to switch up those yarn colors as often as your heart desires. Have fun with knitting with multiple yarn colors, knitting your rows as short or long as you’d like.
SLIP KNOT
BO = Bind Off
CO = Cast On
K = Knit
P = Purl
RIGHT AND WRONG SIDES OF WORK
_____
GARTER STITCH PATTERN
When you are knitting every row in your knitting swatch, you are creating most basic knit stitch pattern, the Garter Knit Stitch Pattern.
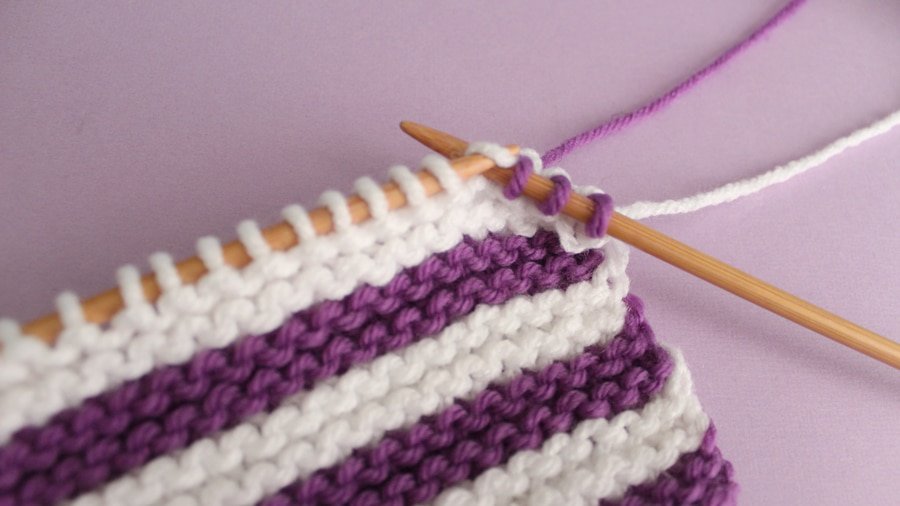
My knitting stripes sample is a 4 Row Repeat of the Garter Stitch.
PATTERN FOR GARTER STITCH WITH STRIPE COLOR CHANGE
CAST ON: Any Number of Stitches.
- ROW 1: KNIT ALL (Right Side)
- ROW 2: KNIT ALL (Wrong Side)
REPEAT: Rows 1 and 2 until the length desired.
CHANGE YARN COLOR:
On Right Side of Work
RIGHT SIDE OF WORK IN GARTER STITCH:
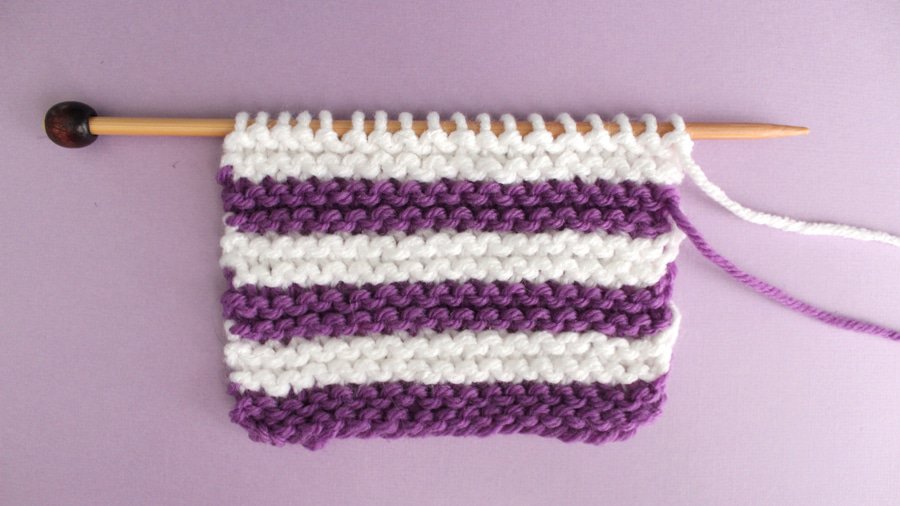
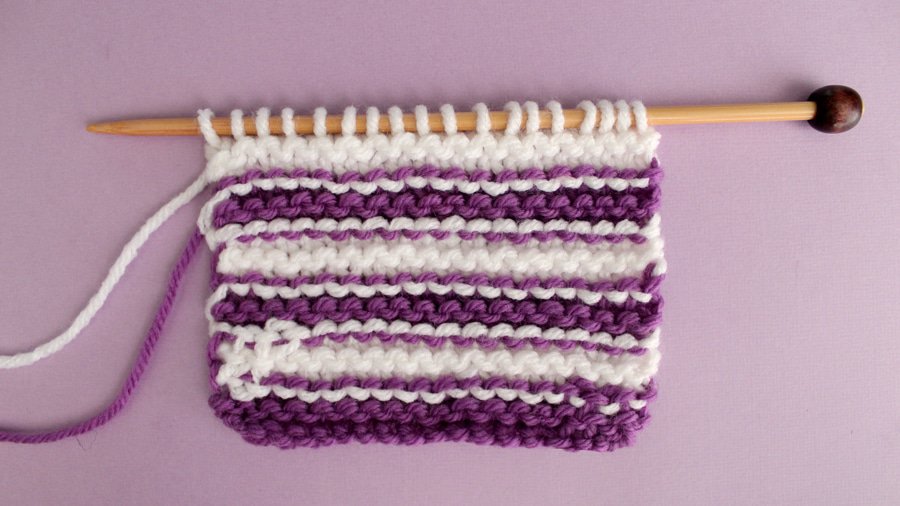
WRONG SIDE OF WORK IN GARTER STITCH:
STOCKINETTE STITCH PATTERN
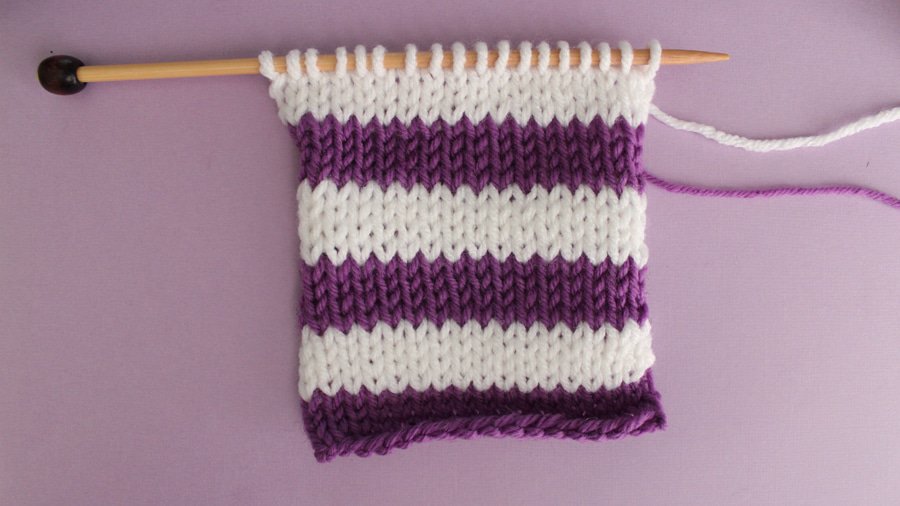
When you are Knitting one row, then Purling the next, you are creating the Stockinette Knit Stitch Pattern.
My knitting stripes sample is a 4 Row Repeat of the Stockinette Stitch.
PATTERN FOR STOCKINETTE STITCH WITH STRIPE COLOR CHANGE
CAST ON: Any Number of Stitches.
- ROW 1: KNIT ALL (Right Side)
- ROW 2: PURL ALL (Wrong Side)
REPEAT: Rows 1 and 2 until the length desired.
CHANGE YARN COLOR:
On Right Side of Work, which is always before your Knit Row.
RIGHT SIDE OF WORK IN STOCKINETTE STITCH:
WRONG SIDE OF WORK IN STOCKINETTE STITCH:
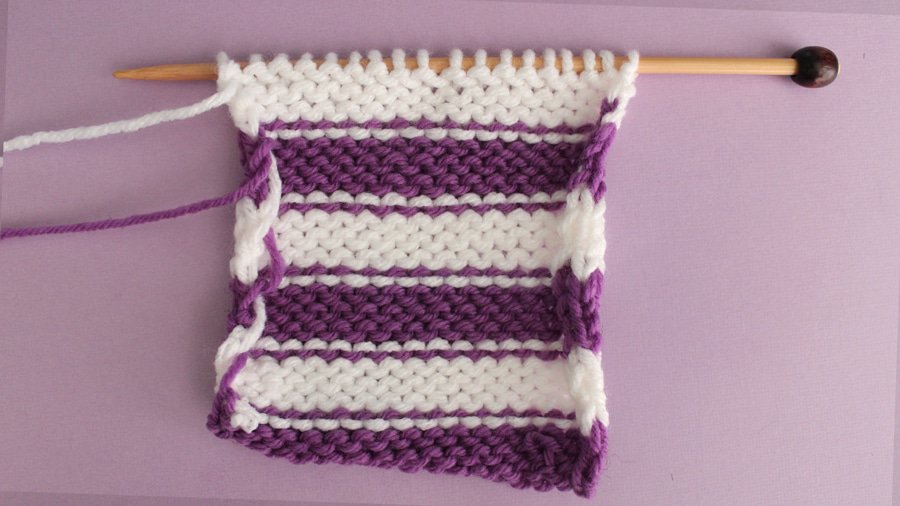
STOCKINETTE STITCH WITH GARTER STRIPE PATTERN
You can get really creative by mixing and matching knit stitch patterns. Here is a fun combination that adds a pop of texture to the yarn color change. Feel free to either follow this specific pattern or design something a little bit different yourself!
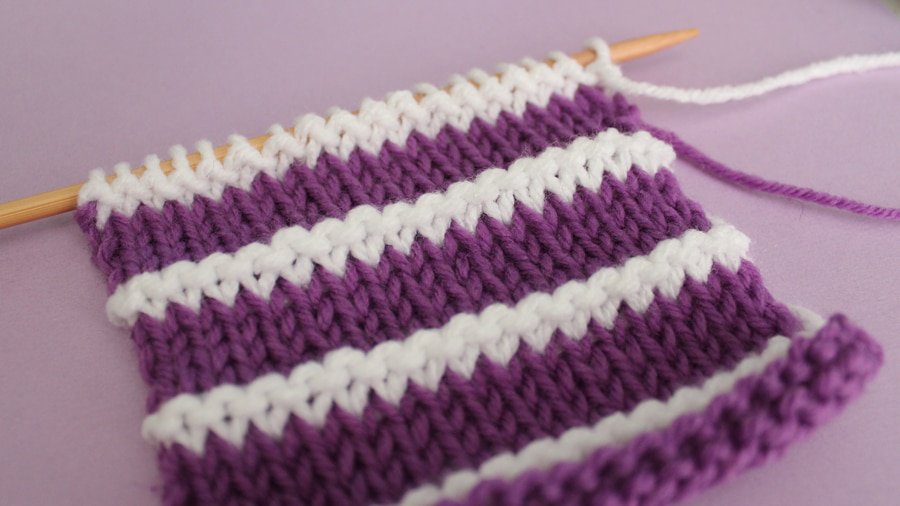
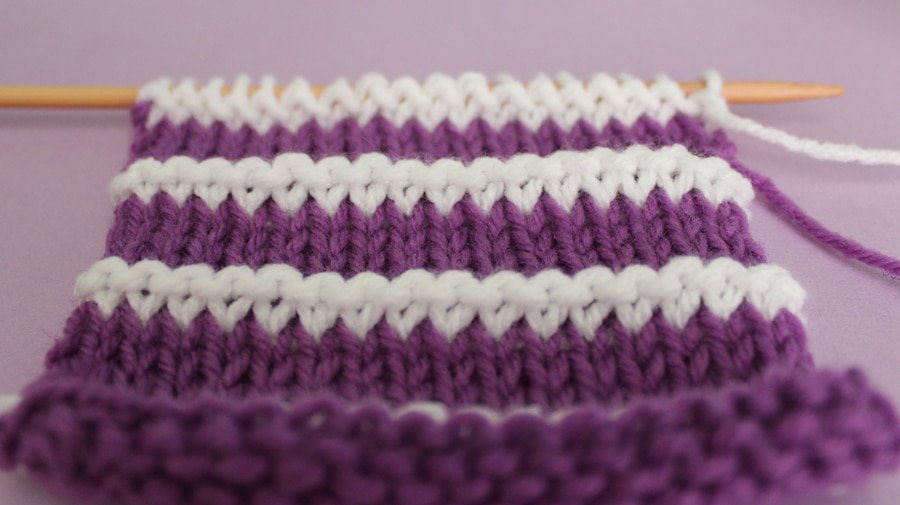
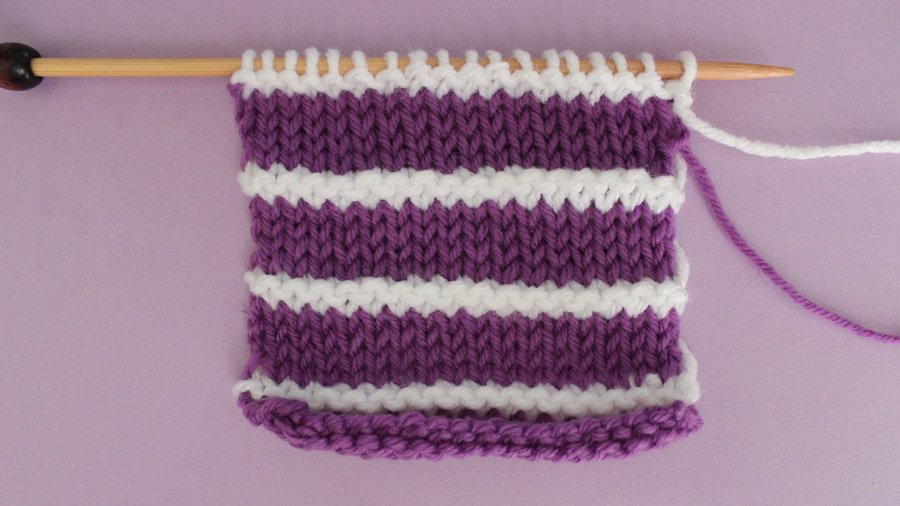
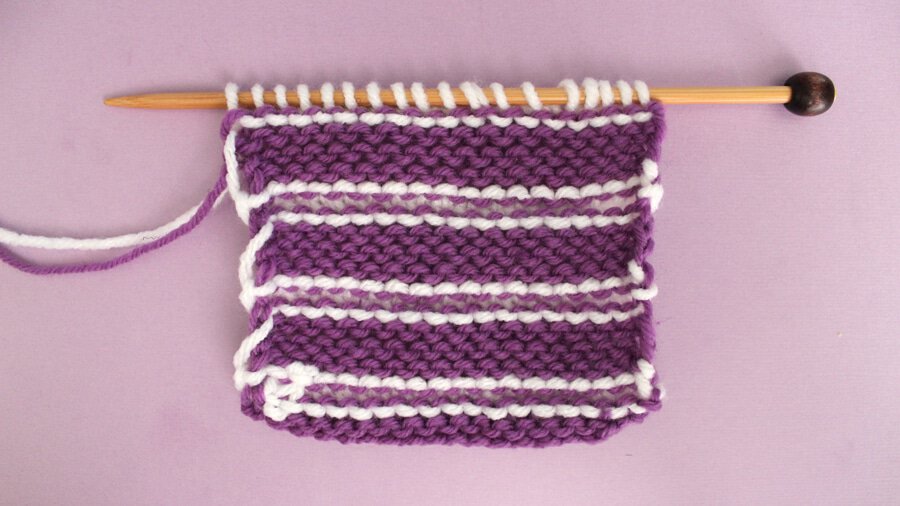
My sample is a 6 Row Repeat with 4 Rows of the base in the Stockinette Knit Stitch Pattern, then changing yarn colors with 2 thin Rows of the Garter Knit Stitch Pattern.
PATTERN FOR STOCKINETTE WITH GARTER STRIPE COLOR CHANGE
CAST ON: Any Number of Stitches.
STOCKINETTE KNIT IN COLOR A:
- ROW 1: KNIT ALL (Right Side)
- ROW 2: PURL ALL (Wrong Side)
- ROW 3: KNIT ALL
- ROW 4: PURL ALL
GARTER KNIT IN COLOR B:
- ROW 5: KNIT ALL
- ROW 6: KNIT ALL
REPEAT: Rows 1 through 6 until the length desired.
RIGHT SIDE OF WORK IN STOCKINETTE WITH GARTER STRIPE:
WRONG SIDE OF WORK IN STOCKINETTE WITH GARTER STRIPE:
_____
GAUGE DIFFERENCE BETWEEN GARTER AND STOCKINETTE
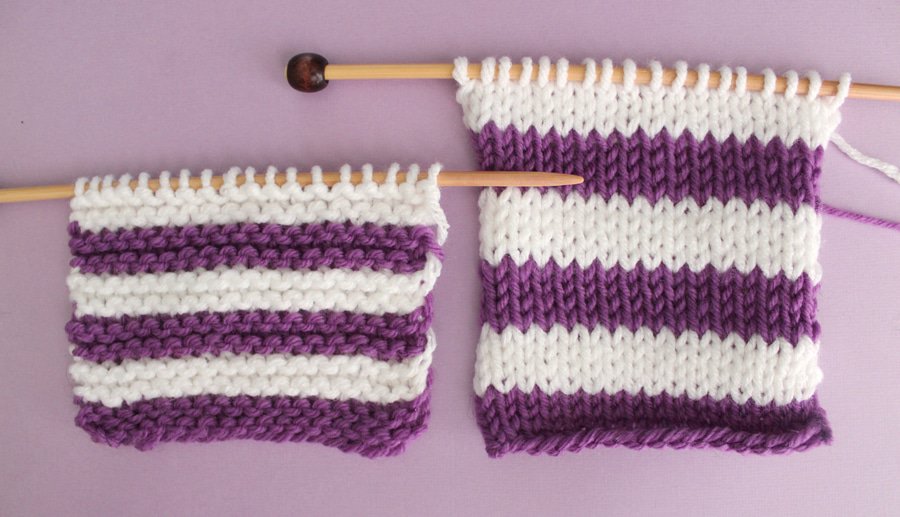
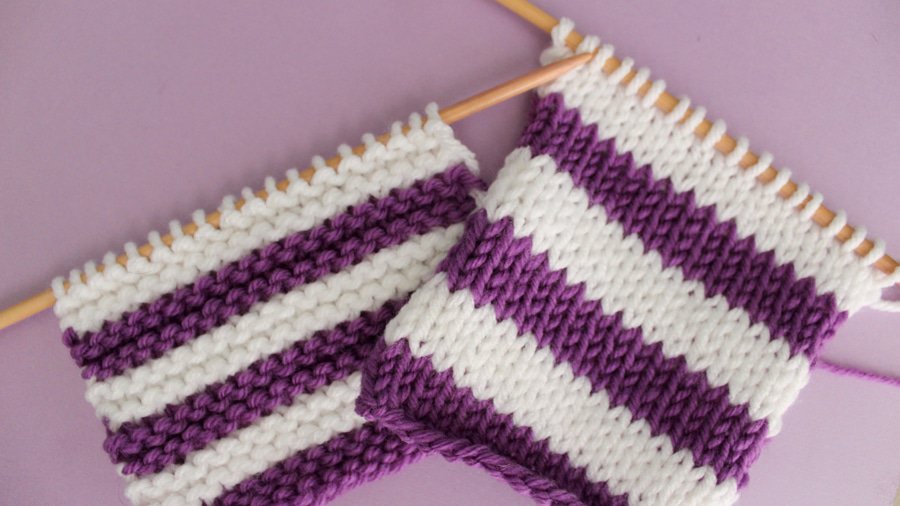
I think it’s worth taking a moment to note the obvious gauge difference between Garter and Stockinette Stitch Patterns.
My two samples were knit with an identical number of stitches and rows. However, we can see that the Stockinette Stitch clearly knits up with a greater length than the Garter Stitch. Those Purl Rows are helping to create taller stitches, making the entire piece longer.
Understanding this difference between these two stitch pattern comes in handy when deciding exactly what to knit.
PATTERNS WITH A COMBINATION OF KNITS + PURLS ON THE SAME ROW
We can also change yarn colors with the basic Knit Stitch Patterns that have a mix of knits and purls in the same row. Here’s a quick look at how two examples of knit and purl combinations look when knitting stripes.
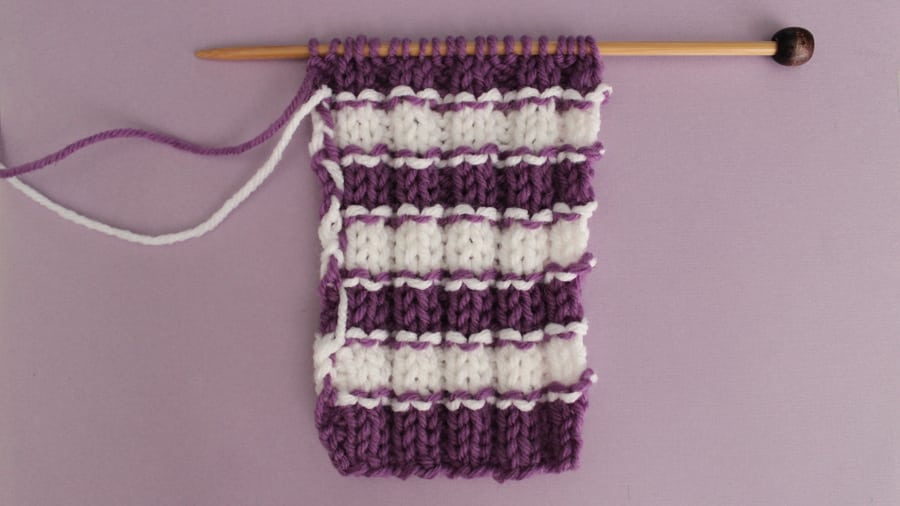
2X2 RIB STITCH PATTERN
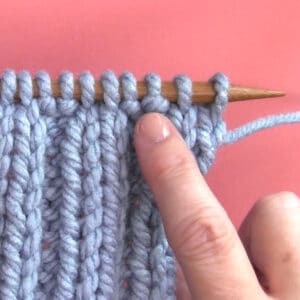
The 2×2 RIB Stitch a bit thicker and is GREAT for knitting scarves, hats, blankets, and more!
Typically, we would change yarn colors and knit a * K2, P2 * repeat pattern. However, we are going to knit a clean yarn color change row by simply knitting that entire first row instead.
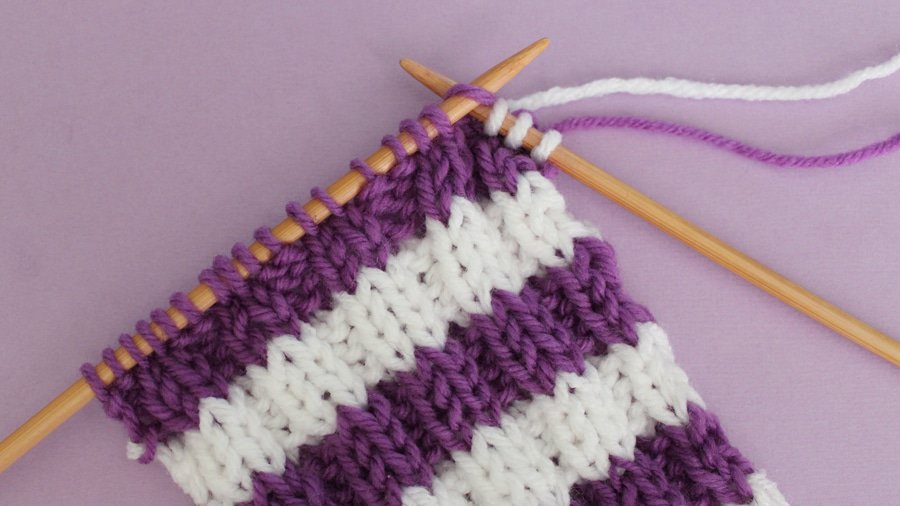
PATTERN FOR 2X2 RIB STITCH WITH STRIPE COLOR CHANGE
CAST ON: In Multiples of 4 Stitches.
KNIT IN COLOR A:
- ROW 1: KNIT ALL (Right Side)
- ROW 2: * K2, P2 * (Wrong Side)
repeat pattern within * * - ROW 3: * K2, P2 *
- ROW 4: * K2, P2 *
REPEAT: Rows 3 and 4 until the length desired.
CHANGE YARN COLOR: On Right Side of Work, which is always before Row 1.
GET MY SUPER SIMPLE TRICK TO REMOVE PURL DASH LINE!
Keep scrolling to Tip #5 to learn more about my super simple trick on how to remove the purl dash line.
RIGHT SIDE OF WORK IN 2X2 RIB STITCH:
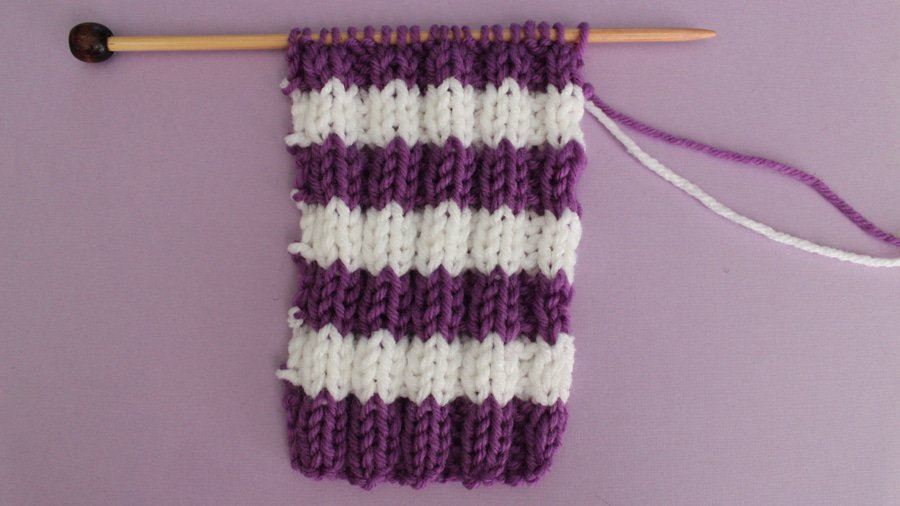
WRONG SIDE OF WORK IN 2X2 RIB STITCH:
_____
SEED STITCH PATTERN
This Knit Stitch Pattern is called the Seed Stitch because the raised bumps from your PURL stitches resemble seeds. It creates a really pretty and sturdy piece of knitting.
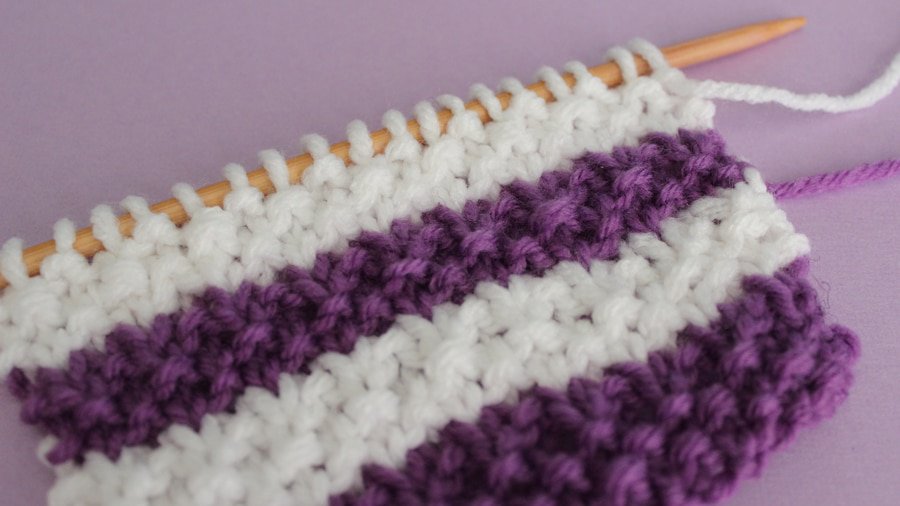
Similarly to the 2×2 Rib Stitch above, we are going to clean up that purl dash line by switch the Seed Stitch pattern of * K1, P1 *, K1 to simply knit the entire first row instead.
This technique really works! The Seed Stitch looks so much better. And nothing is easier than knitting an entire row, right?
PATTERN FOR SEED STITCH WITH STRIPE COLOR CHANGE
CAST ON: An Odd Number of Stitches.
KNIT IN COLOR A:
- ROW 1: KNIT ALL (Right Side)
- ROW 2: * K1, P1 *, K1 (Wrong Side)
repeat pattern within * *, ending with K1 - ROW 3: * K1, P1 *, K1
- ROW 4: * K1, P1 *, K1
REPEAT: Rows 3 and 4 until the length desired.
CHANGE YARN COLOR: On Right Side of Work, which is always before Row 1.
GET MY SUPER SIMPLE TRICK TO REMOVE PURL DASH LINE!
Keep scrolling to Tip #5 to learn more about my super simple trick on how to remove the purl dash line.
RIGHT SIDE OF WORK IN SEED STITCH:
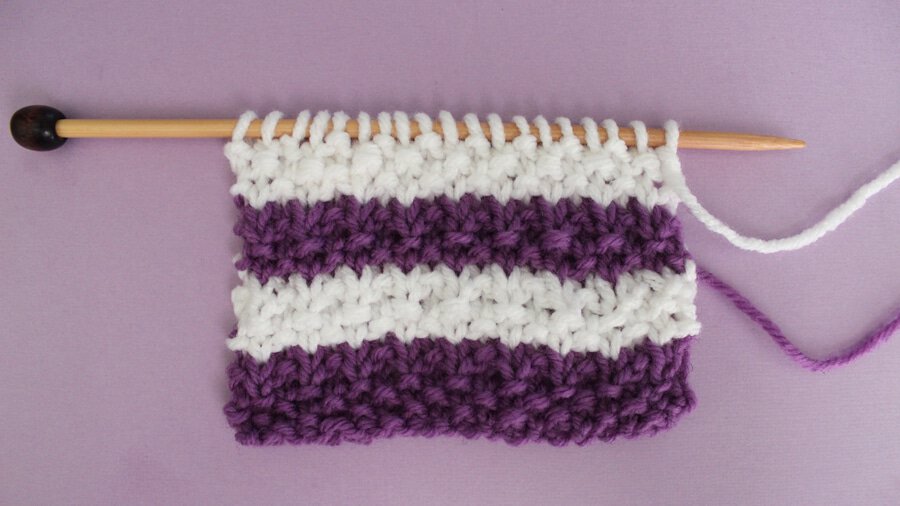
WRONG SIDE OF WORK IN SEED STITCH:
TIP #2 – ADD NEW YARN COLORS TO KNIT STRIPES
So, once you are done knitting in Color A, which is purple for me here, you’re not going to continue knitting in that color, are you? You are ready to change your yarn colors.
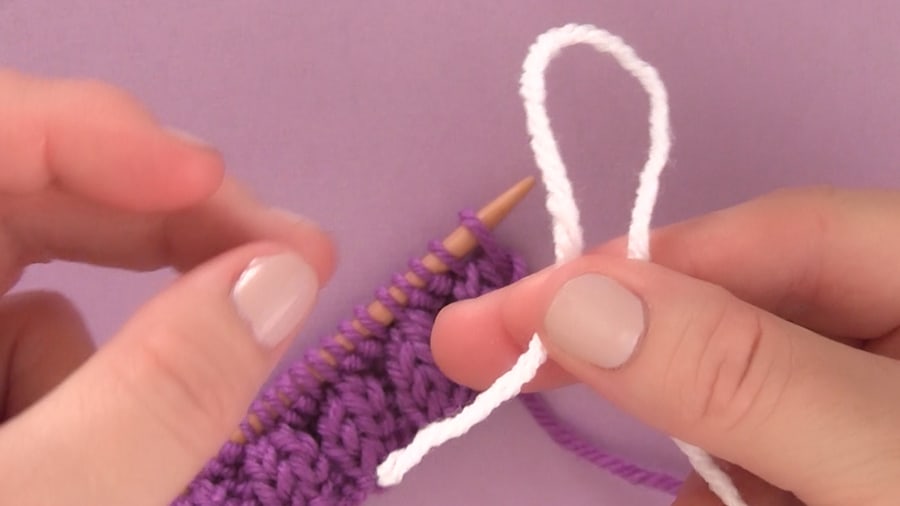
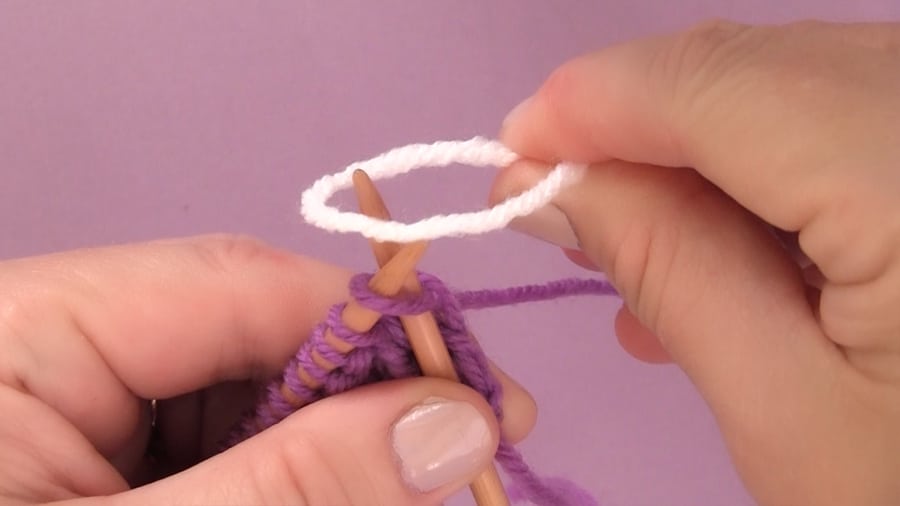
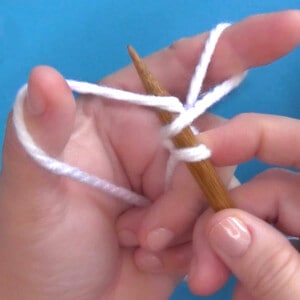
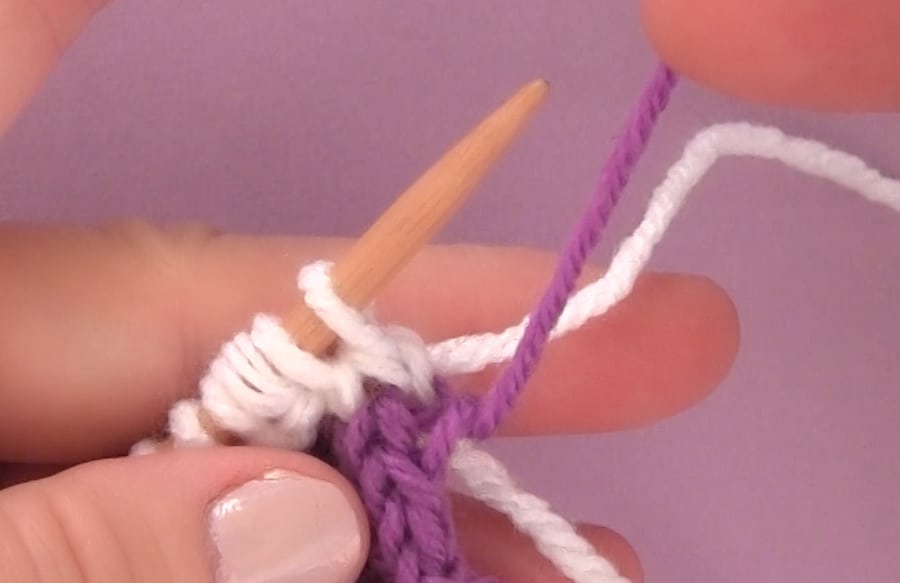
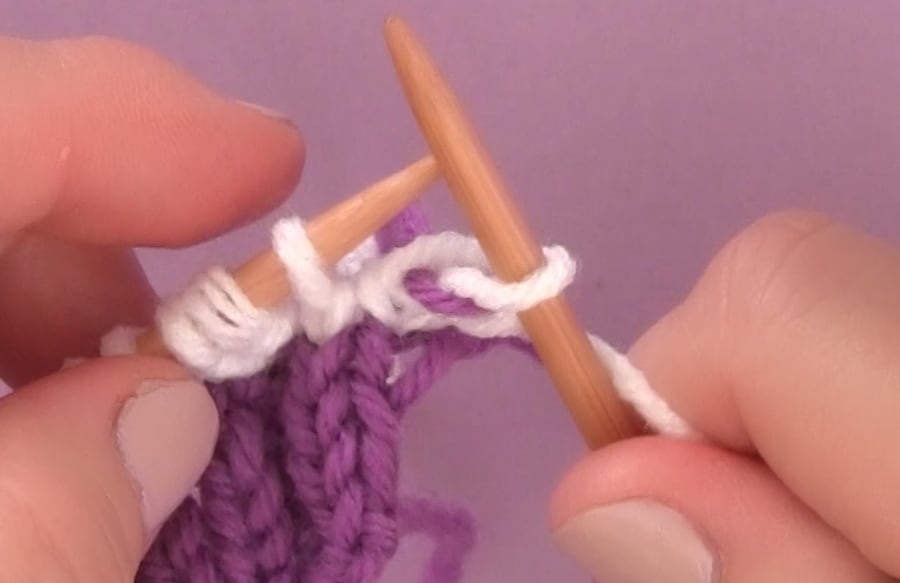
So, simply take that new yarn Color B, and make a loop. We’re not tying and knots. We’re just making a simple loop. Holding it between our two fingers. And instead of the purple yarn, that is what we are going to knit through on our right needle. Your yarn tail from Color B can just be kept hanging.
Take your new working yarn, Color B, and simply continue knitting as you would on your next row. It really is as simple as that.
Of course, that new Color B yarn tail will have to be woven in when you’re ready to do so. But, otherwise, that is it as far as beginning a color change. And just keep on knitting down that row.
TIP #3 – KEEP YARN COLORS ON RIGHT SIDE OF WORK
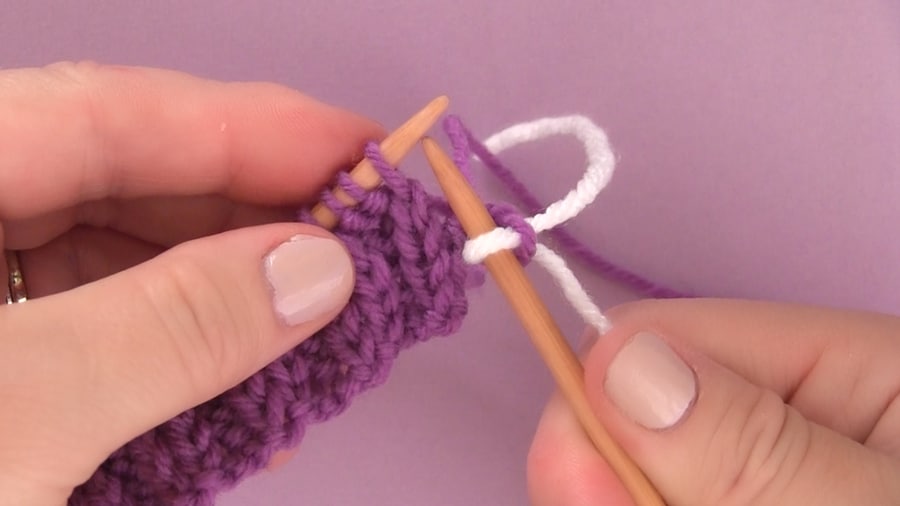
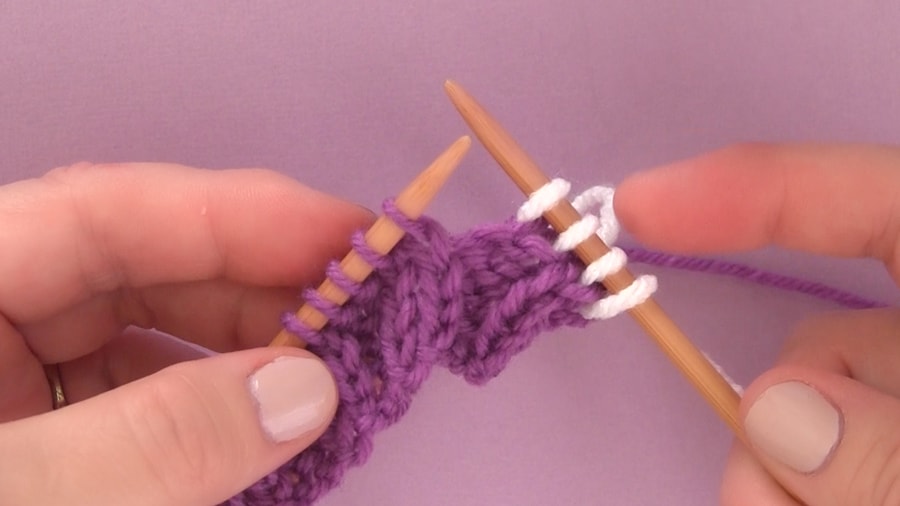
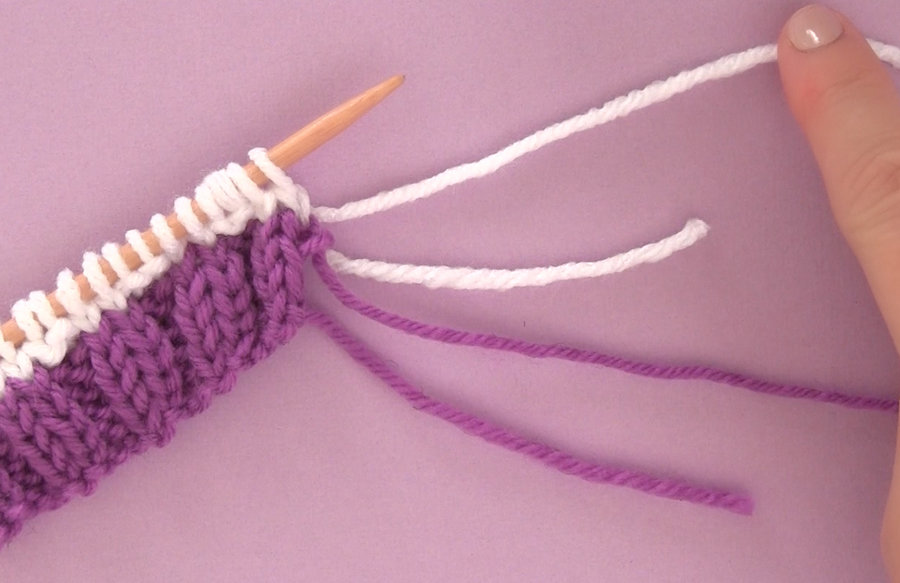
The easiest way to be changing yarn colors while knitting is to do it at the beginning of the right side of your work. So, all of your yarn tails are going to be on the right side.
When you switch your yarn color, you are starting on the right side of your work, which is the front of your work.
TIP #4 – CARRY YARN UP THE SIDE OF YOUR WORK
This is a great technique that allows you to not cut your yarn ends and weave them in every single time you change colors.
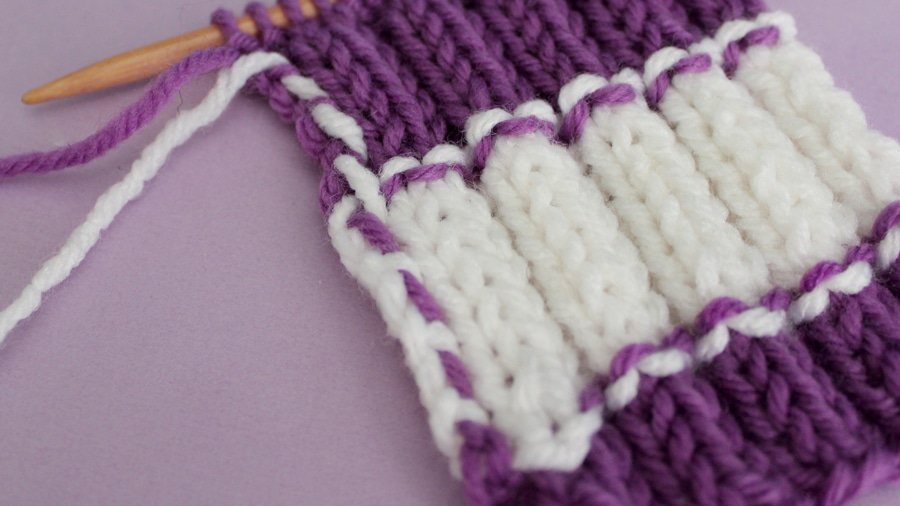
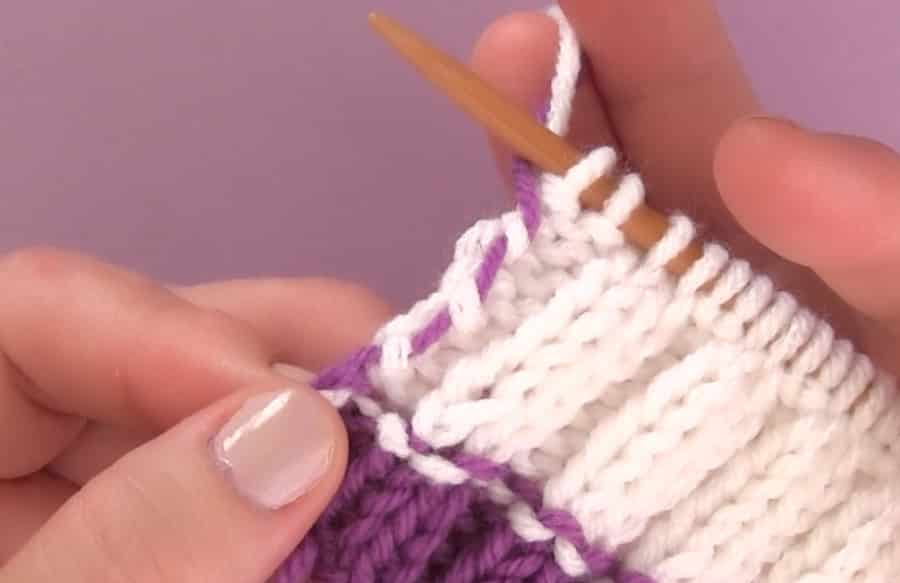
And here is how the little twists carried up the yarn, carried up along the side on the back, the wrong side of your work looks.
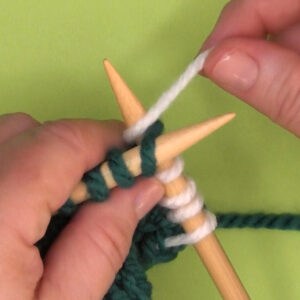
So, here’s how we do it. You take the yarn that you’d like to carry up and you just make sure that you place it over your working yarn. That’s the yarn that you plan to keep on knitting.
You place it over and then when you knit with your working yarn. Go ahead and knit through your working yarn and you’ll see, this is catching your yarn, it’s also called twisting. And we’ll just continue knitting all the way across the row.
It’s a super simple trick that is definitely worth the time so that you don’t have to weave in all those yarn ends.
TIP #5 – REMOVE PURL DASH LINE ON YARN CHANGE ROW
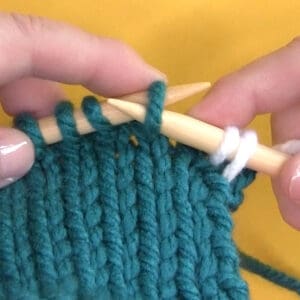
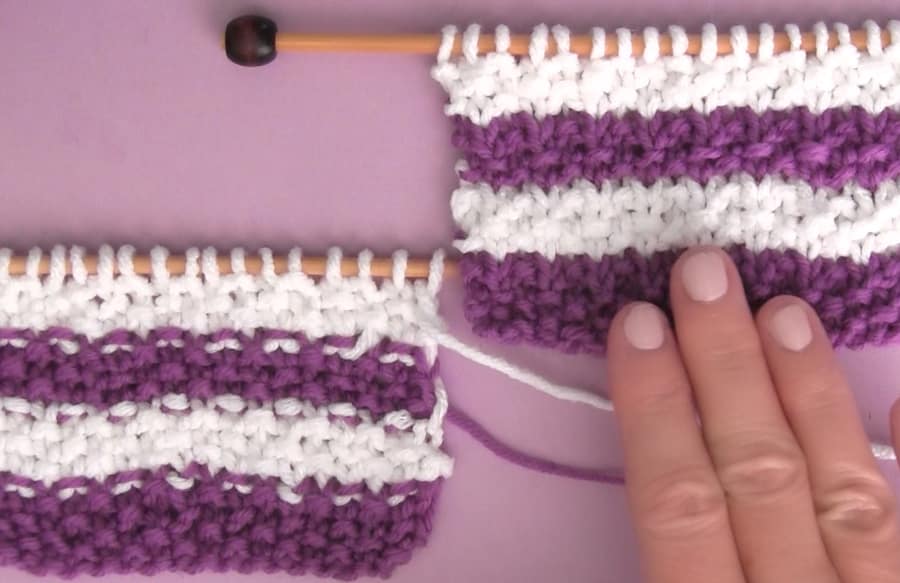
You’re going to love my super simple trick on how to remove the purl dash line in knit stitch patterns that have a combination of both knits and purls in the same row.
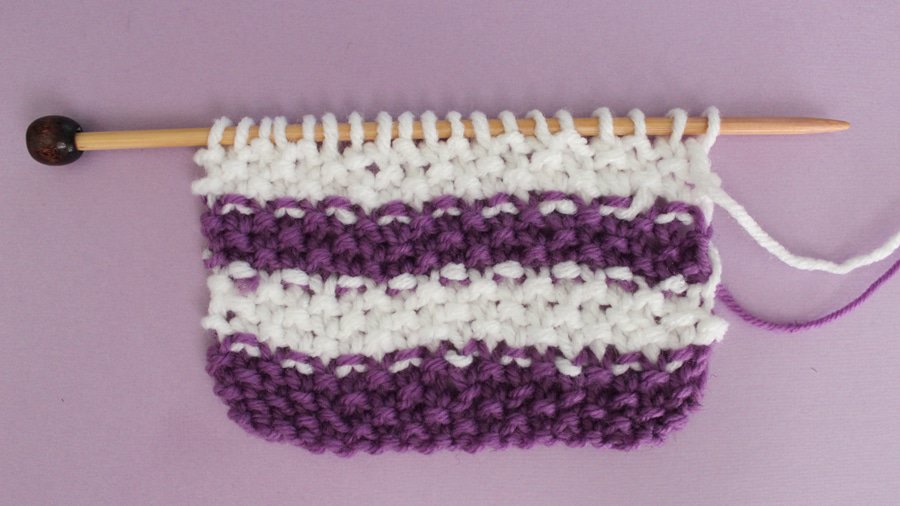
SEED STITCH PATTERN WITH AND WITHOUT PURL DASH LINES:
2X2 RIB STITCH PATTERN WITH PURL DASH LINES:
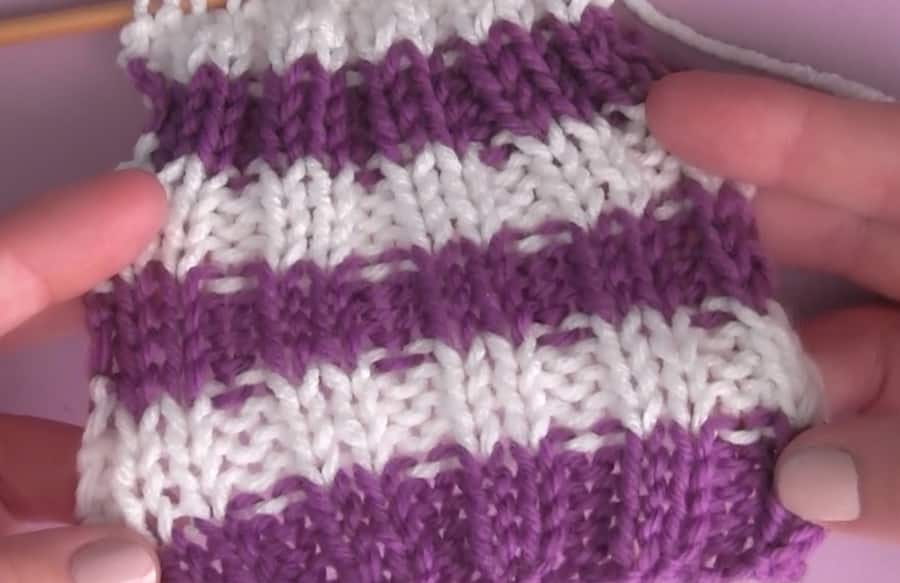
2X2 RIB STITCH PATTERN WITHOUT PURL DASH LINES:
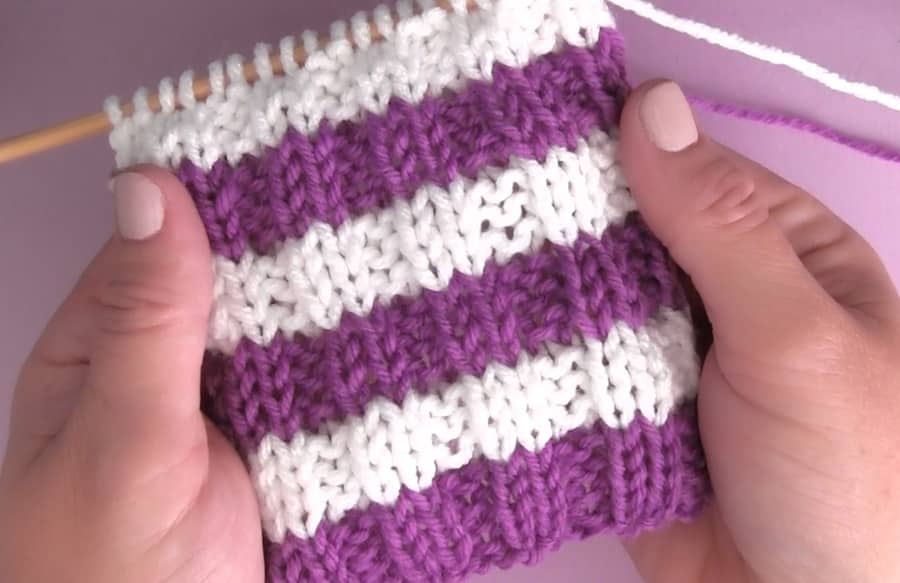
For any pattern that has a combination of both knits and purls on your yarn color change row, simply knit that entire row rather than the pattern.
To get the written patterns of these two examples, please scroll back up!
THANK YOU FOR VISITING STUDIO KNIT
I hope you are inspired to change yarn colors and knit stripes with confidence in your next knitting project.
