How to Carry Yarn Up the Side of Knitting

Carry yarn up the side of your work with confidence the next time you’re knitting two or more colors.
Check out this easy knitting technique in action! We are going to bring our yarn up along the wrong side of your work while knitting stripes, so that it’s perfectly in place and ready for you when it’s time to knit in that color.
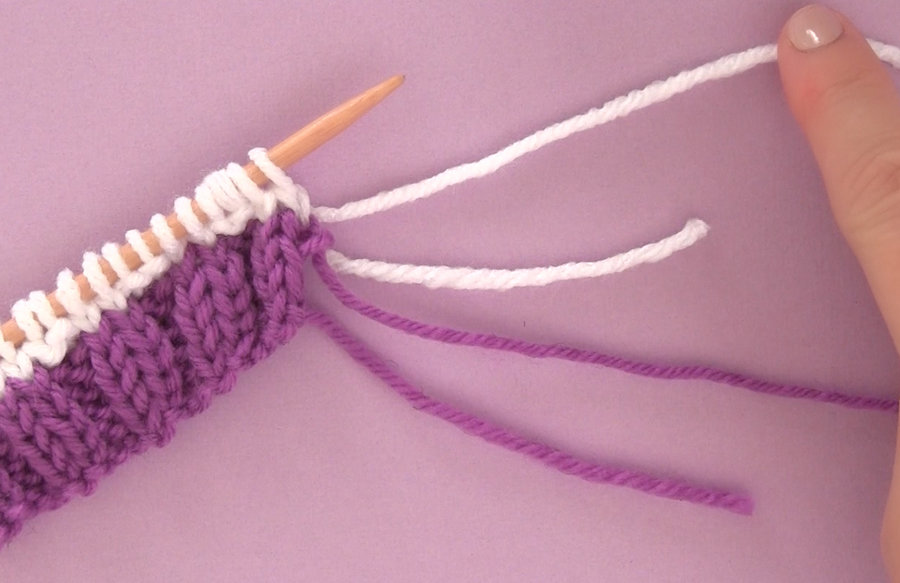
Bonus: Hate weaving in your ends? This is a great technique that allows you to NOT have to cut your yarn ends and weave them in every single time you change colors.
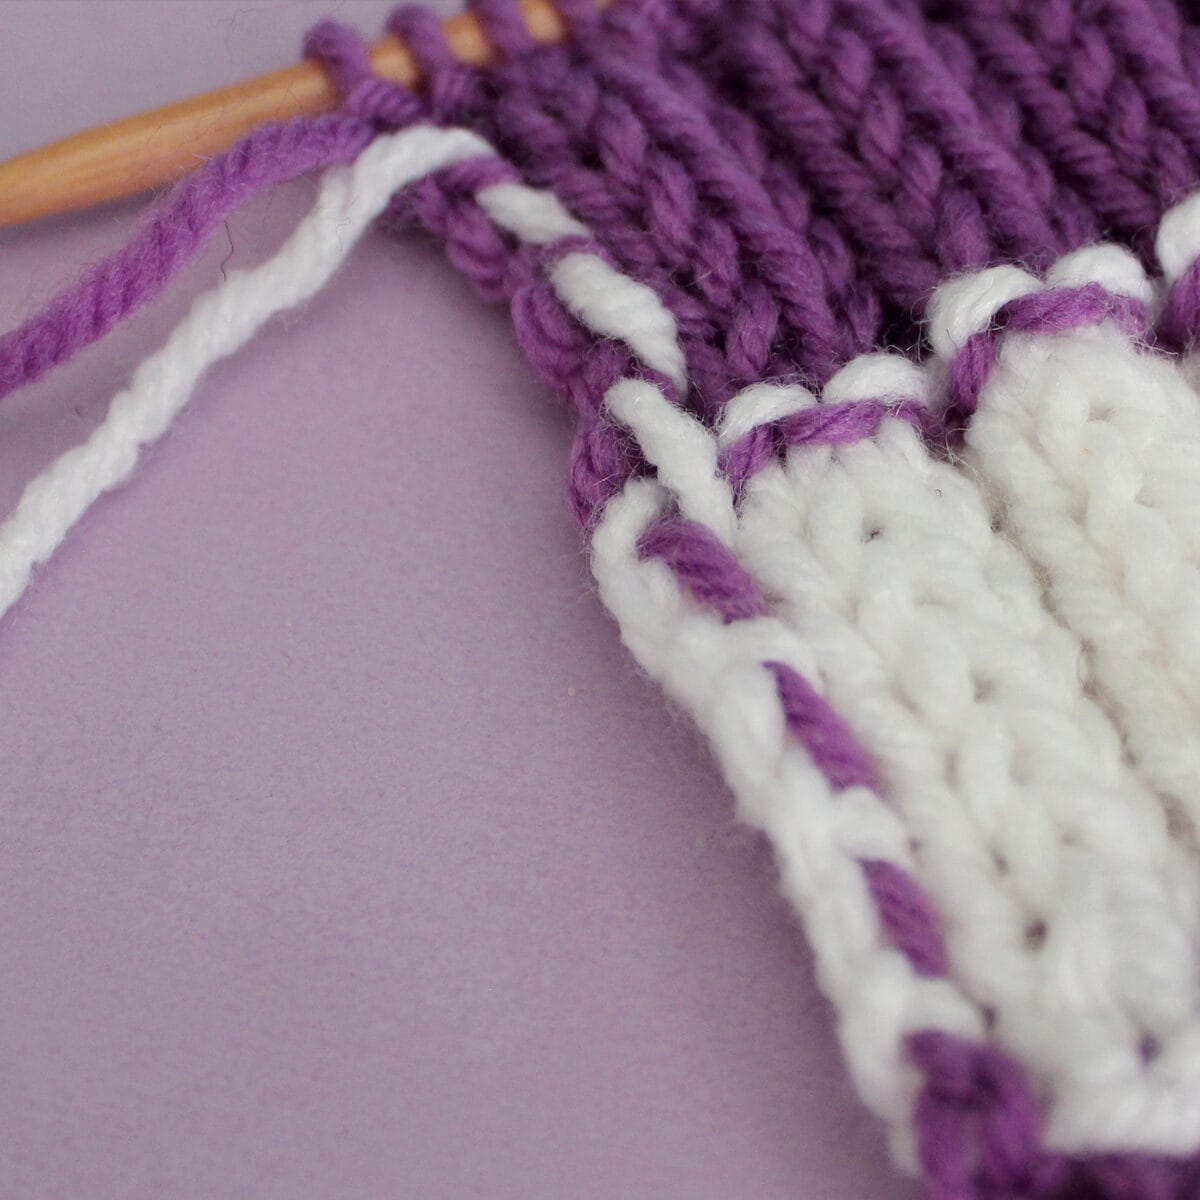
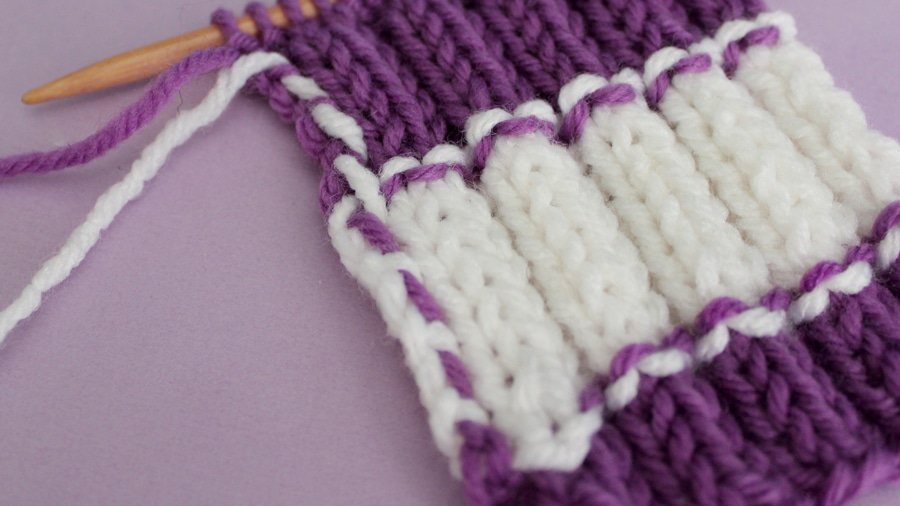
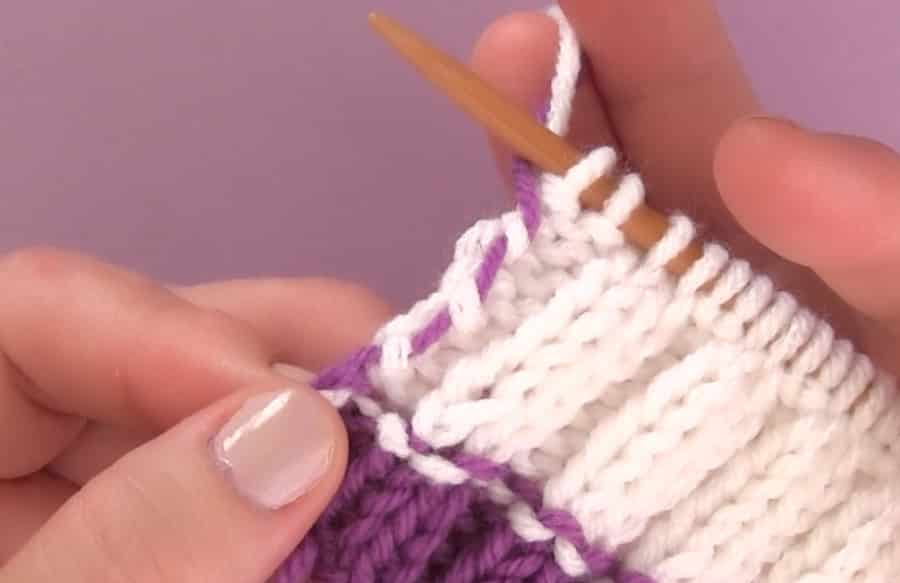
In my example pictured below, you can clearly see that our yarn is carried up the wrong side of our work, visible only on the back and not the front, or right side. Hooray!
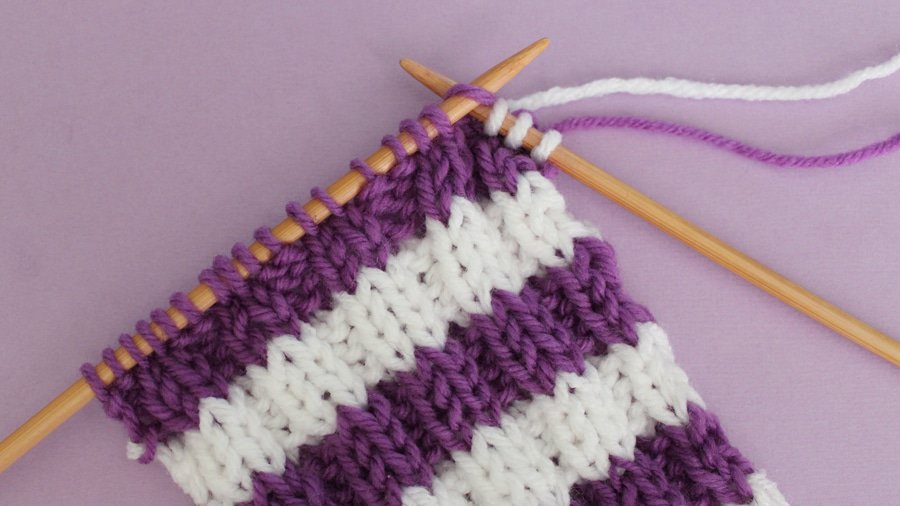
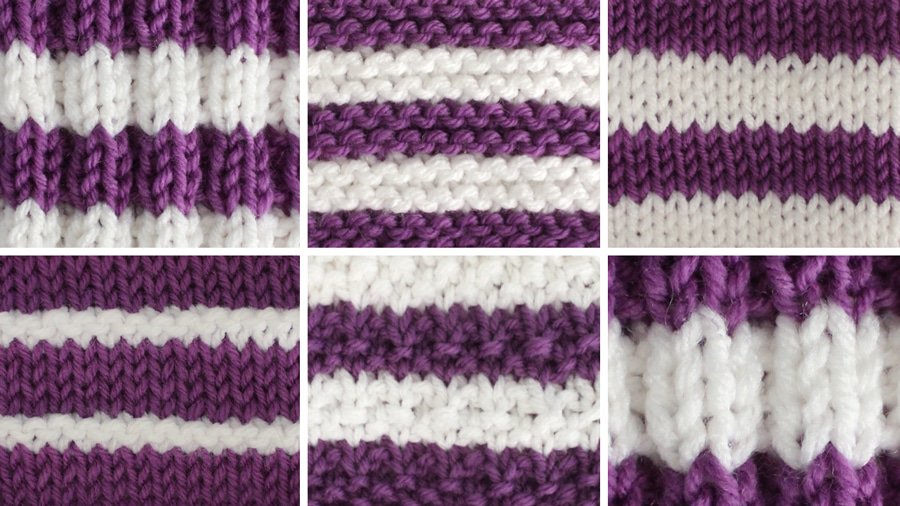
RIGHT SIDE OF OUR WORK (Example is the 2×2 Rib Stitch Pattern):
_____
WRONG SIDE OF OUR WORK (Yarn carried up the side of your work):
WRITTEN INSTRUCTIONS
HOW TO CARRY YARN UP THE SIDE OF YOUR WORK
The easiest way to be changing yarn colors while knitting is to do it at the beginning of the right side of your work. So, all of your yarn tails are going to be on the right side. When you switch your yarn color, you are starting on the right side of your work, which is the front of your work.
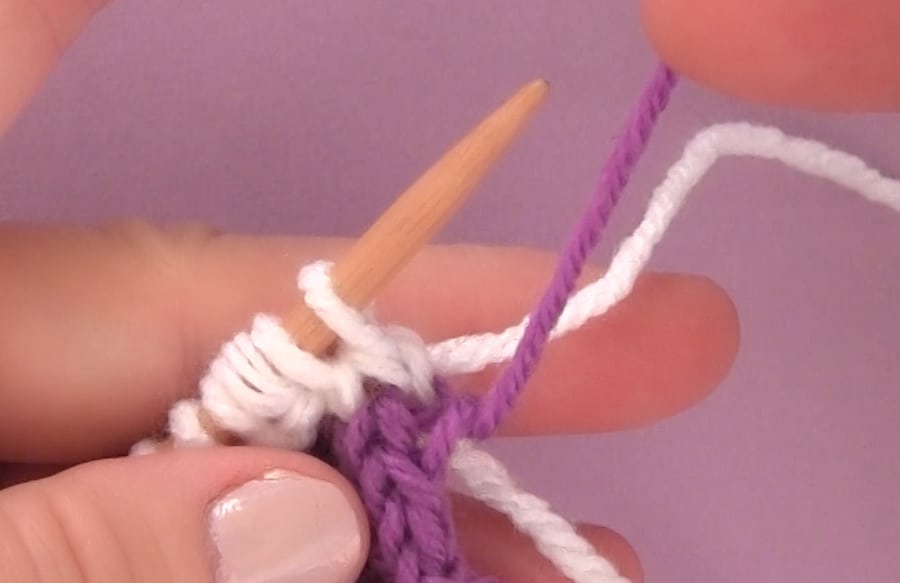
When starting a new row on the Right Side of your work, take the yarn that you’d like to carry up. Make sure that you place it over your working yarn. That’s the yarn that you plan to keep on knitting. You place it over and then when you knit with your working yarn.
_____

Go ahead and knit through your working yarn. This is catching your yarn, it’s also called twisting. And we’ll just continue knitting all the way across the row. Knit the next row as you normally would, the REPEAT these steps each time you begin a new row on the right side of your work.
CARRY YARN UP SIDE OF WORK
Click to Watch Step-by-Step Video Tutorial
It’s as easy as that! You may wish to watch my video (scroll up a bit) to help you fully understand just how easy this technique is to accomplish! I hope you enjoy this super simple trick. It’s definitely worth your time to carry your yarn ends up, allowing you to skip weaving in all those yarn ends.
SEE ALSO
My 5 Best Tips for Knitting Stripes when knitting flat on straight needles
First, we look at how you can get really creative by mixing and matching knit stitch patterns.
Then we review the easiest knitting techniques for adding stripes. Learn how and when to change your yarn color, along with the simplest way to carry your yarn up the side of your work.
No weaving in yarn ends, hooray! Lastly, I show you a nifty little trick to get rid of those pesky purl dash lines on your yarn change row in knitting patterns that have a mix of knit and purl stitches in the same row.
THANK YOU FOR VISITING STUDIO KNIT
I hope you are inspired to change yarn colors by carrying those yarn ends up with confidence in your next knitting project.
