Lorelai’s Easy Ribbed Hat Knitting Pattern

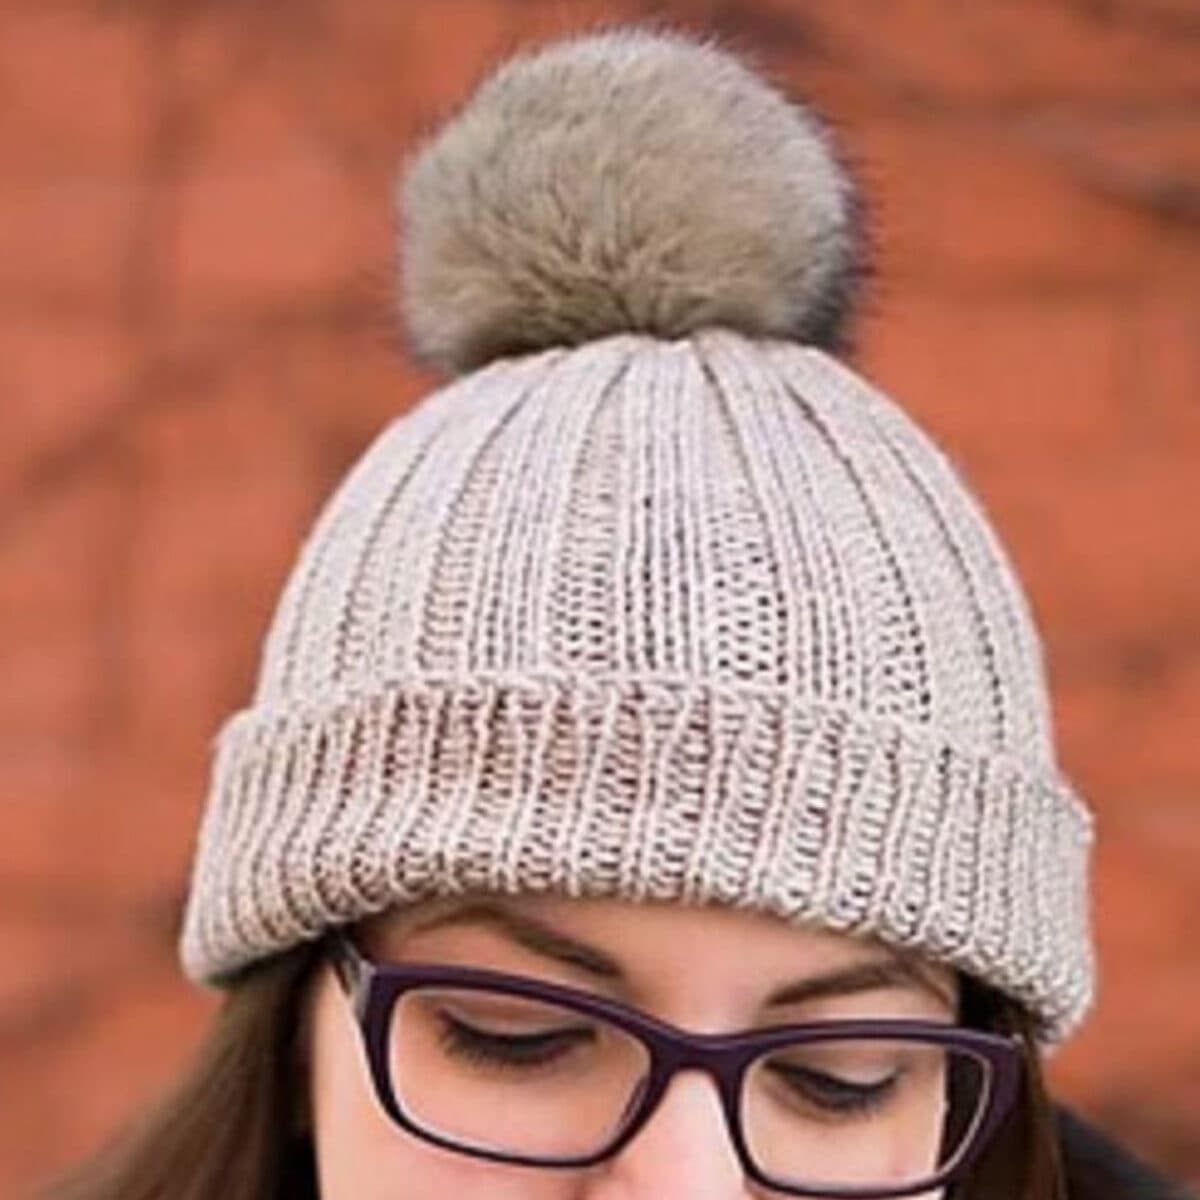
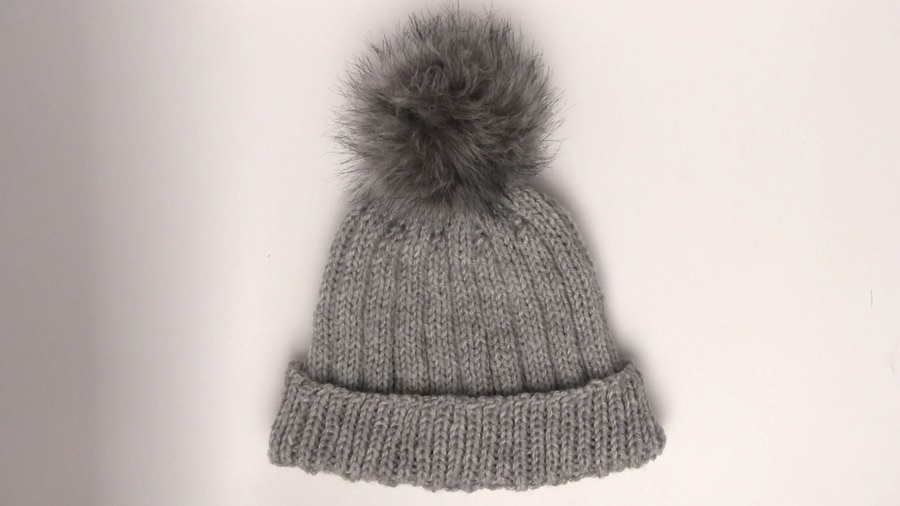
Learn to make your Gilmore Girls Ribbed Knit Hat inspired by Lorelai’s adorably cozy beanie! As soon as the trailer came out for the rebooted series and I saw my favorite character wearing it, I was obsessed figuring out how to write up the pattern for you.
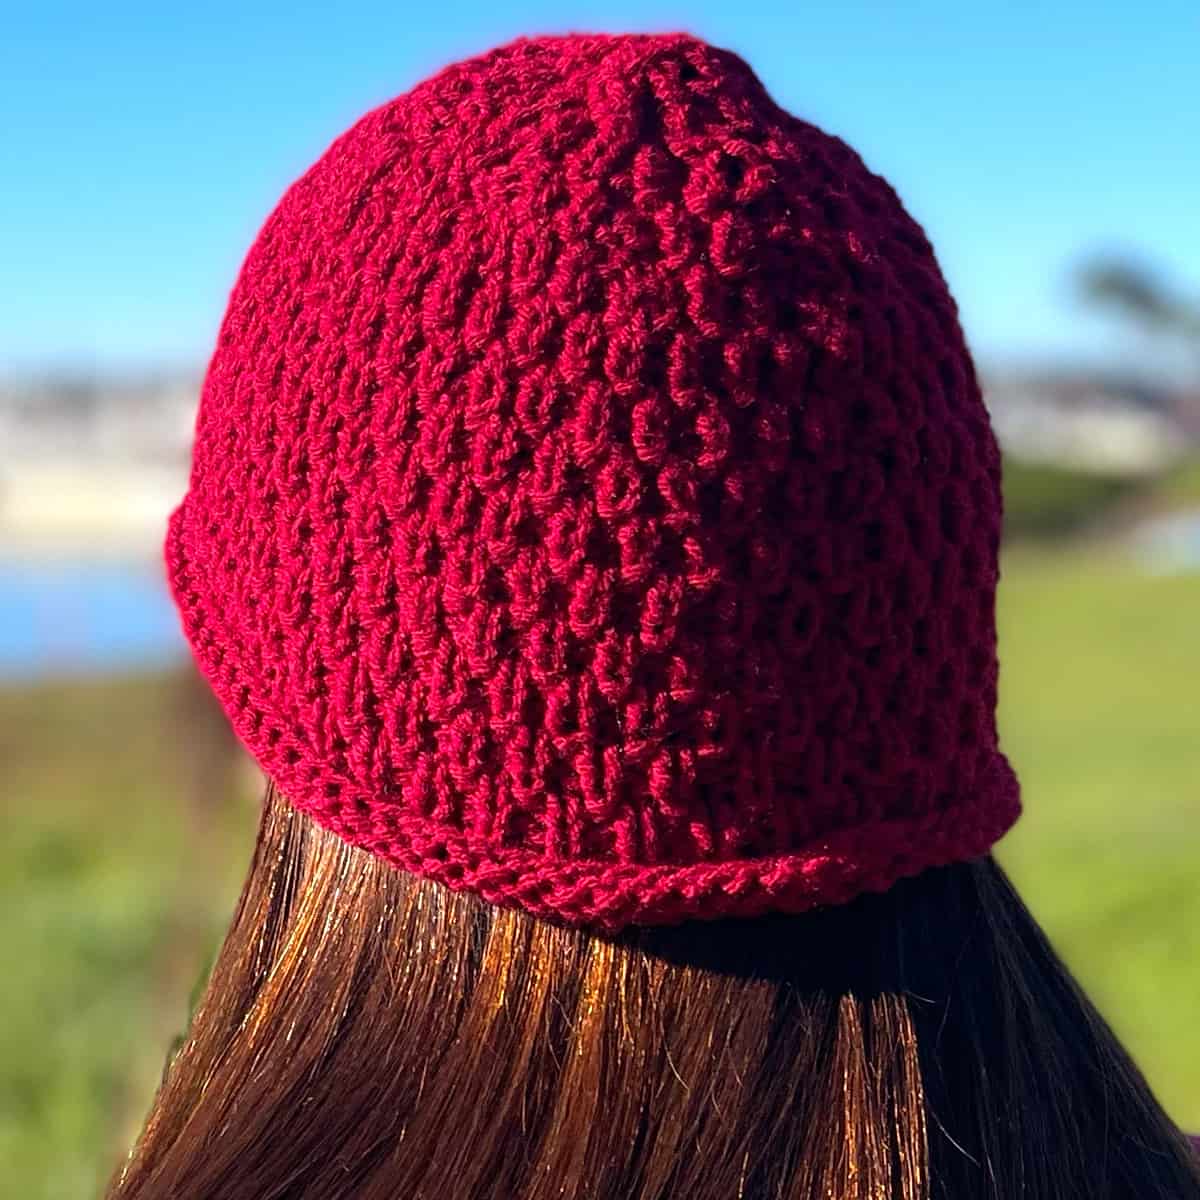
This ribbed knit hat features a stretchy 1×1 ribbed brim and a textured 3×2 rib body, topped off with a polished crown decrease. Inspired by Gilmore Girls style, it’s a cozy and rewarding knit for anyone comfortable working in the round.
Follow along with my full video tutorial and written instructions below.
Watch Video Tutorial
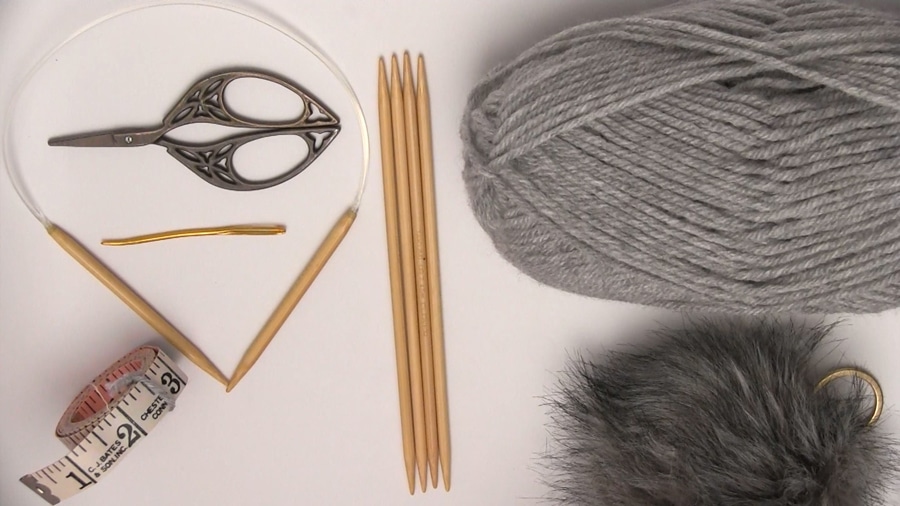
Knitting Supplies
I had so much fun making it and I think you are going to have a blast mastering this ribbed knitted hat on circular needles.
Table of Contents
As an Amazon Associate, I earn from qualifying purchases.
• Worsted Weighted Yarn, in any fiber, & color of your choice
My example was knitted with Lion Brand Vanna’s Choice Yarn in Silver Heather
• Circular Knitting Needles: Size 8 US, 16″ long
• 4 Double Pointed Knitting Needles: Size 8 US
• Scissors
• Tapestry Needle
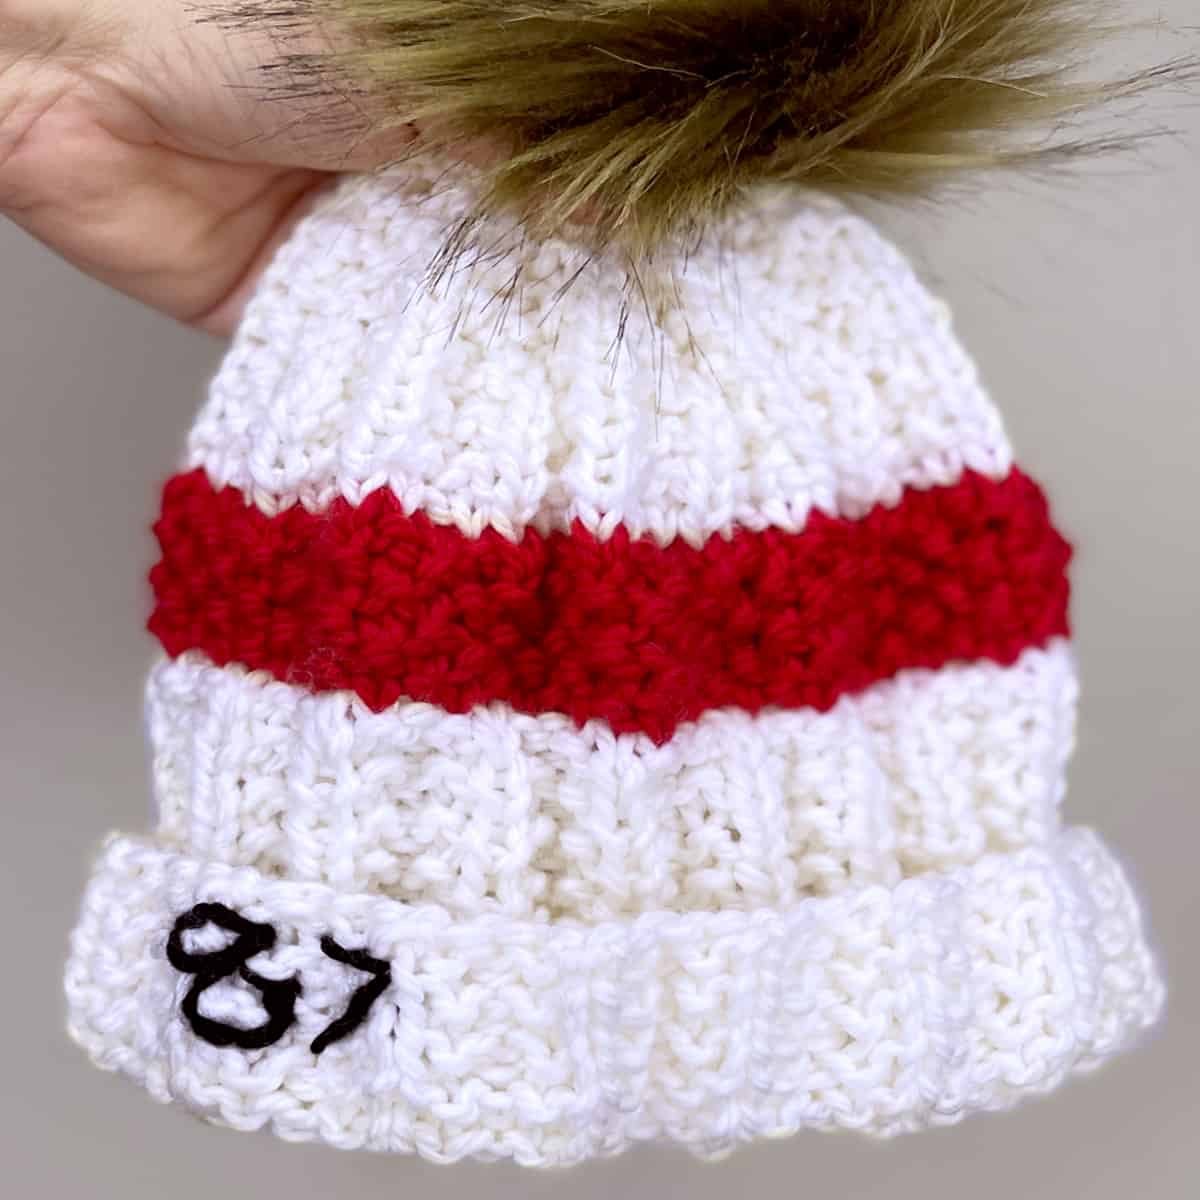
• Pom-Pom (optional) Learn How to Make Faux Fur Pom-Pom
Pattern Instructions
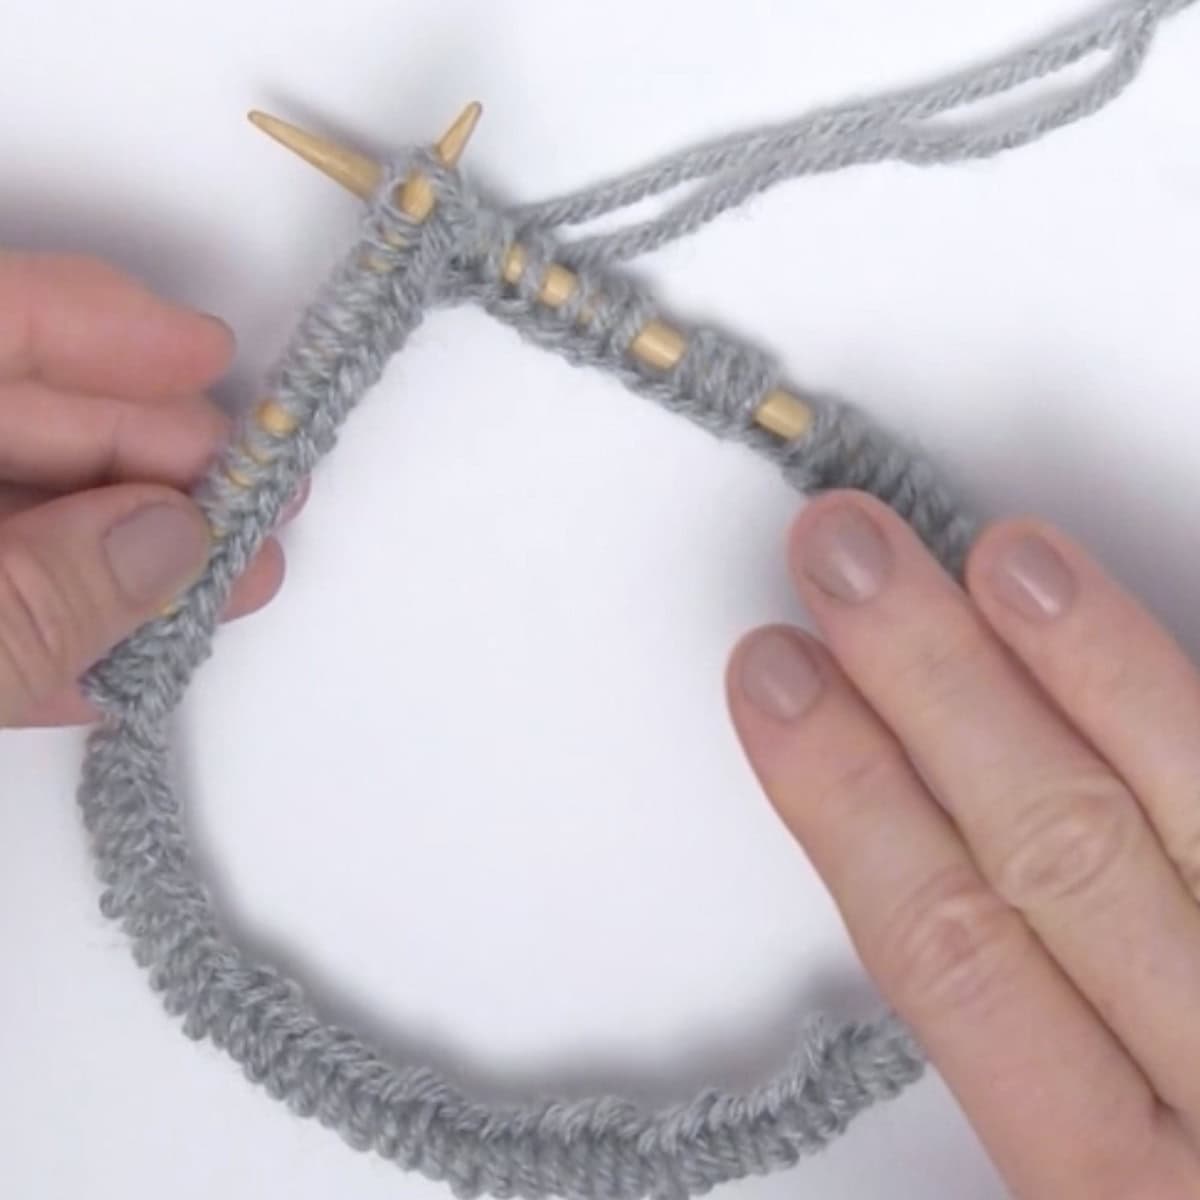
Cast On
Cast on 101 stitches using the long-tail method.
Join in the round by slipping one stitch from the right needle to the left and knit two together (K2tog) to secure the join.
Place a stitch marker to indicate the beginning of the round.
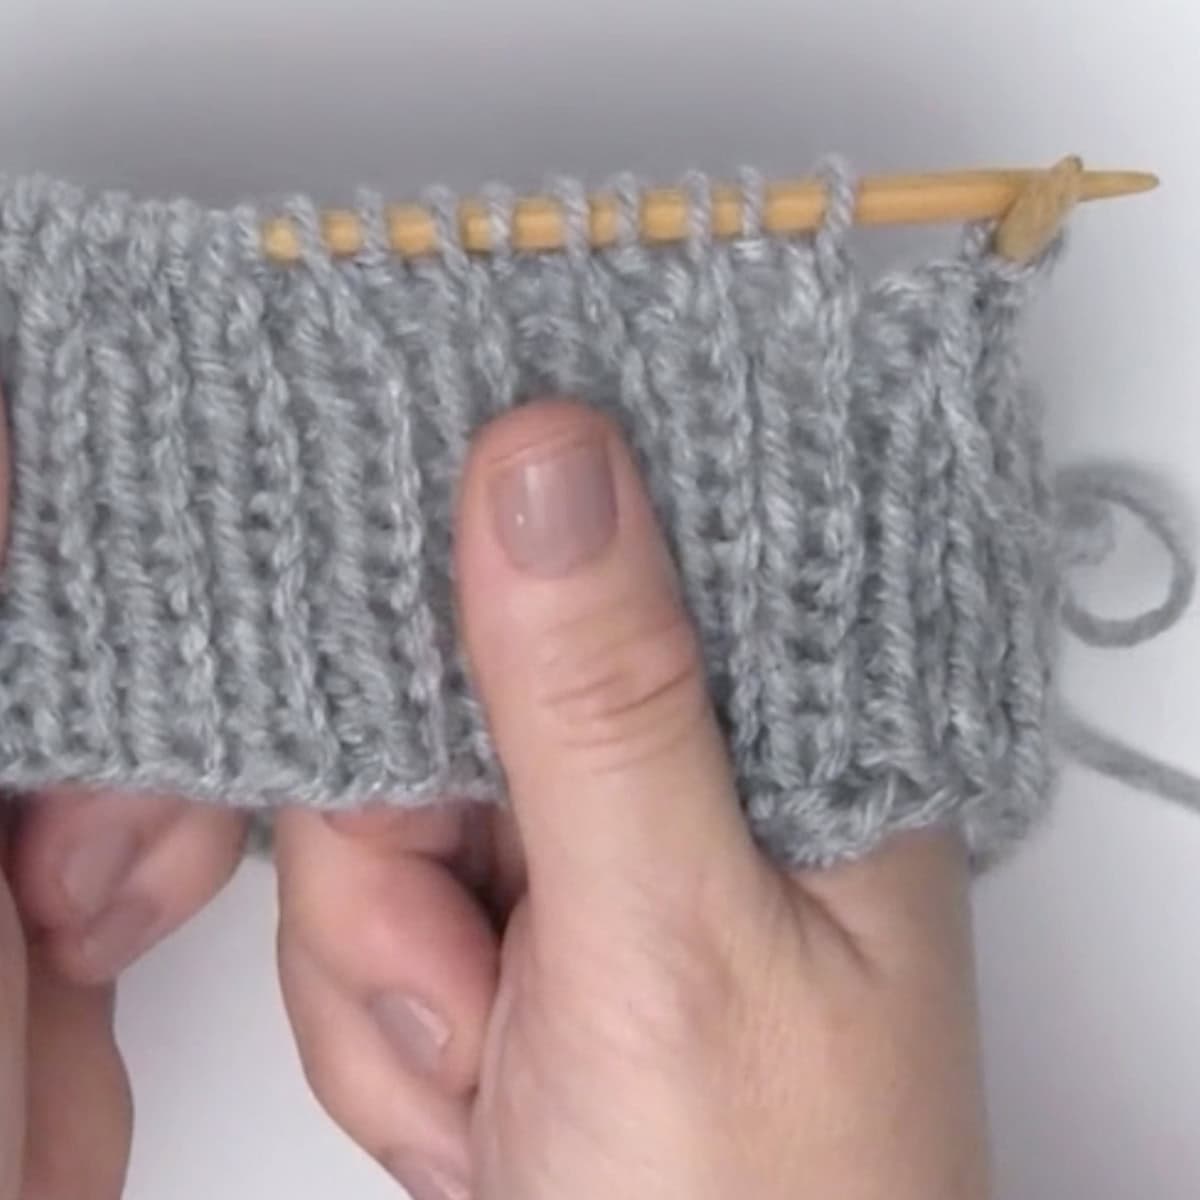
Brim – 1×1 Rib
Rounds 1 and onward: K1, P1 around
Continue until the brim measures 3 inches.
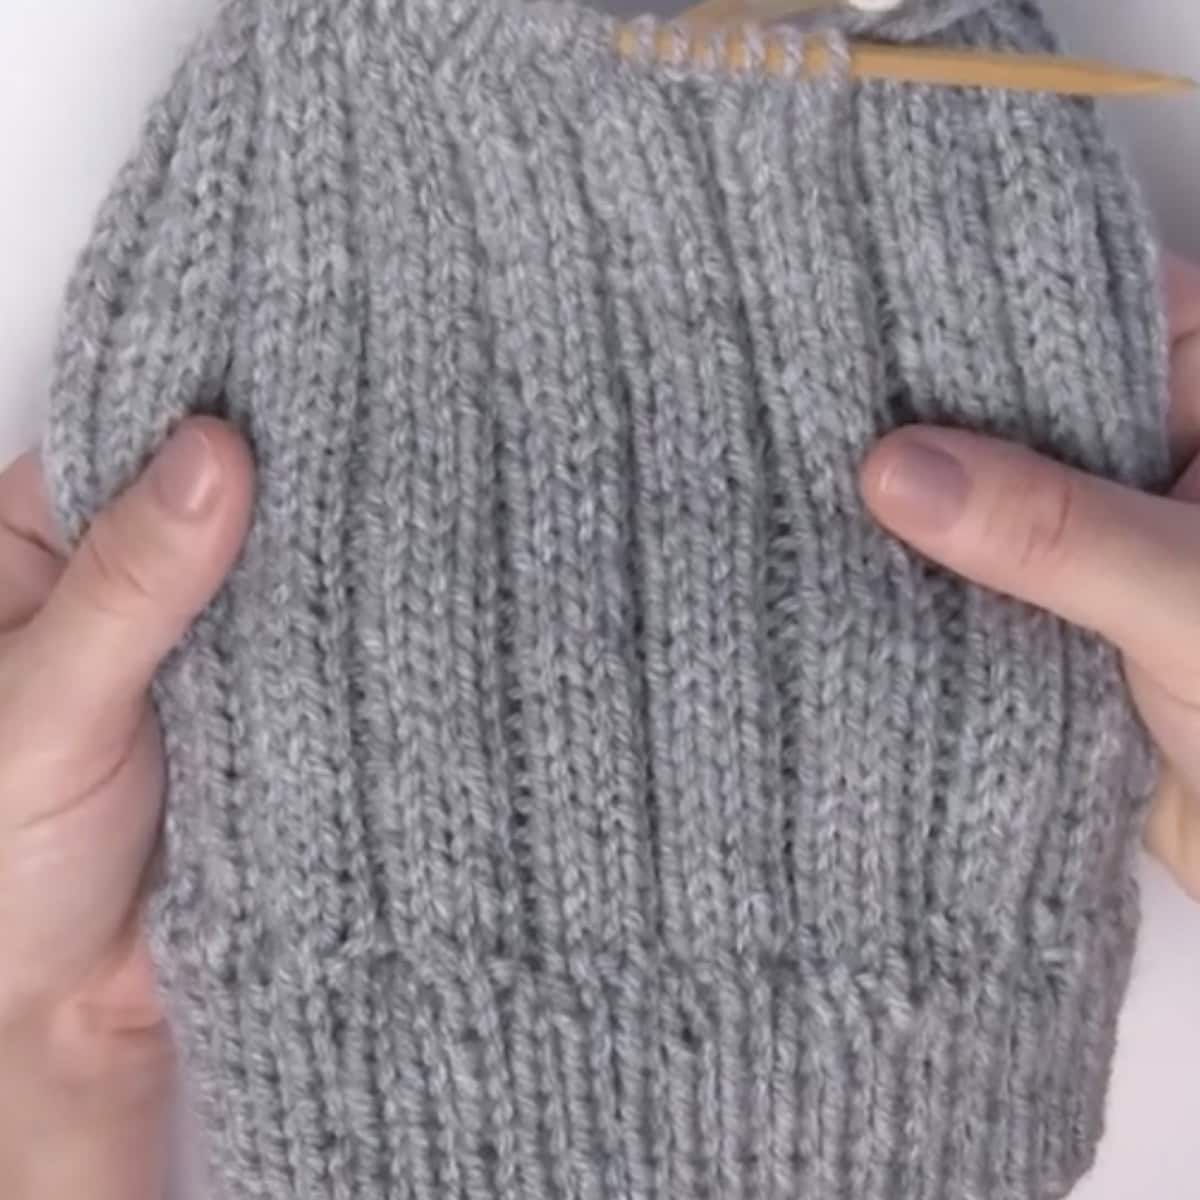
Hat Body – 3×2 Rib
Begin working the body of the hat in a 3×2 rib pattern:
K3, P2 around
Continue for approximately 6 inches, until the total height from the cast-on edge is 9 inches.
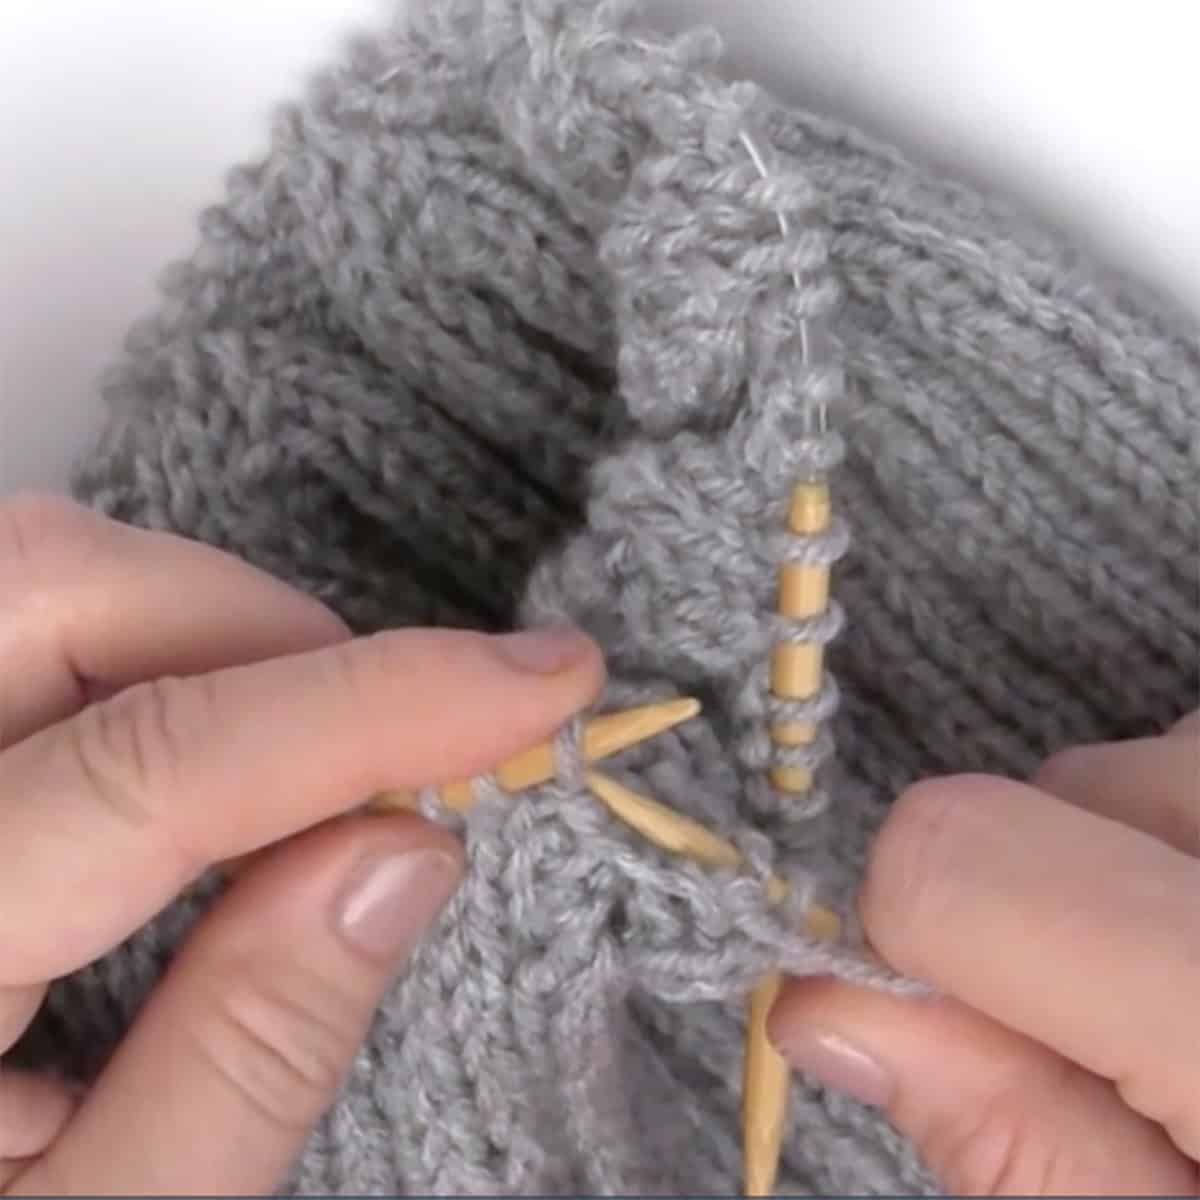
Crown Decreases
Switch to double pointed needles as needed when stitches become too tight on the circular needle.
- Row 1: K2tog, K1, P2 – repeat around
- Row 2: K3, P2 – repeat around
- Row 3: K3, P2tog, P1 – repeat around
- Row 4: K3, P2tog – repeat around (60 stitches remain)
- Row 5: K3, P1 – repeat around
- Row 6: K2tog, K1, P2 – repeat around
- Row 7: K2tog, P2 – repeat around
- Row 8: K2tog, P1 – repeat around
- Rows 9–10: K2tog all the way around (You will have 5 stitches remaining)
Finishing
Cut the yarn and thread it through the remaining 5 stitches using a tapestry needle. Pull tightly to close the crown.
Weave in all yarn ends.
Ad-Free Printable Pattern
Save when you buy 4 Easy Hat Patterns together… buy 3, get 1 free! These knit and purl textures are identical on both sides, adding depth and beauty to create a durable heirlooms.
Knitting Techniques
- Slip Knot
- CO = Cast On Long Tail Method
- Circular Needles
- Double Pointed Needles
- K = Knit Stitch
- P = Purl Stitch
- 1×1 Rib Stitch Pattern
- K2Tog = Knit Two Stitches Together (decrease stitch)
- P2Tog = Purl Two Stitches Together (decrease stitch)
- ** = Repeat pattern between asterisks
Finished Hats by Fellow Knitters
Ravelry allows us to share our knitted projects. I love seeing all of your creative projects created with my free knitting patterns! Check out all the finished and work-in-progress hats by fellow Ravelry knitters!
New to Ravelry? Learn how to easily find free patterns on Ravelry.
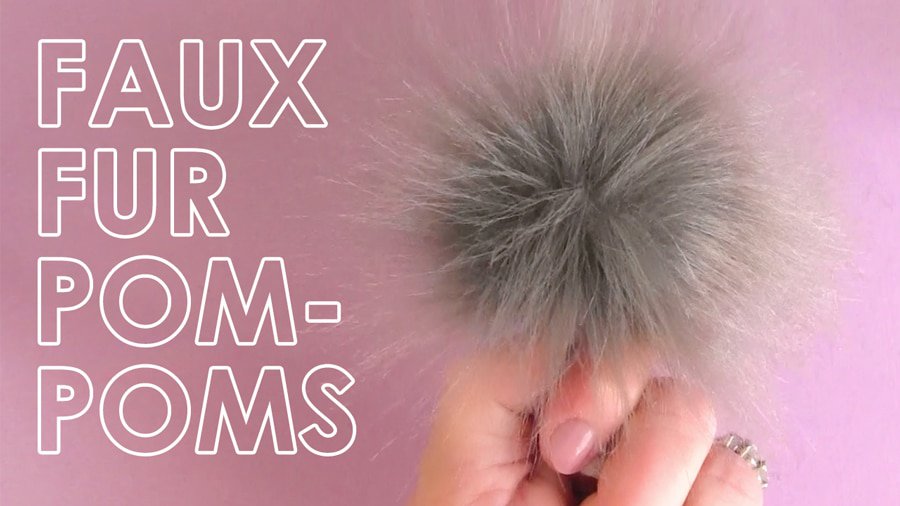
Make Faux Fur Pompoms
Making Pom Poms yourself is so much more affordable than purchasing them premade. You can get really creative with your color choices and sizes. Learn how I made my faux fur pom-poms for hats today!

Printable Knitting Instructions

Printable Knitting Pattern
Learn to make your Gilmore Girls Ribbed Knit Hat inspired by Lorelai’s adorably cozy beanie!
Materials
- Yarn - Worsted Weight Yarn (130 - 145 yards)
- Pom-Pom (optional)
Tools
- 1 Circular Knitting Needle 8 US / 5.0 mm, 16” length
- 4 Double Pointed Needles 8 US / 5.0 mm
- Scissors
- Tapestry Needle
Instructions
- Cast On:
With Size 8 US 16" Length Circular Needle, Cast On 101 Stitches. - Hat Brim:
Row 1: K2Tog, P1, * K1, P1*
All Rows: * K1, P1 * Until height is 3 inches - Hat Body:
All Rows: * K3, P2 * for 6 inches, until the total height is 9 inches - Hat Crown:
Row 1: * K3, P2, K2tog, K1, P2 * (90 stitches remain)
Row 2: *K3, P2, K2tog, P2 * (80 stitches remain)
Row 3: *K3, P2, P2tog, P1 * (70 stitches remain)
Row 4: *K3, P2, P2tog * (60 stitches remain)
Row 5: *K3, P1, P2tog * (50 stitches remain)
Row 6: *K2tog, K1, P2 * (40 stitches remain)
Row 7: *K2tog, P2 * (30 stitches remain)
Row 8: * K2tog, P1 * (20 sts remain)
Row 9: *K2tog * (10 sts remain)
Row 10: *K2tog * (5 sts remain) - Finishing:
• Cinch up the remaining 5 Stitches
• Weave in yarn ends
• Tack on the optional Pom Pom to the top of the hat with yarn and your tapestry needle.
Notes
Knitting Techniques
- Slip Knot
- CO = Cast On Long Tail Method
- K = Knit Stitch
- P = Purl Stitch
- How to Knit on a Circular Needle in 5 Easy Steps
- How to Knit on DPNs
- K2TOG = Knit 2 Sts Together to Decrease
- P2TOG = Purl 2 Stitches Together to Decrease
- Bind Off
- Weave in Yarn Tails

Kristen McDonnell
Author • Designer • Teacher
Kristen from StudioKnit LLC produces knitting video lessons and pattern designs from her vibrant production studio on Half Moon Bay’s California coast.
Kristen McDonnell is the author of the highly acclaimed book Knit Stitch: 50 Knit + Purl Patterns featuring vintage and unique designs.