How to Weave In Yarn Ends Knitting Technique
Learn how to weave in yarn ends to completely finish your work and keep yarn ends stay securely in place. My two favorite methods for weaving in ends are Along the Edge and On the Diagonal.
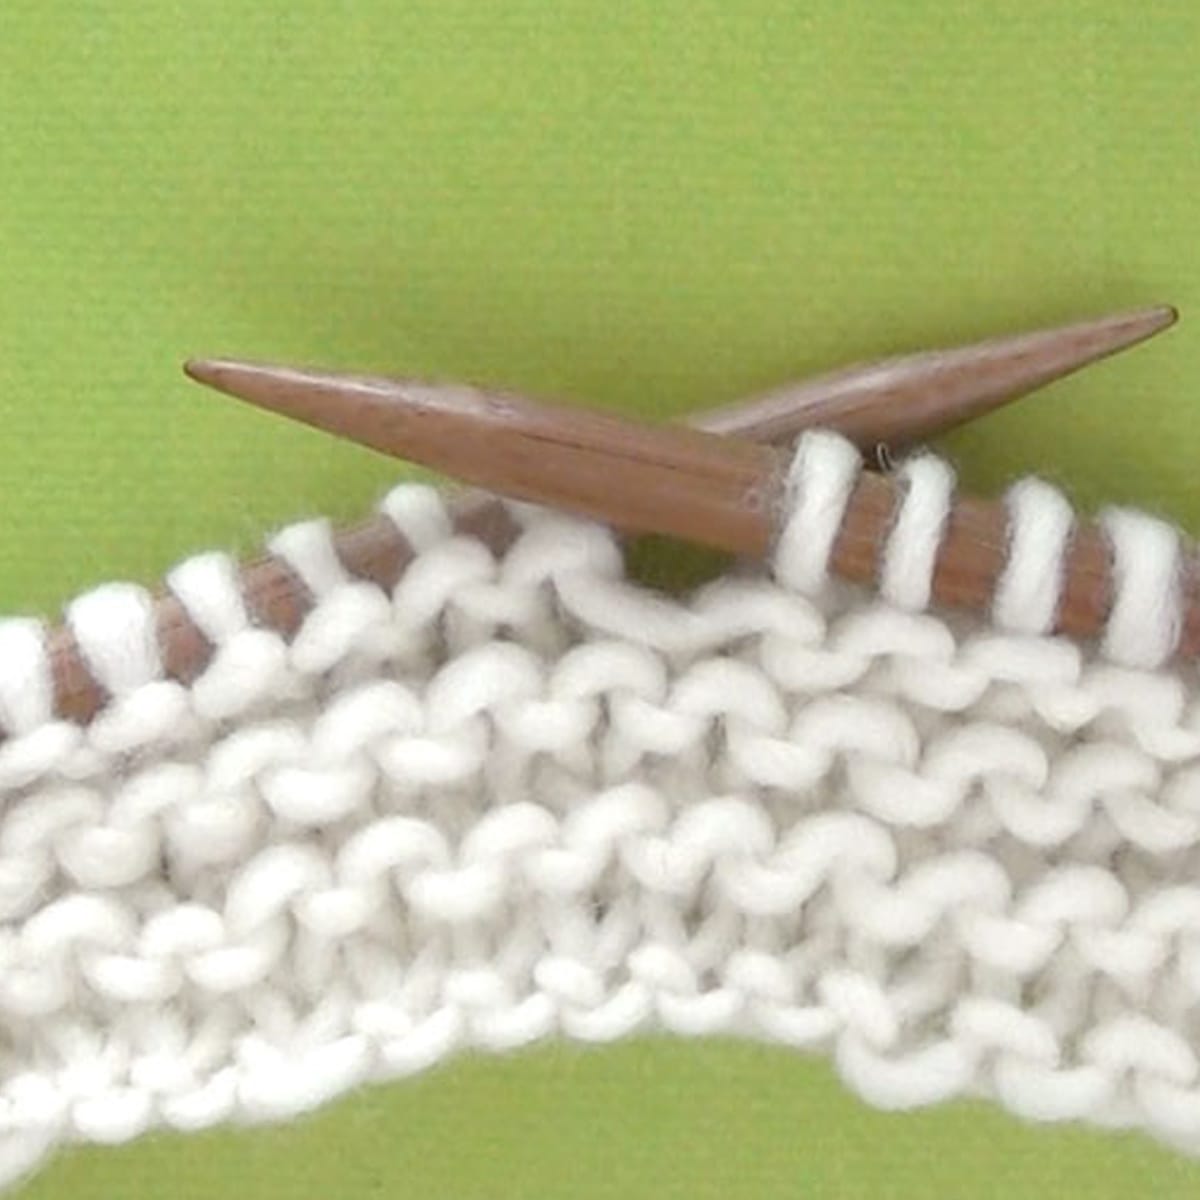
After you have completed the Bind Off of all your stitches, you are left with two yarn tails on the beginning and finishing points of your knitted work. I am switching to a different yarn color so it’s easier for you to see how to weave in your ends.
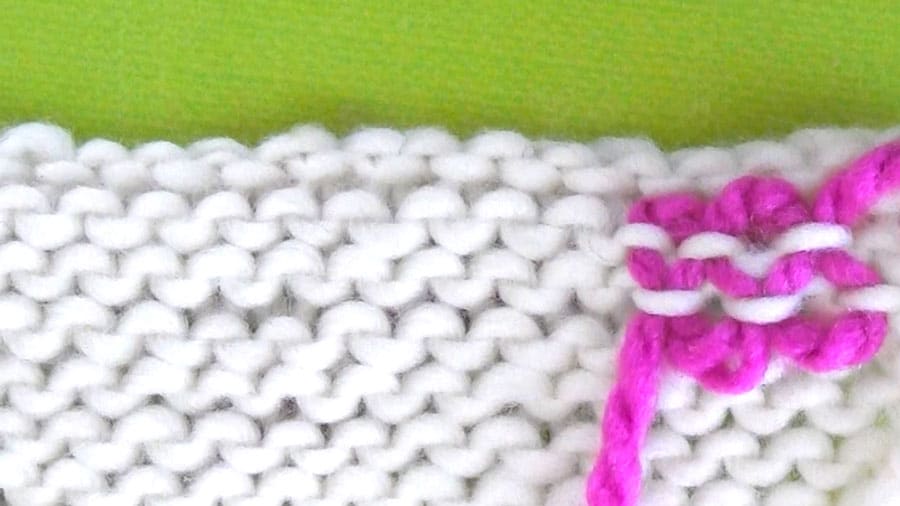
METHOD 1: WEAVE IN ENDS ALONG THE EDGE
With your tapestry needle, on the wrong side the back of your project, you will thread it through the surface loops.
I’m going down one direction at least an inch long and for me that’s about five loops. And then coming back up the second direction, doing it exactly the same, weaving it in through those surface loops in the back of my work, on the wrong side.
The benefit to weaving in your ends in this method is that it is quite simple, however, your yarn especially if you’re using different color yarns, it can be seen in the front your work.
When weaving in your ends with the exact same yarn color, it really is not that noticeable.
Watch Video Tutorial
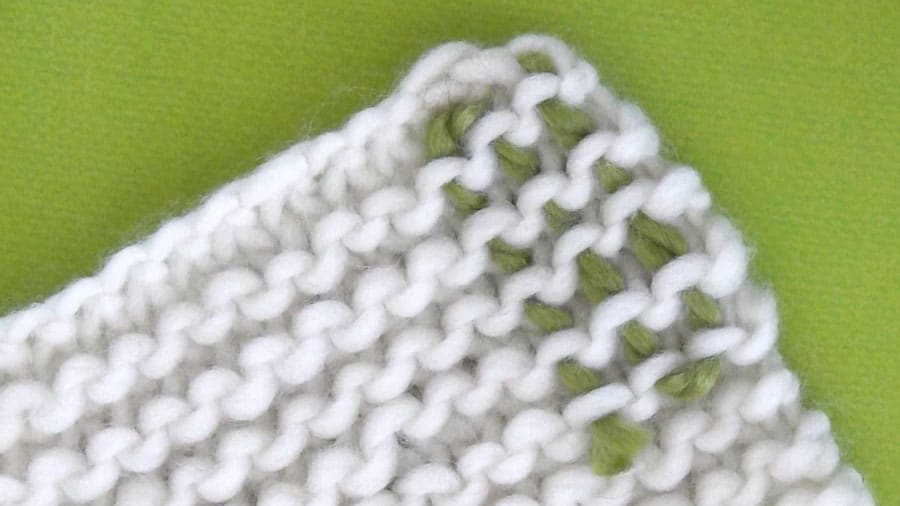
METHOD 2: WEAVE IN ENDS ON THE DIAGONAL
Weaving in your Ends on the Diagonal is the second way that I like to weave in my ends. Although this is a bit more complex, the benefit is that this way you are much less likely to see the yarn in the front of your work.
Taking your tapestry needle, I like to start toward the left side a little bit, and then you are going to pick up the second stitch over so that you’re actually doing it a little bit diagonal rather than straight down how we did the last time.
Now for your third loop, go ahead and pick one up right next to that second one over to the left and then what you’re going to do is you’re going to bring it up through that exact same first loop. And we just repeat this.
You’ll see that your woven in ends are a lot less noticeable on the front of your work using this method.
Since I used this hot pink chunky yarn and I’m sort of stretching my stitches, you can see it a little bit there. But if I had used my white yarn, you definitely would not see it at all in the front of the work.

Kristen McDonnell
Author • Designer • Teacher
Kristen from StudioKnit LLC produces knitting video lessons and pattern designs from her vibrant production studio on Half Moon Bay’s California coast.
Kristen McDonnell is the author of the highly acclaimed book Knit Stitch: 50 Knit + Purl Patterns featuring vintage and unique designs.