How to Craft Yarn Dorset Buttons

Yarn Dorset Buttons are a fun crafty idea that anyone can make. No knitting is required! I love that it’s both a yarn stash buster and an upcycled craft project. These yarn Dorset Buttons look great on knitted items, as well as a way to spruce up fashion items. A purse, jacket, sweater, pillow… the possibilities are endless.
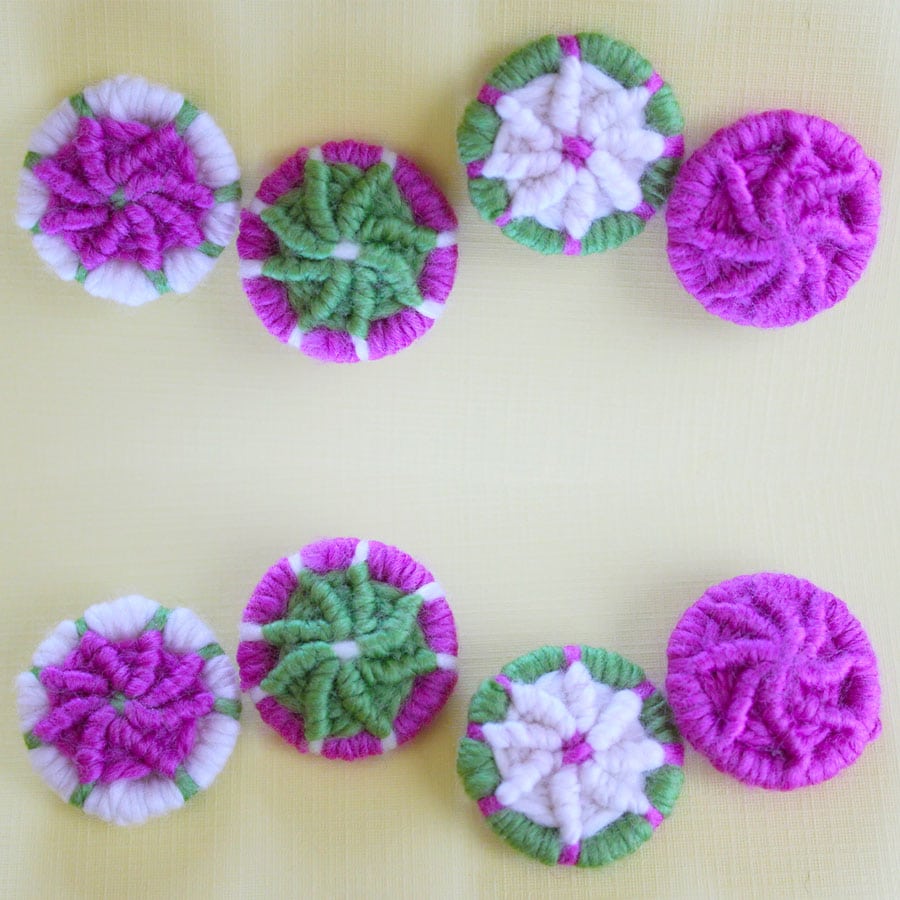
In my example demonstrated below in both my video and photo tutorials, I am using three different yarn colors to best show off the three different steps: Ring Wrap, Spider Web, and Backstitch Weaving. Of course, feel free to use three, two, or even just one color of yarn for your buttons.
Craft Materials
The Dorset button originated in the 17th century in Dorset, England by Abraham Case who started the Dorset Button industry. At that time, they were made on a disc cut from the horn of a Dorset Horn sheep, which was covered with fabric and needle-worked thread.
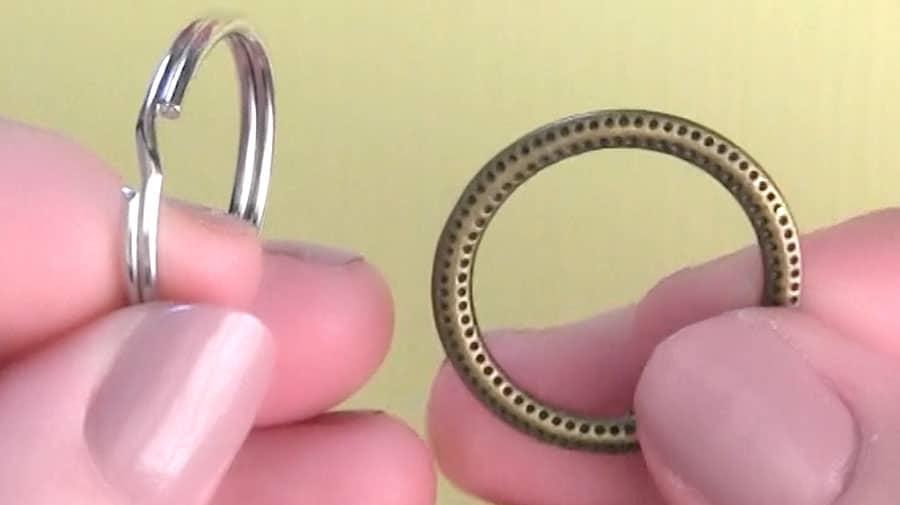
We are going to use recycled metal rings and scrap yarn. Something old is new again… and super cute! My samples were created with split key rings and bulky weighted wool yarn. Feel free to use any sized rings and yarn for your creative project.
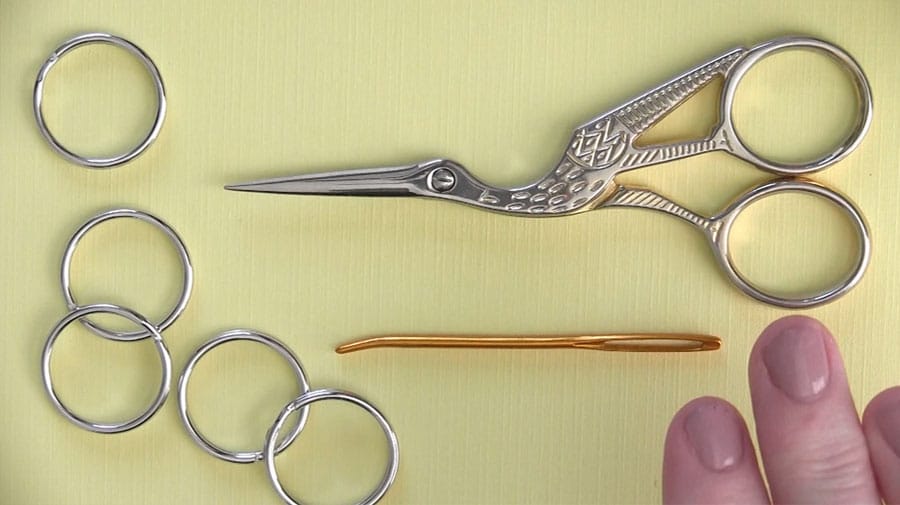
- Yarn – Any stash yarn of your choice
Sample: Worsted Weighted Wool Yarn Cascade Superwash 128 - Rings of Any Size – Split Key Chain Ring Clips work great
- Tapestry Needle
- Scissors
Craft Techniques
• Slip Knot
• Blanket Stitch
• Backstitch Weaving
• Tying
Watch Video Tutorial
3-Step Craft Instructions
Step 1 – Ring Wrap
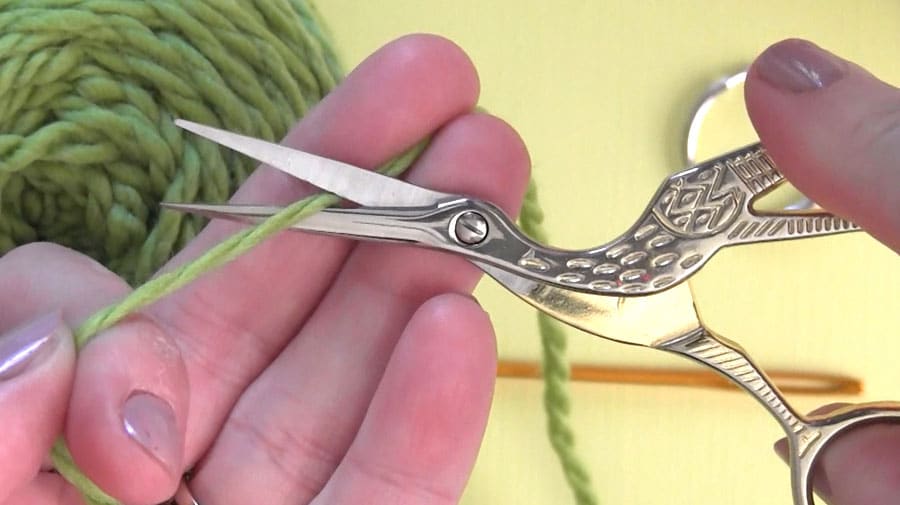
Begin by cutting a length of scrap yarn about 26″ and threading it through your tapestry needle.
 The split key rings work perfectly for this project because they easily hold your yarn in place during this first step. If you’re using just a regular ring as your base, go ahead and hold the short yarn tail down with your finger.
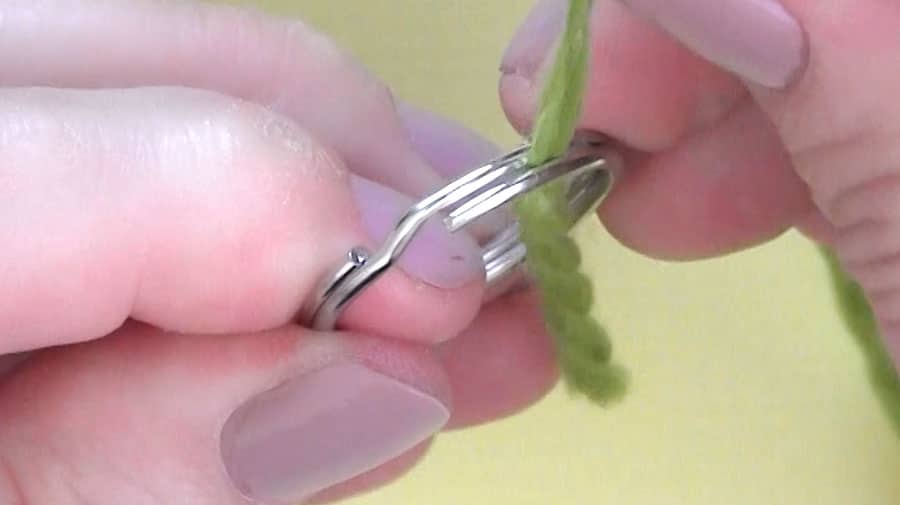
Work the blanket stitch all around your ring. Bring your tapestry needle up through the ring and over, then thread it down and through the resulting yarn loop. Keep repeating this blanket stitch, making sure to wrap over that yarn tail to help keep it securely in place.
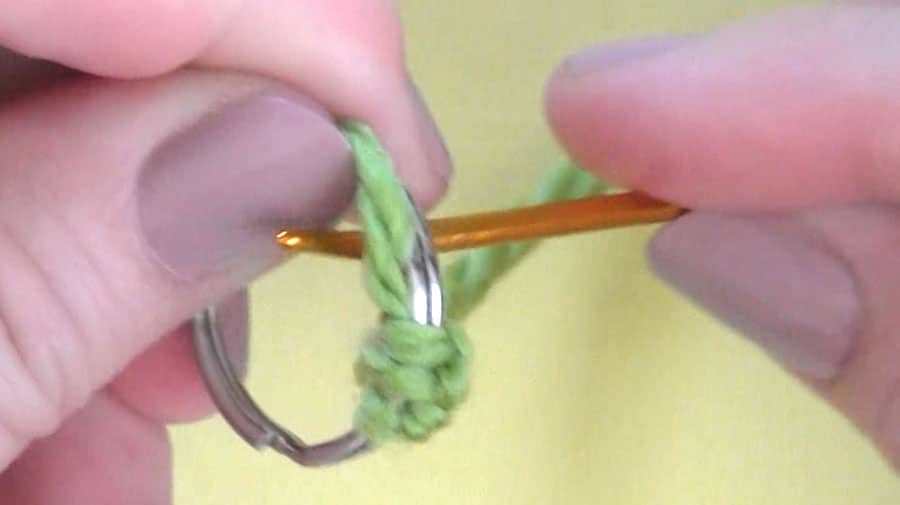
Once you’ve completely covered your ring, thread your yarn through the knots a couple of times to secure it, then cut it off.
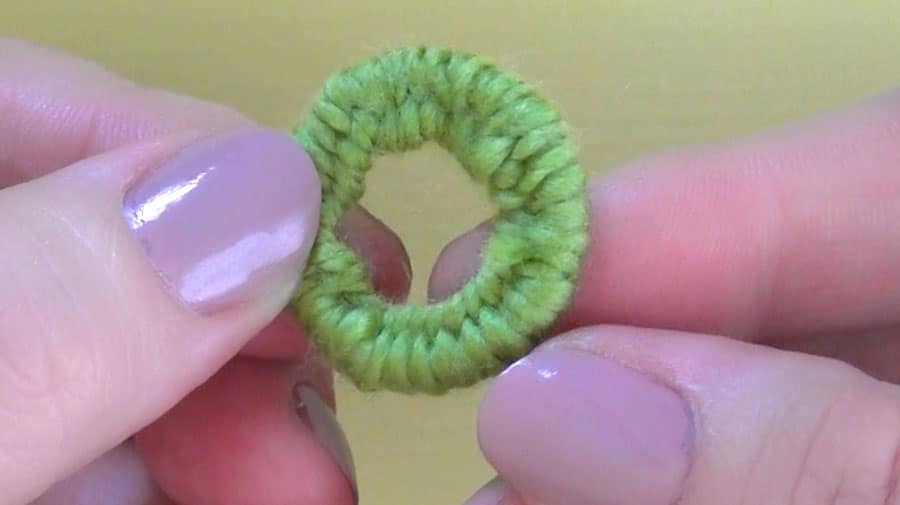
The knots from the blanket stitch will be on the outside of your ring. Using your fingers, gently guide them to be within the inside of your ring instead, so the wrapped yarn is on the outside.
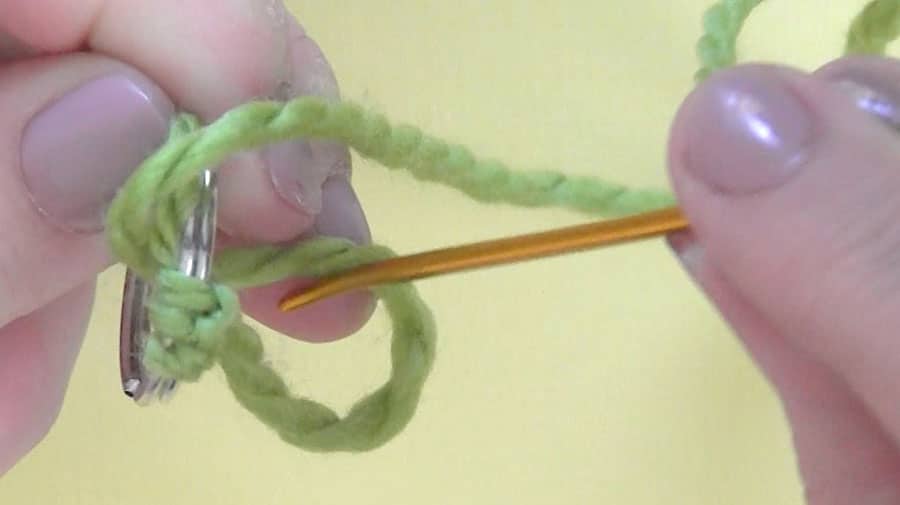
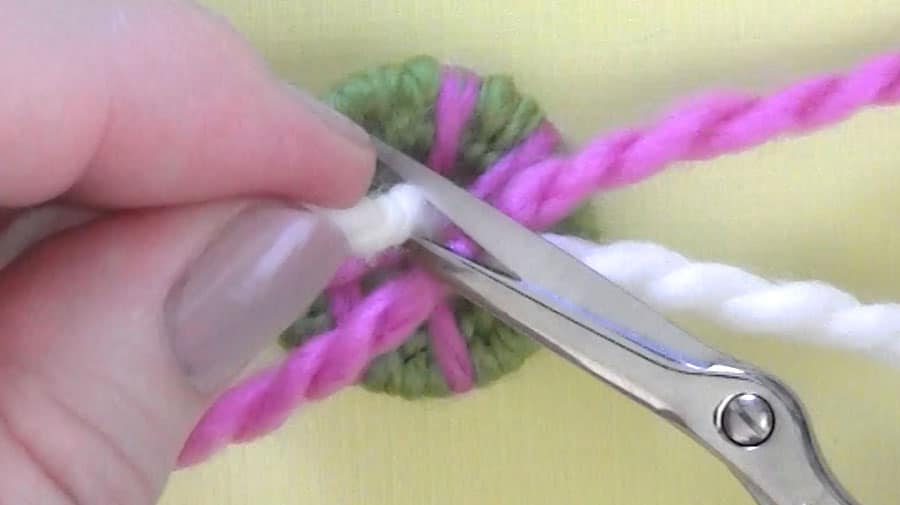
Step 2 – Spider Web
Cut a second piece of scrap yarn to about 20″ in length.
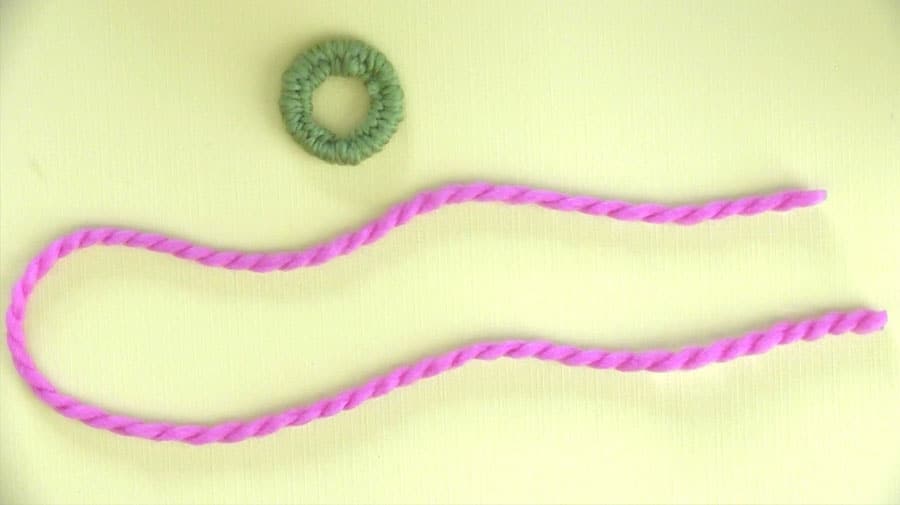
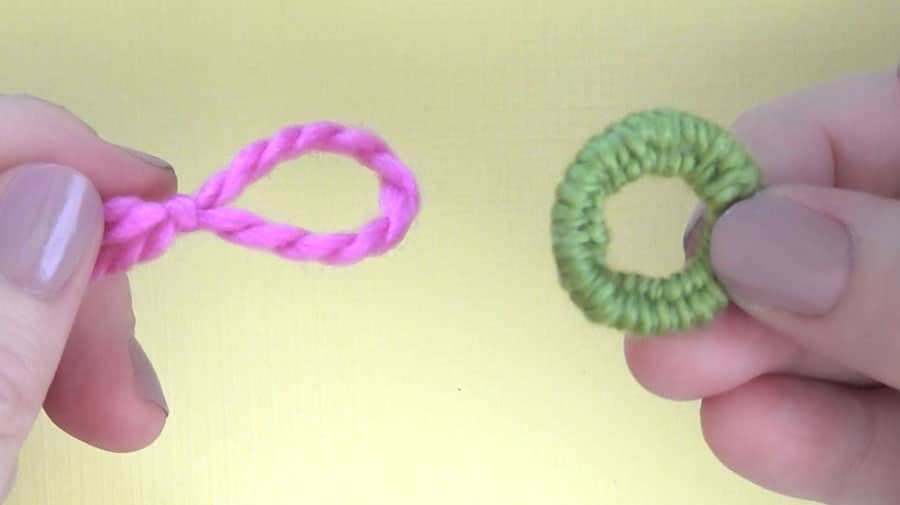
With it, create a Slip Knot from the center of your piece of yarn.
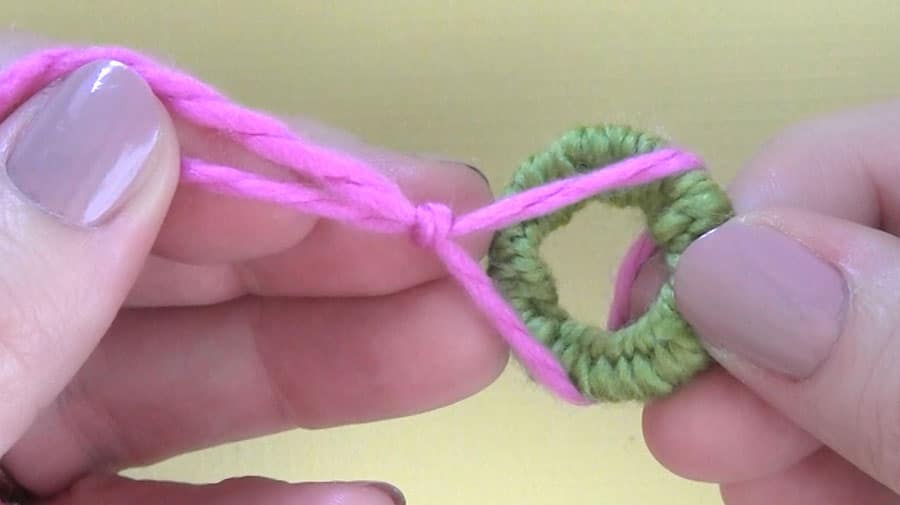
Place your ring within the slip knot.
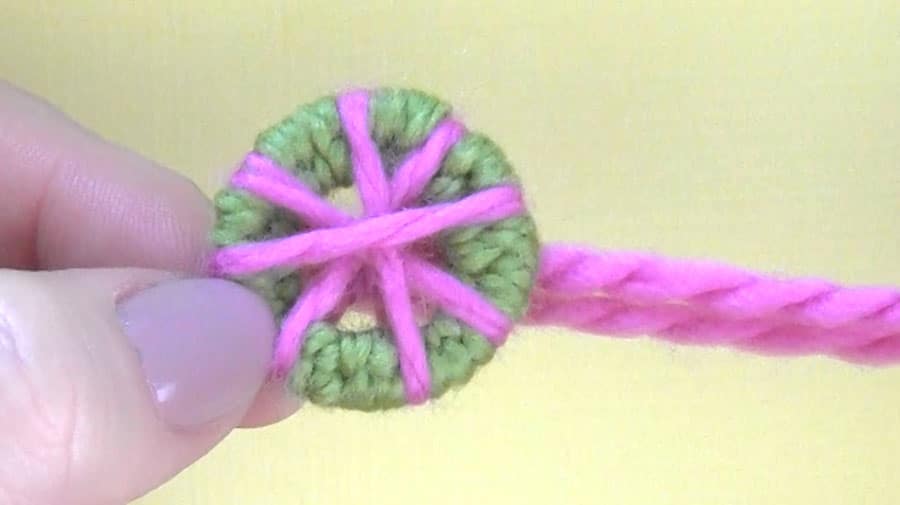
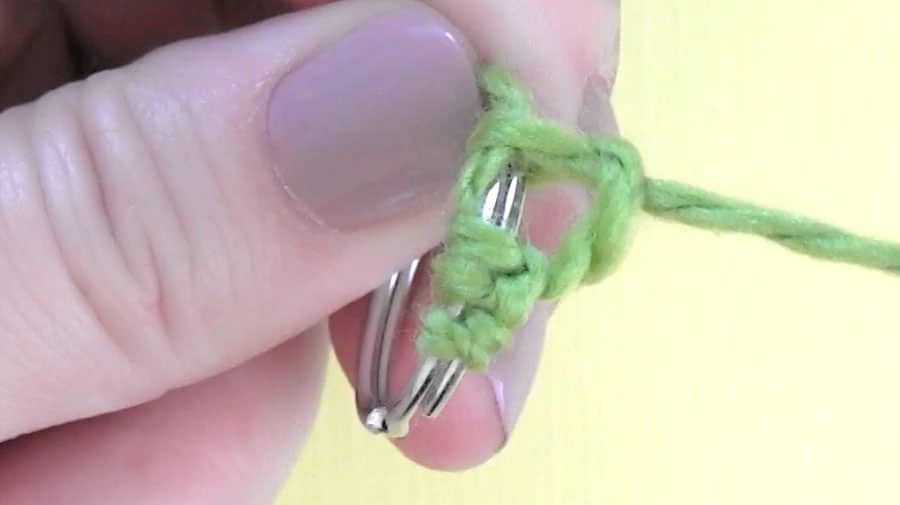
Wrap your yarn ends around the ring to create a total of 8 equilateral radial spokes from the center, wrapping and tying your yarn off in the back.
The two strands of yarn tails can be used to hold your new button in place for the next step, as well as sew the button in place onto your selected garment.
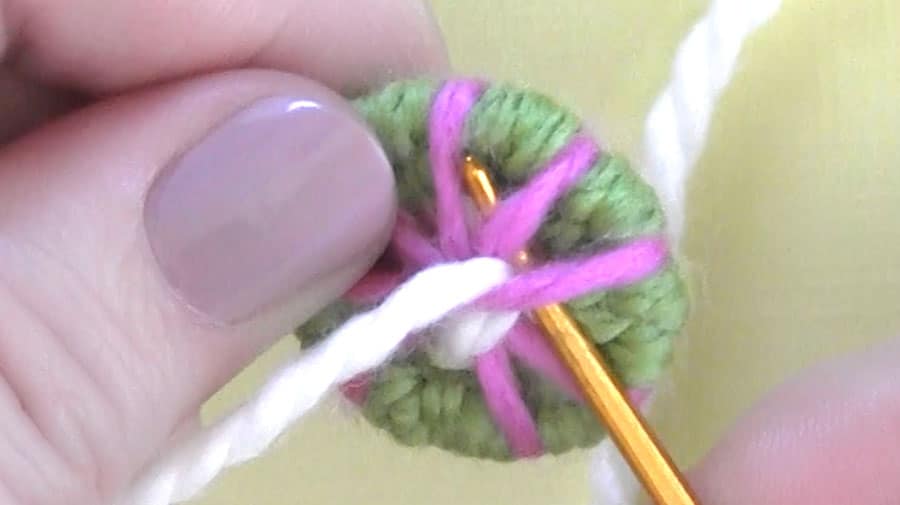
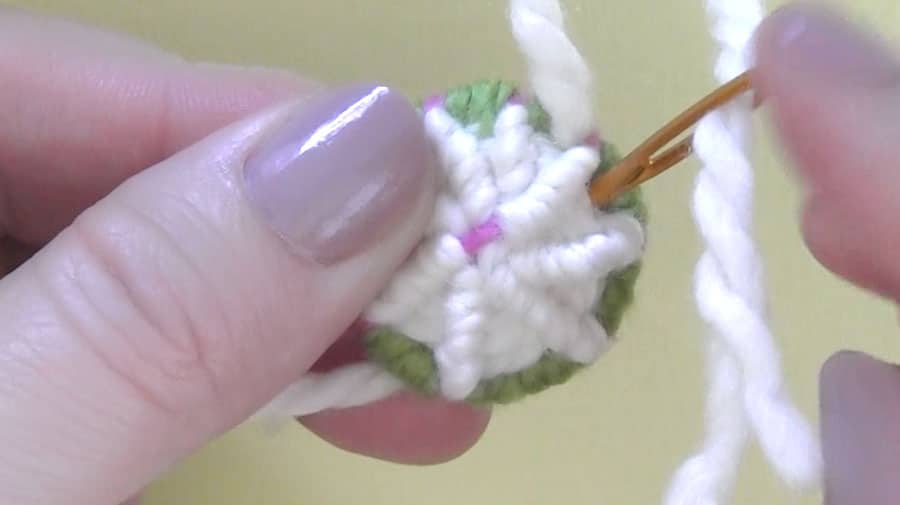
Step 3 – Backstitch Weaving
Cut the third piece of scrap yarn to about 20″ to length and thread it through your tapestry needle.
Work the backstitch to weave this third strand of yarn through your spider web spokes.
Starting close to the center, begin by wrapping your yarn over the spokes.
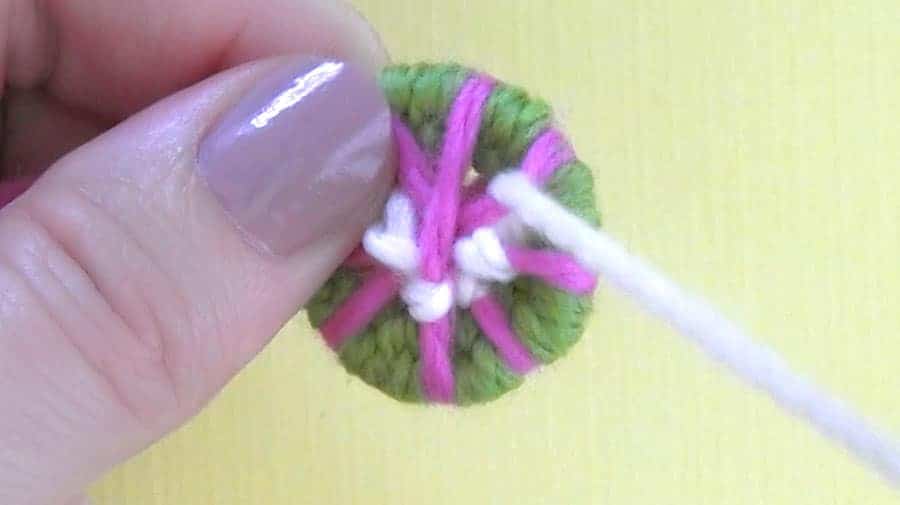
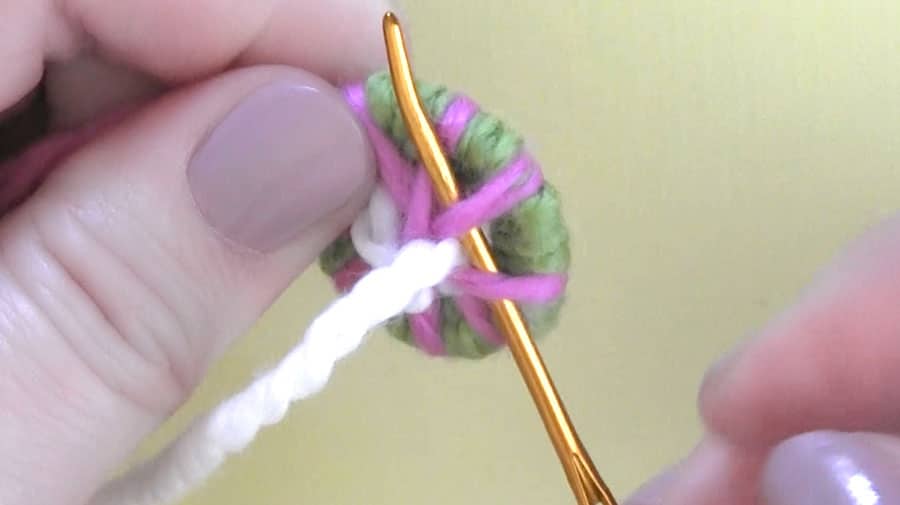
Then, round and round, go back over the one spoke and under two. Repeat this process until your ring is full of stitching.
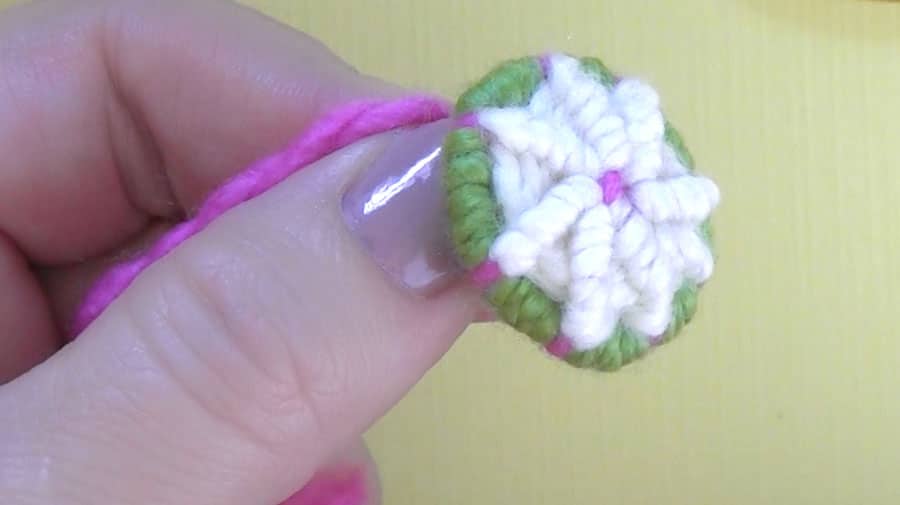
When you have finished weaving the yarn to your satisfaction, fasten the yarn in the back with a few stitches and knots.
Clip off the yarn tails from the third strand and you are done!


Kristen McDonnell
Author • Designer • Teacher
Kristen from StudioKnit LLC produces knitting video lessons and pattern designs from her vibrant production studio on Half Moon Bay’s California coast.
Kristen McDonnell is the author of the highly acclaimed book Knit Stitch: 50 Knit + Purl Patterns featuring vintage and unique designs.