Easy DIY Pin Board Wall for Your Craft Room
This simple DIY pin board wall is a great way to add personality and function to your craft room. With no tools required and materials that are easy to install and remove, it is perfect for renters, crafters, and anyone who wants a creative way to display their work.
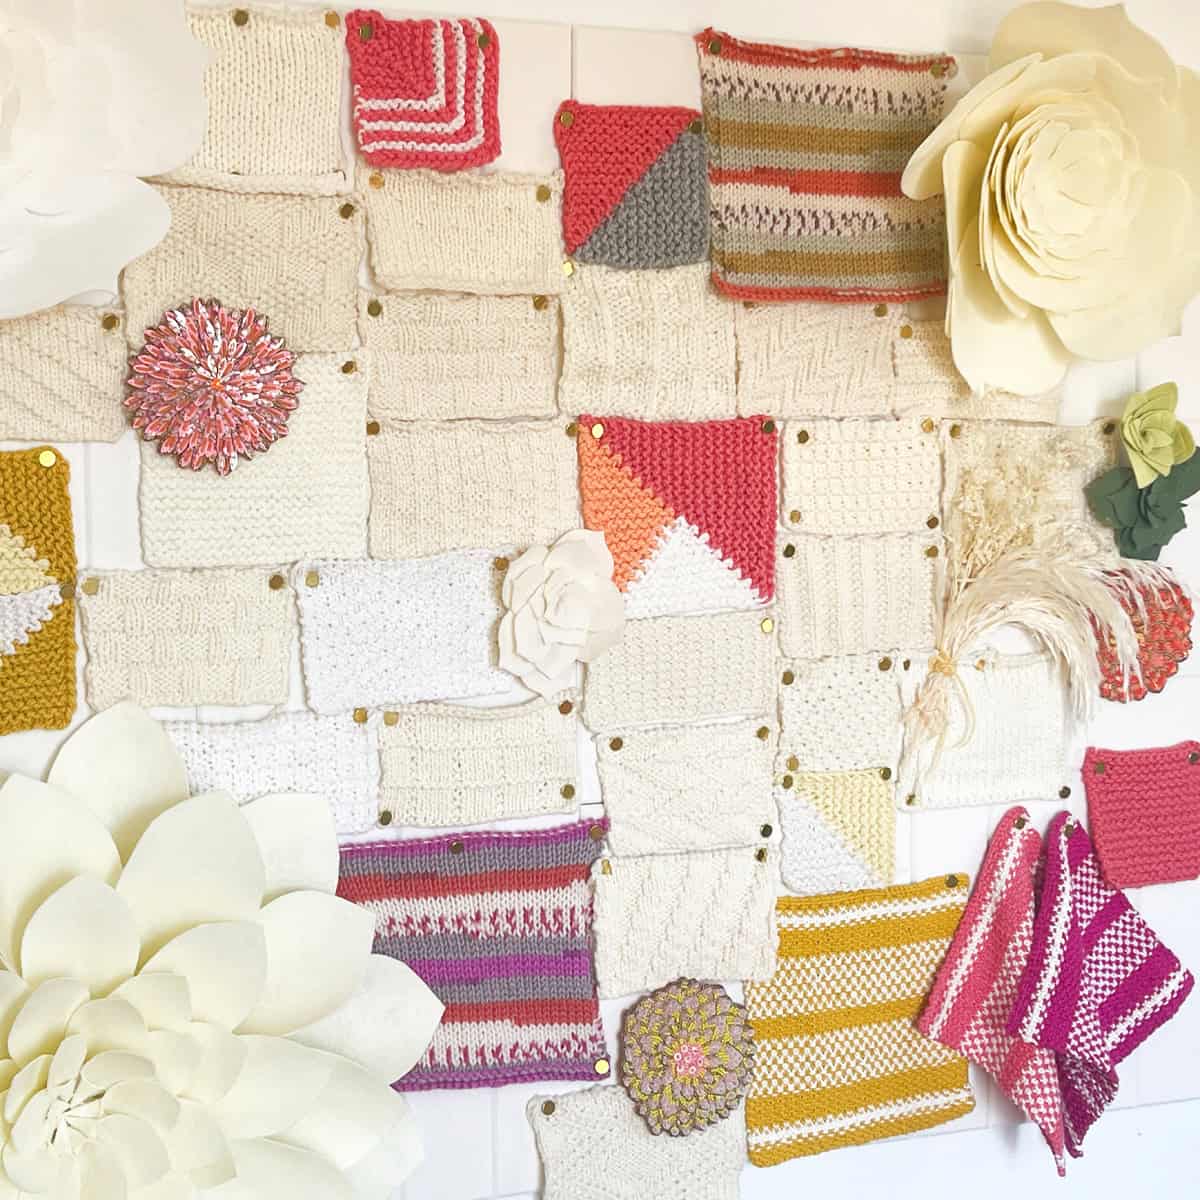
Table of Contents
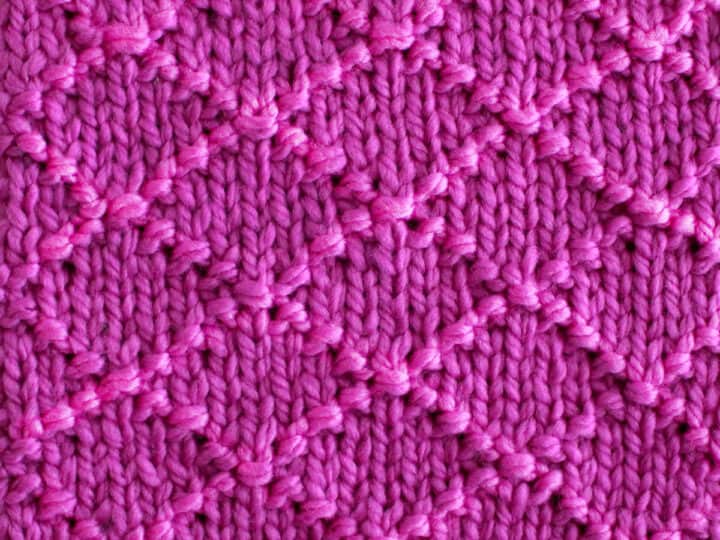
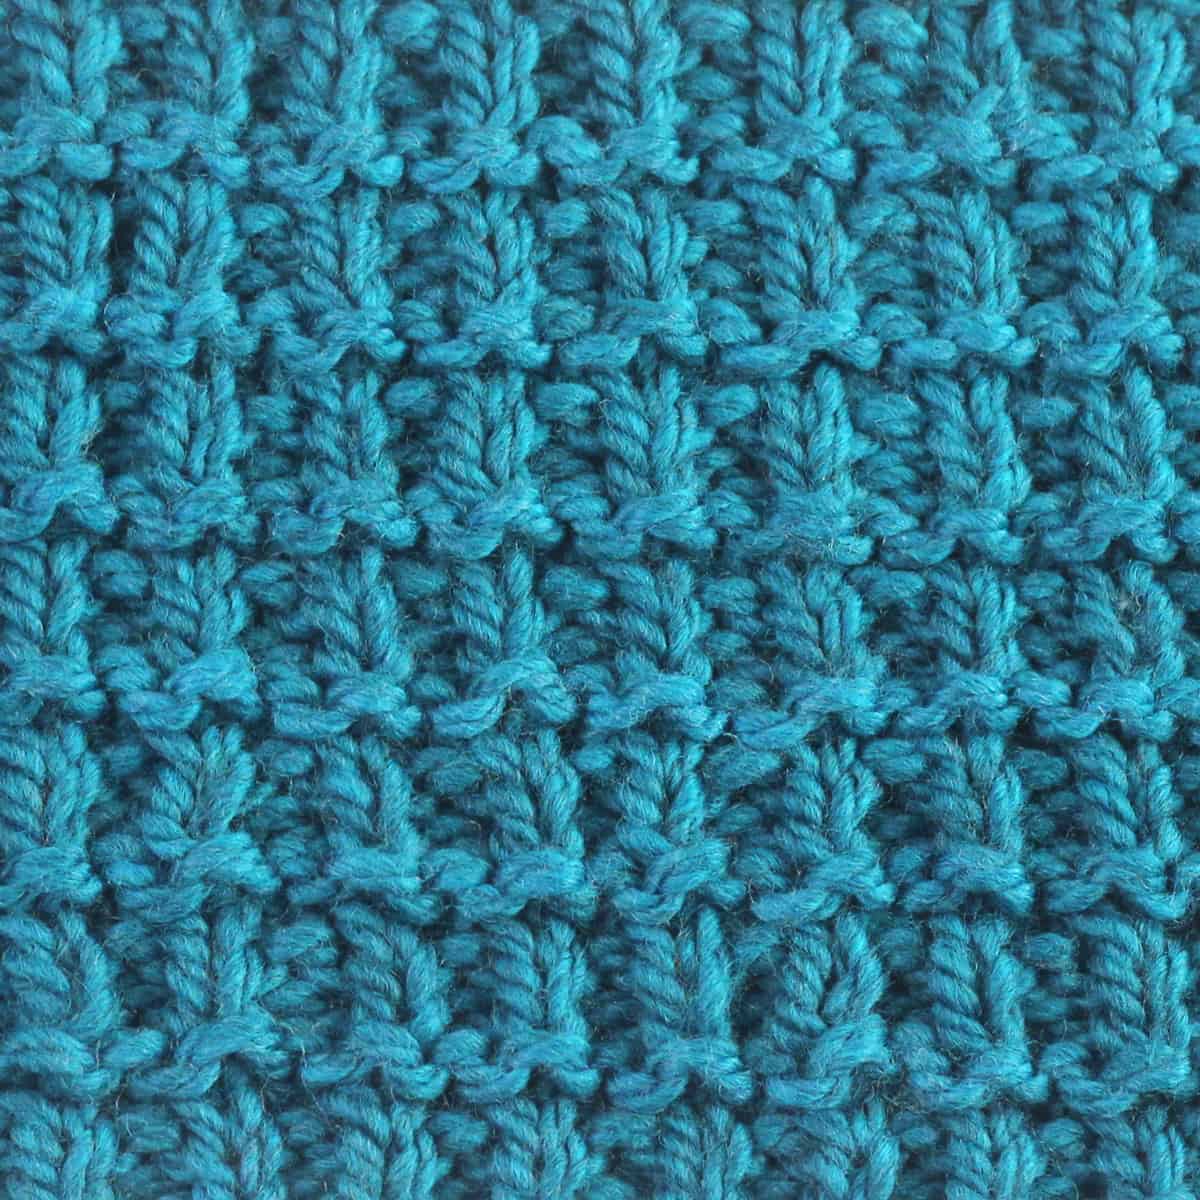
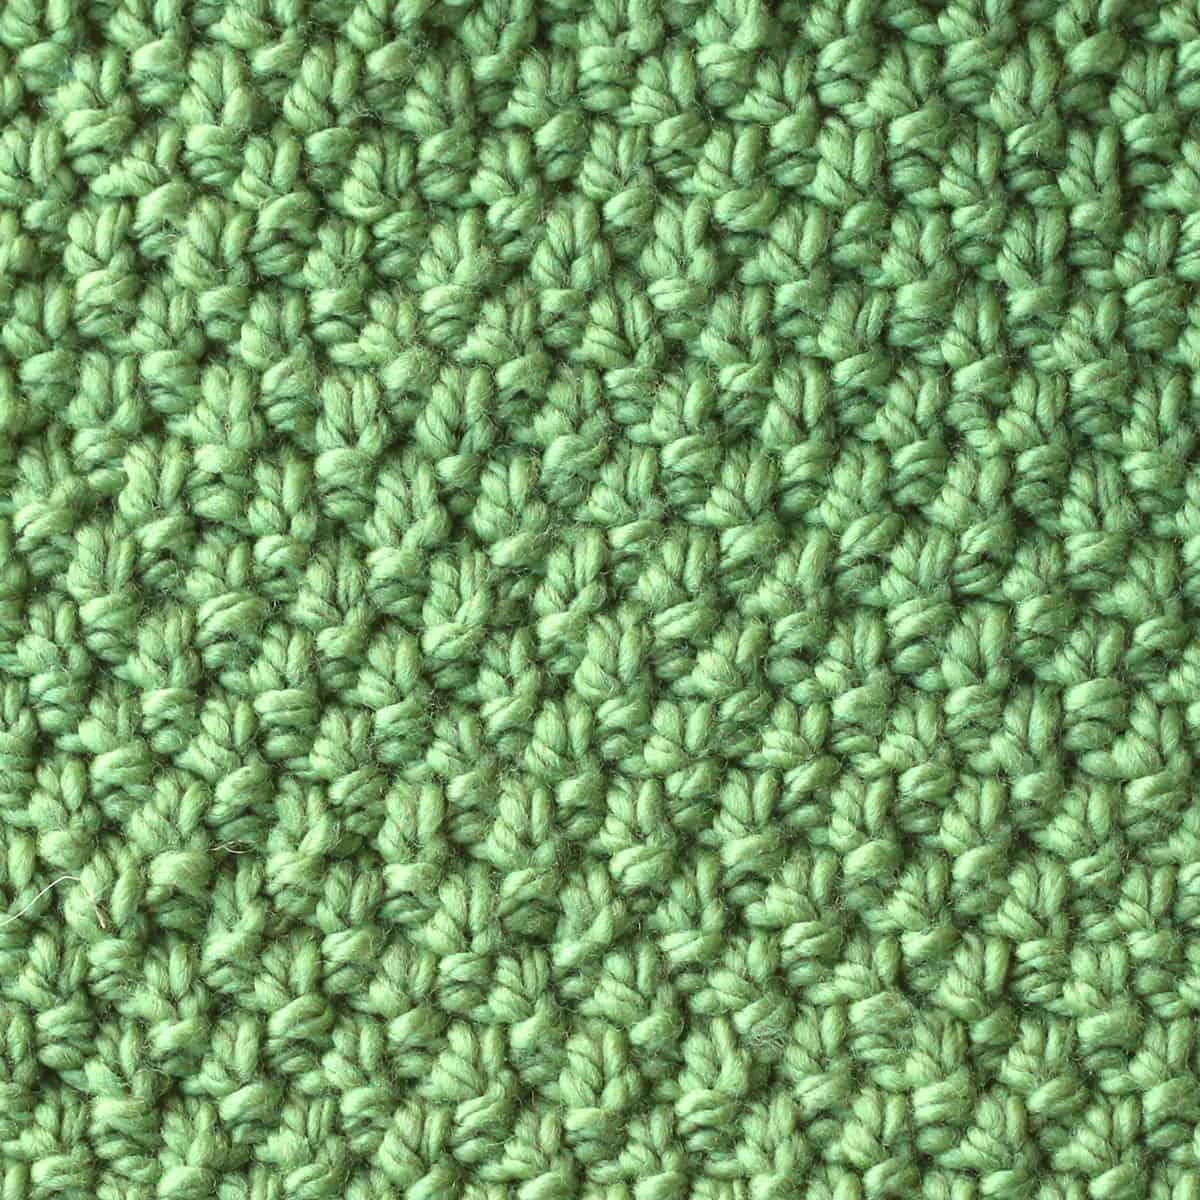
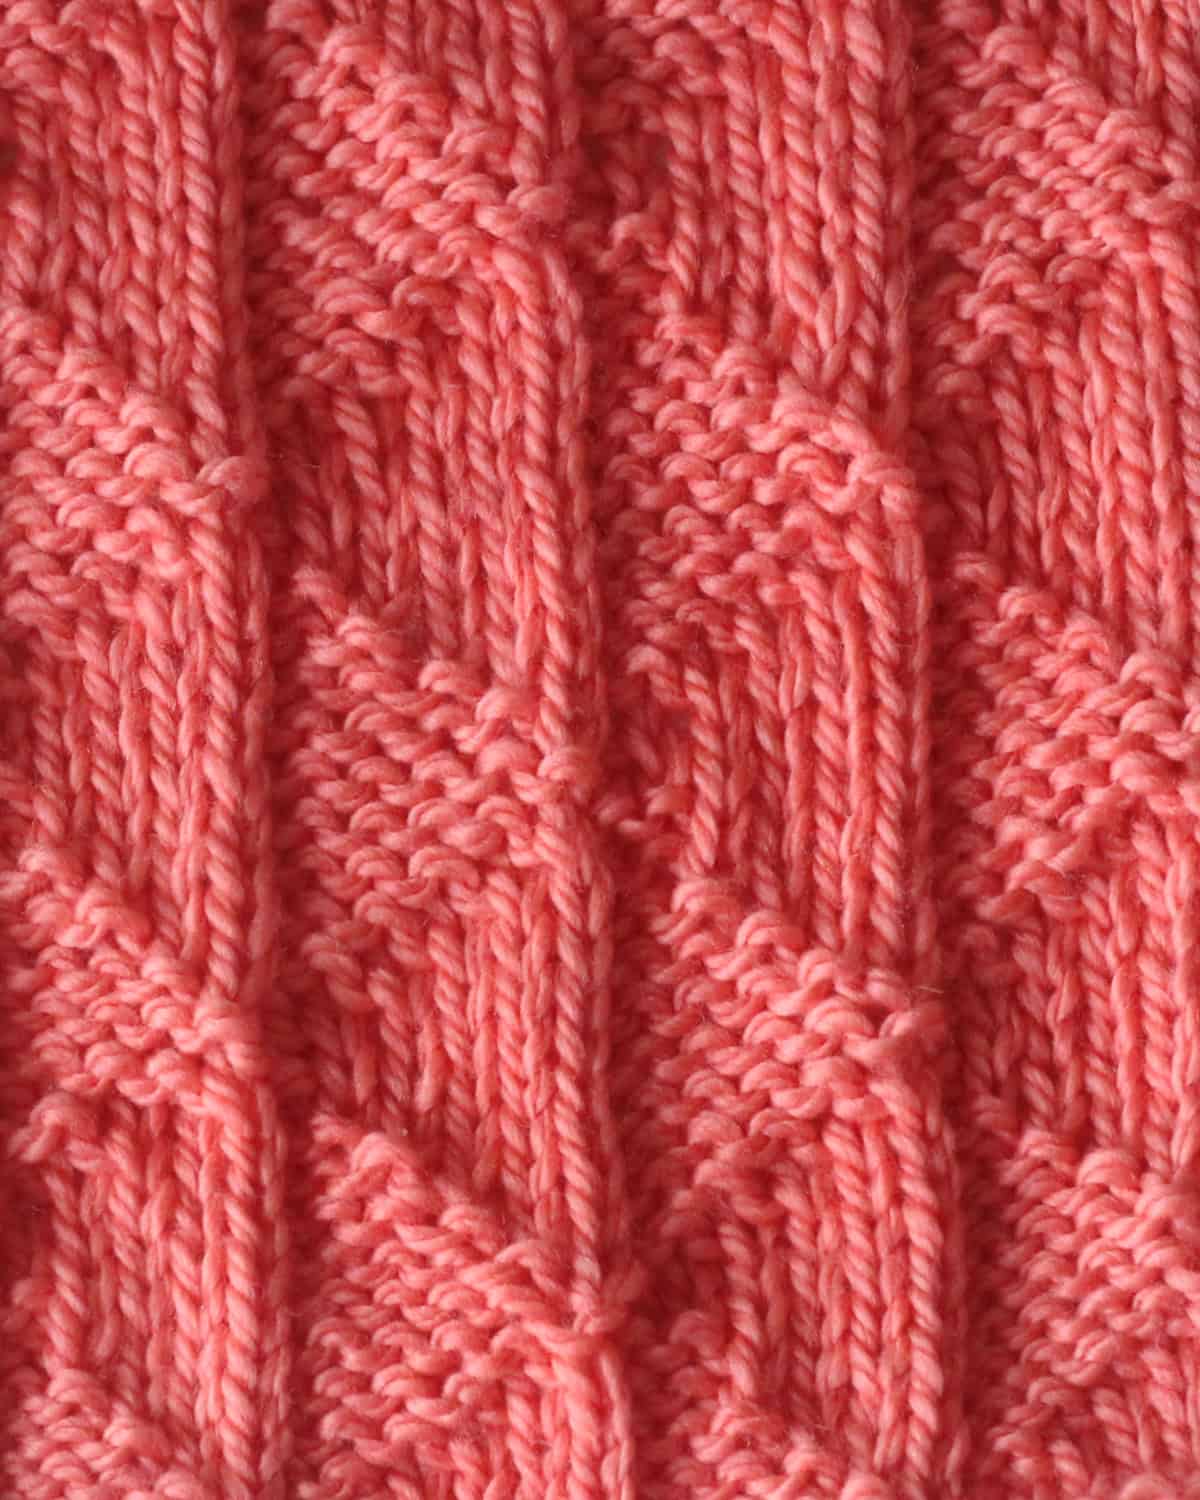
I created this soft display wall to organize and show off my collection of knit swatches, but you can use it for just about anything. Try crochet swatches, fabric samples, printed pattern sheets, color palettes, photos, sketches, or even a rotating inspiration board.
I originally considered using a traditional cork board, but I wanted something that looked cleaner and more intentional for my craft room. That’s when I discovered these soft adhesive wall panels. Paired with gold metal push pins and a digital leveler, this simple setup turned an empty wall into a creative focal point.
As a bonus, the soft wall panels and layers of yarn also help absorb sound. This creates a quieter, more focused environment in my craft room, especially when I’m filming videos or just enjoying a peaceful afternoon of knitting.
Video Tutorial
How I Created My Swatch Wall
Step 1: Unbox the panels and plan your wall layout
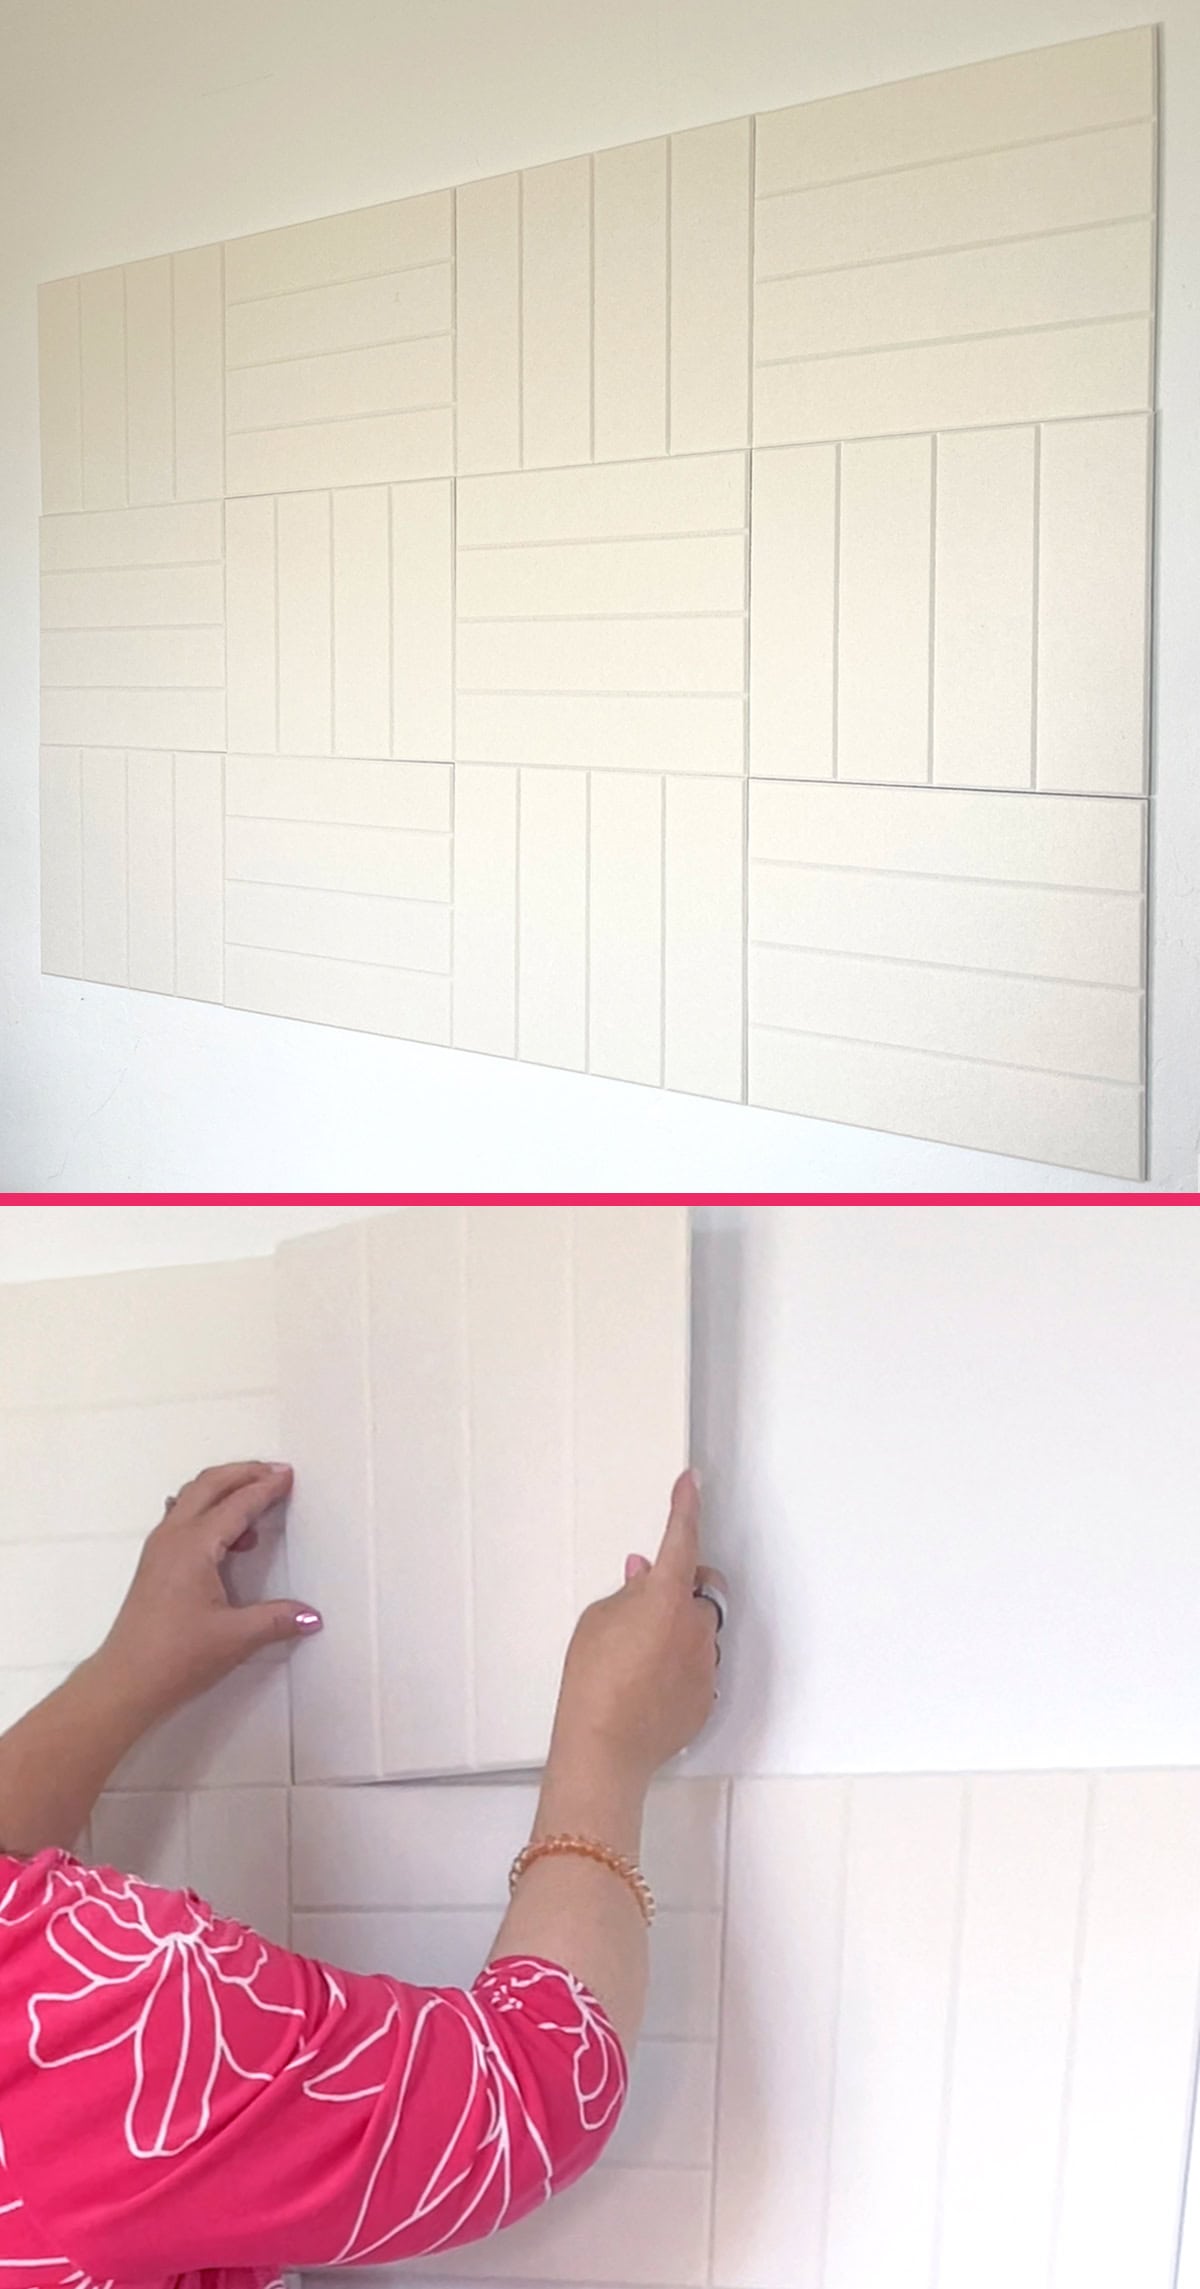
I began by deciding where I wanted the display to go on my blank wall. This particular set includes 12 square panels, which together cover an area of approximately 36 by 48 inches. You can use all of them for a larger statement piece or just a few to fit your space.
There’s no need to pre-plan the swatch layout. Once the panels are up, you can easily adjust and rearrange your swatches as you go.
Step 2: Use a digital leveler for alignment
To keep everything aligned, I started by leveling just one square panel using a small digital leveler. If you have a physical leveler in your toolbox, that works too.
Once the first panel was in place, I simply lined up the edges of the remaining eleven panels to match. This made installation quick and consistent without needing to level each one individually.
Step 3: Stick the panels to the wall
I alternated the orientation of the panels, placing some horizontally and others vertically. This subtle design choice added texture and movement to the wall while keeping the layout clean and structured.
Each panel was secured using adhesive tabs, which I pressed firmly into place. The tabs hold well but are still gentle on walls and easy to remove if needed.
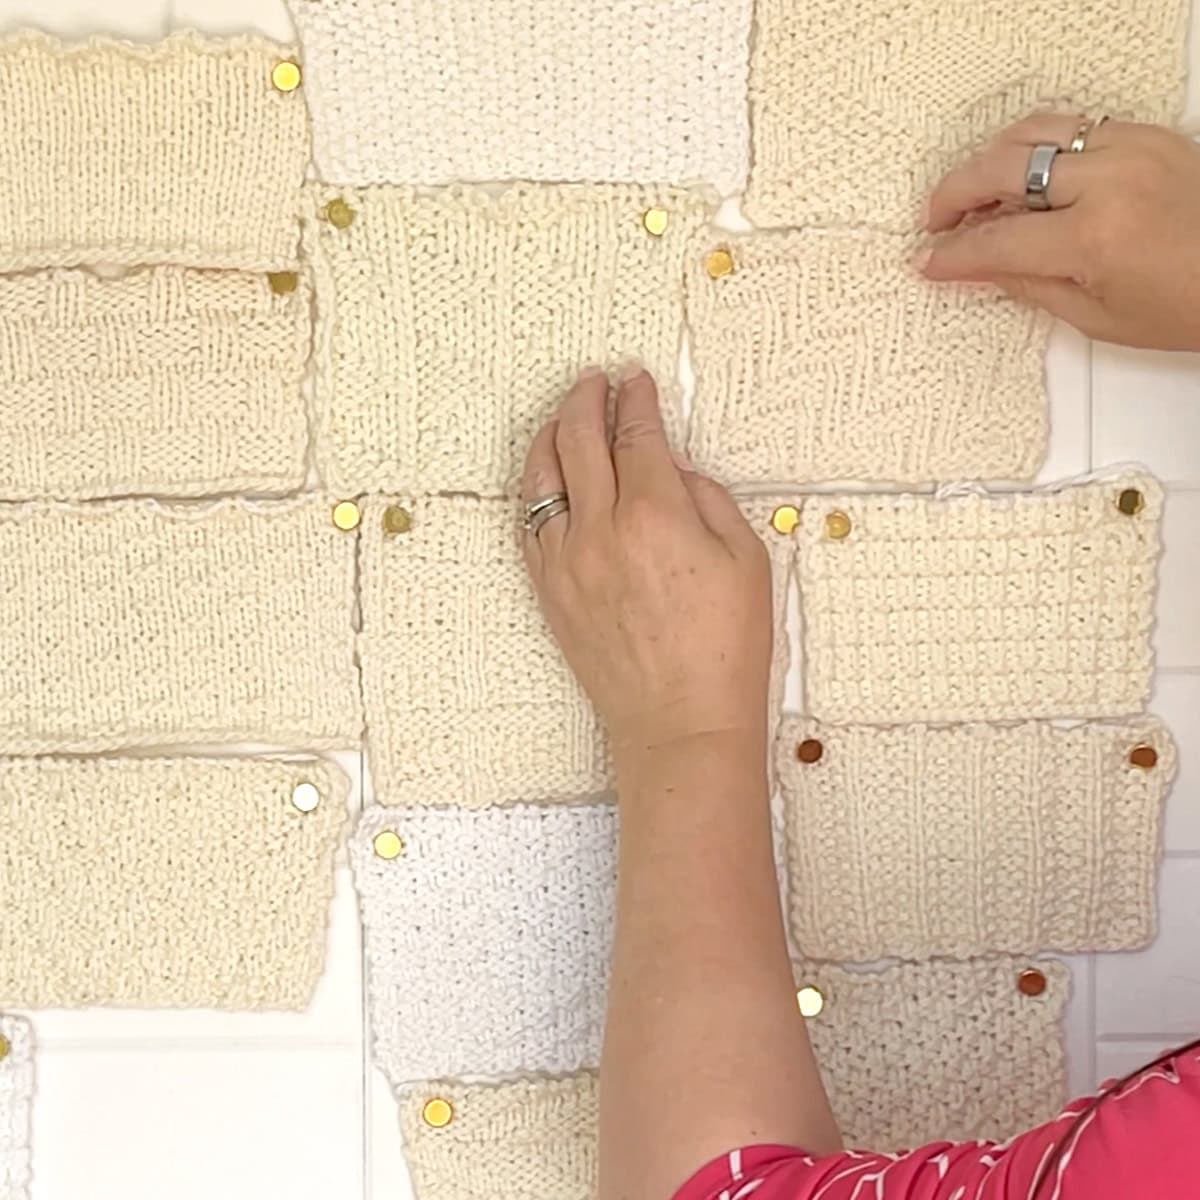
Step 4: Attach your knit swatches
Once the panels were up, I used gold metal push pins to tack the top corners of each swatch to the board. I chose gold because it looks great against the off-white panels and complements the textures of the swatches. Since I haven’t bound off the last row, I can still slide the stitches back onto my needles anytime I want to film or revisit a pattern. The wall works as both display and storage.
Craft Room Supplies I Used
As an Amazon Associate, I earn from qualifying purchases.
- Adhesive wall panels
- Damage-free hanging wall tabs
- Gold Metal Push Pins for Cork Boards
- Digital leveler tool – I used Bubble Level in the App Store
Shop the entire Easy Pin Board Wall Display craft supplies collection in my Amazon Shop.
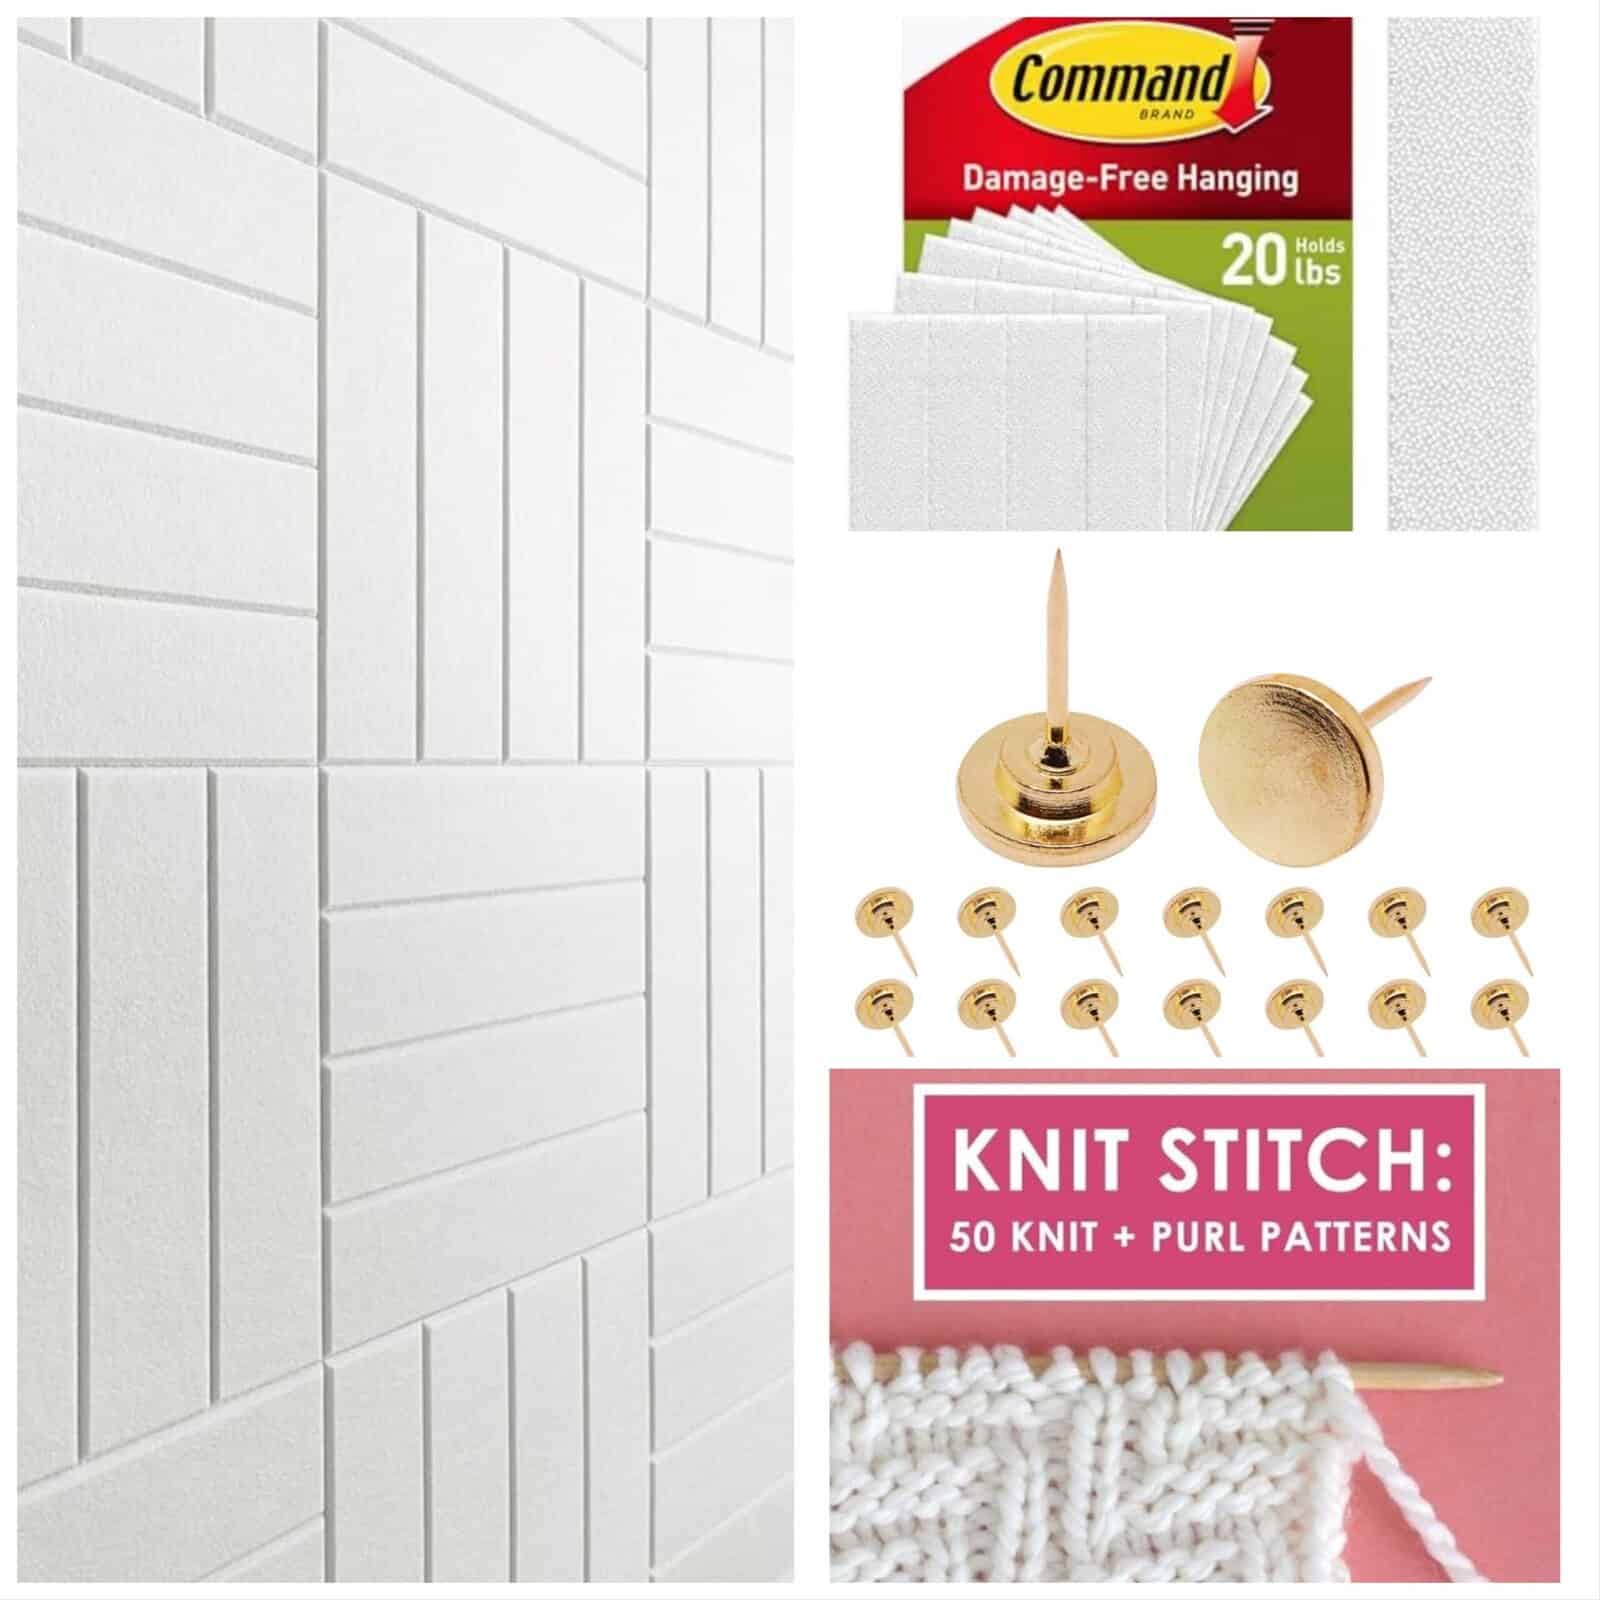
Adhesive wall panels
These lightweight, self-adhesive wall panels offer a clean, fabric-textured surface that’s perfect for adding style and softness to any space. Easy to install and available in multiple colors (mine are off-white), they’re ideal for craft rooms, accent walls, or creative displays like my knit swatch wall.
Damage-free adhesive wall tabs
The Command 20 lb XL Heavyweight Picture Hanging Strips offer strong, damage-free adhesion that supports up to 20 lb per pair—perfect for sticking lightweight panels flush on painted walls. With easy removal and no tools required, they make hanging your knit swatch display renter-friendly. Great for dorm rooms, too!
Push Pins for Cork Boards
To attach each swatch, I used simple gold metal push pins. I love how the gold stands out against the off-white wall panels and complements the textures of the knit swatches. Any standard push pins will work, but the gold gave the display a more finished and intentional look, which felt just right for my craft room.
A Display Wall That Organizes and Inspires
Displaying your swatches helps you stay organized and turns your work into a creative visual feature in your craft room. All of the swatches were knitted for my book Knit Stitch: 50 Knit + Purl Patterns. Inside, you’ll find 50 beginner-friendly textures that use only knit and purl stitch techniques.
If you have my book, you may recognize some of these textures. Whether you’re just starting out or want to expand your stitch collection, it’s a great reference to keep on hand.

Knit Stitch Pattern Book
Love easy knitting? Get 50 more stitch patterns from my Knit Stitch Pattern Book available in both digital and print formats.
Why I Love My Craft Room Display
This swatch wall turned into more than just decoration. It adds color and texture to my space, keeps my stitch patterns organized, and makes my craft room feel creative and personal. It’s also a useful reference when I’m designing new projects or filming tutorials.
You could easily use this idea for:
- Color tests and yarn comparisons
- Teaching tools or design samples
- Showcasing mini projects or motifs
If you’re looking for more creative ways to personalize your space, you’ll find similar ideas in my collection of Craft Projects. These tutorials are designed to be simple, useful, and fun for knitters, crocheters, and makers of all kinds.

Kristen McDonnell
Author • Designer • Teacher
Kristen from StudioKnit LLC produces knitting video lessons and pattern designs from her vibrant production studio on Half Moon Bay’s California coast.
Kristen McDonnell is the author of the highly acclaimed book Knit Stitch: 50 Knit + Purl Patterns featuring vintage and unique designs.