Spool Knitting I-Cords on a Loom
Learn the techniques for easy Spool Knitting I-Cords on a Loom! Let’s walk through the basics of spool knitting, including the materials you’ll need, and the first steps to get started.
Did you know you can create I-Cords without knitting needles? With spool knitting—also known as corking, French knitting, or tomboy knitting—you can quickly and easily craft impressive projects. It’s a perfect option for kids or beginners who want to dive into the world of knitting without any prior experience.
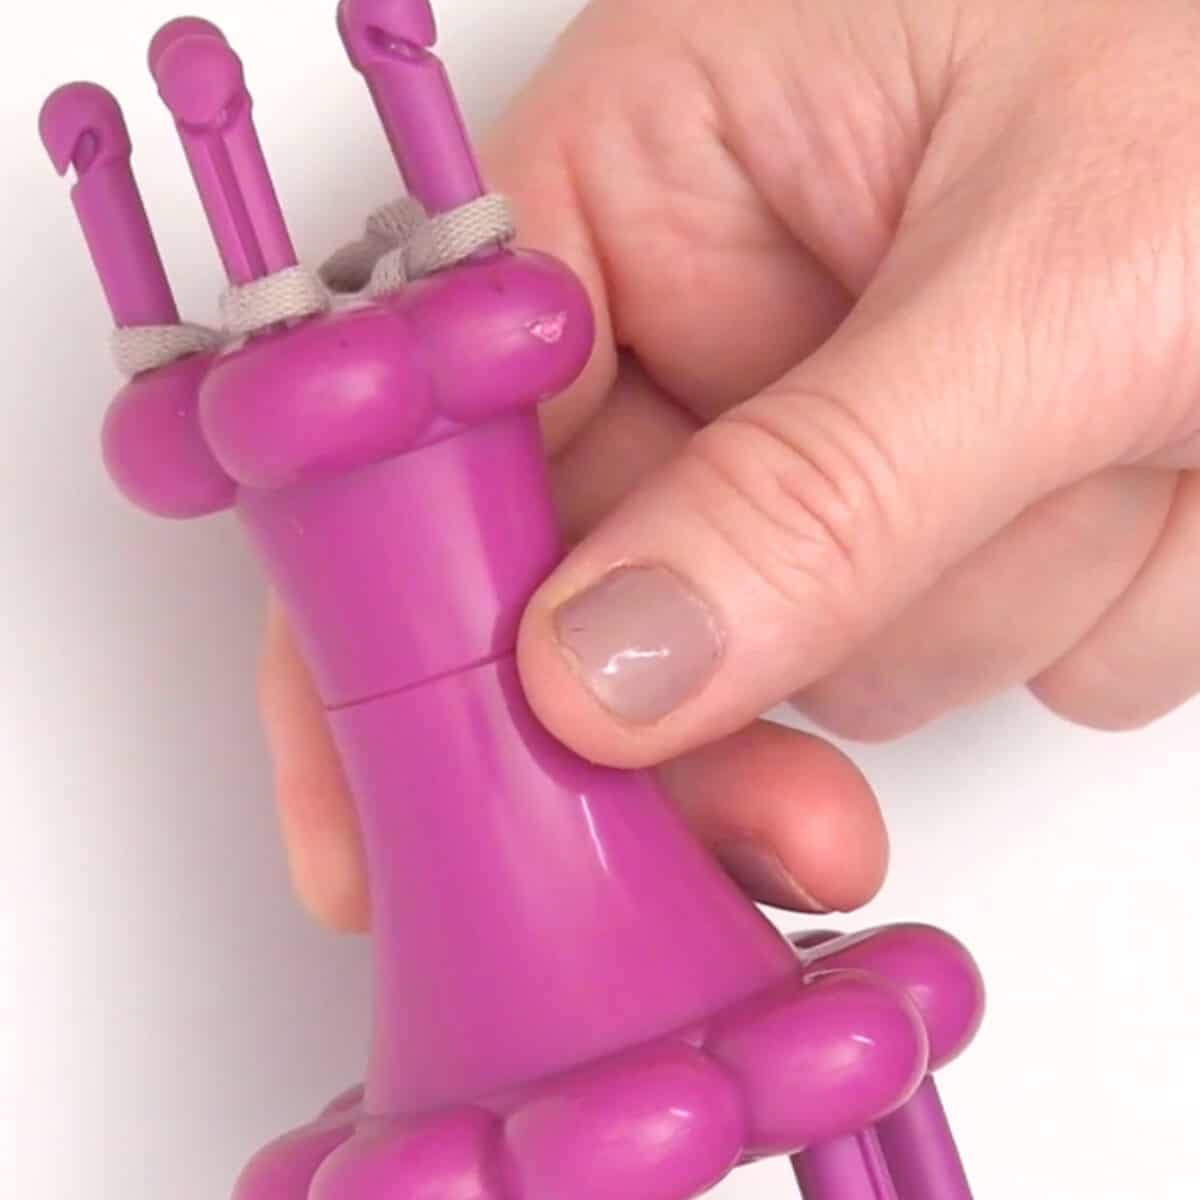
Table of Contents
Materials and Tools
For this project, you’ll need:
- Yarn: Choose any yarn that works with your loom.
- Spool Loom: This includes a loom hook and a tapestry needle.
- Scissors: To cut the yarn as needed.
Watch Video Tutorial
Steps to Knit with a Spool Tool
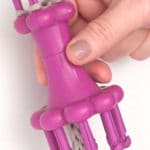
Step 1: Setting Up
First, take your yarn and drop one end down through the center of the spool loom. Hold onto the yarn tail securely—it will keep your work steady as you go.
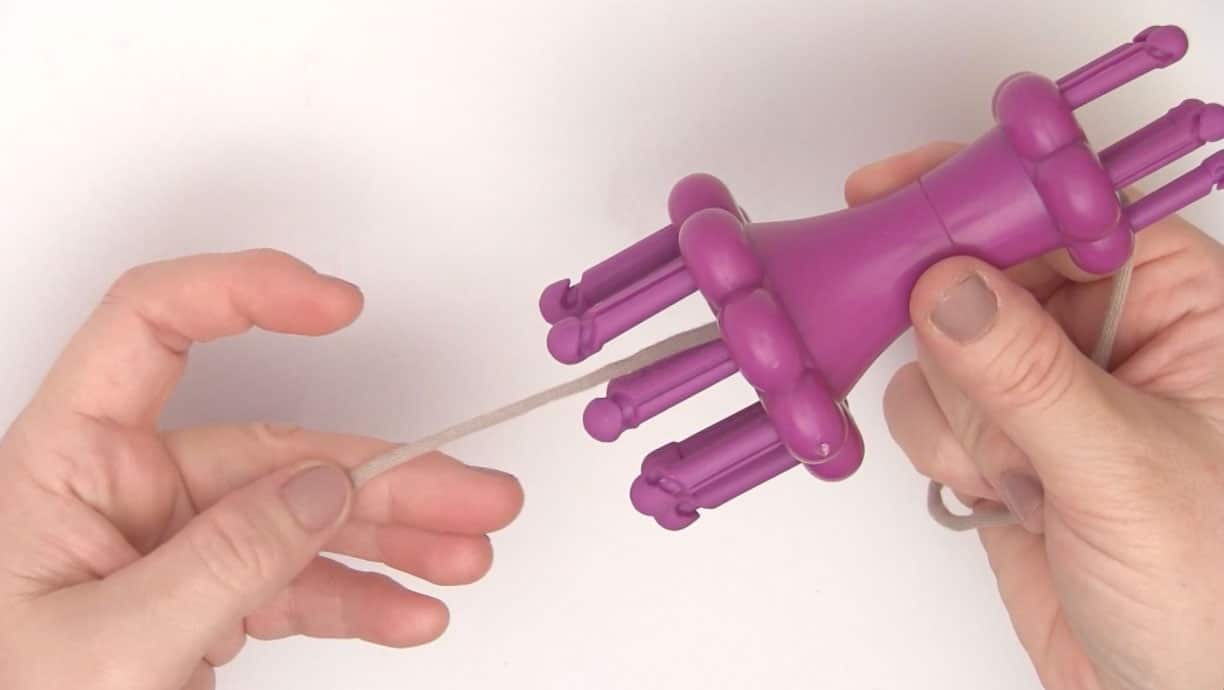
Step 2: Casting On
“Casting on” means getting the yarn onto the loom so you can start knitting. Here’s how to do it:
- Find the yarn between two pegs on the loom.
- Wrap the yarn around the front of the left peg, moving clockwise.
- Bring the yarn behind the next peg.
- Wrap it around the front of that peg, again moving clockwise.

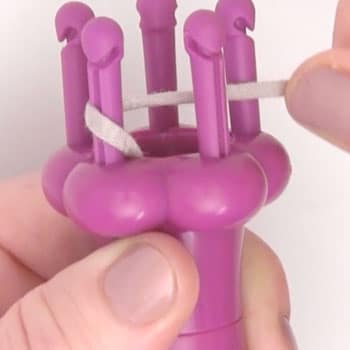

Repeat this process until you’ve wrapped the yarn around all five pegs on the loom. Now, continue wrapping each peg the same way until all five pegs have two loops of yarn.
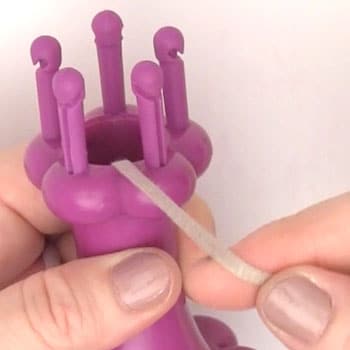
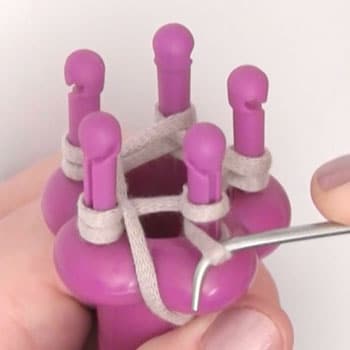
Step 3: Knitting with the Loom
Now that you have two loops on each peg, it’s time to start knitting:
- Using your loom hook, lift the bottom loop on the first peg, bring it over the top loop, and let it drop off the peg.
- Repeat this for each of the five pegs until only one loop remains on each peg.
- Once all the pegs have one loop, wrap the yarn around all five pegs again, just as you did before.
- Use the hook to lift the bottom loop over the top loop on each peg.
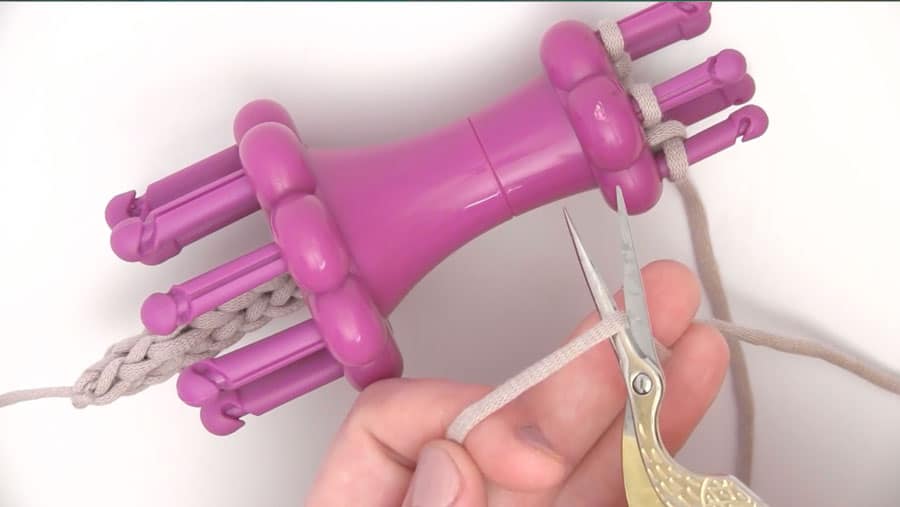
Repeat this wrapping and hooking process until your I-Cord reaches the length you desire.
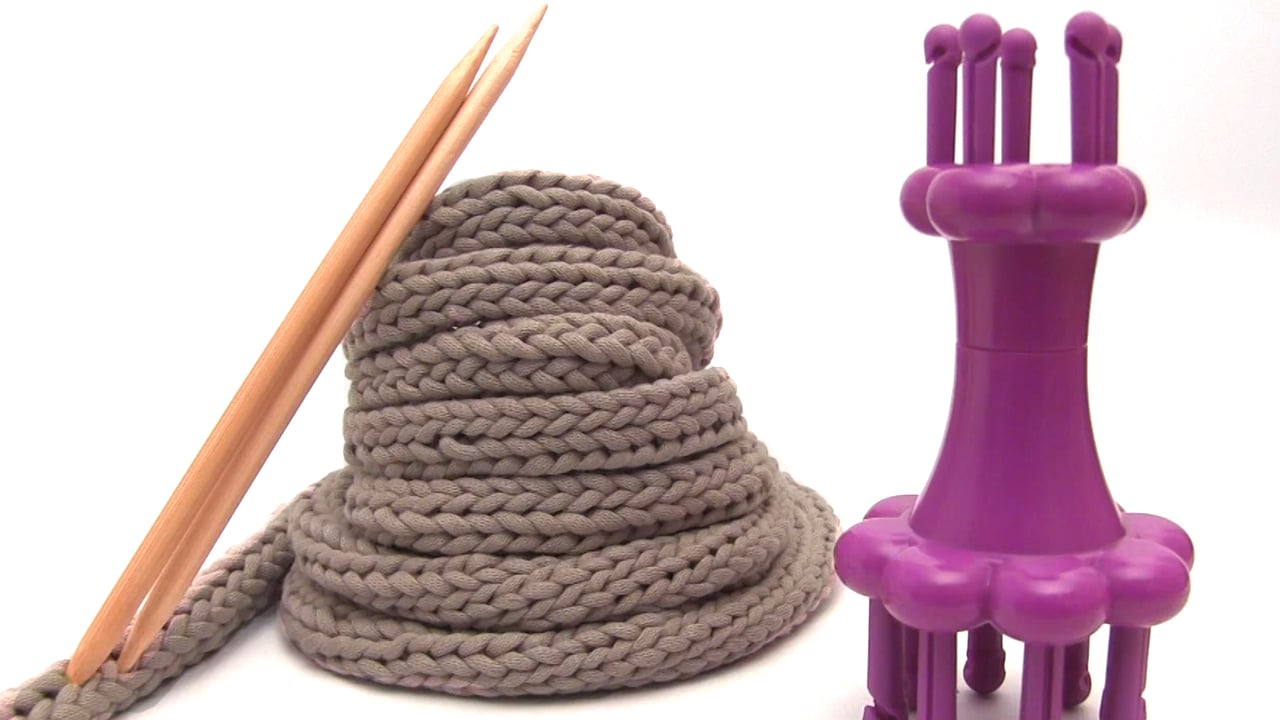
Finished I-Cord Comparison
Here’s the moment you’ve all been waiting for! After knitting on traditional double-pointed knitting needles, or DPNs for ten minutes, then using the Spool Knitter for ten minutes, let’s compare our I-Cords!
The knitting needles versions clearly is the winner when it comes to length. Let’s see, the spool knitter gave us a little over 6 inches in length, where the traditional version is about 9 inches. So, on length, our old fashioned way wins.
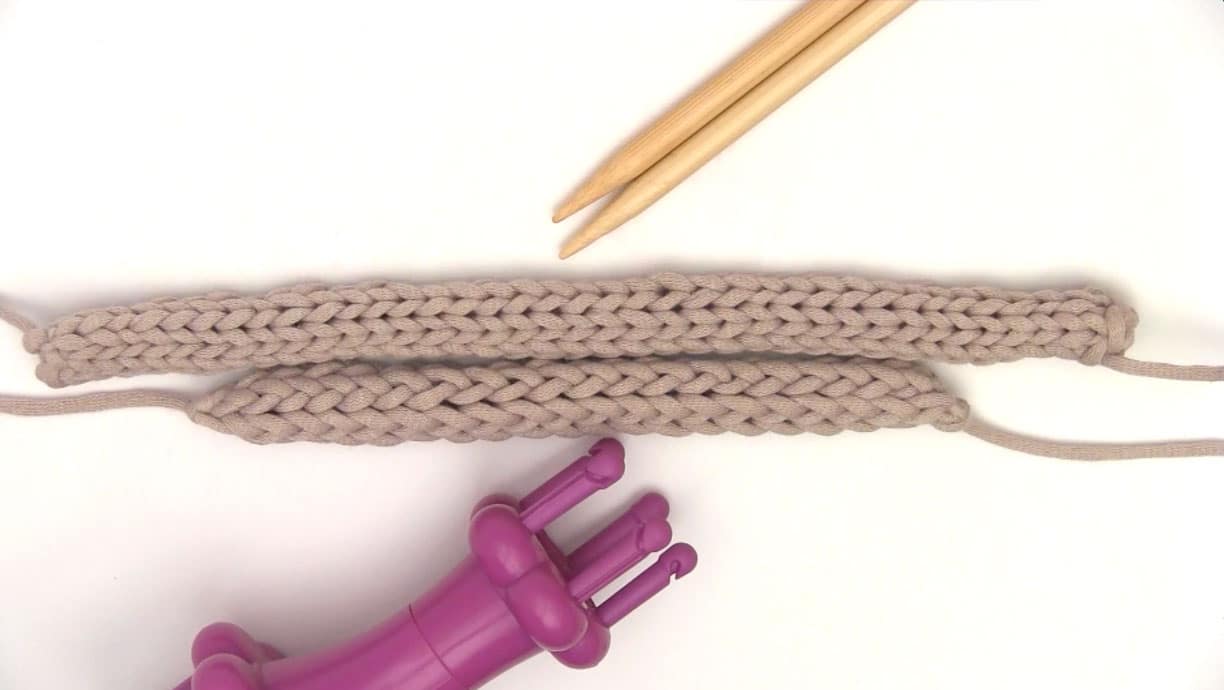
However, you’ll see that the regular I-Cord is fairly flat in shape on the sides, whereas the Spool version is much rounder all the way around and looks like it’s a bit looser weave.
Whether it’s doing knitting on knitting needles or with crafty gadgets, I hope you are inspired to knit up some I-Cords.


Kristen McDonnell
Author • Designer • Teacher
Kristen from StudioKnit LLC produces knitting video lessons and pattern designs from her vibrant production studio on Half Moon Bay’s California coast.
Kristen McDonnell is the author of the highly acclaimed book Knit Stitch: 50 Knit + Purl Patterns featuring vintage and unique designs.