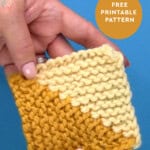
How to Knit 2-Color Mitered Square Half Triangles
Here’s how to knit 2-color mitered square half triangles with a CDD spine seam. With two different yarn colors of your choice, this shape is formed by decreasing stitches to that meet in the middle. Start knitting your duotone squares with these detailed photo instructions, cast on cheat sheet, and free printable written pattern.
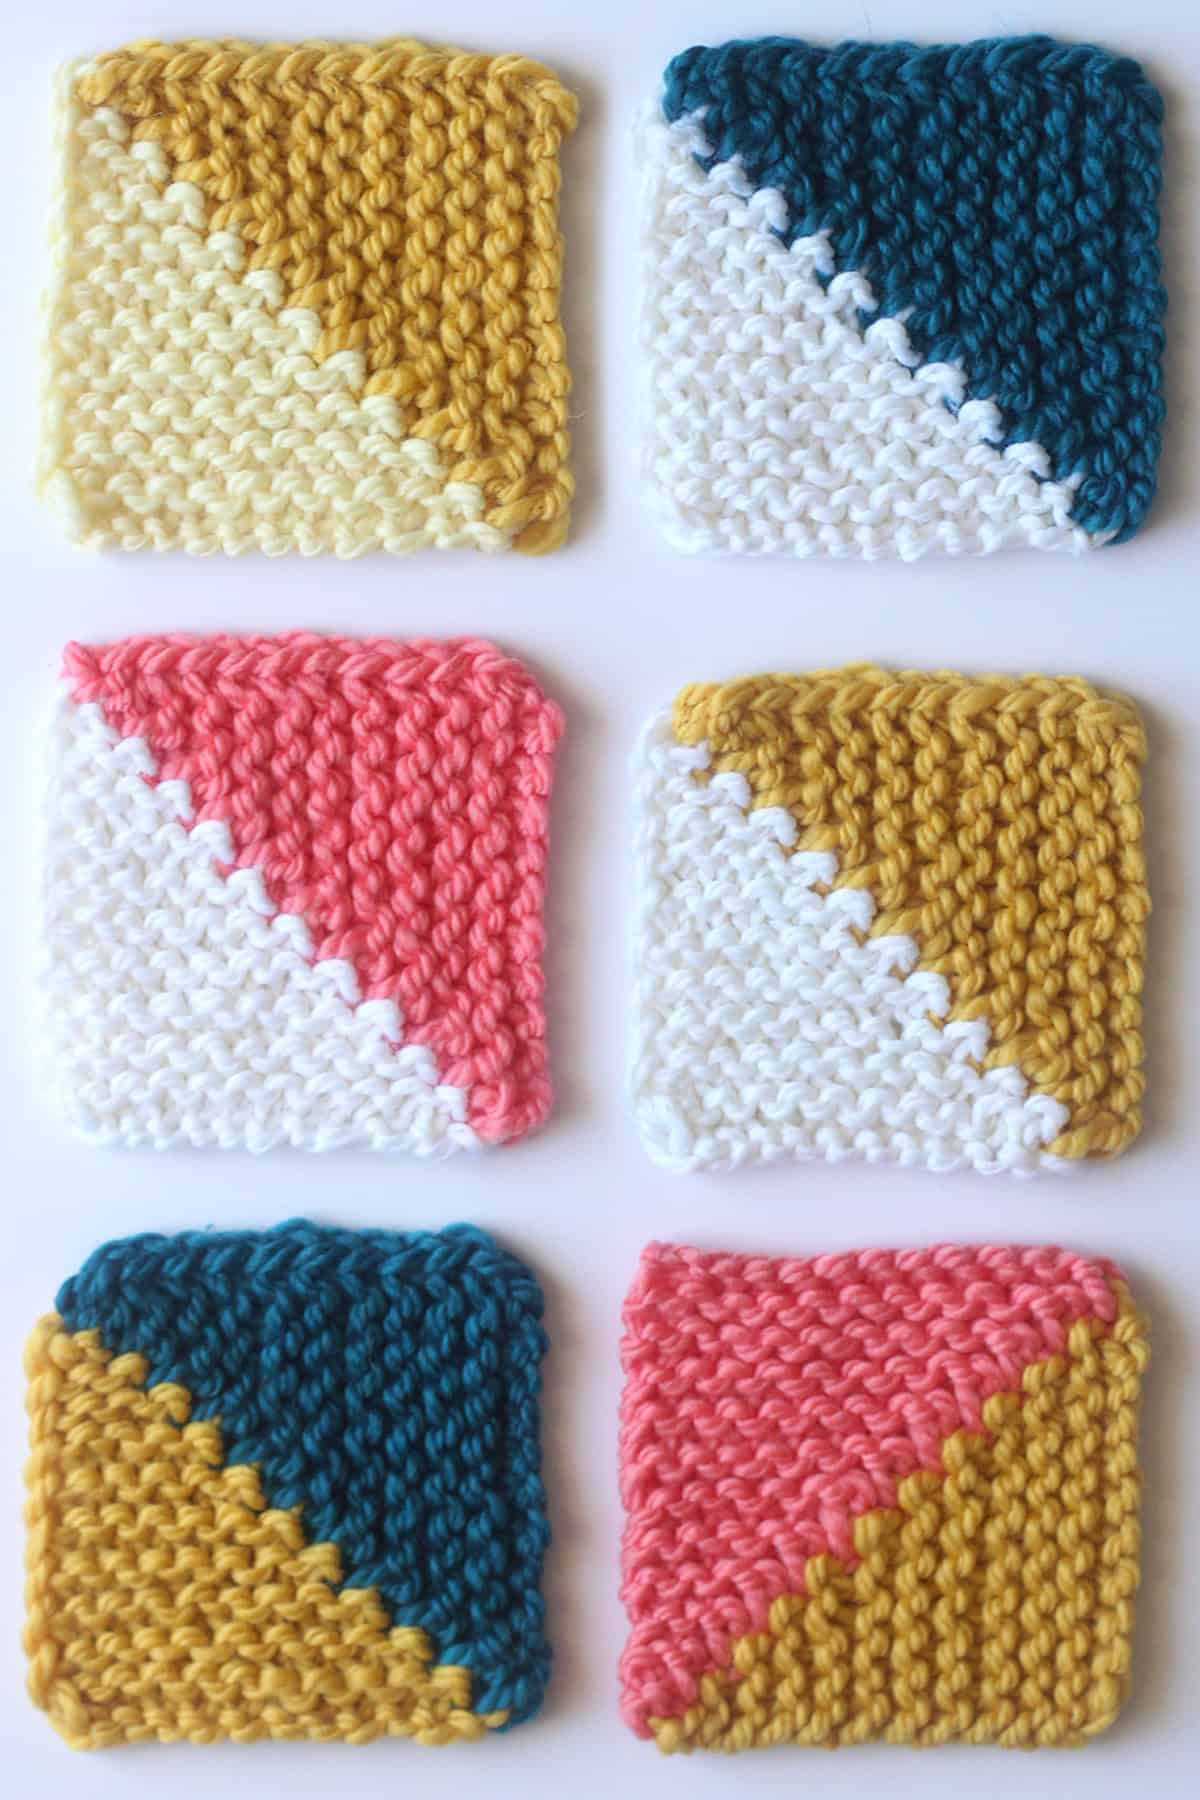
Table of Contents
A Closer Look
- Colorwork Designs: Use any two yarn colors to create unique designs.
- Easy to Memorize: After knitting a few squares, you’ll be able to easily remember the pattern without needing to refer to the instructions.
- Lays Flat: Because this square is comprised of all knit stitches, it easily lays flat.
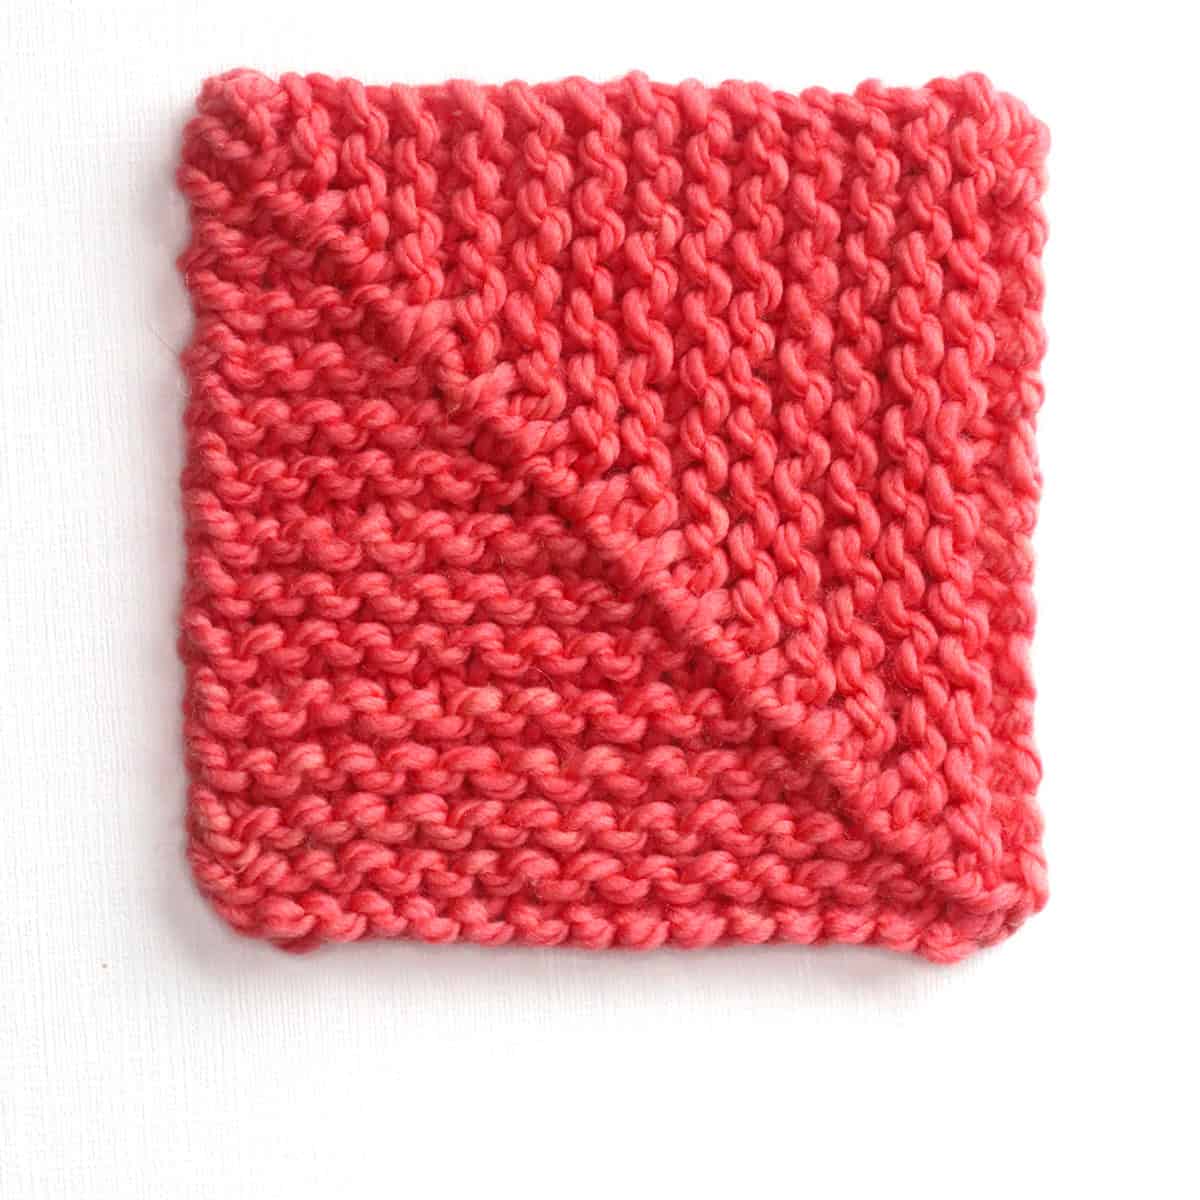
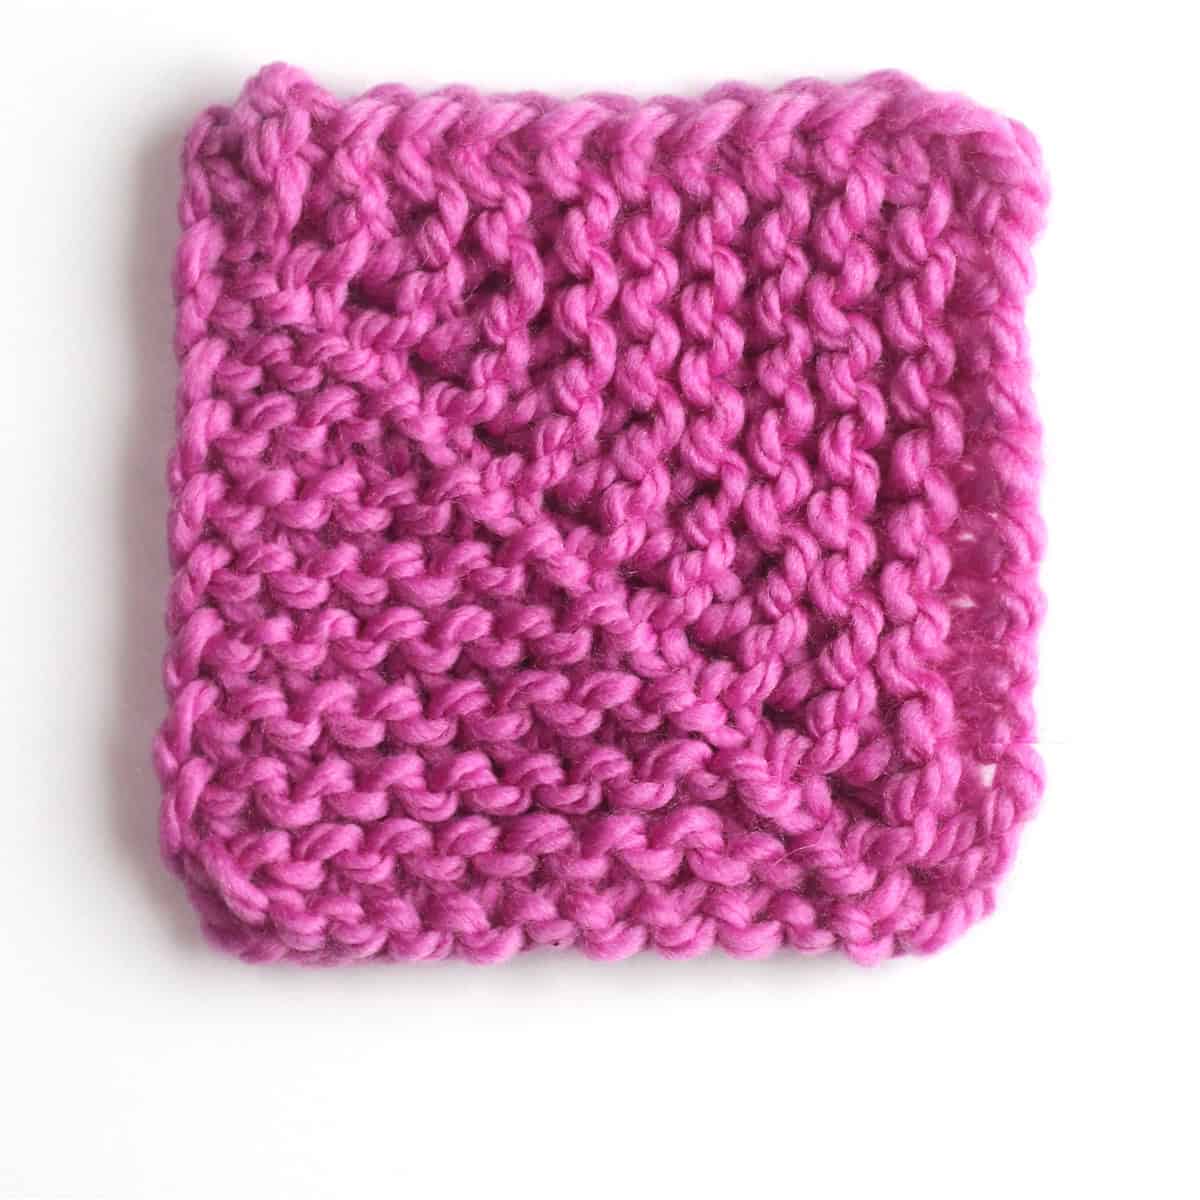
- Are CDD Mitered Squares Reversible? At first look, this seems to be a reversible pattern. However, with this CDD technique and knitting with two yarn colors, the right side of the work displays the ridged seam while the wrong side has a flatter texture.
2-Color Mitered Square Construction
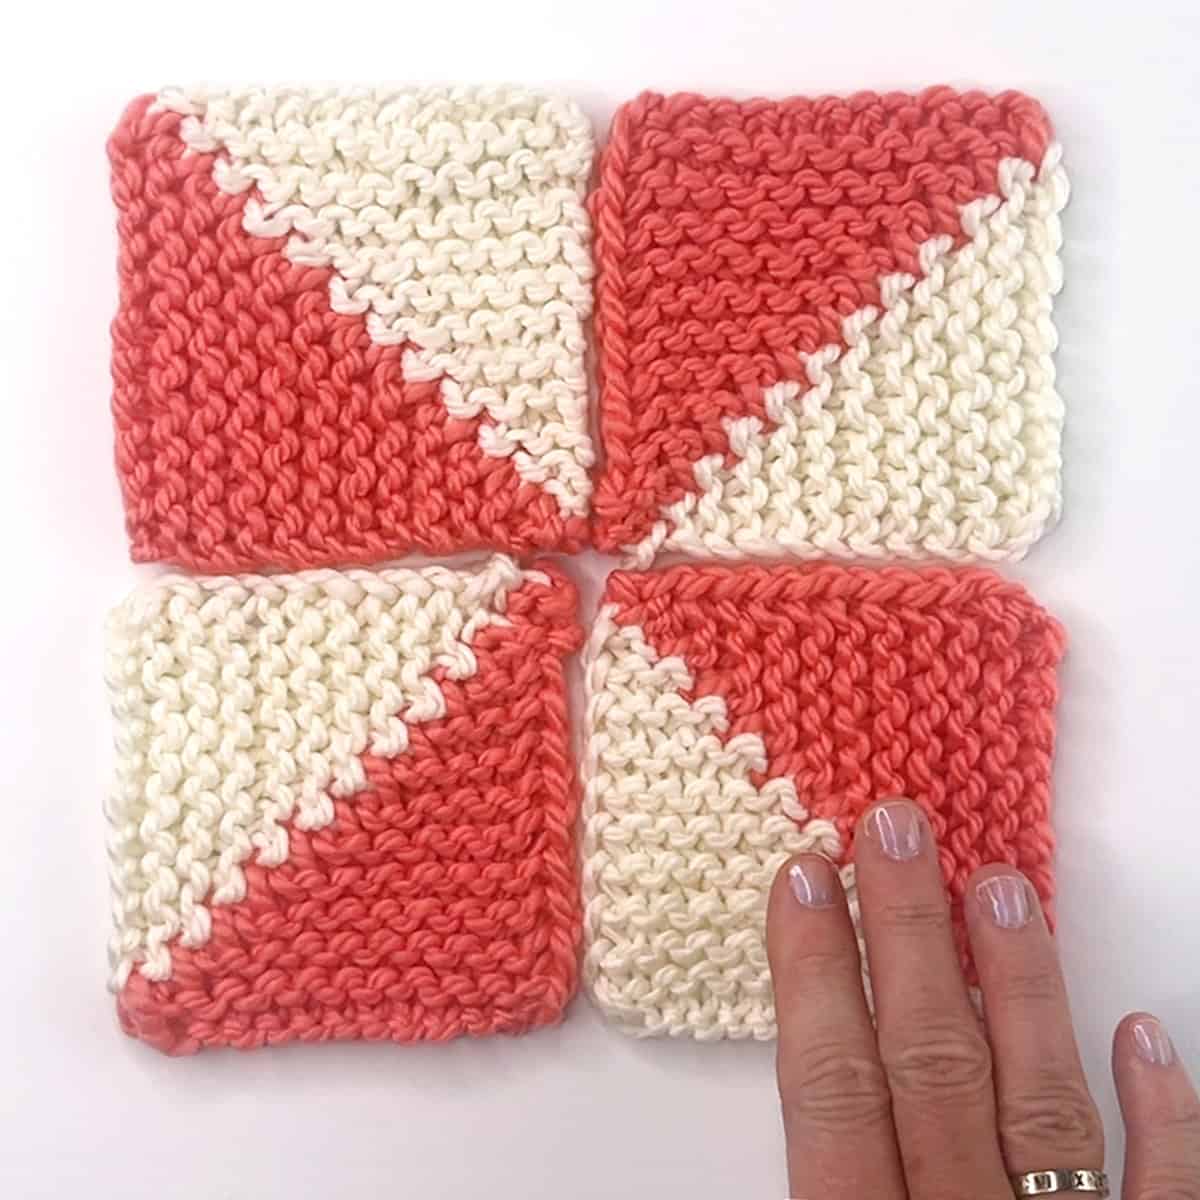
These Mitered squares are created by decreasing stitches as you knit, forming a two-toned square with lines that converge in the center. The decreases draw the edges inward, creating the distinct mitered look.
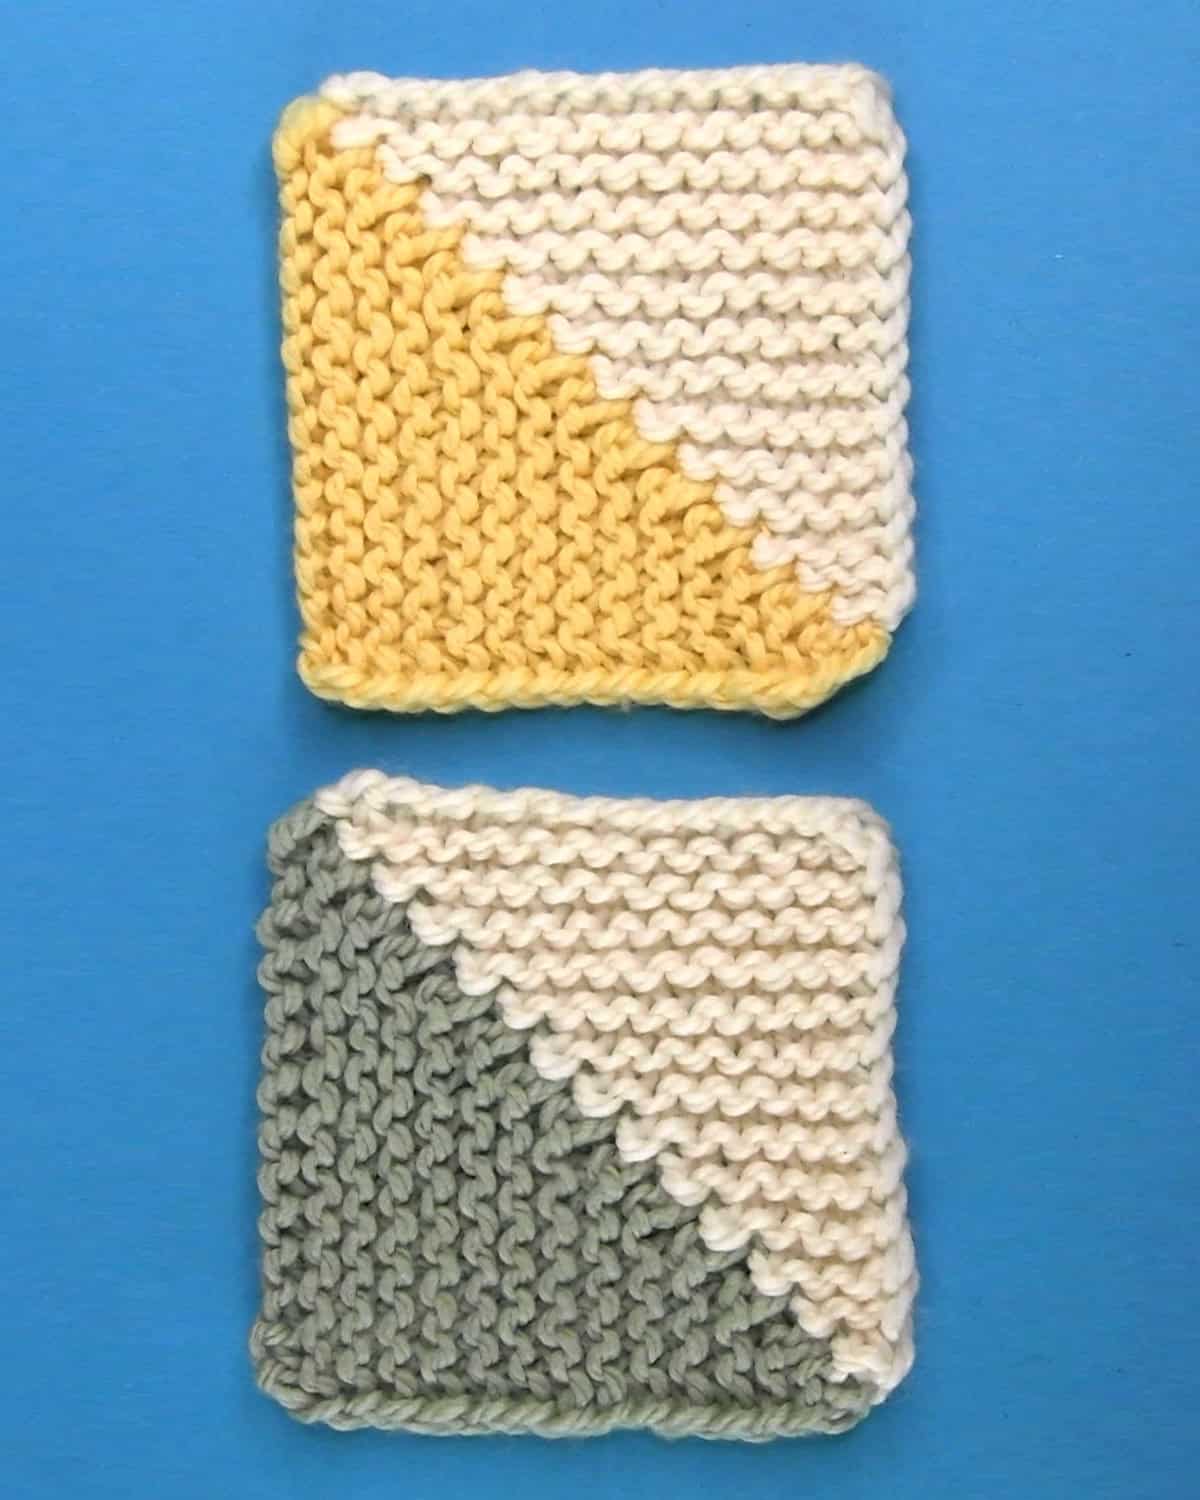
Unlike a basic Garter Stitch square, which can stretch lengthwise and lose its shape over time, mitered squares maintain their shape thanks to their opposing stitch directions. This structural integrity makes them perfect for projects like blankets and scarves that receive a lot of use.
For this type of construction, you begin with two yarn colors and an odd number of stitches, working from the outer edges toward the center. The center double decrease (CDD) technique is used to form the square’s symmetrical, neat appearance.
Watch Video Tutorial
How to Knit 2-Colored Half-Triangle Mitered Squares
Casting On
Your cast on edge will be length of two sides of your square. Therefore, decide how many total stitches to cast on based on your yarn gauge and square size desired.
Begin by casting on an odd number of stitches. The number of stitches determines the total length of two edges of your square.
IMPORTANT: Cast On Color B first, then Color A.
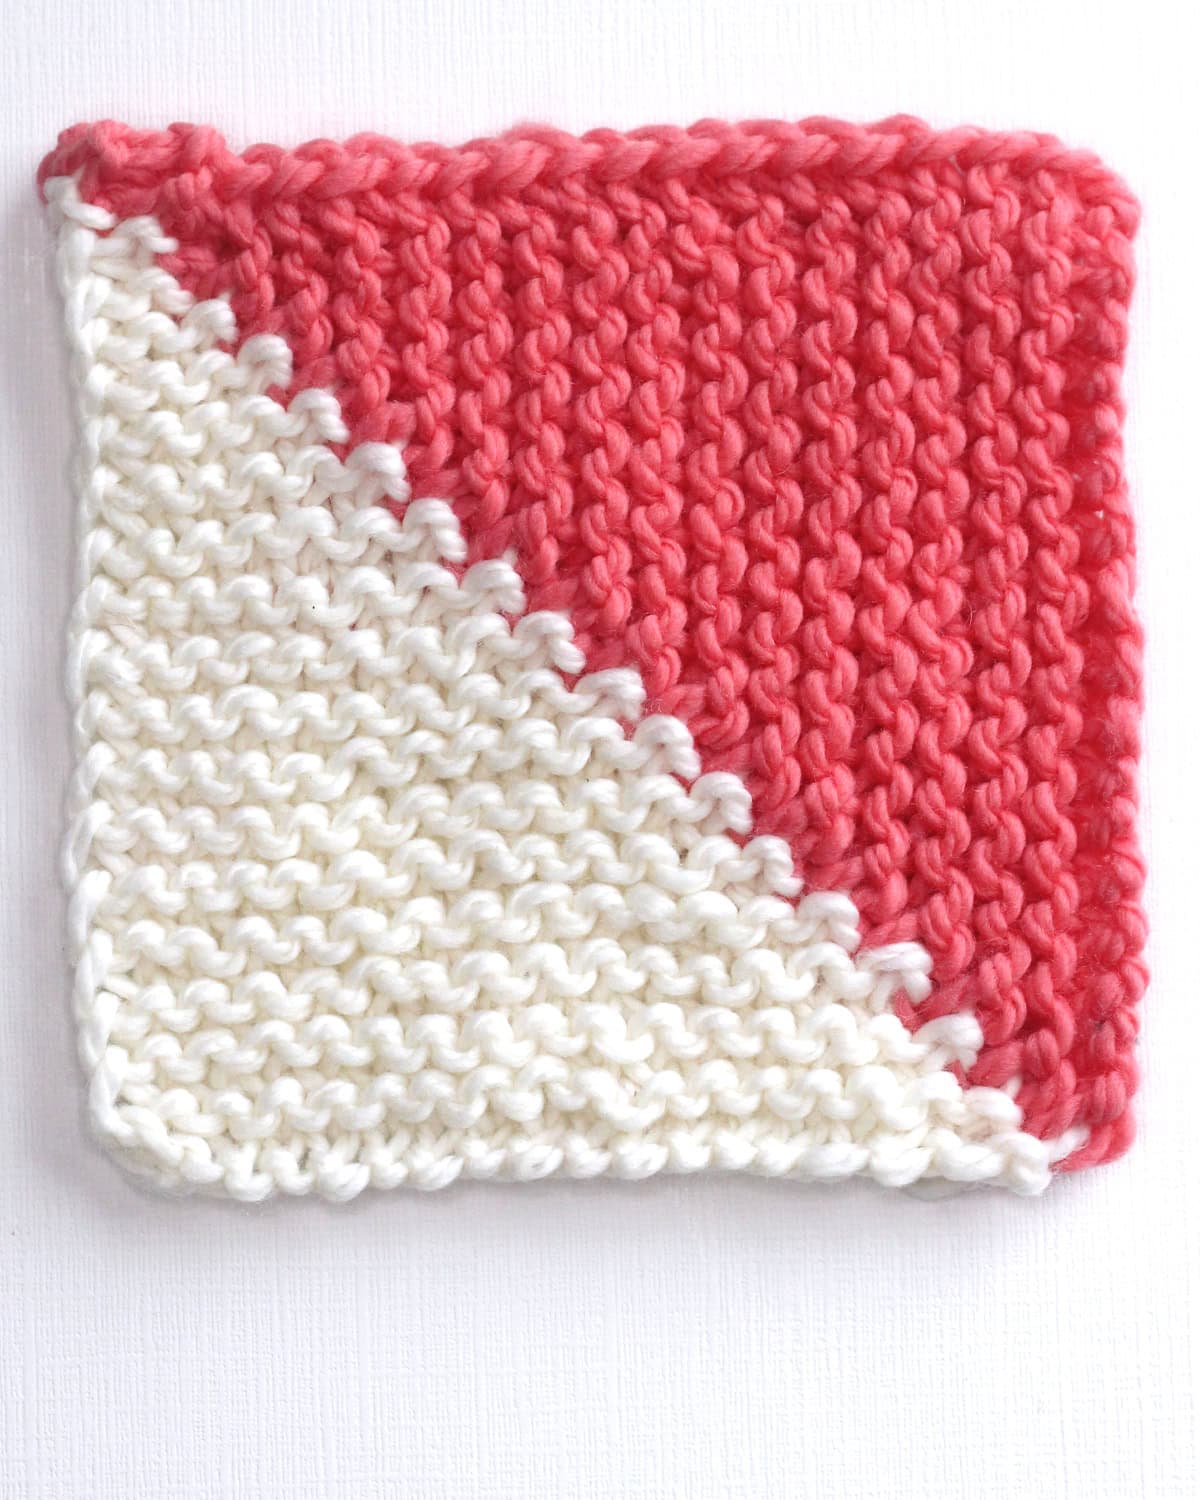
In this photo example below, Color A is blue and Color B is white. Therefore, I am casting on Color B (white) first, then Color A (blue) onto my needle in preparation to knit.
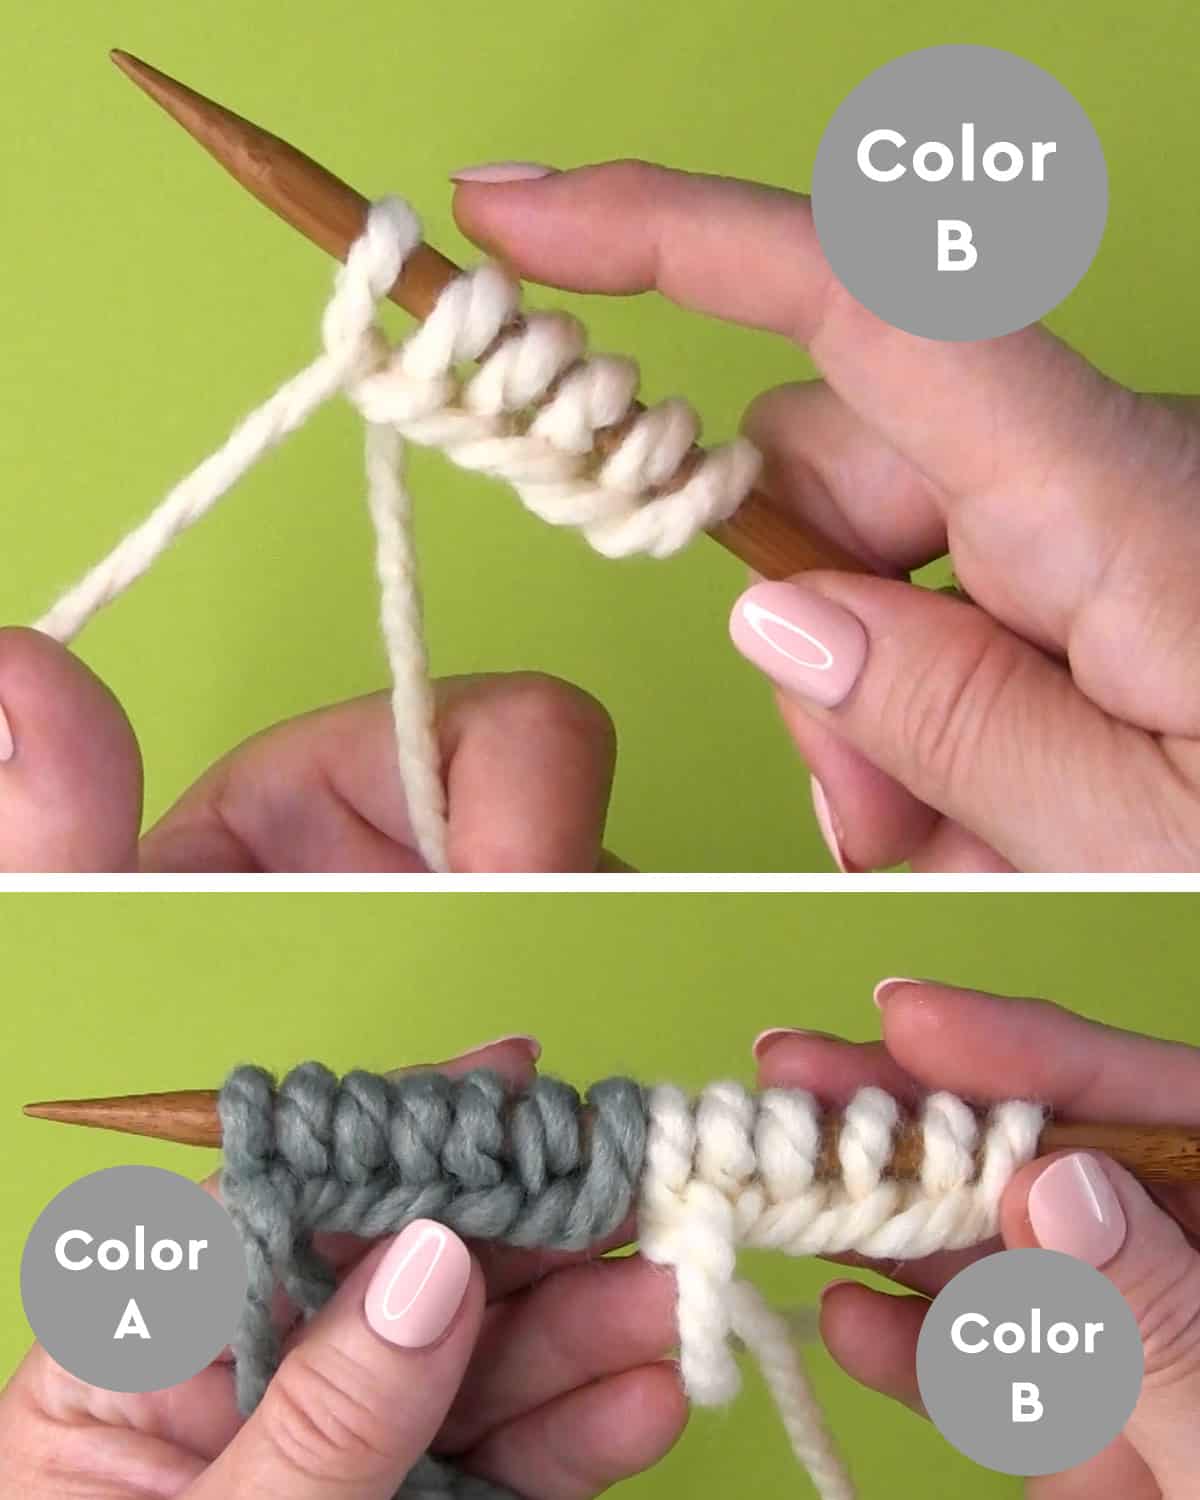
Calculate Number of Stitches of Each Color to Cast On
- Color B Cast On Stitches = (Total Stitches – 1) / 2
- Color A Cast On Stitches = Color B Cast On + 1
Example: Casting on a total of 13 stitches
- Color B Cast On Stitches = (13 – 1) / 2 = 6 Stitches
- Color A Cast On Stitches = 6 + 1 = 7 Stitches
Your yarn and needle size will determine the number of stitches required for your desired square size. I have created this helpful guide to determine the number of stitches to cast on for each color.
Yarn DK #3 • Needle 6 US (4.0 mm)
| Square Size (inches) | 3 | 4 | 5 | 6 | 7 | 8 |
|---|---|---|---|---|---|---|
| Cast On Total Stitches | 27 | 37 | 45 | 55 | 63 | 73 |
| Color A Cast On | 14 | 19 | 23 | 28 | 32 | 37 |
| Color B Cast On | 13 | 18 | 22 | 27 | 31 | 36 |
| Yarn per Square (yards) | 19 | 25 | 31 | 37 | 43 | 49 |
Yarn Worsted #4 • Needle 8 US (4.5 mm)
| Square Size (inches) | 3 | 4 | 5 | 6 | 7 | 8 |
|---|---|---|---|---|---|---|
| Cast On Total Stitches | 25 | 33 | 41 | 49 | 57 | 65 |
| Color A Cast On | 13 | 17 | 21 | 25 | 29 | 33 |
| Color B Cast On | 12 | 16 | 20 | 24 | 28 | 32 |
| Yarn per Square (yards) | 19 | 25 | 32 | 38 | 44 | 51 |
Yarn Bulky #5 • Needle 10 US (6.0 mm)
| Square Size (inches) | 3 | 4 | 5 | 6 | 7 | 8 |
|---|---|---|---|---|---|---|
| Cast On Total Stitches | 19 | 25 | 31 | 37 | 43 | 49 |
| Color A Cast On | 10 | 13 | 16 | 19 | 22 | 25 |
| Color B Cast On | 9 | 12 | 15 | 18 | 21 | 24 |
| Yarn per Square (yards) | 10 | 14 | 17 | 21 | 24 | 28 |
Yarn Super Bulky #6 • Needle 13 US (9.0 mm)
| Square Size (inches) | 3 | 4 | 5 | 6 | 7 | 8 |
|---|---|---|---|---|---|---|
| Cast On Total Stitches | 13 | 17 | 21 | 25 | 29 | 33 |
| Color A Cast On | 7 | 9 | 11 | 13 | 15 | 17 |
| Color B Cast On | 6 | 8 | 10 | 12 | 14 | 16 |
| Yarn per Square (yards) | 7 | 9 | 12 | 14 | 17 | 19 |
About the Slip Stitch Edge
To help sew our squares together, we are going to create uniform edges on all 4 sides of our square. To do so, we will slip the first stitch of every row. This will become incredibly helpful when it is time to seam our squares together.
Sl1P WYIF: Slip One Stitch Purlwise with Yarn in Front.
Right Side of Work (odd numbered rows)
Again, it is important to first Cast On Color B onto your needle, then Color A.
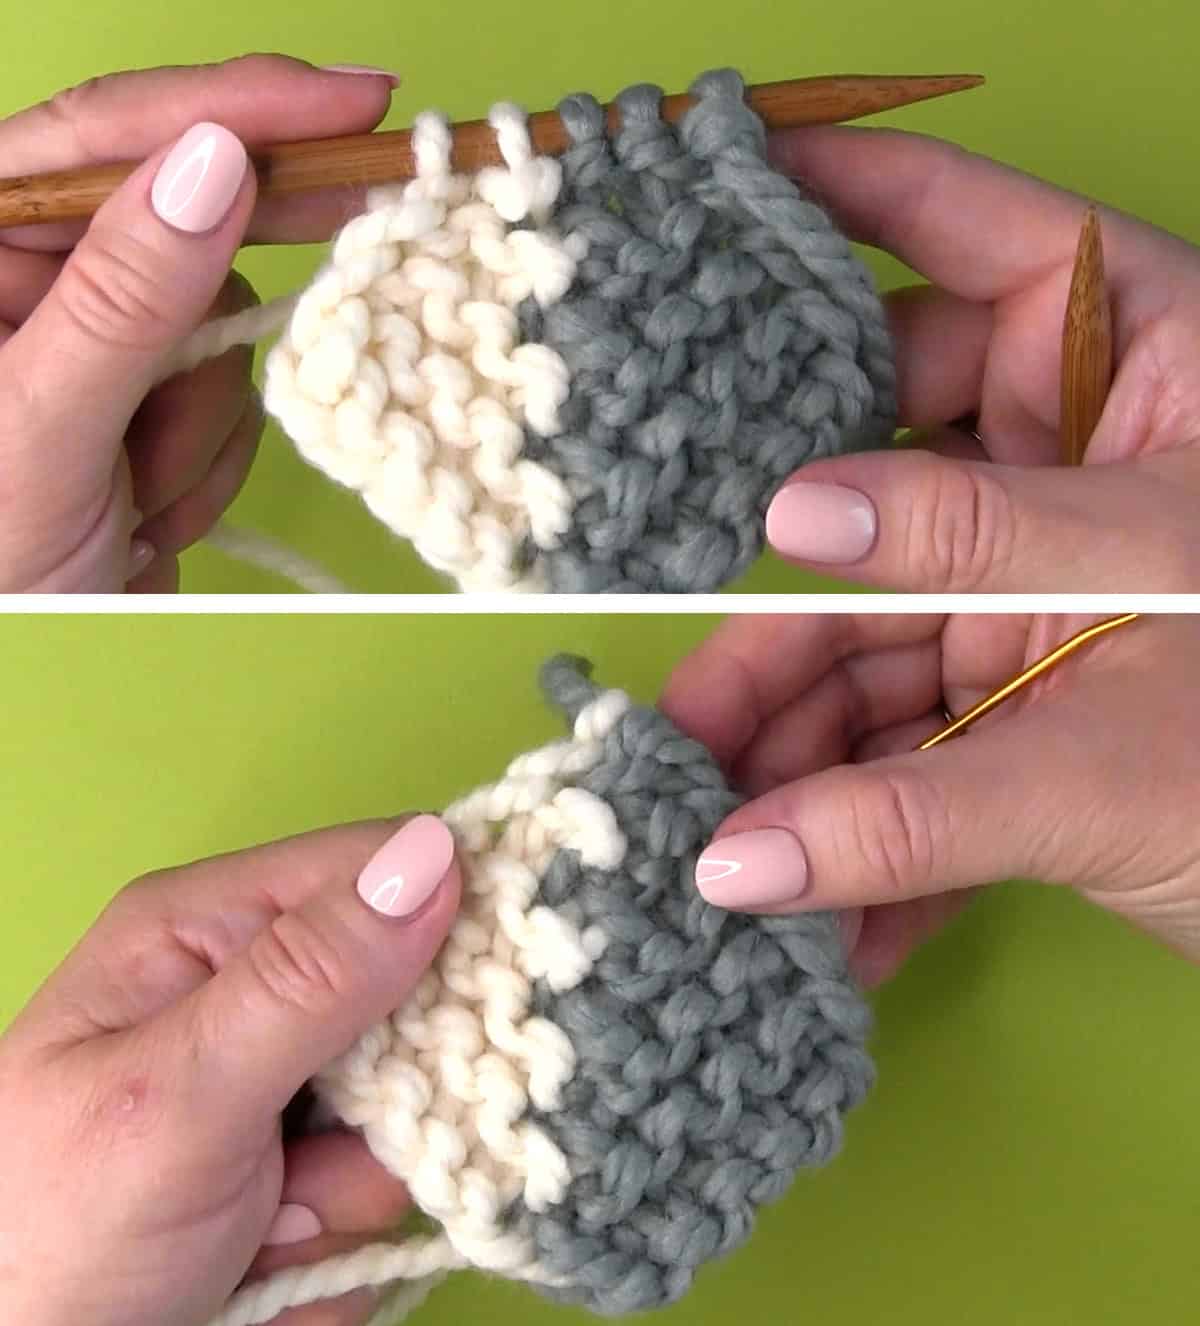
After casting on, begin knitting with Color A. After slipping your first stitch with the yarn in front, bring the yarn between the first and second stitches to the back of your work. Then knit until you have 2 stitches of Color A remaining on your needle.
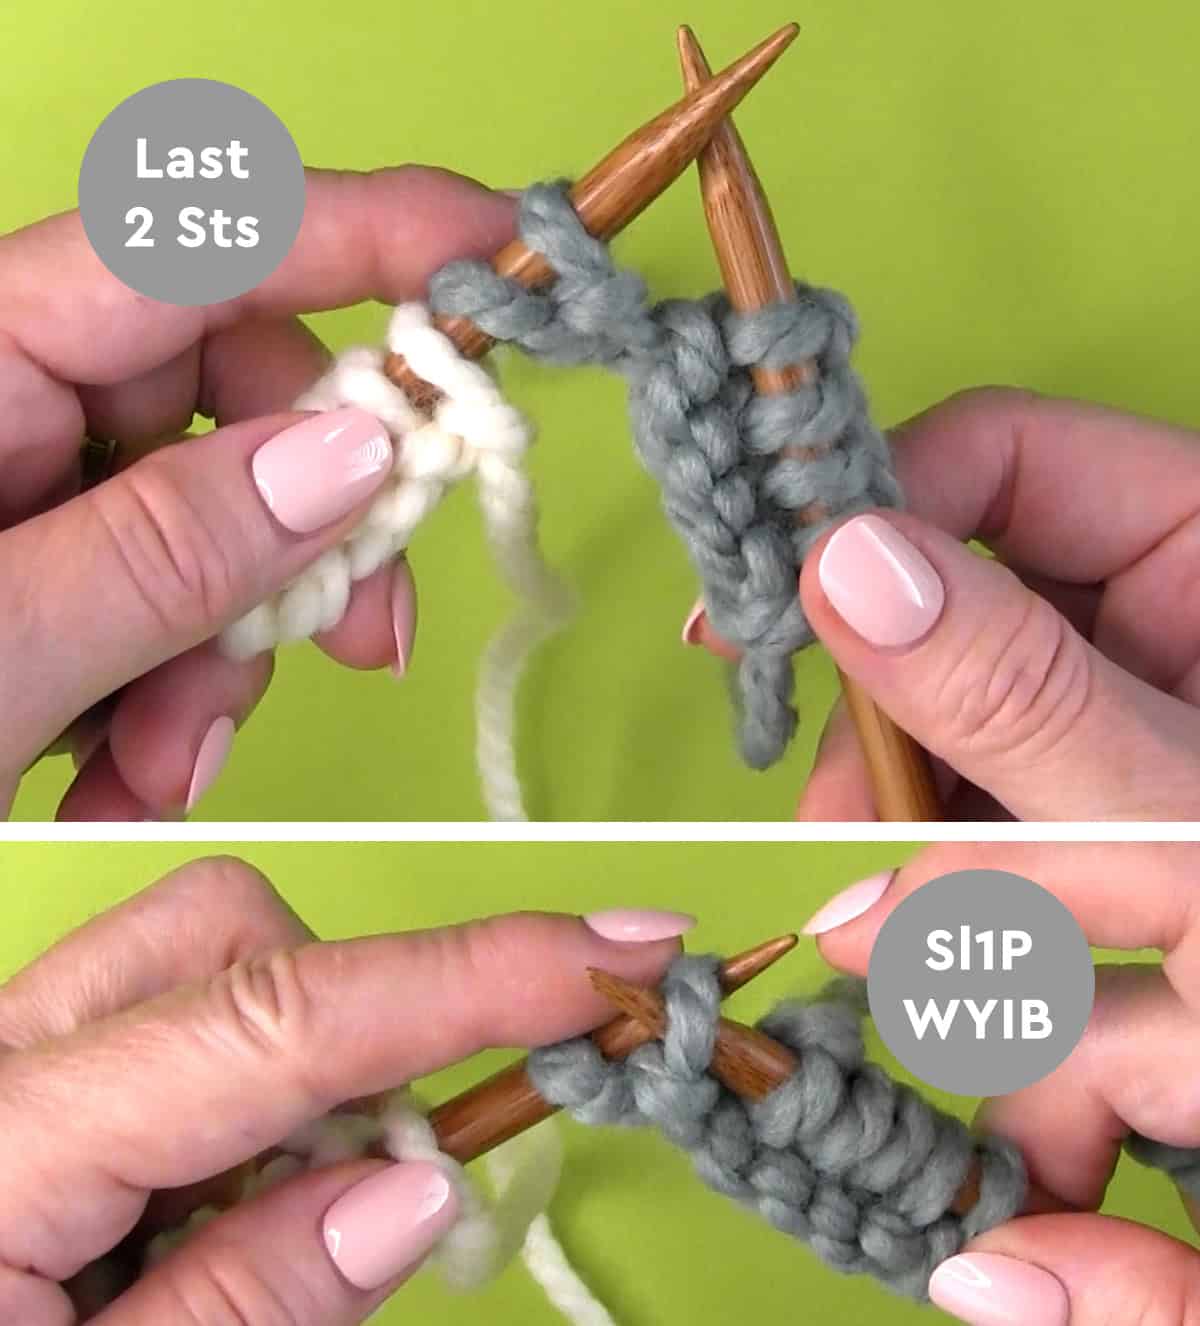
Once you have those last 2 stitches of Color A on your needle, then knit your Center Double Decrease (CDD):
- With Color A Sl1P WYIB (Slip one stitch purlwise with the yarn in back);
- Colors A & B K2TOG (Knit the next two stitches together);
- Color A PSSO: Pass the first stitch over (2 Sts Decreased).
- Twist Yarns: Place Color B Over Color A, then Bring Color A to Front;
Once you have decreased three center stitches into one, continue knitting with Color B all the way down the row.
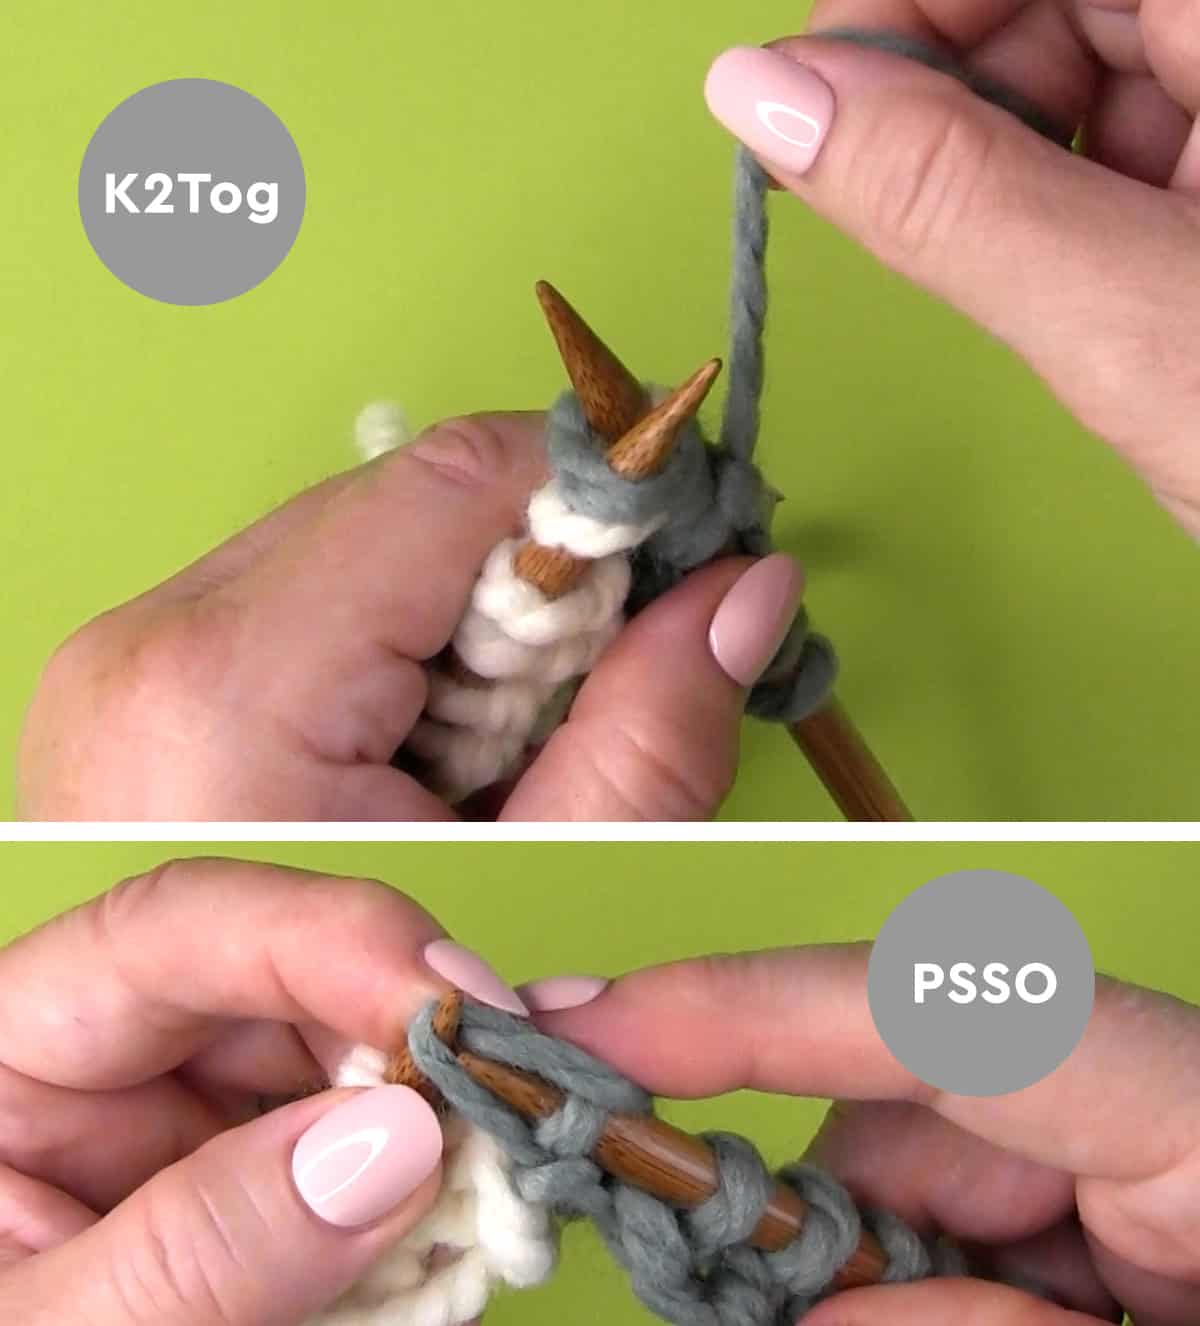
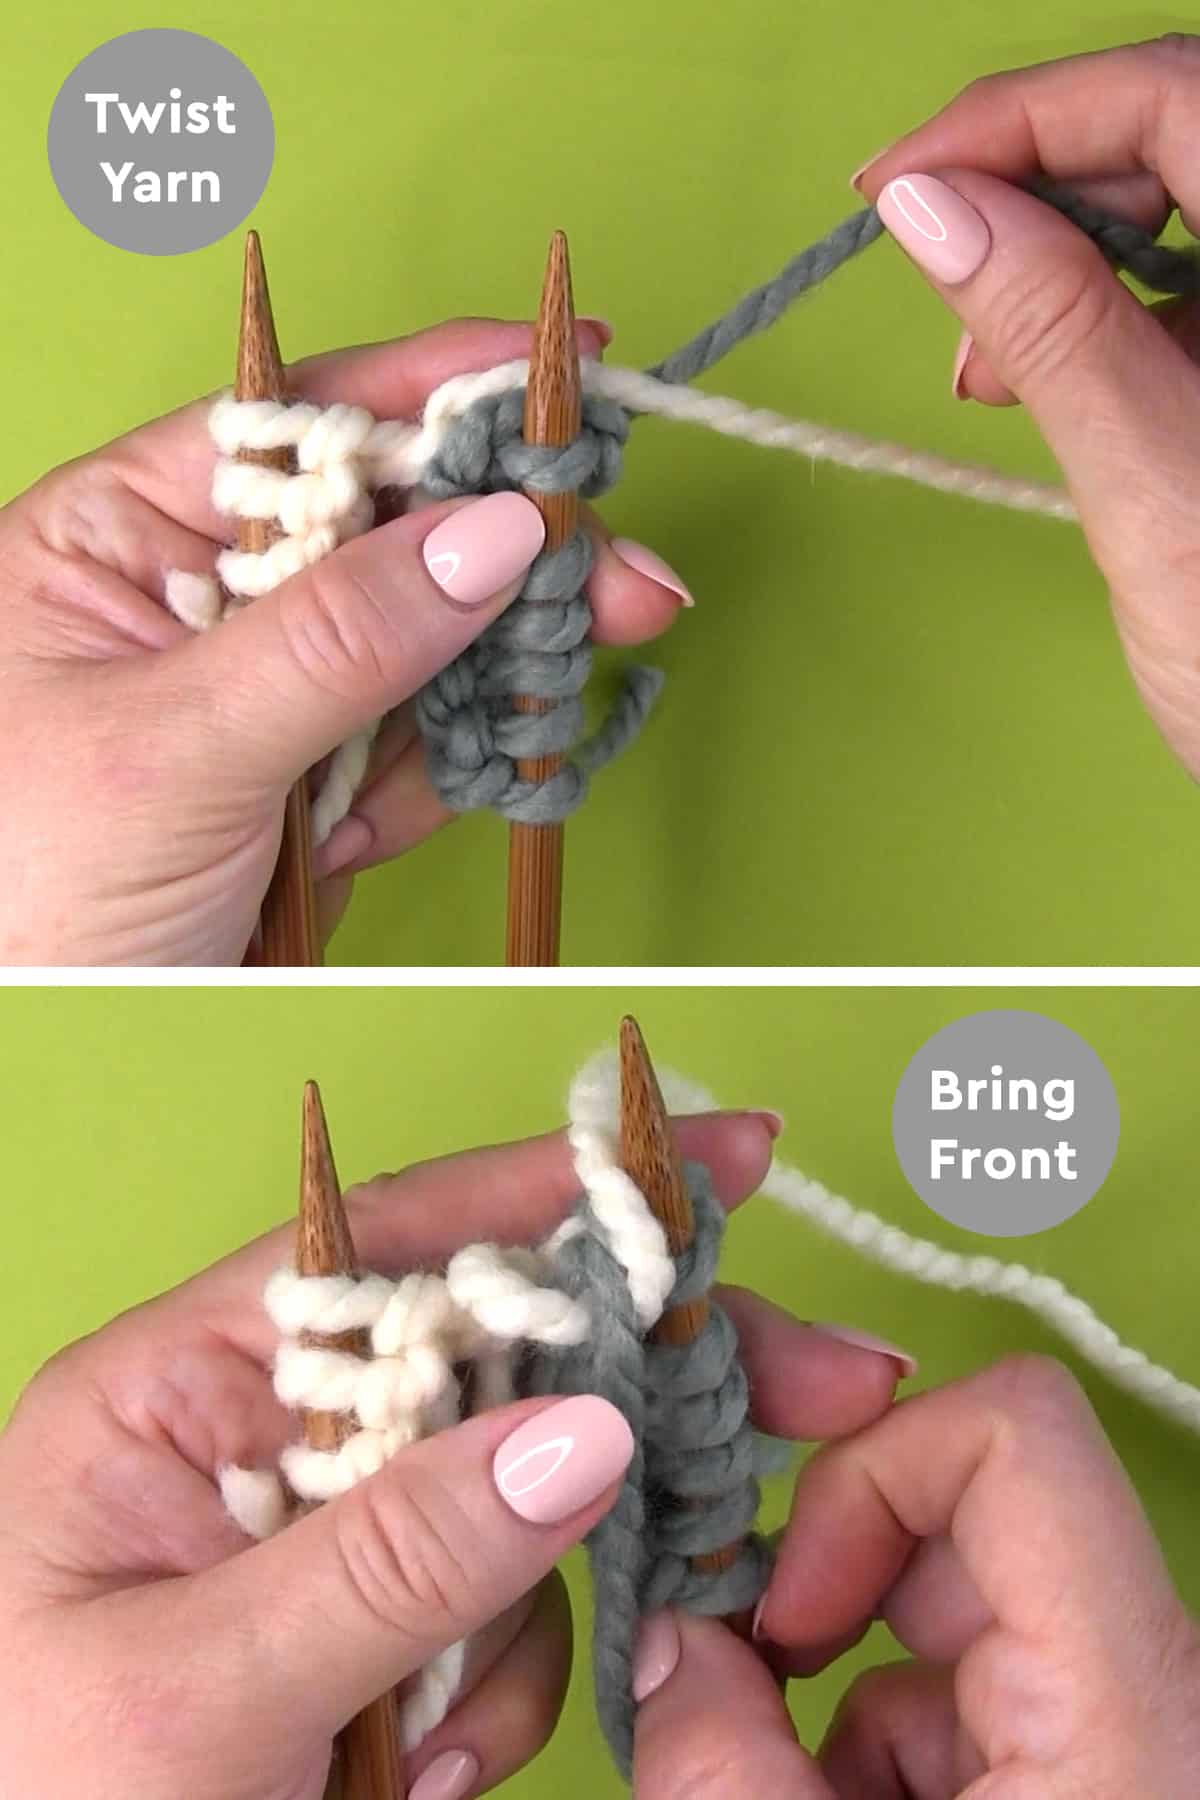
Wrong Side of Work (even numbered rows)
- On the wrong side of your work, with Color B Sl1P WYIF, bring the yarn to the back, and knit to the end of Color B. and knit all stitches to the end of the row.
- Twisting Yarns: Before switching to Color A, Place Color A Over Color B, then Bring Color B to Front;
- Knit the end of the row with Color A.
Continue knitting rows 1 & 2
Your knitted rows become increasingly smaller (and faster to knit) as each right-sided row is decreased by two stitches. Continue the above pattern until you have five stitches remaining on your needle.
- With Color A: Sl1P WYIF, Bring Yarn to Back, Sl1P WYIB;
- Colors A & B: K2TOG
- Color B: PSSO (2 Sts Decreased);
- Color B: K1.
Finishing
- With the 3 stitches remaining on your needle, cut both yarn colors;
- Thread tapestry needle with Color A;
- Thread yarn tail through the front of the 3 open stitches and cinch;
- Slip knitting needle out of 3 rem sts;
- Finally, weave in all yarn tails.
Action Items
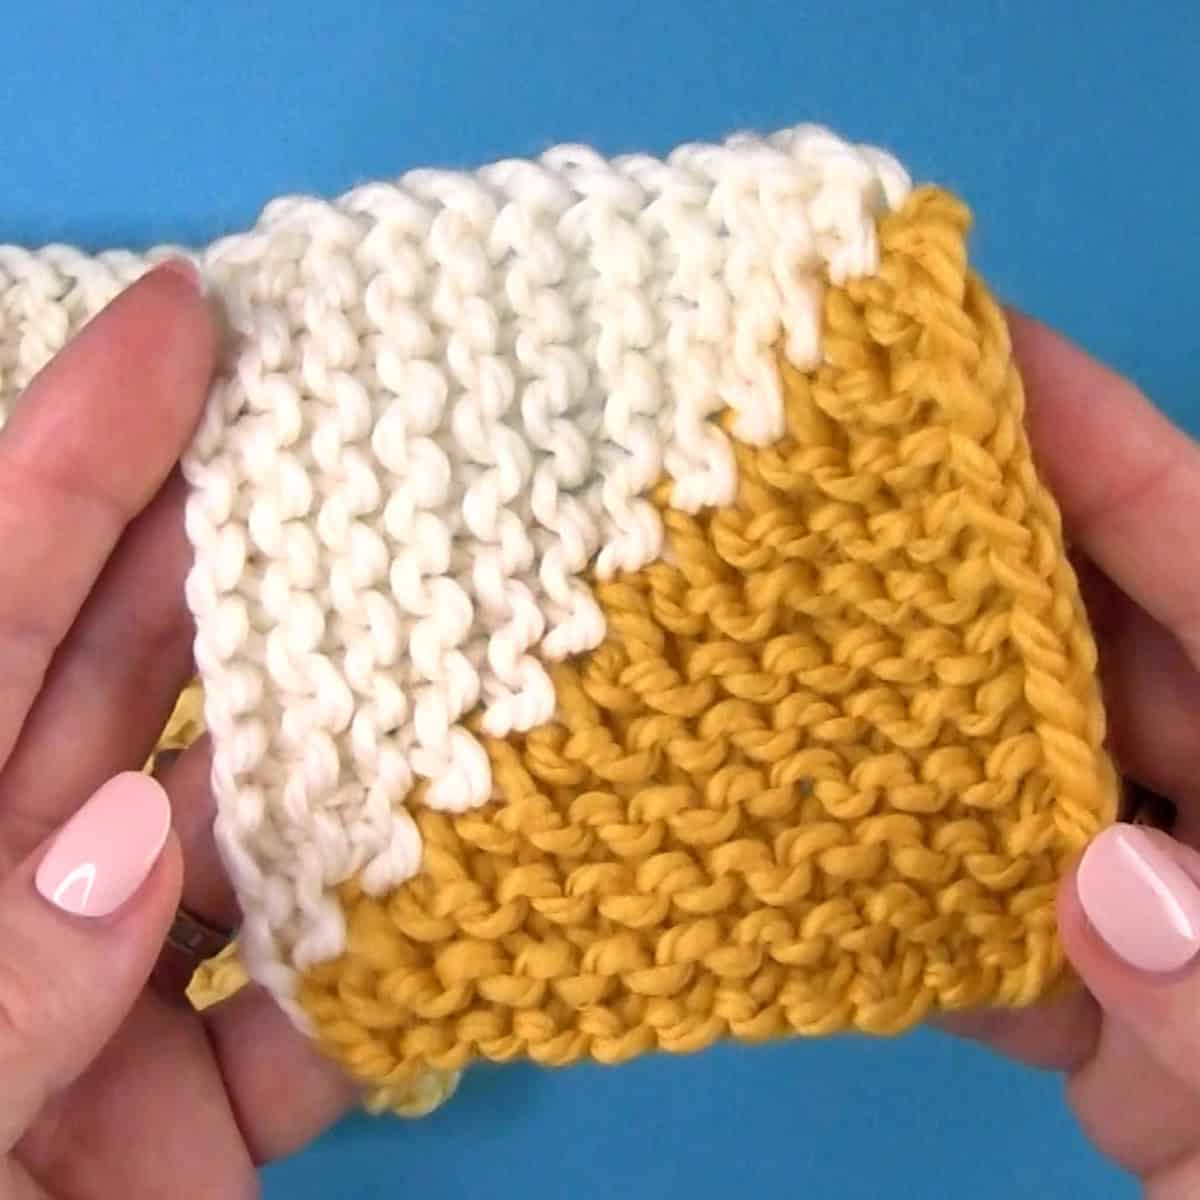
- Design Your Own: Feel free to get creative with your squares—experiment with different colors and patterns to craft something that’s uniquely yours!
- Blocking: Before sewing your squares together, wet-blocking is highly recommended to create uniformed sized squares.
- Join your squares – Sew squares together with the mattress stitch.
Assembling Design Patterns
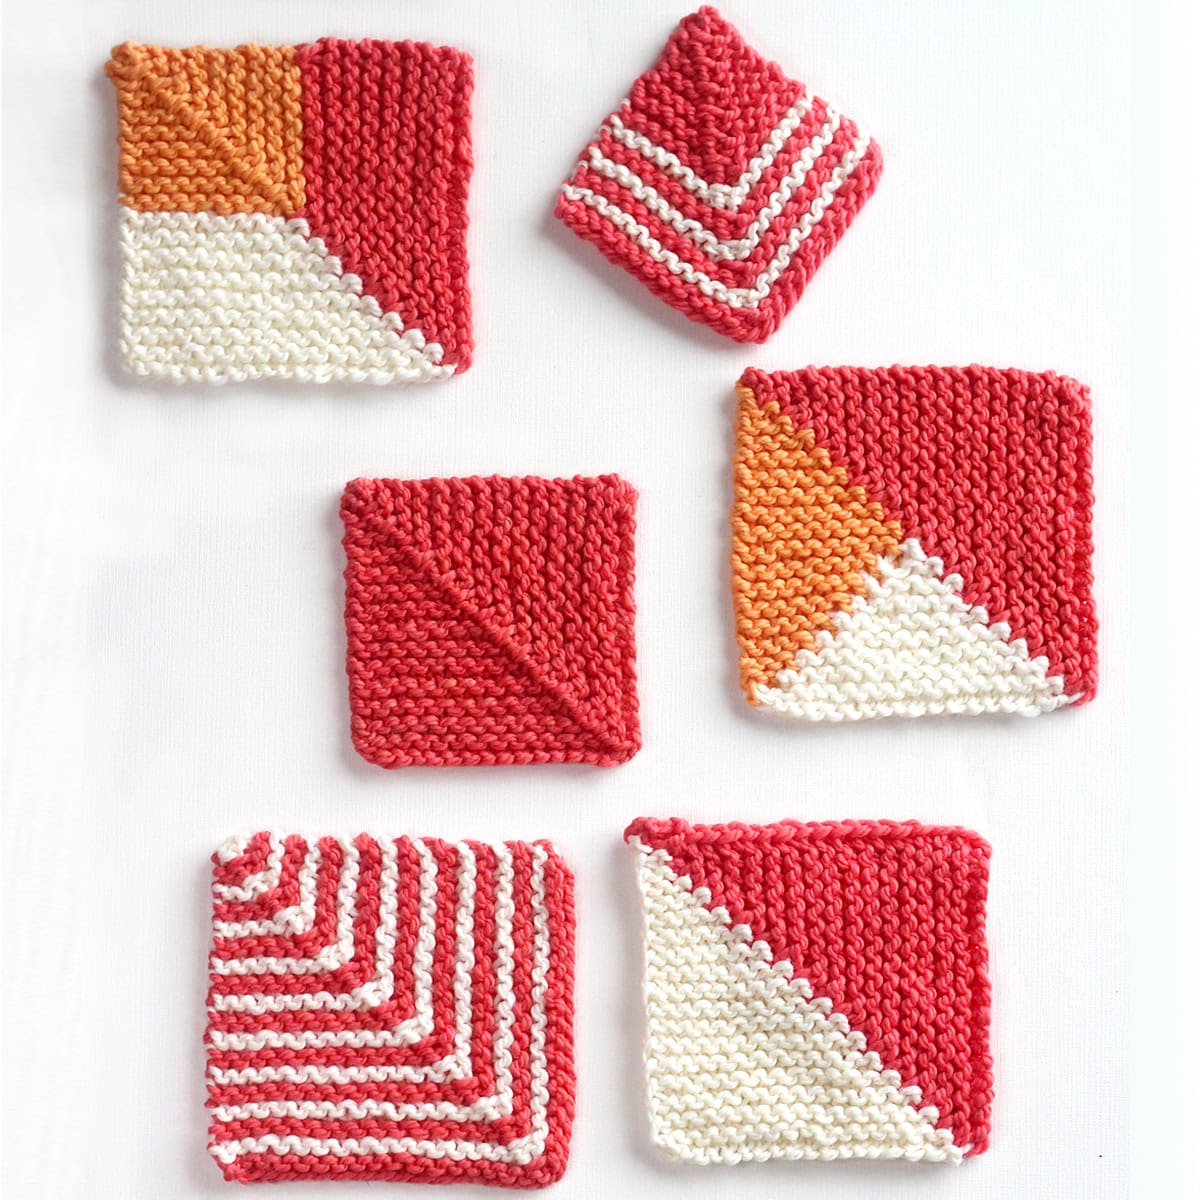
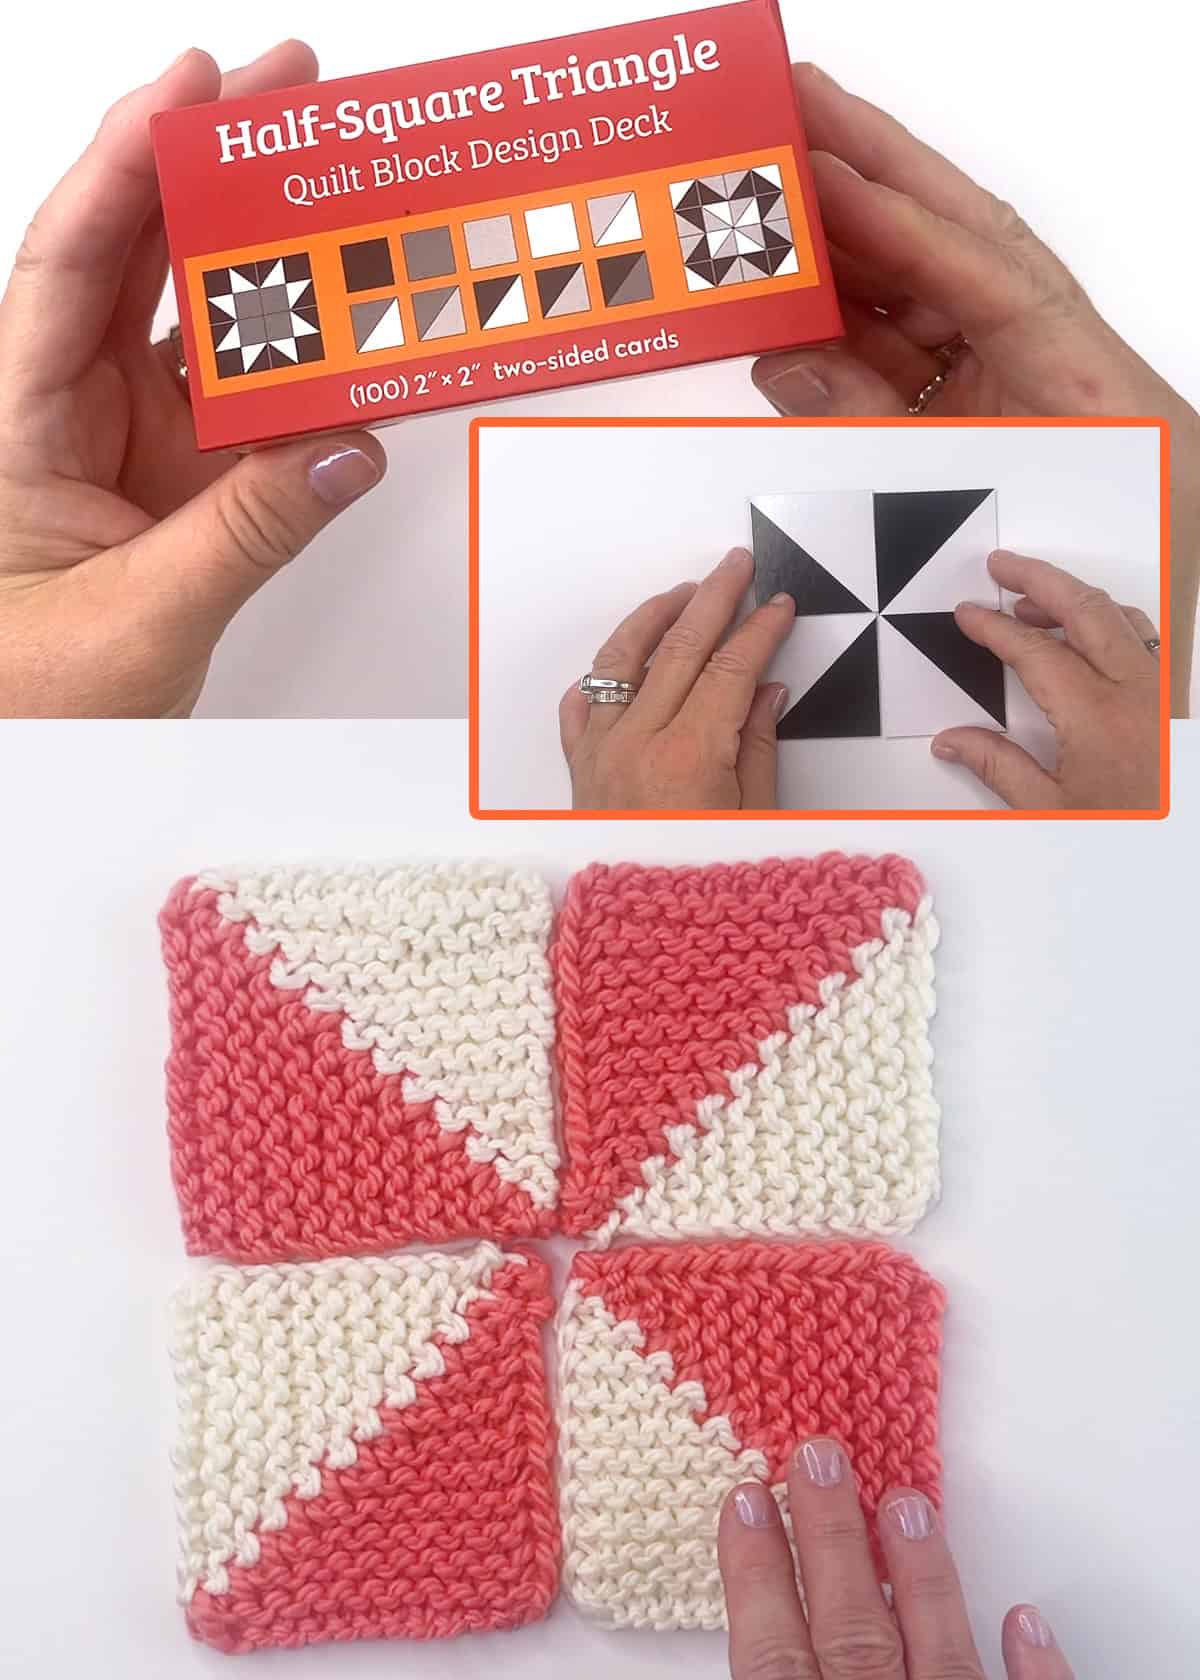
I’ve had so much fun experimenting with different color combinations and coming up with new blanket designs using a mix of solid and two-color mitered squares.
As an Amazon Associate, I earn from qualifying purchases.
One of my favorite tools for planning designs is the Half-Square Triangle Quilt Block Design Deck. Though originally made for quilters, this set of cards features a variety of half-square triangles and solid squares, making it easy and fun to explore countless color block possibilities.
Mitered Square Knitting Collection
In addition to this two-color half triangle square, get printable written instructions for these differently constructed mitered patterns, as well.
Printable Knitting Instructions
Printable Knitting Pattern
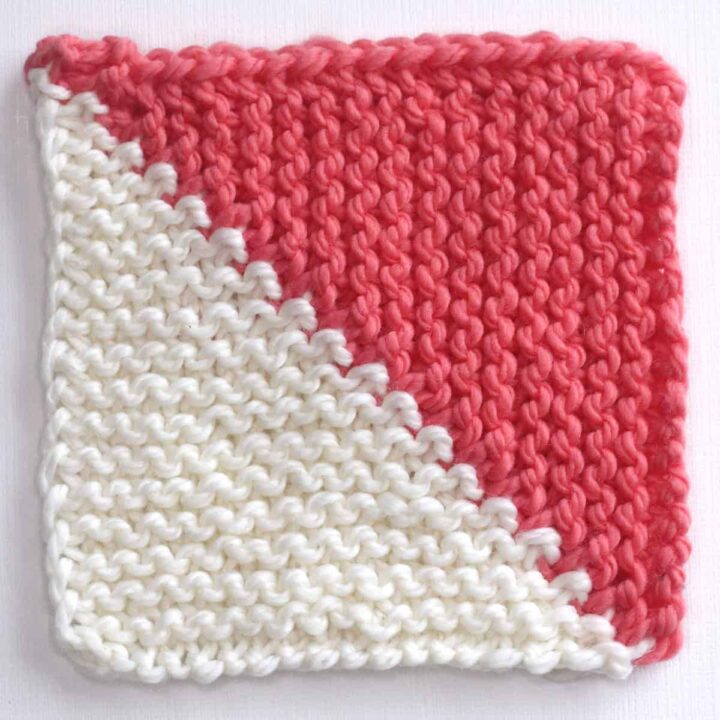
Knitting pattern instructions of a 2-Colored Mitered Half Square Triangle with a CDD Spine Seam.
Materials
- Yarn - Any Gauge
Tools
- Knitting Needles - Appropriate Size for Yarn
- Tapestry Needle
- Scissors
Instructions
Cast On an Odd Number of Stitches
Your cast on edge will be length of two sides of your square. Therefore, decide how many total stitches to cast on based on your yarn gauge and square size desired. See Cast On Cheat Sheet in the post above.
Calculate Number of Stitches of Each Color to Cast On:
- Color B Cast On Stitches = (Total Stitches - 1) / 2
- Color A Cast On Stitches = Color B Cast On + 1
Example: Casting on a total of 11 stitches
- Color B Cast On Stitches = (11 - 1) / 2 = 5 Stitches
- Color A Cast On Stitches = 5 + 1 = 6 Stitches
Cast On Color B, then Color A.
Knitting Pattern
Row 1 (Right Side):
- Color A: Sl1P WYIF, K to Last 2 Color A Sts, Sl1P WYIB;
- Colors A & B: K2TOG, PSSO (2 Sts Decreased);
- Twist Yarns: Place Color B Over Color A, then Bring Color A to Front;
- Color B: K to end.
Row 2 (Wrong Side):
- Color B: Sl1P WYIF, Bring Yarn to Back, K end of Color B;
- Twist Yarns: Place Color A Over Color B, then Bring Color B to Front;
- Color A: K to end.
Continue knitting rows 1 & 2 until 5 Sts Rem on the right side
5 Sts (Right Side):
- Color A: Sl1P WYIF, Bring Yarn to Back, Sl1P WYIB;
- Colors A & B: K2TOG, PSSO (2 Sts Decreased);
- Color B: K1.
Finishing:
- 3 Sts Rem
- Cut both yarn colors
- Thread tapestry needle with Color A
- Slip knitting needle out of 3 rem sts,
- Thread yarn tail through the front of the 3 open sts and cinch,
- Weave in all yarn tails.
Notes
KNITTING TECHNIQUES & ABBREVIATIONS
- CO = Cast On Long Tail Method
- CDD = Center Double Decrease
- CENTER 3 = Center Three Stitches
- Dec = Decreased
- K = Knit Stitch
- K2Tog = Knit Two Stitches Together
- PSSO = Pass Slipped Stitch Over
- Rem = Remaining
- Sl1P WYIB = Slip One Stitch Purlwise with Yarn in Back
- Sl1P WYIF = Slip One Stitch Purlwise with Yarn in Front
- Sts = Stitches
- Weave In Ends

Kristen McDonnell
Author • Designer • Teacher
Kristen from StudioKnit LLC produces knitting video lessons and pattern designs from her vibrant production studio on Half Moon Bay’s California coast.
Kristen McDonnell is the author of the highly acclaimed book Knit Stitch: 50 Knit + Purl Patterns featuring vintage and unique designs.

