Horizontal Herringbone Stitch Knitting Pattern
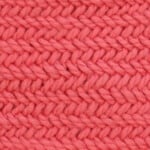
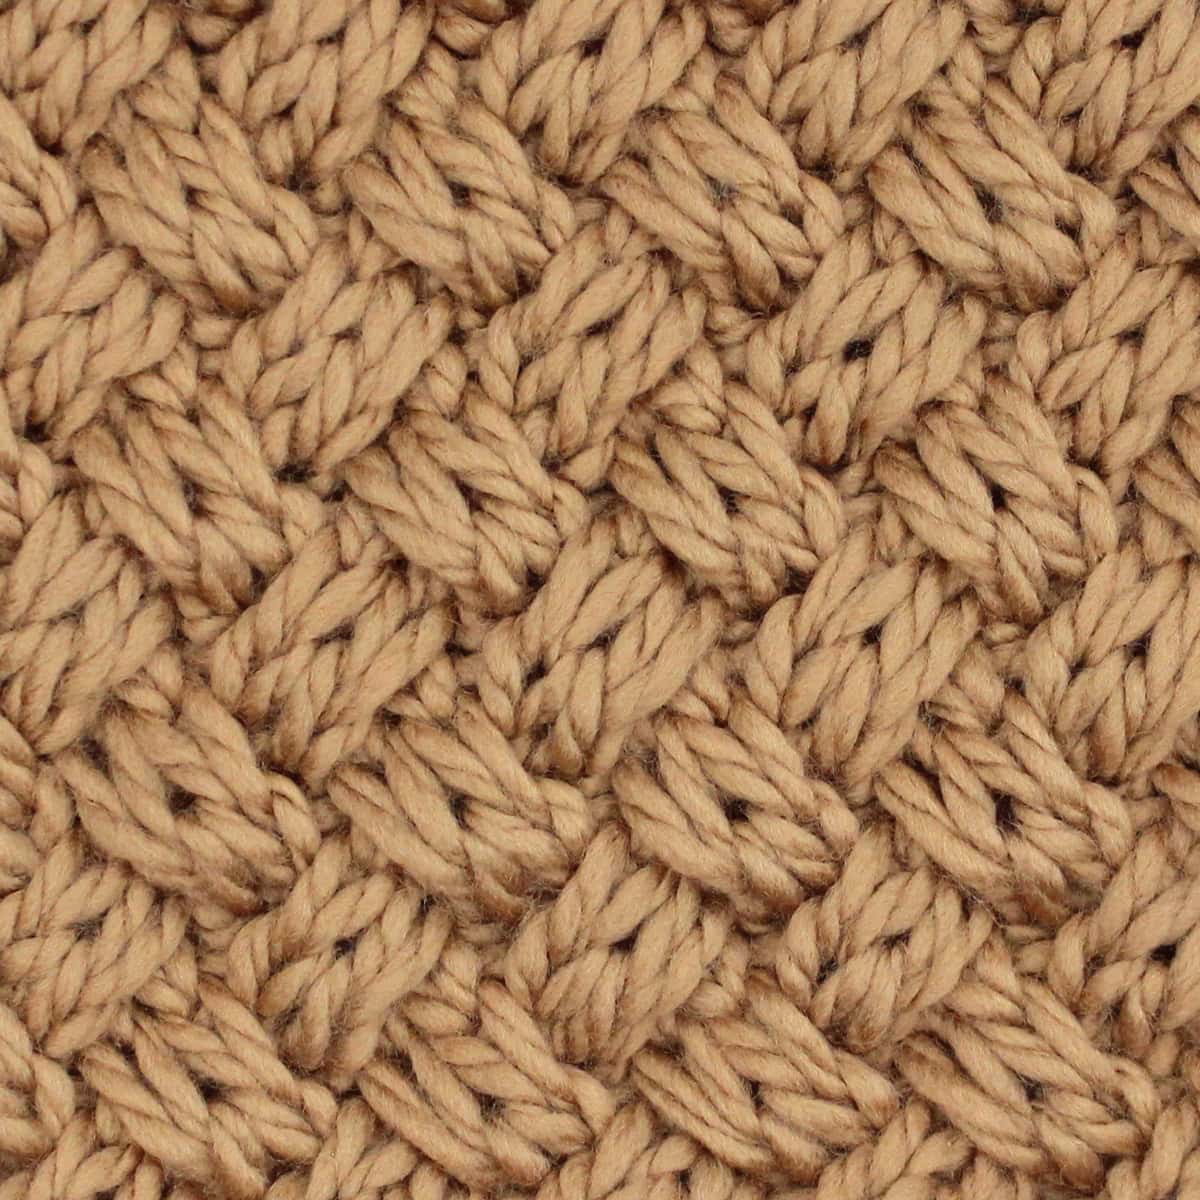
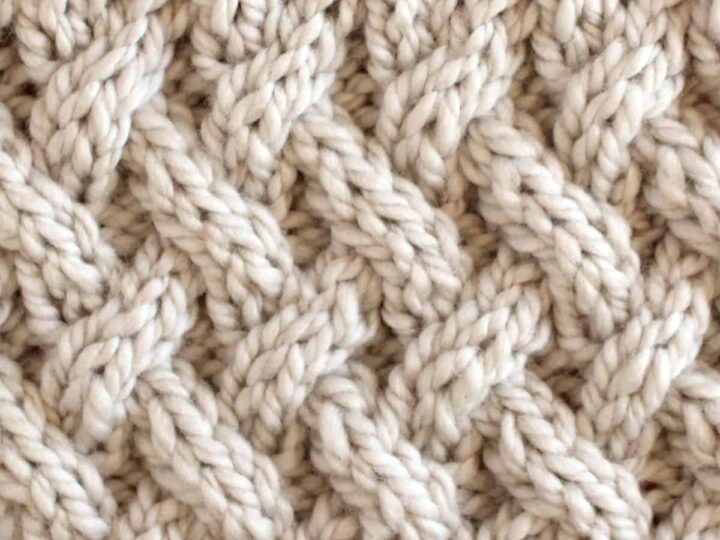
The Horizontal Herringbone Stitch knitting pattern is a woven texture that resembles fish scales. It is a very tight weave making it strong and sturdy. As a result, this is a great choice for creating home interior projects, like pillows and rugs.
Get your written pattern instructions that I’ve created for you both flat and in the round, along with my helpful video tutorial.
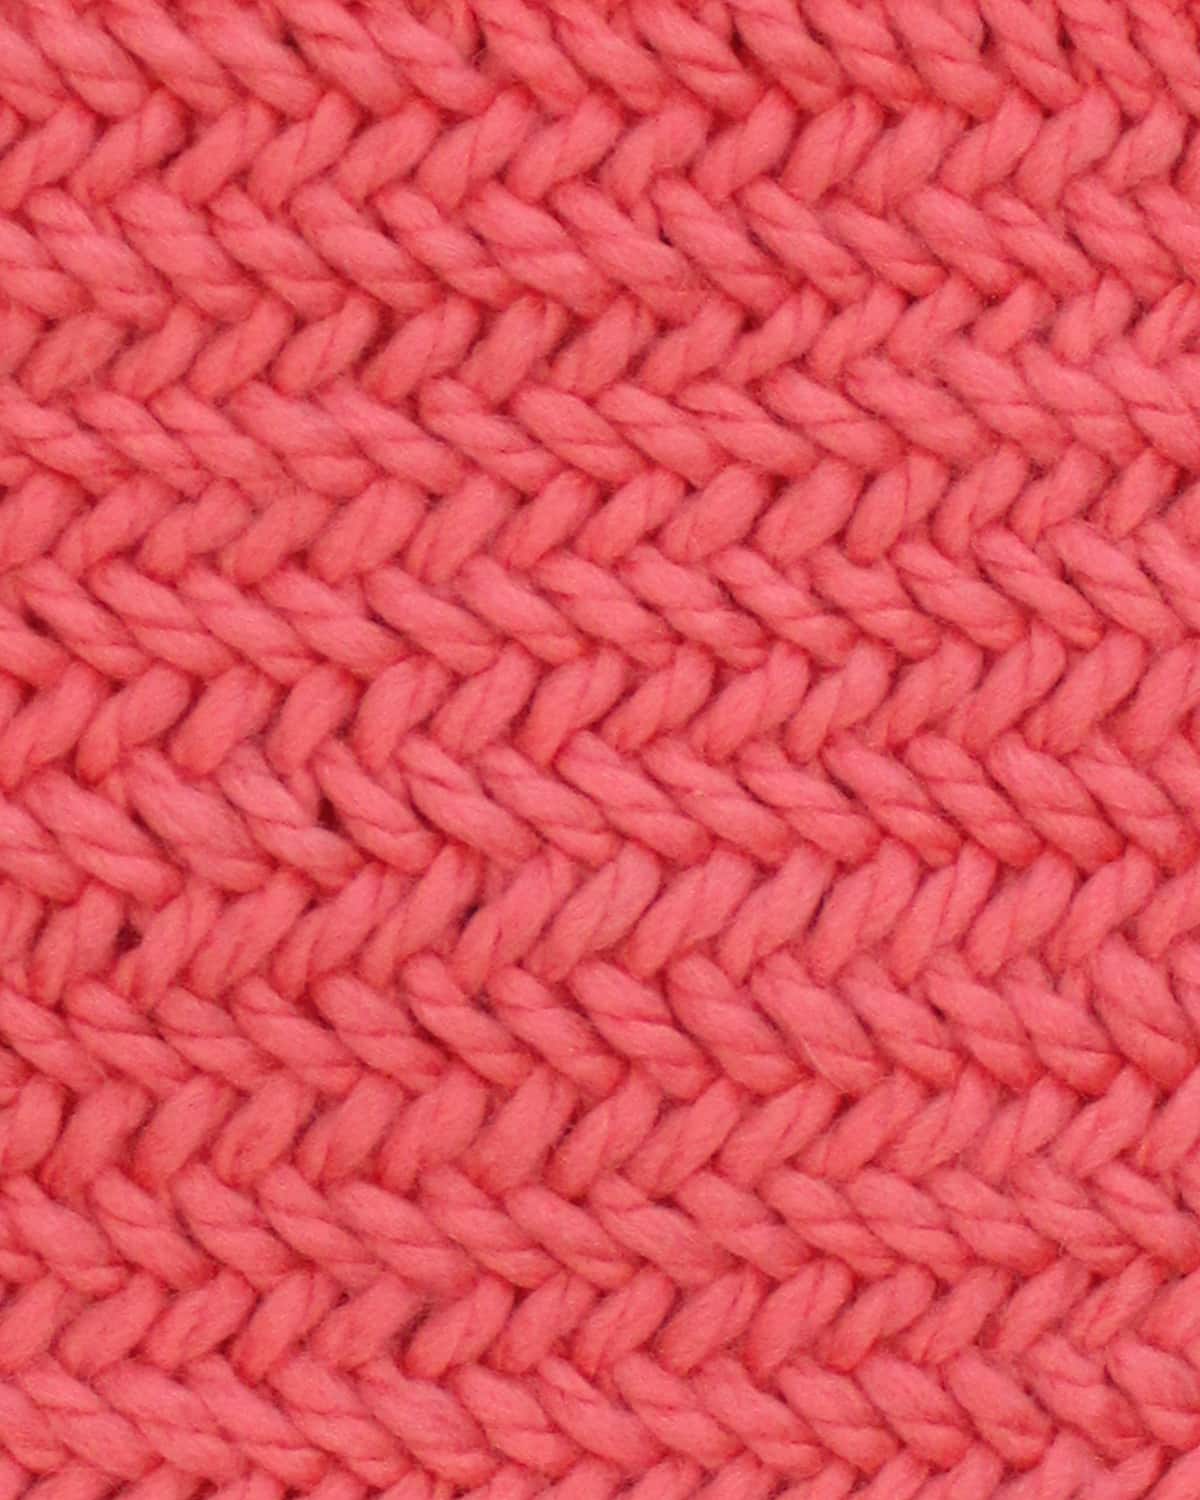
Horizontal Herringbone Stitch Texture
Easy to Memorize
The design looks complex to knit, but it is simply a 2-row repeat pattern. Because we are knitting up this cable texture in an easy series of knitting techniques, this is a very easy-to-memorize pattern.
Tight Weave
Before you get started, I want to emphasize this stitch is a very tight weave, as it crisscrosses itself with right and left leaning stitches. If you like the look of this stitch, but would rather it be a more medium weave (and not so tight), you may wish to knit with needles larger than your yarn gauge recommends.
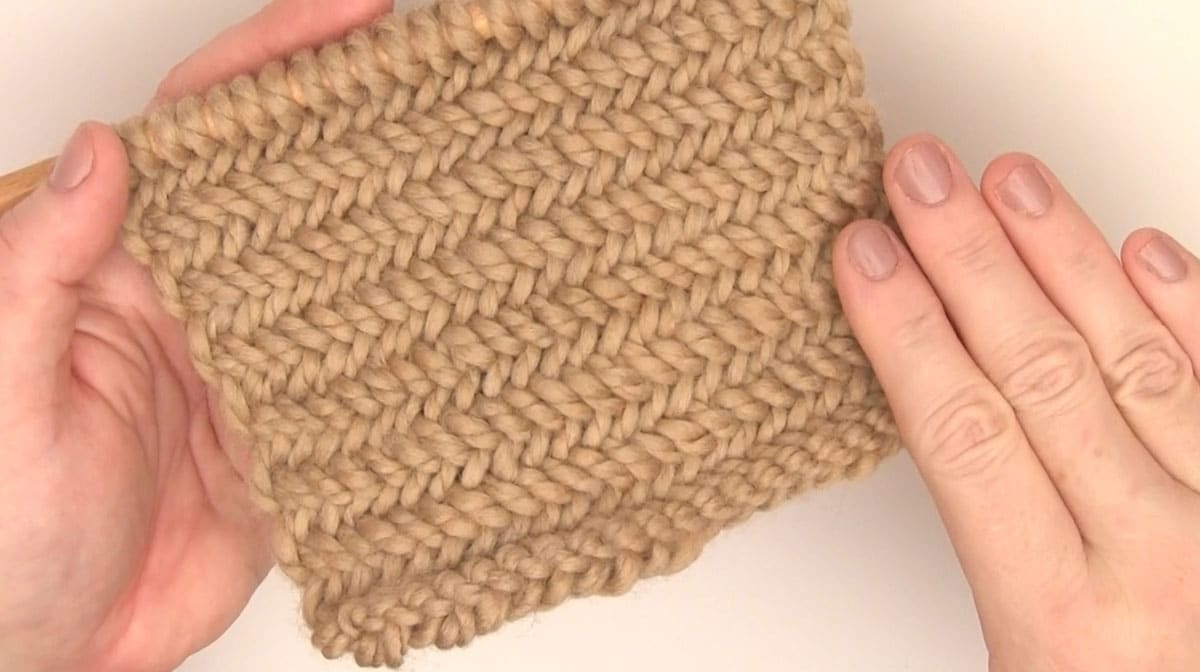
Curls Slightly
The top and bottom edges of this stitch tends to curl. As such I suggest you consider blocking your piece to help it lay flat.
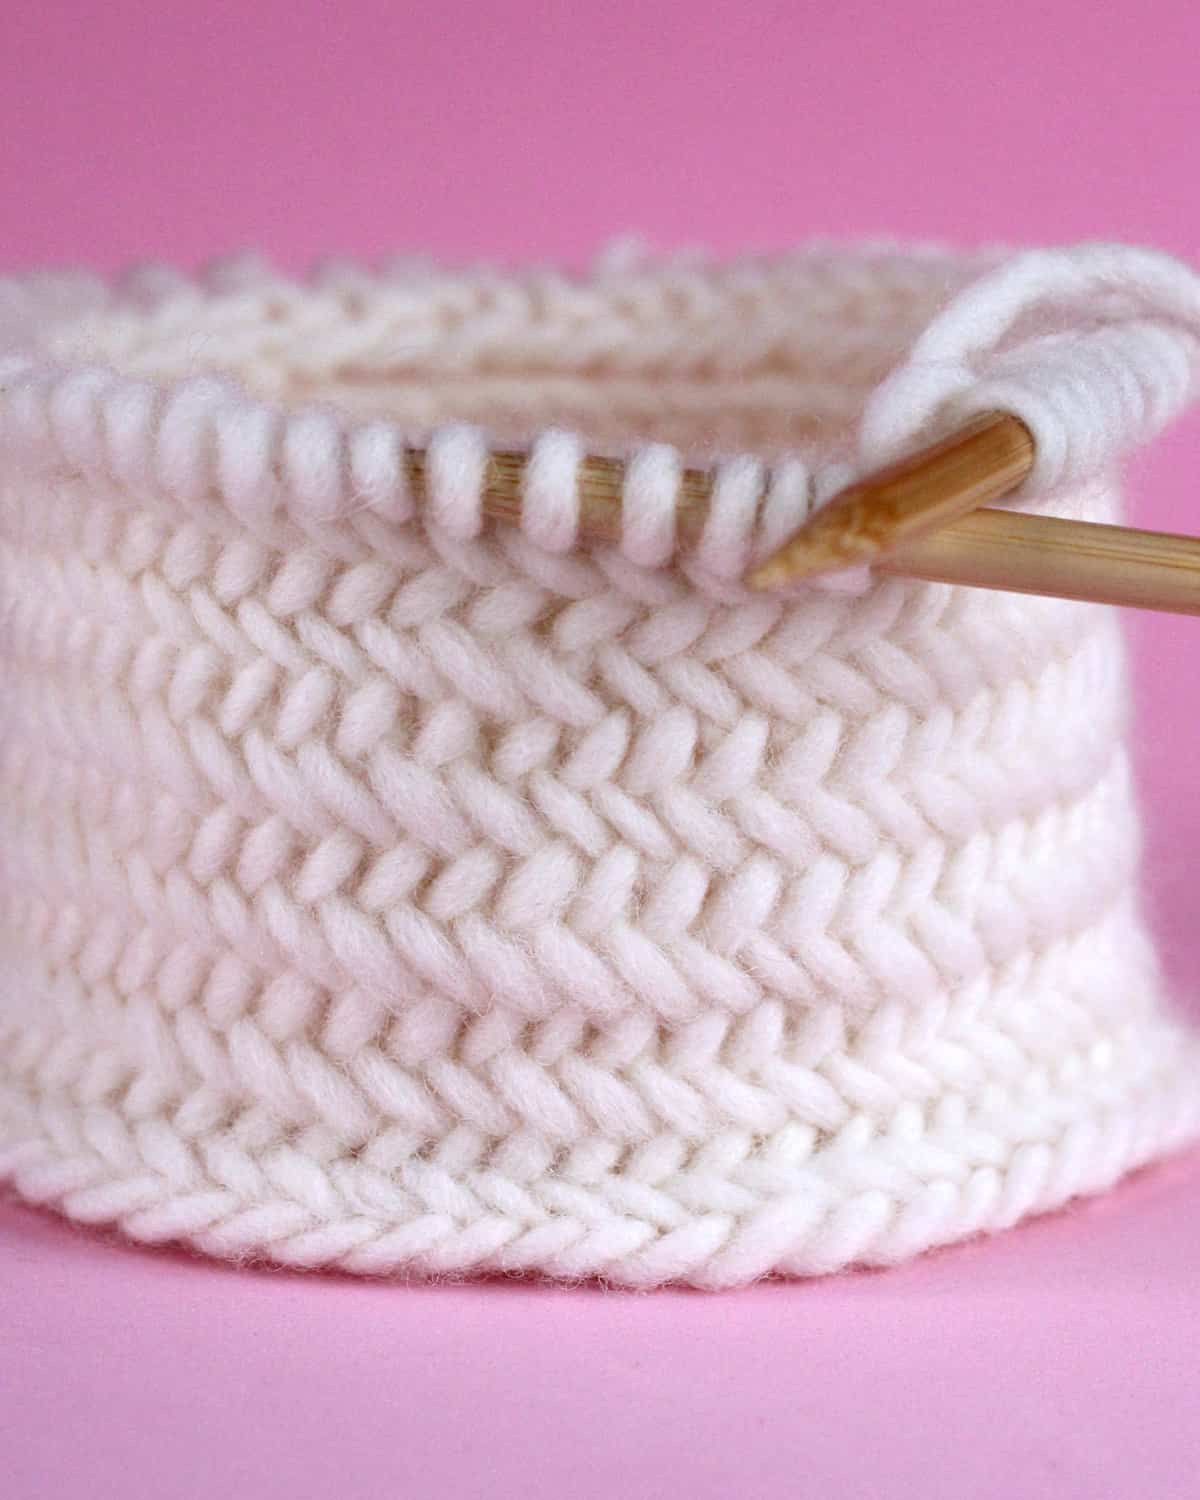
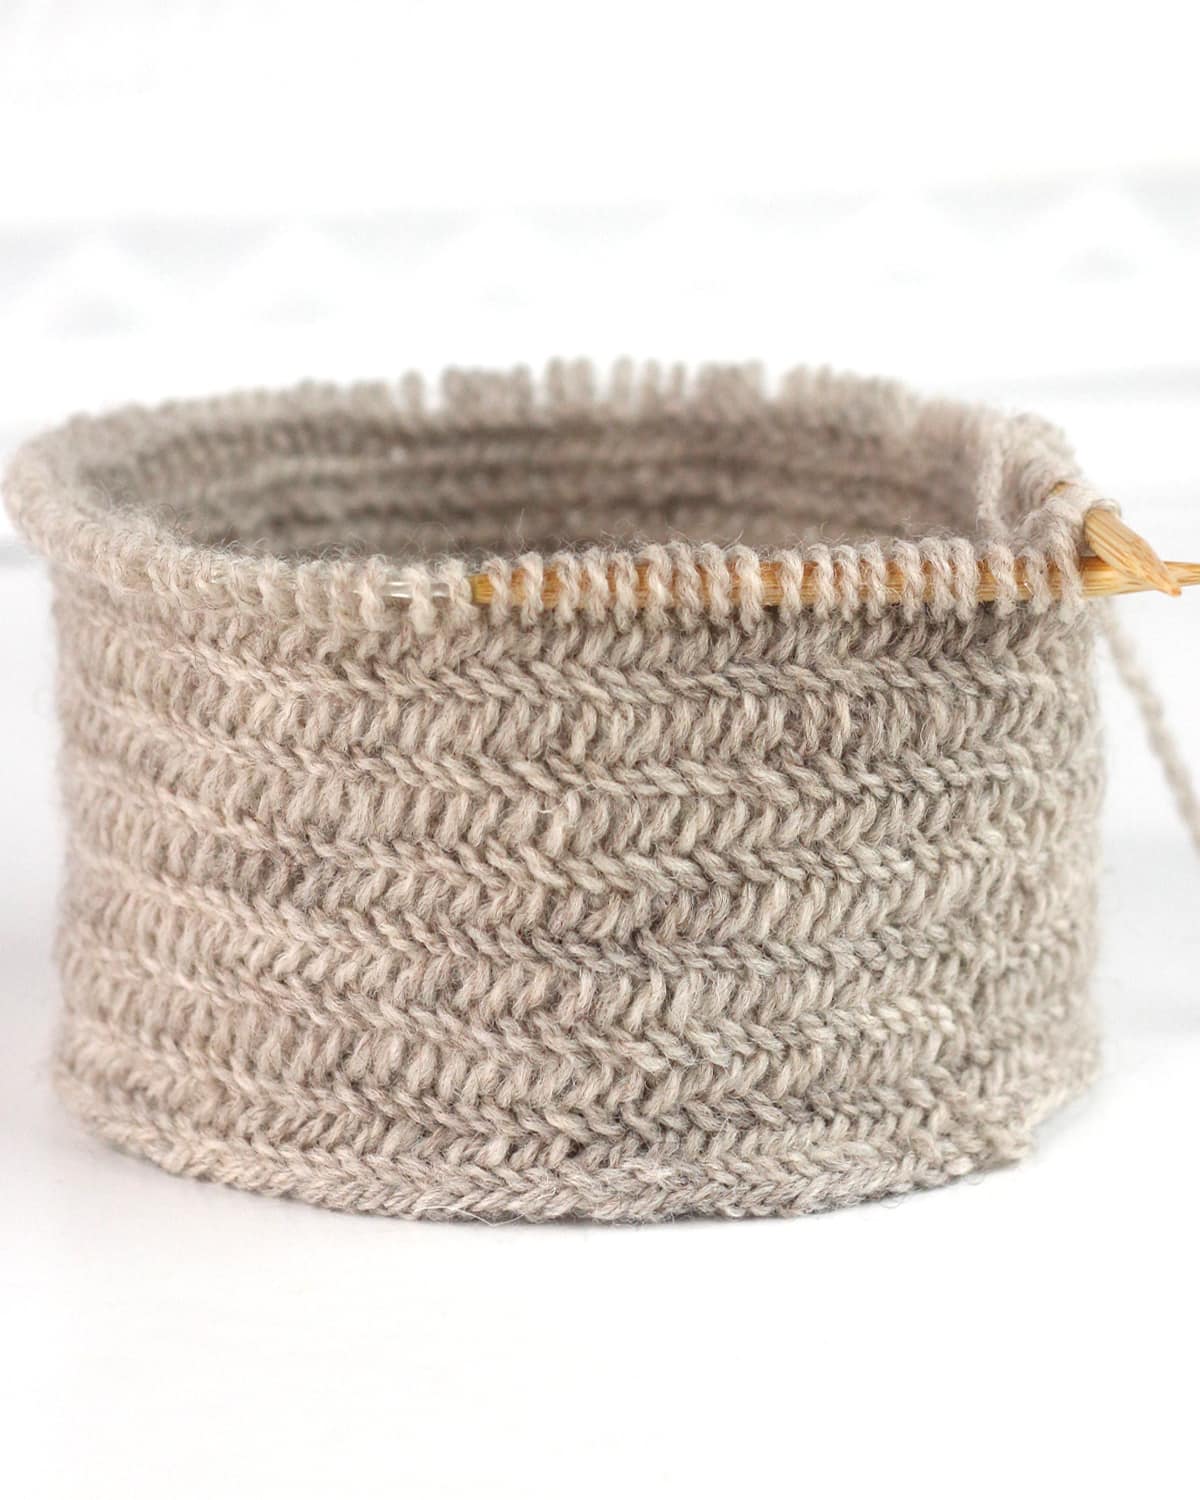
Knitting Instructions in the Round
Knitting the Herringbone Stitch in the round requires an adjustment to the second round of the pattern. To create a seamless texture, there is a recommended tip on how to finish the round at your stitch marker. Try it out with either circular or double-pointed needles.
Is this Stitch Reversible?
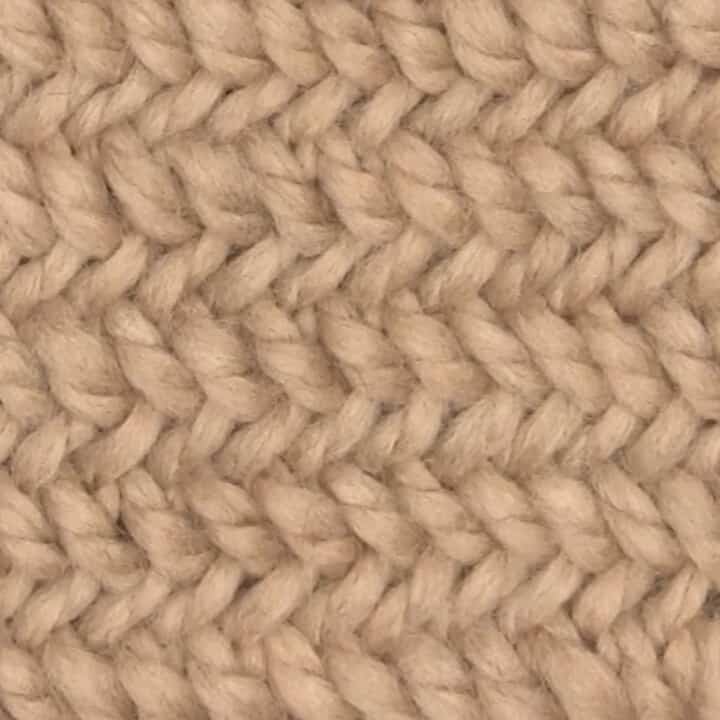
The Herringbone Stitch is not a reversible pattern, meaning that the right and wrong sides look different. As you can see in my photo below, the right side (front) displays the desired texture while the wrong side (back) is comprised of tightly woven horizontal lines.

Knitting Techniques
Check out my entire library of Knitting Techniques to help you along as you knit up this project.
- CO = Cast On Long Tail Method
- K2Tog = Knit Two Stitches Together
- K2Tog TBL = Knit Two Stitches Together Through the Back Loops
- P2Tog = Purl Two Stitches Together
- BO = Bind Off
- Weave In Ends
Watch Video Tutorial
Printable Knitting Instructions
Printable Knitting Pattern
The Herringbone Stitch is a horizontal texture resembling the scales of a fish. It is a very tight weave making it strong and sturdy.
Materials
- Yarn - Any Gauge
Tools
- Knitting Needles - Larger than Appropriate Size for Yarn. This stitch pattern is a very tight weave, so it is recommended to use needles larger than your yarn gauge recommends.
- Tapestry Needle
- Scissors
Instructions
KNITTED FLAT ON STRAIGHT NEEDLES:
Cast On Any Number of Stitches
- Row 1 (Right Side): * K2Tog TBL – Remove 1st Stitch off Needle with 2nd Stitch Remaining * Slip Last Stitch
- Row 2 (Wrong Side): * P2Tog – Remove 1st Stitch off Needle with 2nd Stitch Remaining * Slip Last Stitch
Continue knitting Rows 1 and 2 until length desired, then bind off.
___
IN THE ROUND ON CIRCULAR OR DOUBLE-POINTED NEEDLES:
Cast On An Even Number of Stitches
- Round 1: * K2Tog TBL – Remove 1st Stitch off Needle with 2nd Stitch Remaining to Last Stitch *
Slip Last Stitch from Right Needle onto Left Needle Purlwise,
Remove Stitch Marker,
Place Last Stitch Back onto Right Needle Purlwise,
K2Tog TBL - Remove 1st Stitch off Needle with 2nd Stitch Remaining,
Remove the 2nd Stitch Remaining from Left to Right Needle, Twist Stitch, Place back onto Left Needle. - Round 2: * K2Tog – Remove 1st Stitch off Needle with 2nd Stitch Remaining to Last Stitch *
Slip Last Stitch from Right Needle onto Left Needle Purlwise,
Remove Stitch Marker,
Place Last Stitch Back onto Right Needle Purlwise,
K2Tog - Remove 1st Stitch off Needle with 2nd Stitch Remaining,
Remove the 2nd Stitch Remaining from Left to Right Needle, Twist Stitch, Place back onto Left Needle.
Continue knitting Rounds 1 and 2 until length desired, then bind off.
Notes
Repeat Pattern between * *
Non-Reversible Knit Stitch Pattern.
Very Tight Weave, try to knit loosely.
Tends to Curl Up.
_____
KNITTING TECHNIQUES AND ABBREVIATIONS

Kristen McDonnell
Author • Designer • Teacher
Kristen from StudioKnit LLC produces knitting video lessons and pattern designs from her vibrant production studio on Half Moon Bay’s California coast.
Kristen McDonnell is the author of the highly acclaimed book Knit Stitch: 50 Knit + Purl Patterns featuring vintage and unique designs.