Make I-Cords with Embellish Knit Tool

Can the Embellish Knit really solve all of our I-Cord knitting needs and desires? Today we are going to find out the burning question among knitters in desperate need for a quick I-Cord making solution: “Does this thing really work!?!”
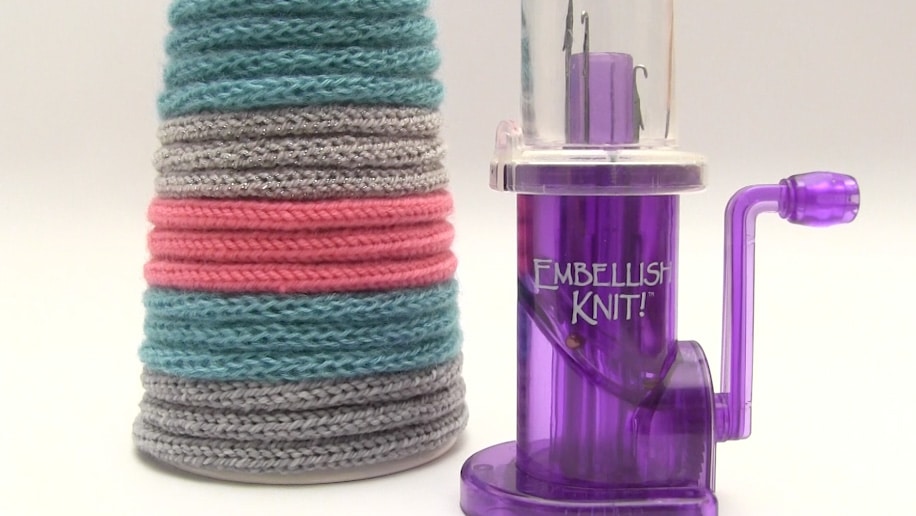
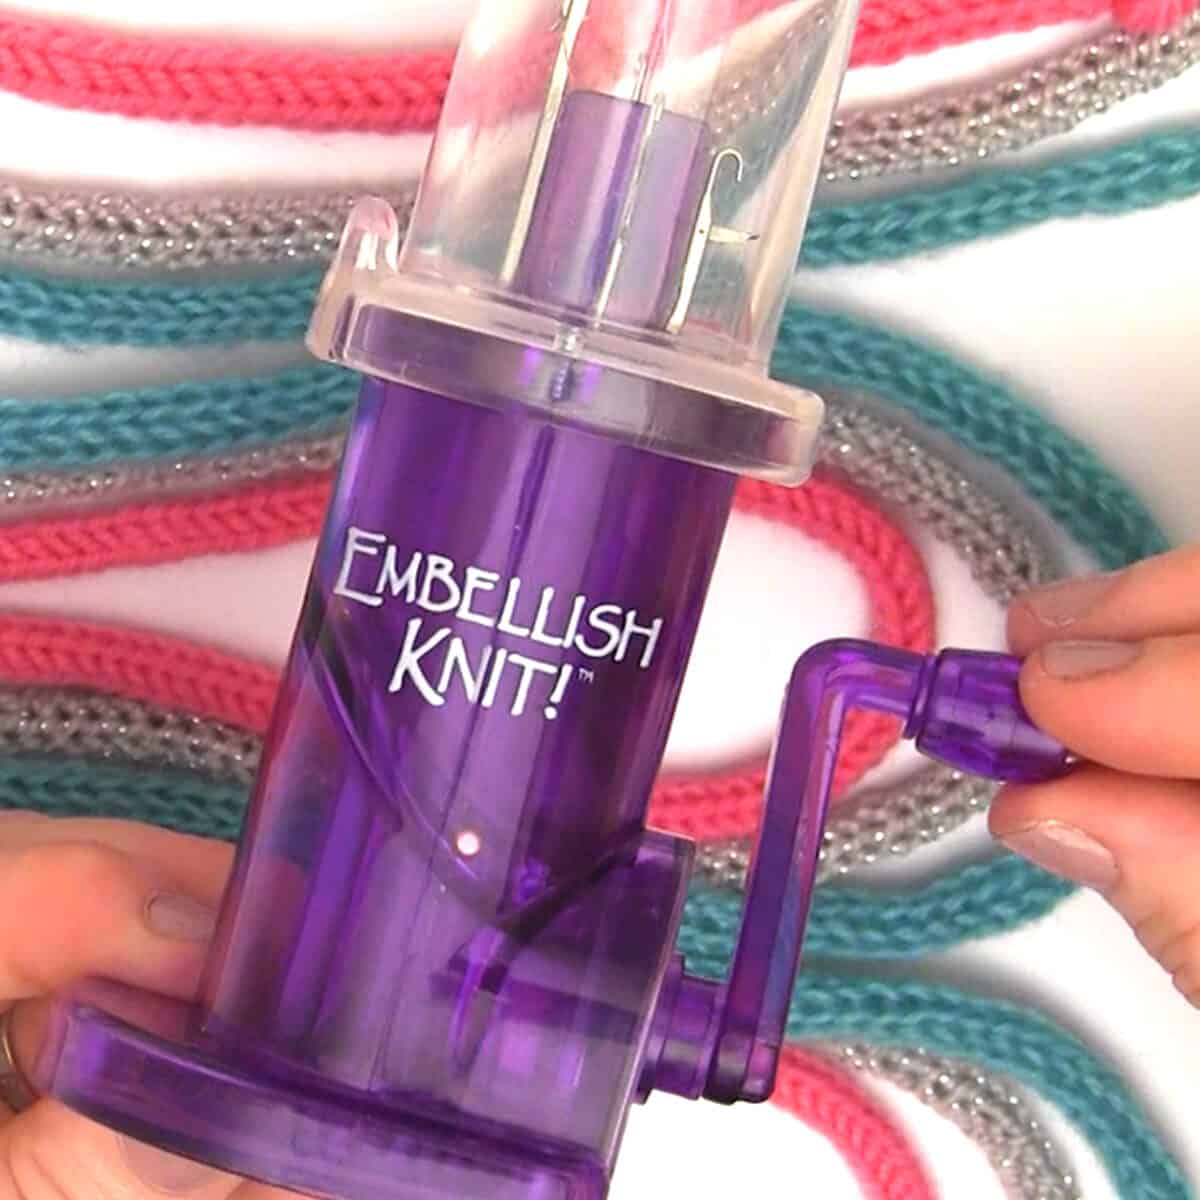
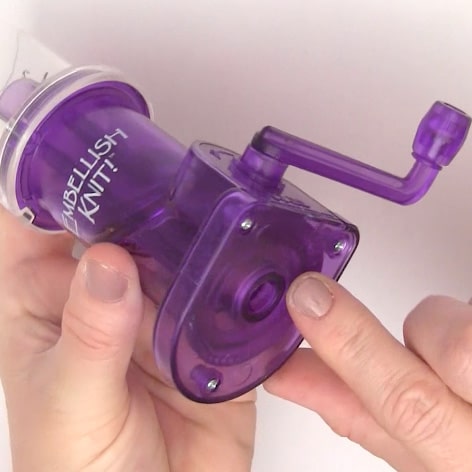
Let’s take a look at the Embellish Knit. It has a crank on the side that rotates the little hooks up on top right. The I-Cord is going to come out the bottom of the device.
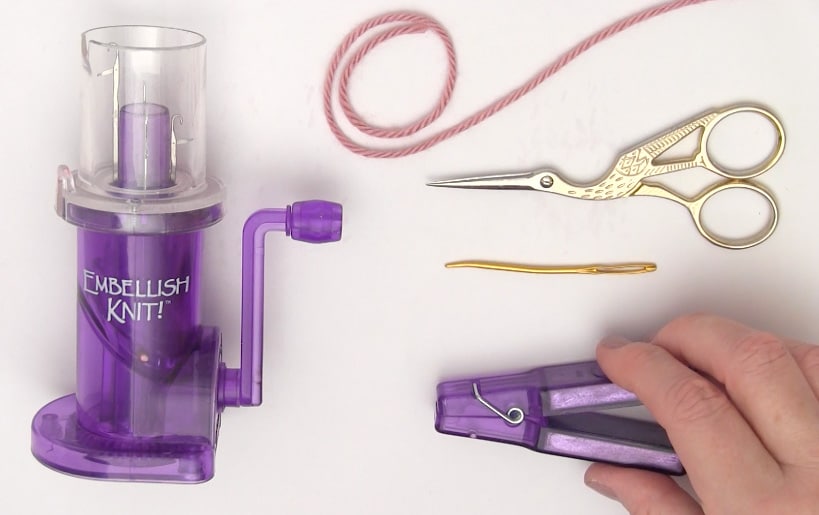
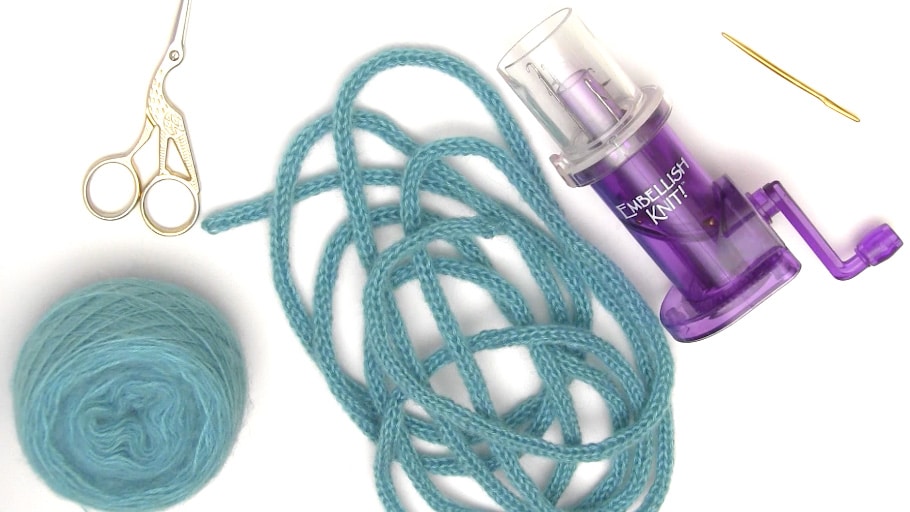
KNITTING MATERIALS
- Embellish Knit and its little clothespin weight
- Yarn – I recommend weights #1 and #2. (Some people have success with #3, but for me it was just a big messy fail!)
- Scissors
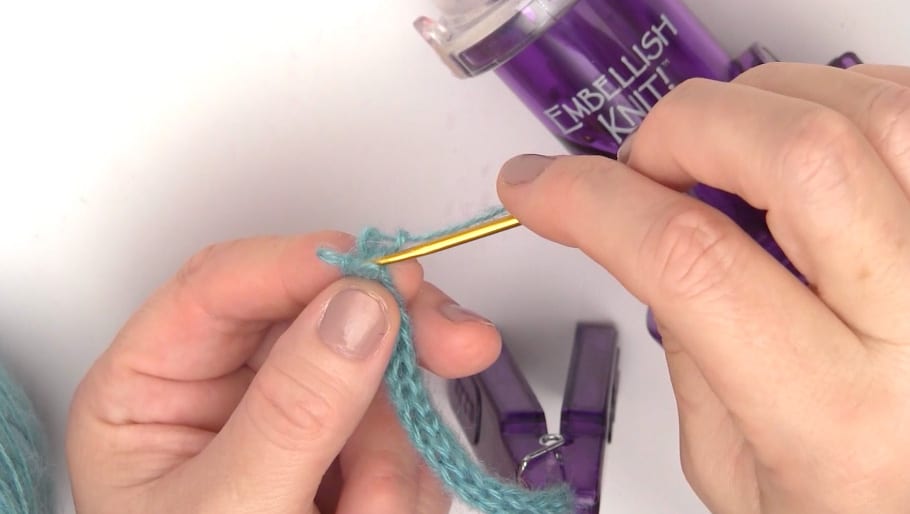
- Tapestry needle
Make sure to check out my other I-Cord videos. Check out how to knit I-Cords with actual knitting needles and also a little spool knitter loom device!
Setting Up the Embellish Knit
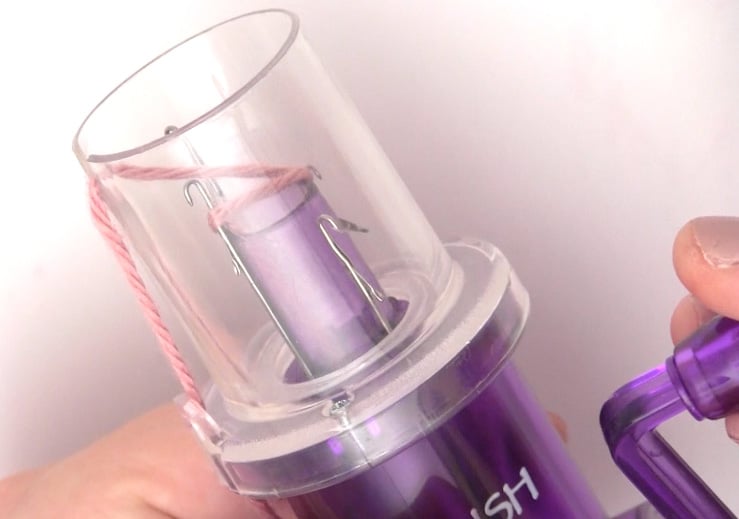
Thread your yarn through the little hole on the left side, which is going to help guide our yarn and keep it in place. Then take the yarn tail and put it directly down the tube all the way to the bottom of the device! See how your yarn is threaded through, up and around, all the way down to the bottom.

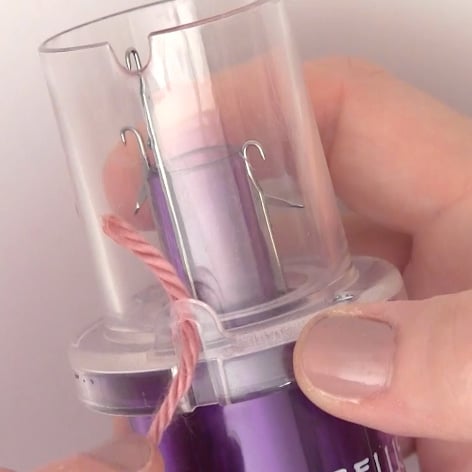
This is where we take that little clothespin weight, it’s quite heavy actually, and we clip it to the yarn tail right on the bottom. And with your left hand, you’ll hold onto the yarn that is attached to the yarn ball.
Get Cranking
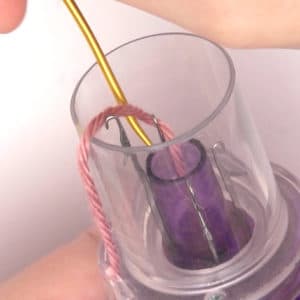
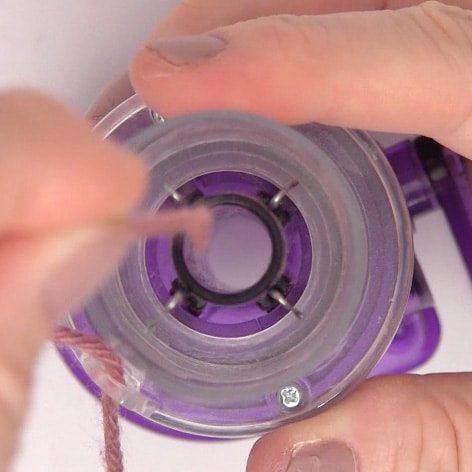
Before we start cranking, make sure that all of the hooks are in the open position.
Turn the crank until the yarn catches on the first little hook.
For the second hook, we are actually going to take the yarn up and around so that it does NOT catch in that hook. I’m just going to use my tapestry needle to help me because it’s really small.
Keep cranking it around until the third hook latches onto the yarn
We also do not want the yarn to catch on the fourth and final hook. So, we’re going to do the same thing as we did on the second hook where we are going to lift the yarn around and over. Sometimes it can be a little tricky. I also have found that if I use my left hand to sort of pull the yarn around that seems to work a little bit easier their recommended tapestry needle technique.
Making I-Cords with the Embellish Knit
Now that your yarn has been cast on, turn the crank very slowly and sort of let go of the yarn on the left side with your hand, you don’t have to hold it as tightly anymore.
I personally have had the best success with lighter weight yarns #1 and #2. My tries with yarn weight #3, a light weight yarn, were a total fail! I have friends that have had success, but maybe I just have bad karma with this yarn weight. If your yarn catches and starts to wrap on the outside of the inner tube, simply stop, cut the yarn out, and try again!
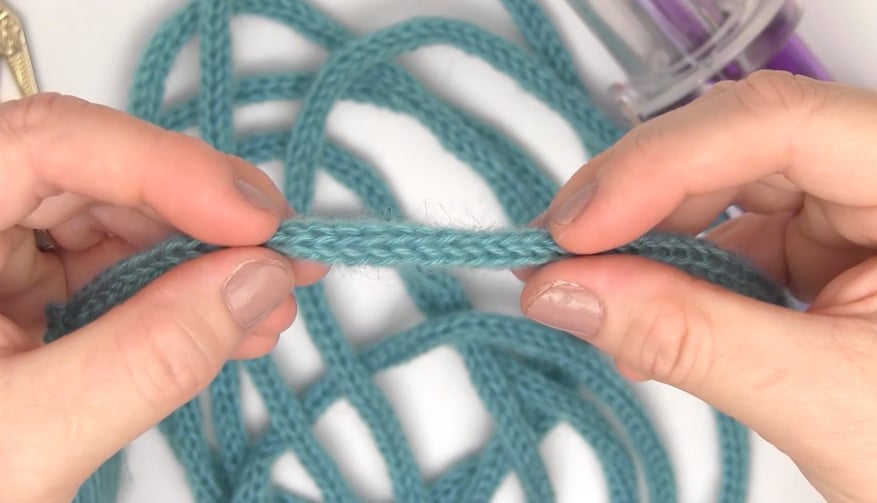
As your I-Cord keeps growing, take that weight and keep placing it back to the top because you want the weight to freely be able to just twirl around the bottom of the device.
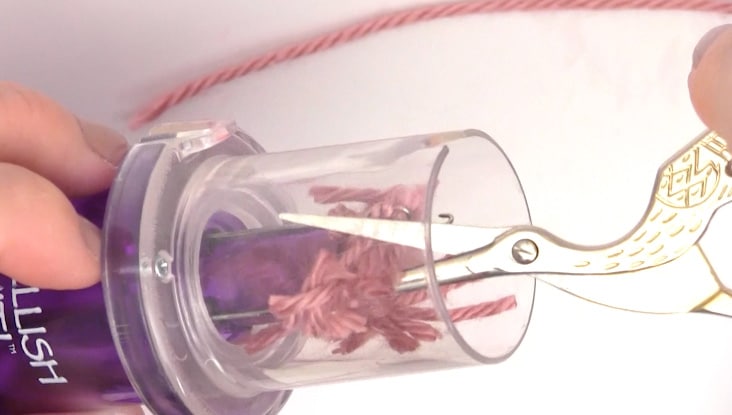
Once you’re done making your I-Cord, just cut your yarn and crank it around until the I-Cord pulls through. Take your tapestry needle and weave that yarn end through the four little loops to bind off.
I-Cord Success
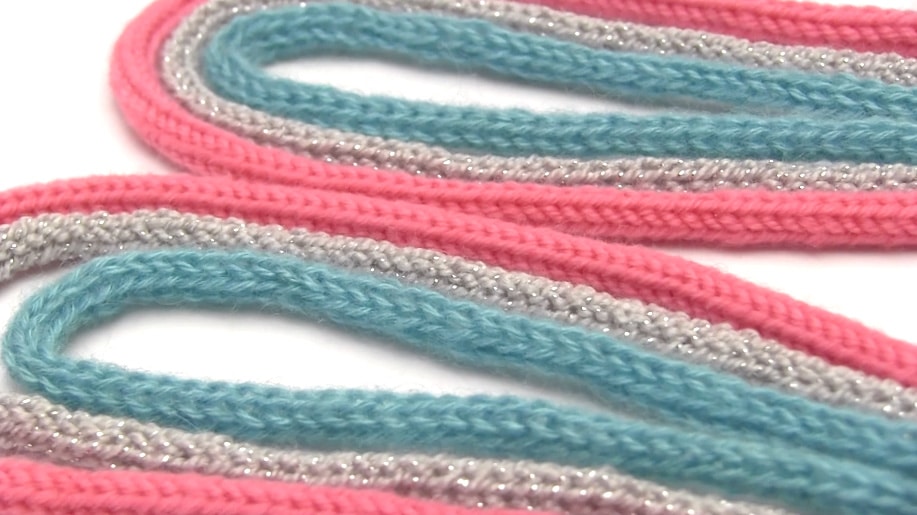
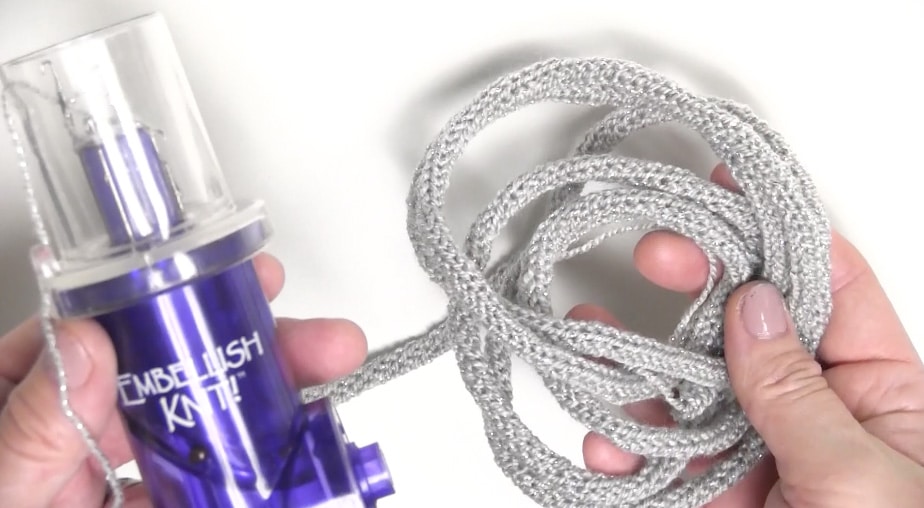
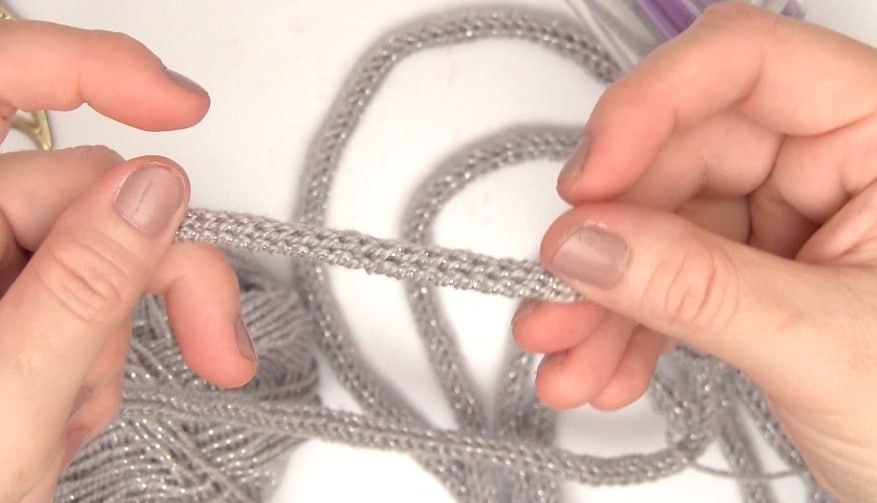
Our I-Cords are so pretty, they totally look so professional and uniform. They are smaller both because we’re using finer yarn and with just the four little hooks and it is a tighter weave than we usually knit just freehand with our knitting needles.
Knitting with Power Tools?
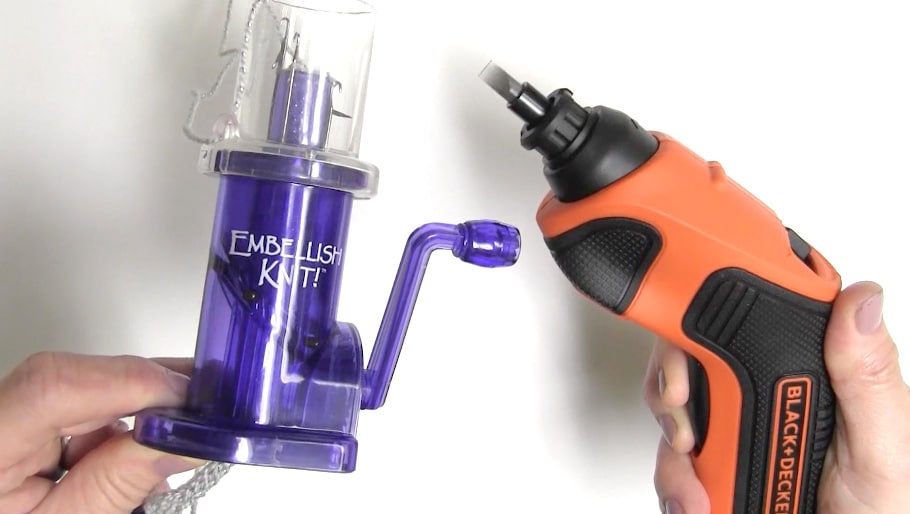
Here is the moment we have all been waiting for… it is Embellish Knit and the Power Tool time!
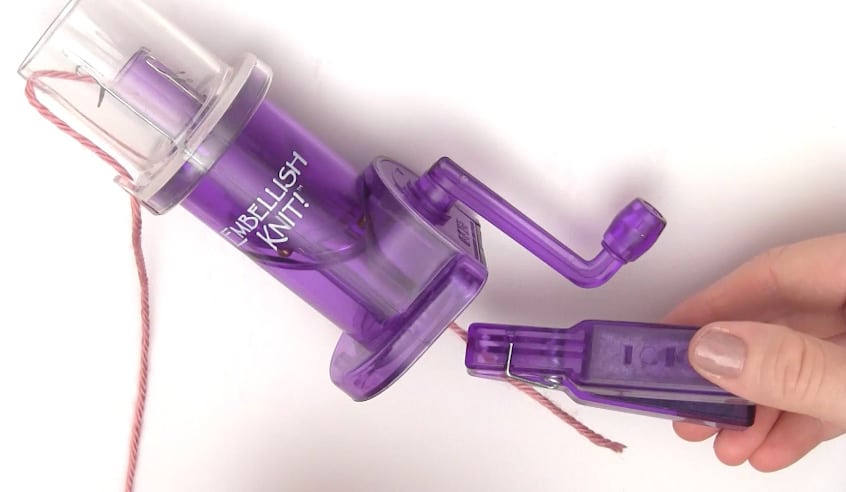
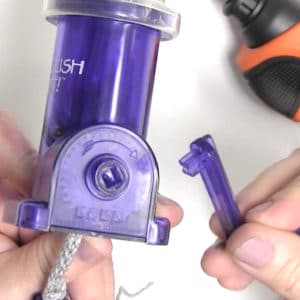
First take the handle off the Embellish Knit, which easily comes straight off. I thought that I would have to totally MacGyver it, but it comes straight off and it goes right back in just as easily.
Taking an electric screwdriver, just put it right in there diagonally corner to corner.
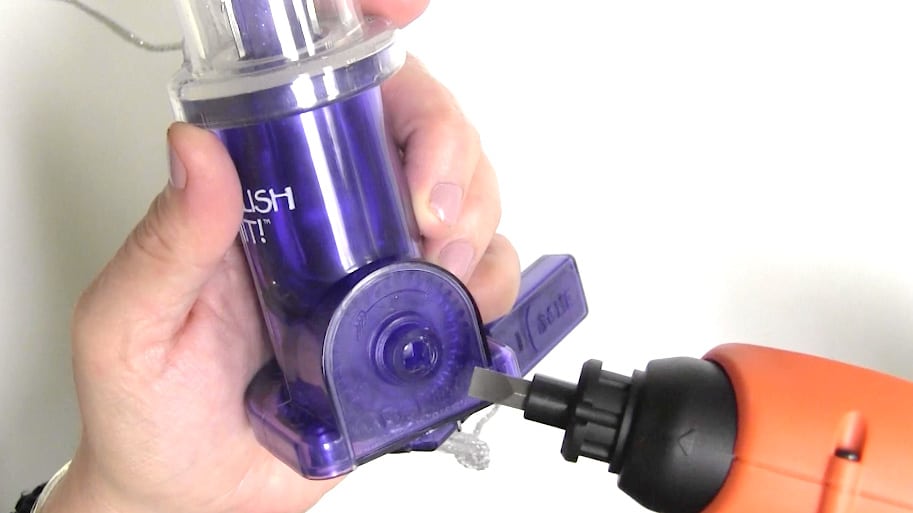
Make sure that you’re holding onto the Embellish Knit pretty tightly because this power tool does have a bit of power to it. And, oh my gosh, this is totally working! I love it!
Allow the weight on the bottom to spin and twirl as we go. Now it does sort of mess up the inside of the Embellish Knit crank notch, but once I put the handle back on, it totally works.
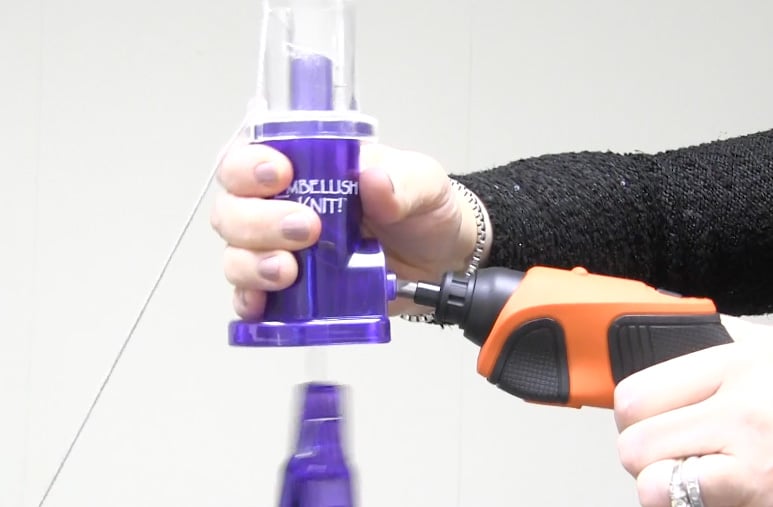
I don’t think I ever envisioned myself knitting with power tools!
You can imagine if you need to make a lot of I-Cords there may be somebody in your circle of friends or family that would totally dig knitting with power tools. And in just about five minutes this is how much we were able to knit up.
I hope you are inspired to try this Embellish Knit tool for your upcoming I-Cord knitting projects!