Stretchy Bind Off Knitting Stitch
This easy Stretchy Bind Off is my favorite knitting technique when we want the edge of a knitted project to be flexible. This is the easiest way that I enjoy finishing off my blankets, scarves, and accessories when I want the edge to have a bit of elasticity.
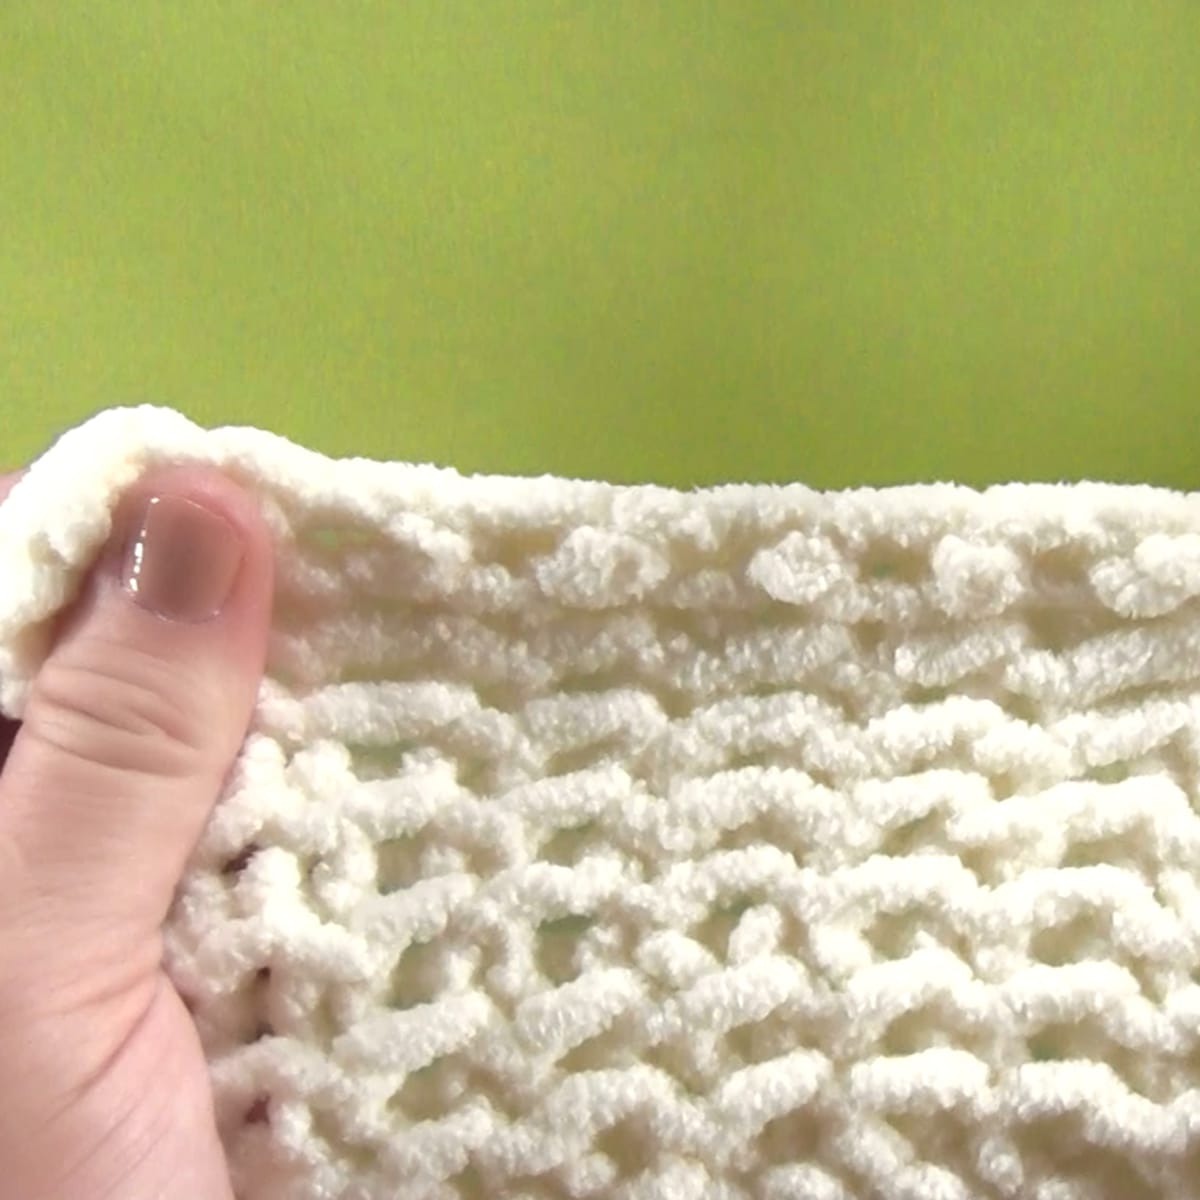
Have you ever bound off a project, only to find the edge too tight and restrictive? With up-close photos and a video tutorial, you will easily finish your next knitting project with this cast off technique with confidence!
4 Steps to Knit the Stretchy Bind Off
The standard bind off technique works great for many projects, but sometimes your project benefits from having a bit more stretch to the finished edge. So, let’s knit it up!
_____
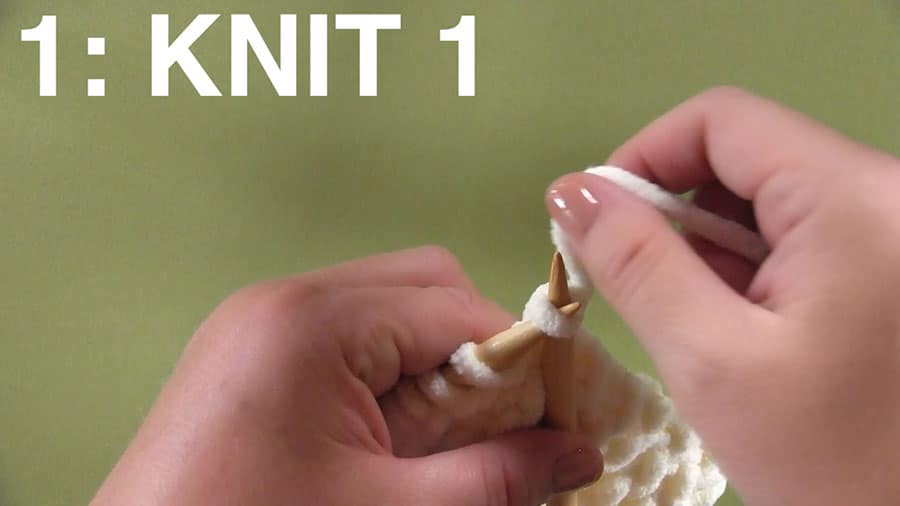
Step 1 – Knit Your First Stitch
To begin, simply knit your first stitch on your needle.
_____
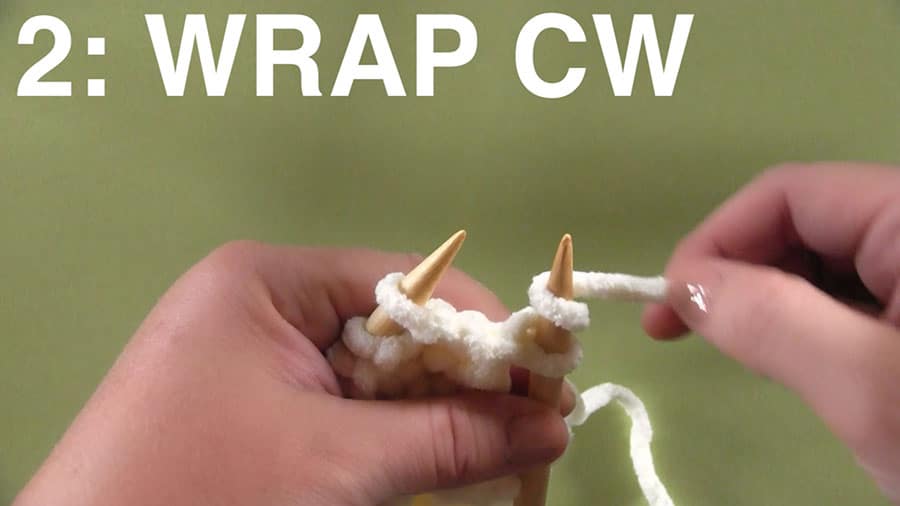
Step 2 – Wrap Yarn Clockwise.
We wrap our working yarn once around our right needle. This is also called a reverse yarn over.
_____
Step 3 – Knit One Stitch
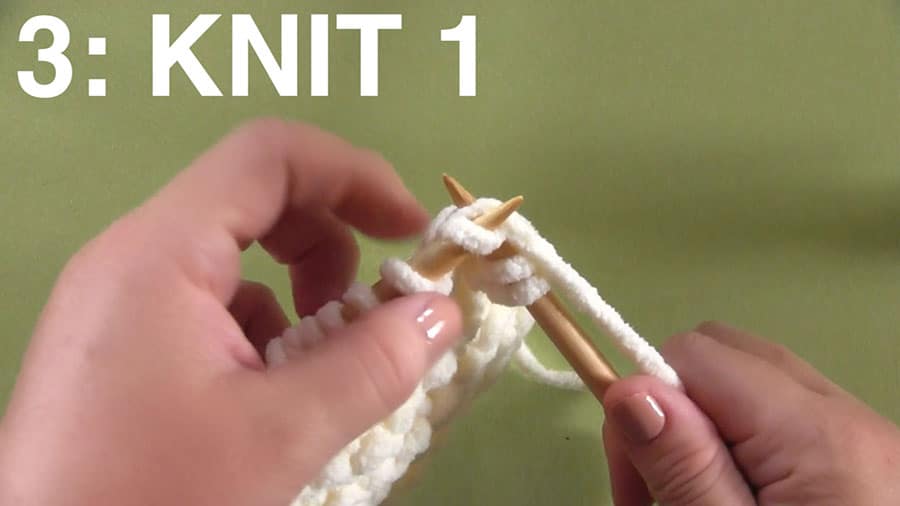
_____
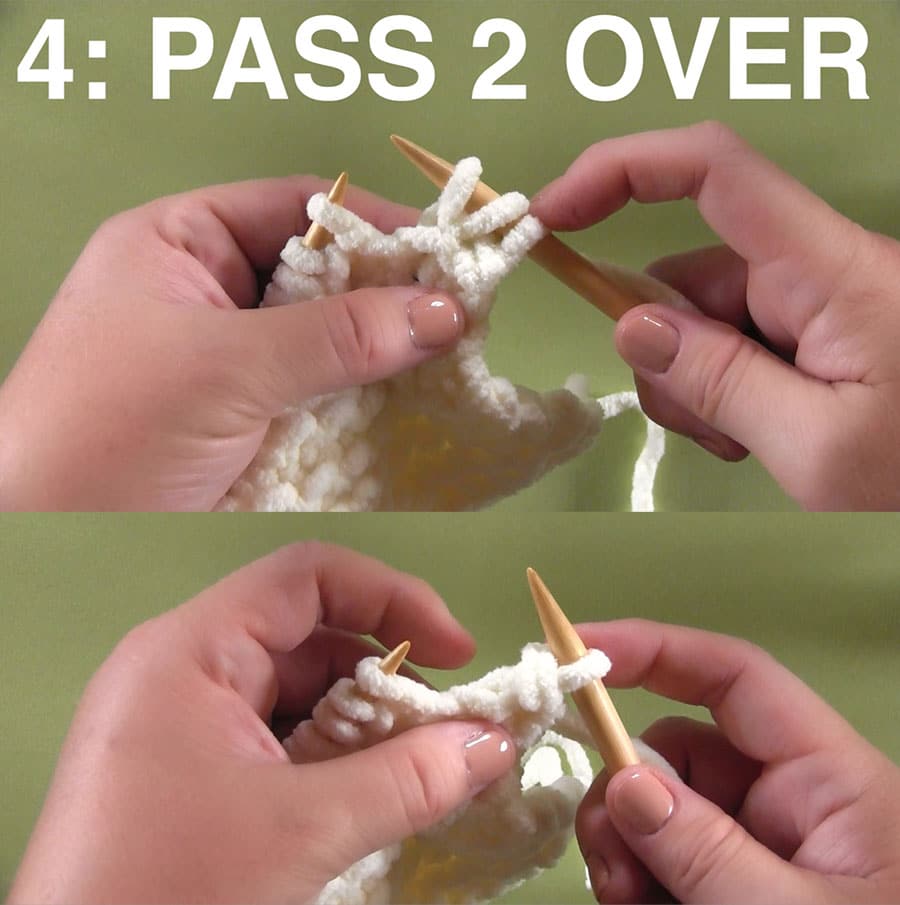
Step 4 – Pass Two Stitches Over
Pick-up both the first and second stitches with your left needle, then pass them over your last stitch.
_____
Repeat Steps 2 thru 4.
It’s as easy as that! Continue knitting this easy stretchy bind off until one stitch remains then weave in your yarn ends. I hope you enjoy this super simple little knitting trick.
Want to see it in action? Watch my video below to help you fully understand just how easy this technique is to accomplish!
Watch Video Tutorial
6 Key Benefits of the Stretchy Bind Off
- Prevents Tightness: Its elasticity prevents that uncomfortable feeling and allows for movement.
- Comfortable Fit: The Stretchy Bind Off creates a flexible edge, giving your finished project a comfortable fit. It’s perfect for cuffs, necklines, or anywhere you want a bit of extra give.
- Neat Appearance: The Stretchy Bind Off creates a clean and polished edge. It complements your knitting project nicely, giving it a professional and finished look.
- Easy to Work: This bind off technique is not complicated at all. You only need to know how to knit and purl stitches. It’s a great option for beginners and experienced knitters alike.
- Versatile Application: You can use the Stretchy Bind Off for various types of projects, such as shawls and scarves or blankets. It adapts to different stitch patterns and ensures a beautiful and functional finish.
- Easy to Undo: Sometimes, we make mistakes, and that’s okay! The Stretchy Bind Off is forgiving and easy to undo if you need to make adjustments or correct an error. Just unravel it gently, and you are ready to try again.
This Stretchy Bind Off adds flexibility, comfort, and style to your knitting projects. Give it a try, and you’ll enjoy the benefits it brings!
Printable Knitting Instructions

Printable Knitting Instructions
This easy Stretchy Bind Off is my favorite knitting technique when we want the edge of a knitted project to be flexible.
Materials
- Yarn - Any Gauge
Tools
- Knitting Needles - Appropriate Size for Yarn
Instructions
4 STEPS OF THE STRETCHY BIND OFF
- Step 1 - Knit Your First Stitch. To begin, simply knit your first stitch on your needle.
- Step 2 - Wrap Yarn Clockwise. We wrap our working yarn once around your right needle.
- Step 3 - Knit One Stitch.
- Step 4 - Pass Two Stitches Over. Pick-up both the first and second stitches with your left needle, then pass them over your last stitch.
Repeat Steps 2 thru 4.
Continue knitting this easy stretchy bind off until one stitch remains then weave in your yarn ends.

Kristen McDonnell
Author • Designer • Teacher
Kristen from StudioKnit LLC produces knitting video lessons and pattern designs from her vibrant production studio on Half Moon Bay’s California coast.
Kristen McDonnell is the author of the highly acclaimed book Knit Stitch: 50 Knit + Purl Patterns featuring vintage and unique designs.