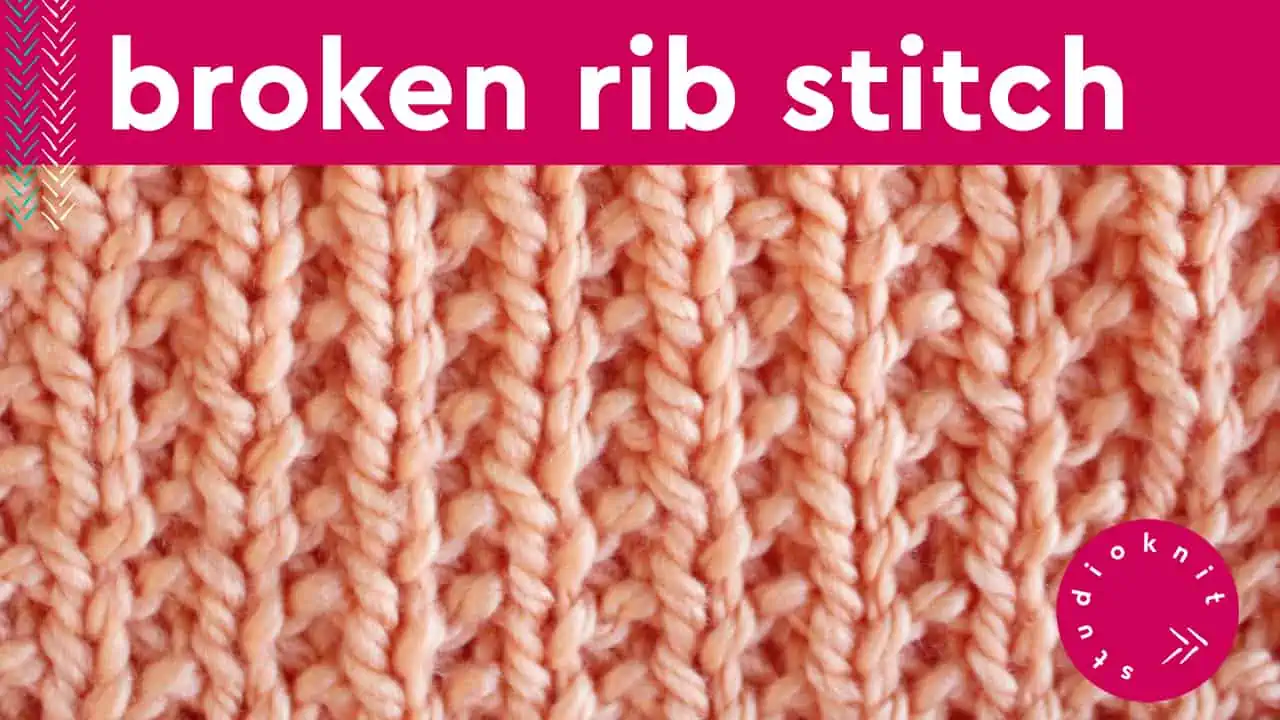
Broken Rib Stitch Knitting Pattern for Beginners
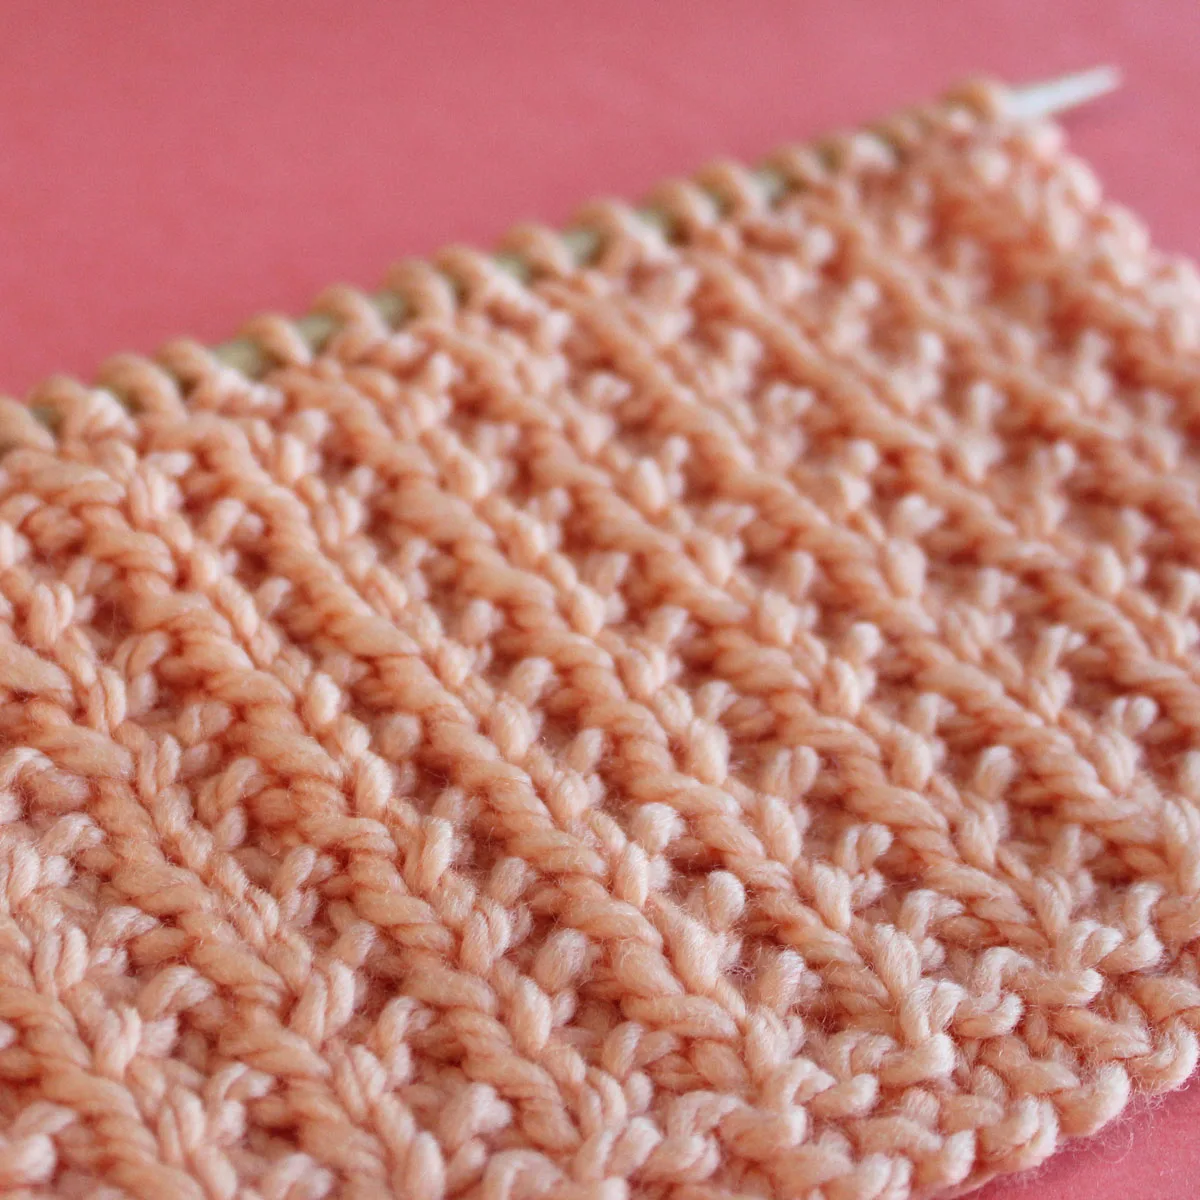
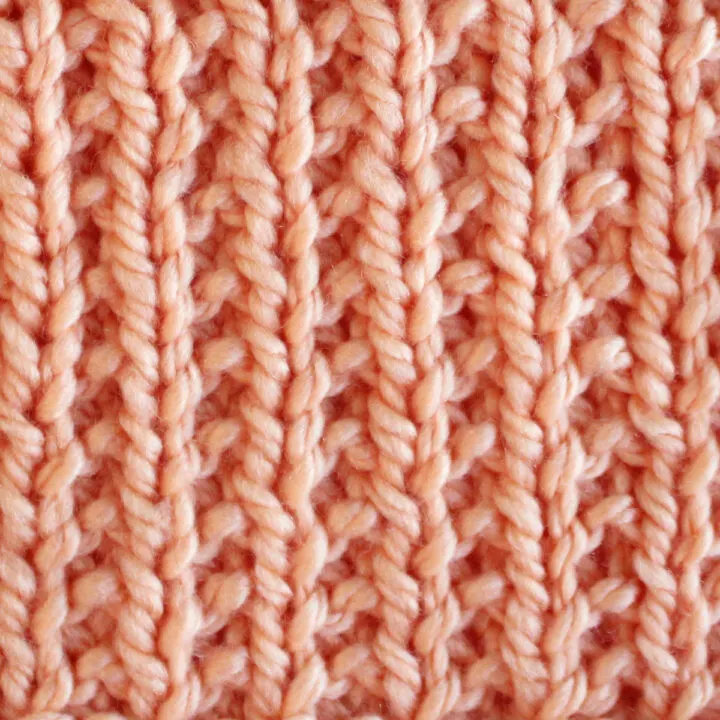
The Broken Rib Stitch Knitting Pattern creates ribbing columns of the smooth Stockinette Stitch separated by rows of the bumpy Garter Stitch texture.
Get your free written pattern instructions with video tutorials below. You may also purchase my ad-free Knit Stitch Pattern Book in both hardcopy and e-book formats.
This 2-Row Repeat Knit Stitch Pattern is an easy-level project created with a simple combination of knits and purls. It is a great choice for knitting up impressive blankets, pillows, scarves and more as it easily lays flat.
This rib texture is not a reversible pattern because the right side of the work displays the design, but the wrong (back) side does not. In fact, the wrong side of this pattern is the Sand Stitch texture!
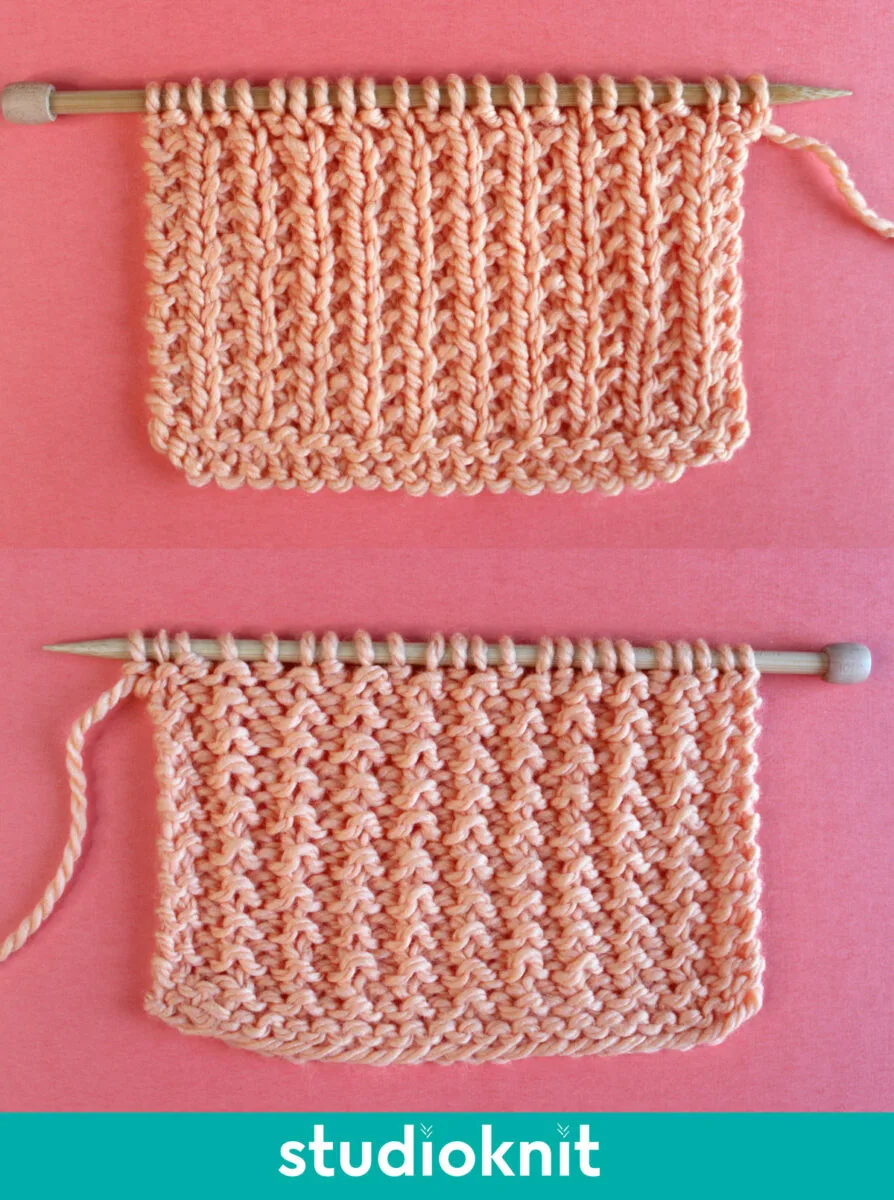
Table of Contents
Knitting Techniques
The Broken Stitch is an easy combination of simple Knit and Purl Stitches. Find my entire library of Knitting Techniques to help knit up this project.
- How to Cast On Without a Slip Knot or Slip Knot
- Cast On with Slingshot or Cast On Thumb Method
- K = Knit Stitch
- P = Purl Stitch
- Cast Off
- Weave-in Yarn Ends
Design Suggestion: The Slip Stitch Knitting technique is a favorite way to create smooth edges on the right and left sides of your project. If you’re knitting up a flat scarf, dishcloth, or blanket, you may wish to add selvedge stitches to create a more finished look.
Watch Video Tutorial
Knitting Instructions
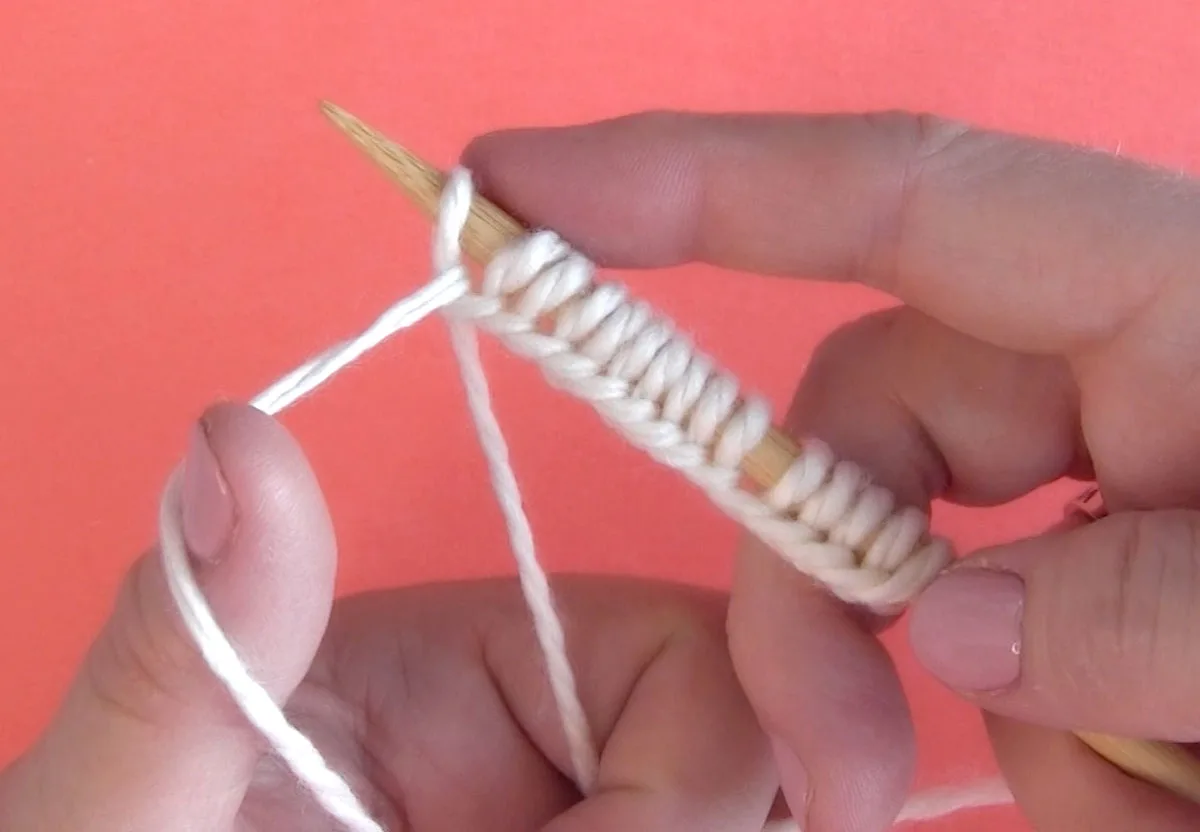
Cast On in Multiples of 2 Stitches, plus 1
Begin knitting the Broken Rib Stitch by casting on in multiples of two. You can also think of this as casting on any even number of stitches.
Once you have the desired number of stitches on your needle, add one more stitch to prepare to knit your textured pattern.
Row 1: Knit All Stitches
On the right side of your knitted work, knit every stitch on your needle. Doesn’t get any easier than this!
Row 2: * P1, K1 *, P1
On row two, the wrong side of your work, begin by repeating the Purl 1, Knit 1 pattern. This is similar to the pattern of the 1×1 Rib Stitch.
Once you get to the end of your row, you will have one additional stitch to Purl 1.
Continue Knitting the Broken Rib Stitch Pattern
Continue knitting the pattern by repeating these two rows until your piece is the length you desire. On all right sides, you will simply knit all stitches. Then on your wrong side you will knit the row 2 pattern instructions.

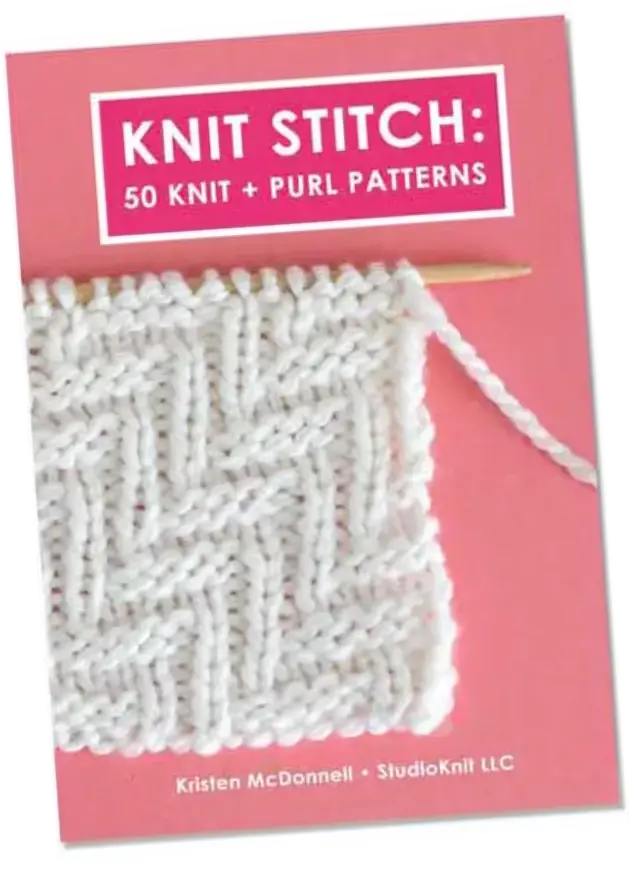
Knit Stitch Pattern Book
Love easy knitting? Get 50 stitch patterns from my Knit Stitch Pattern Book available in both print and digital formats.
Cast On and Cast Off Ribbing Stitches
When beginning and ending Rib Stitch Patterns, you may wish to do so “in pattern.” This creates the ribbed texture along the edge for knitted items like sleeves and necks, rather than a solid horizontal edge.
Casting On: Alternating the Long-Tail Cast On Knitwise and Cast On Purlwise stitches in pattern to begin your project.
Casting Off: Alternating the Basic Cast Off Knitwise and Cast Off Purlwise gives the finished edge the same texture as your ribbing.
Printable Knitting Instructions
Printable Knitting Pattern
The Broken Rib Stitch Pattern creates columns of smooth one Stockinette Stitch separated by one row of Garter Stitch texture.
Materials
- Yarn - Any Gauge
Tools
- Knitting Needles - Appropriate Size for Yarn
- Tapestry Needle
- Scissors
Instructions
KNITTED FLAT ON STRAIGHT NEEDLES:
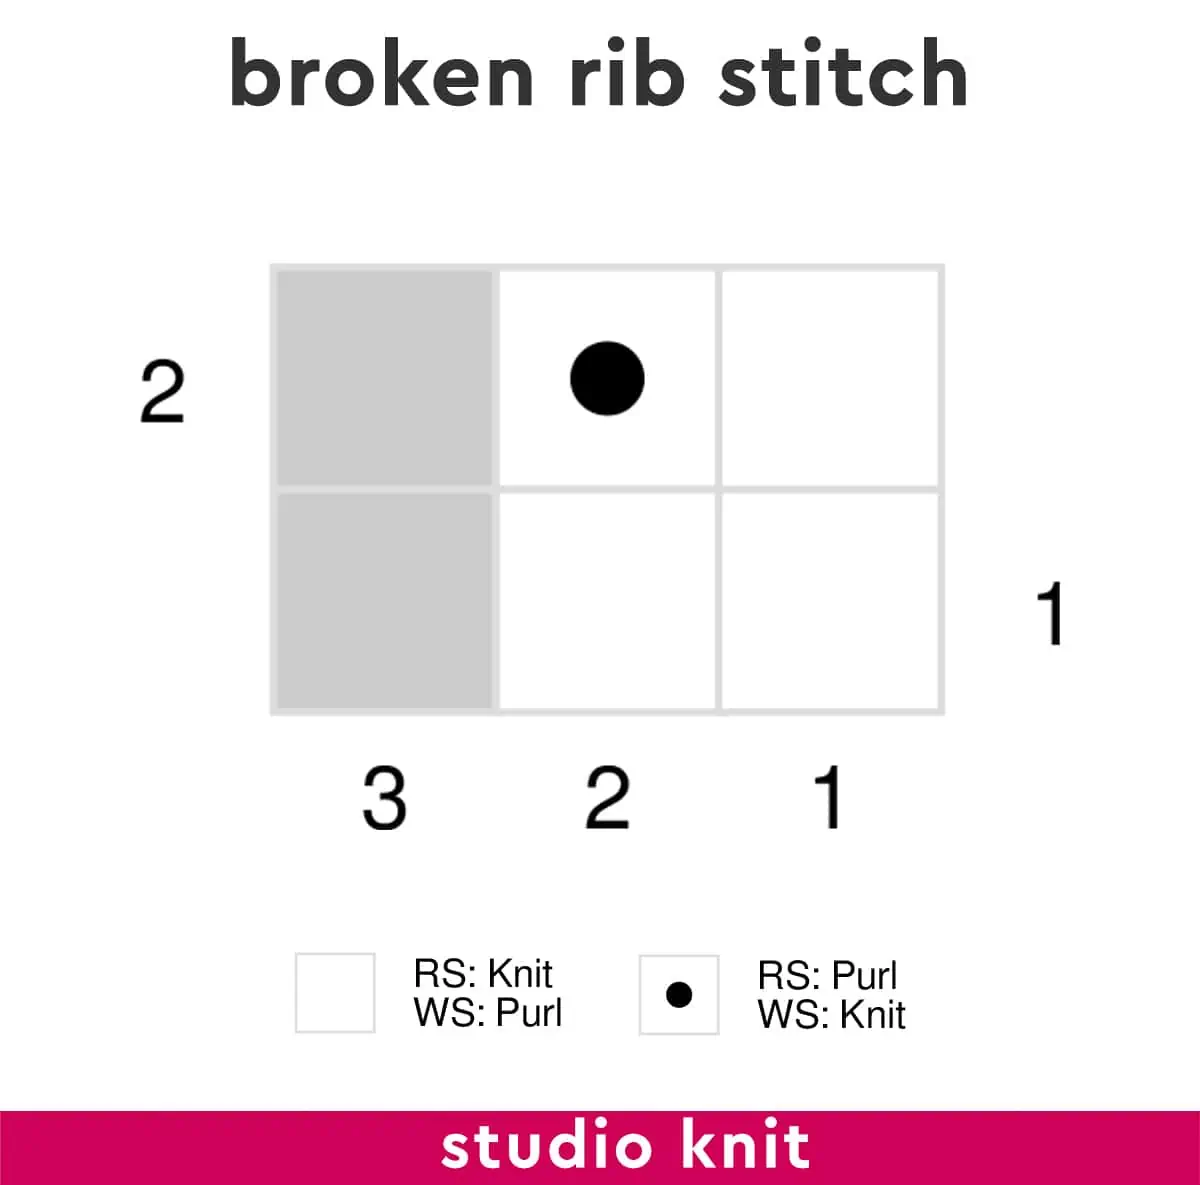
Cast On: Multiples of 2, plus 1
- Row 1 (Right Side): Knit All
- Row 2 (Wrong Side): * P1, K1 *, P1
or
IN THE ROUND ON CIRCULAR NEEDLES:
Cast On: Multiples of 2
- Row 1: Knit All
- Row 2: * K1, P1 *
Notes
Repeat Rows 1 – 2 until your piece is the length you desire
Repeat pattern between the * * asterisks
Not a Reversible Knit Stitch Pattern
2-Row Repeat
_____
KNITTING TECHNIQUES
_____
KNITTING CHART
Thank You for Visiting Studio Knit
I hope you are inspired to knit up this Broken Rib Stitch Pattern in your next knitting project. Check out my entire library of free stitch patterns!